Sleek yet detailed, rope twist bun hairstyles give you a polished look with a little extra texture and interest built right into the bun itself. You can wear them sleek for work, fluffy and romantic for events, or relaxed and messy for weekends, all with the same basic twisting motion. Because rope twists grip themselves as you wrap, these buns usually feel secure without tons of pins, which is great when you need your hair to last all day. They also work on many textures, from straight to curly to rope-twist extensions, and can be dressed up with parts, ornaments, or braiding hair. Below are twenty rope twist bun hairstyles that show how flexible, wearable, and fun this simple technique can really be.
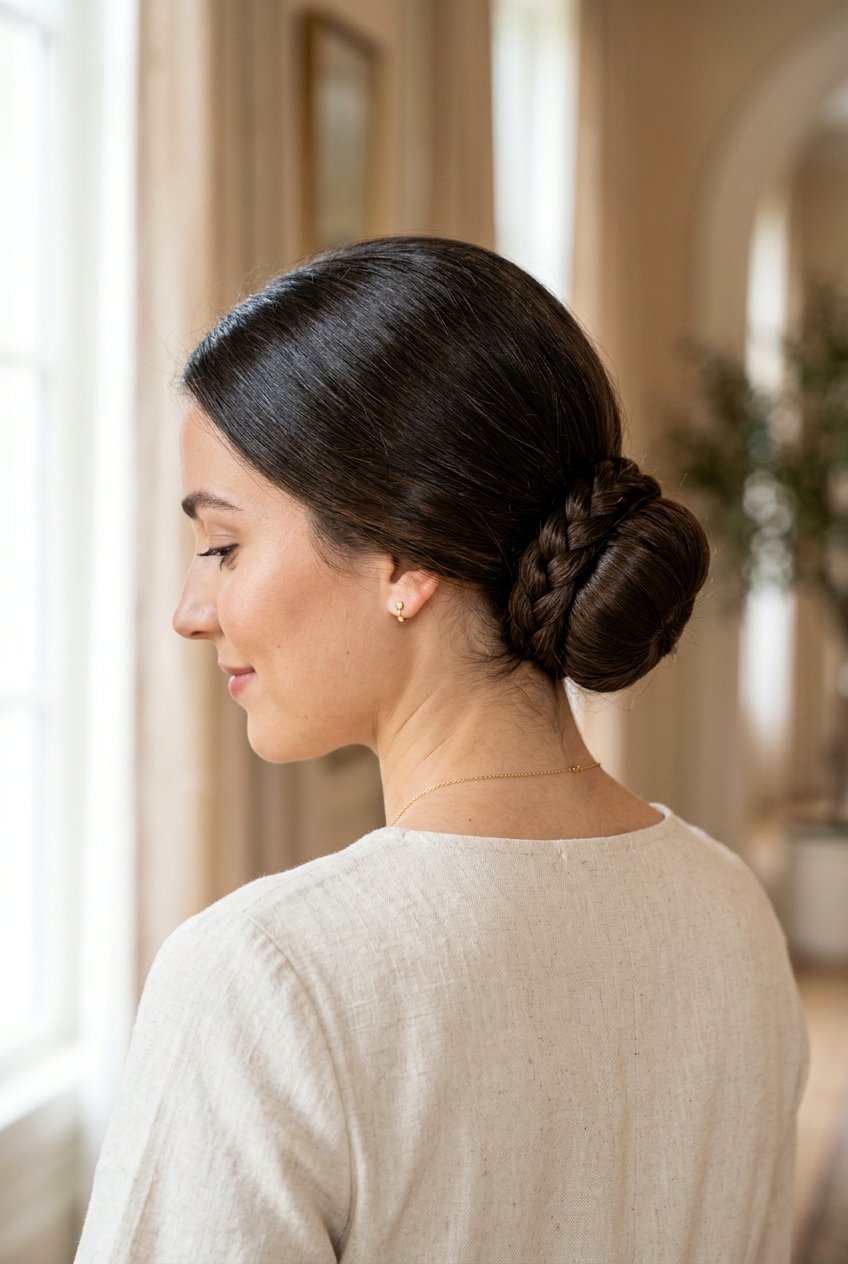
1. Low Rope Twist Bun
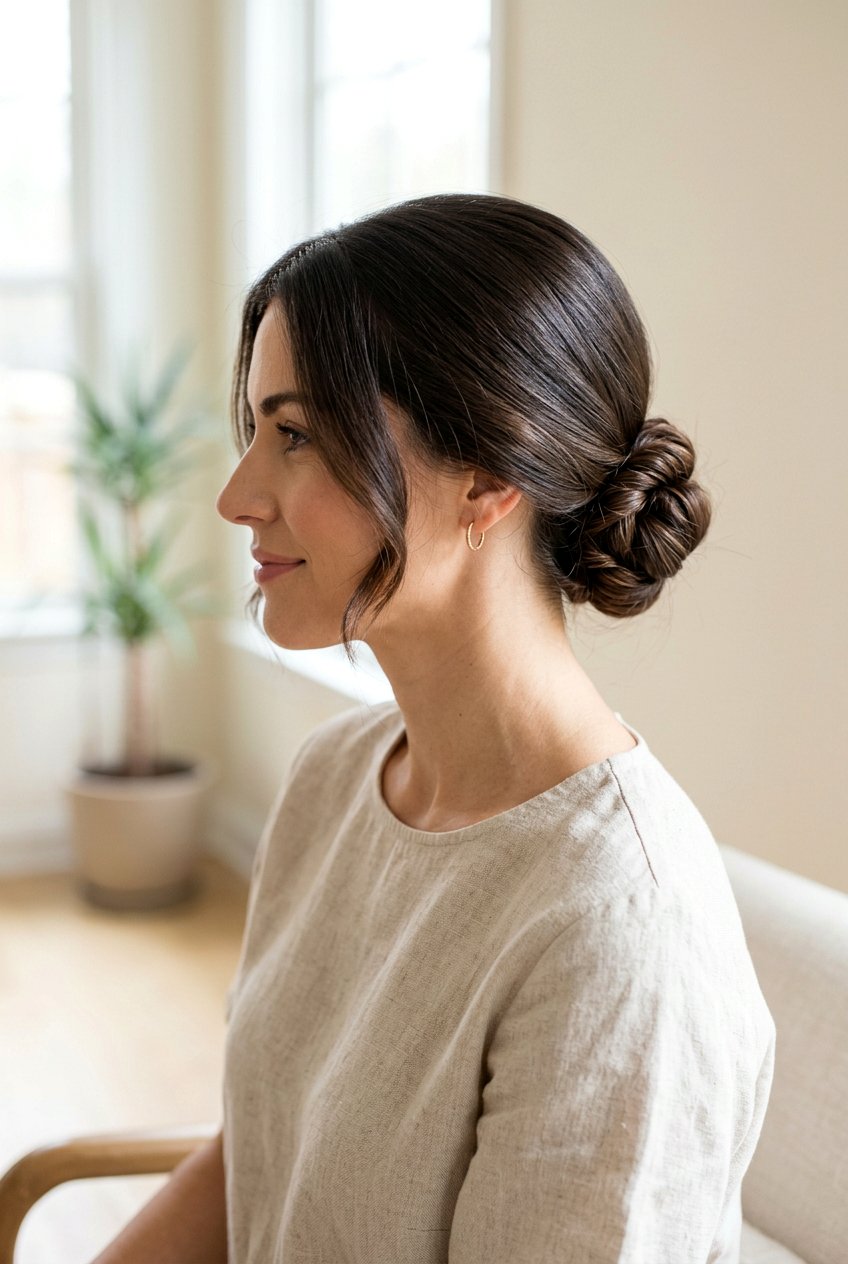
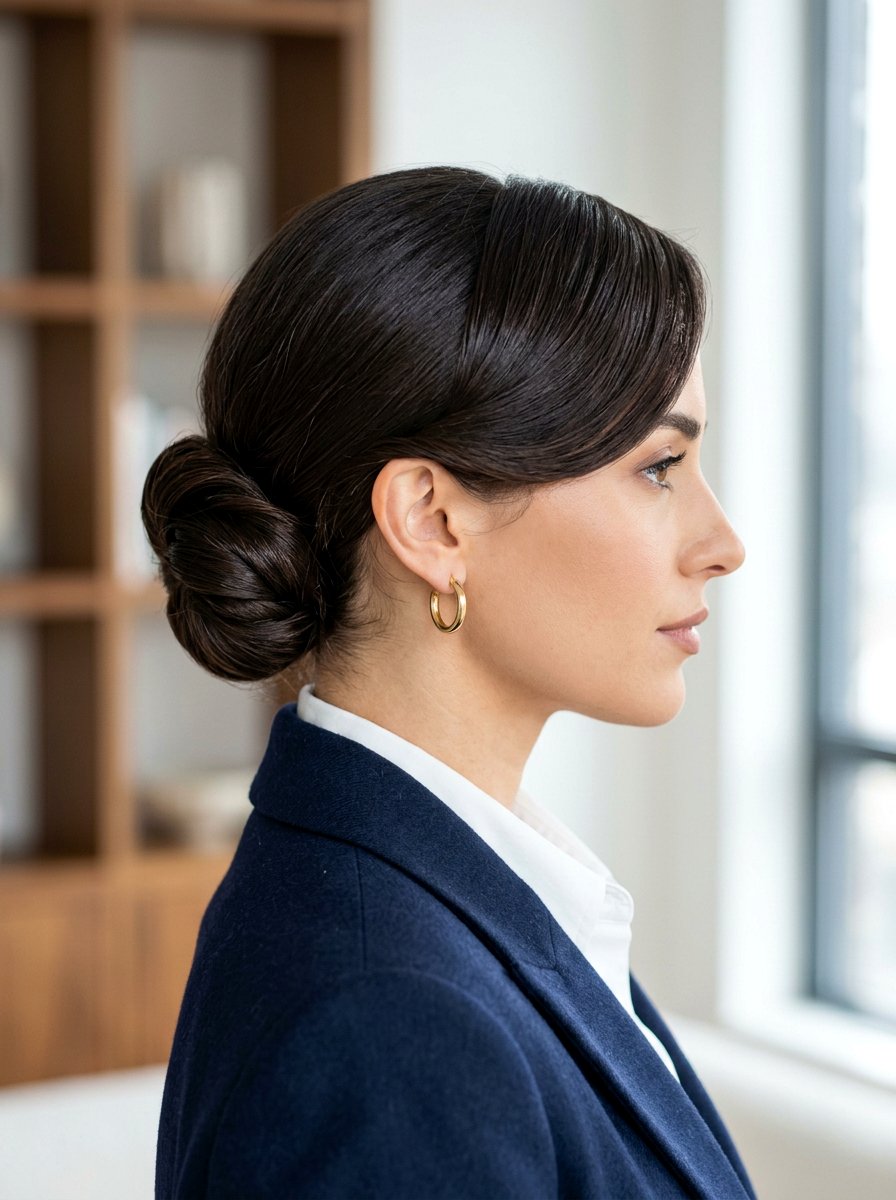
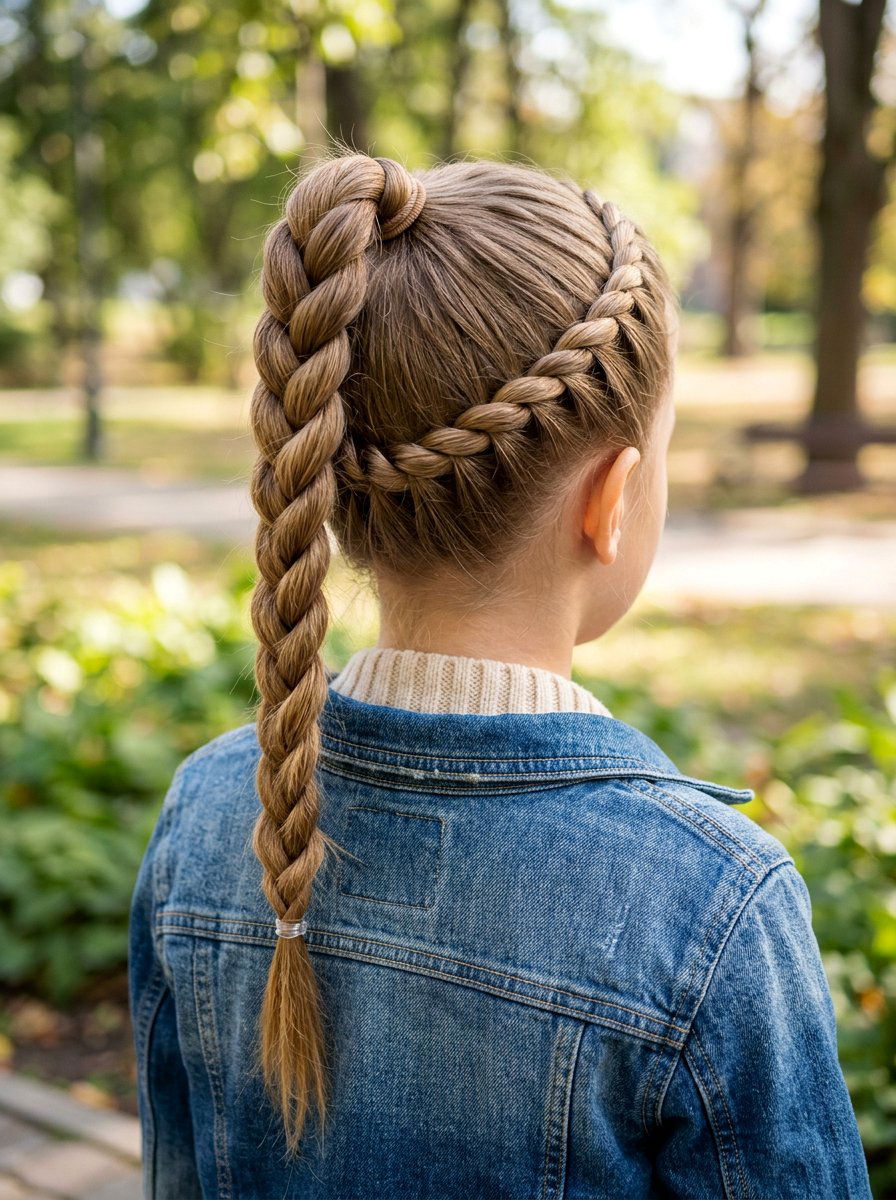
A low rope twist bun is one of the easiest ways to start using rope twists in your routine because it builds on a basic low ponytail you already know. You gather your hair at the nape, split it into two, twist each section the same way, then wrap them around each other to make the rope and coil it into a bun. This version sits low and close to your neck, which feels comfortable if you like to lean back in chairs or drive a lot. It works well on straight, wavy, or slightly layered hair, and you can keep the base smooth with a brush or leave a few face-framing pieces out. A bit of hairspray or gel along the part and hairline will keep everything neat without making the twist itself stiff.
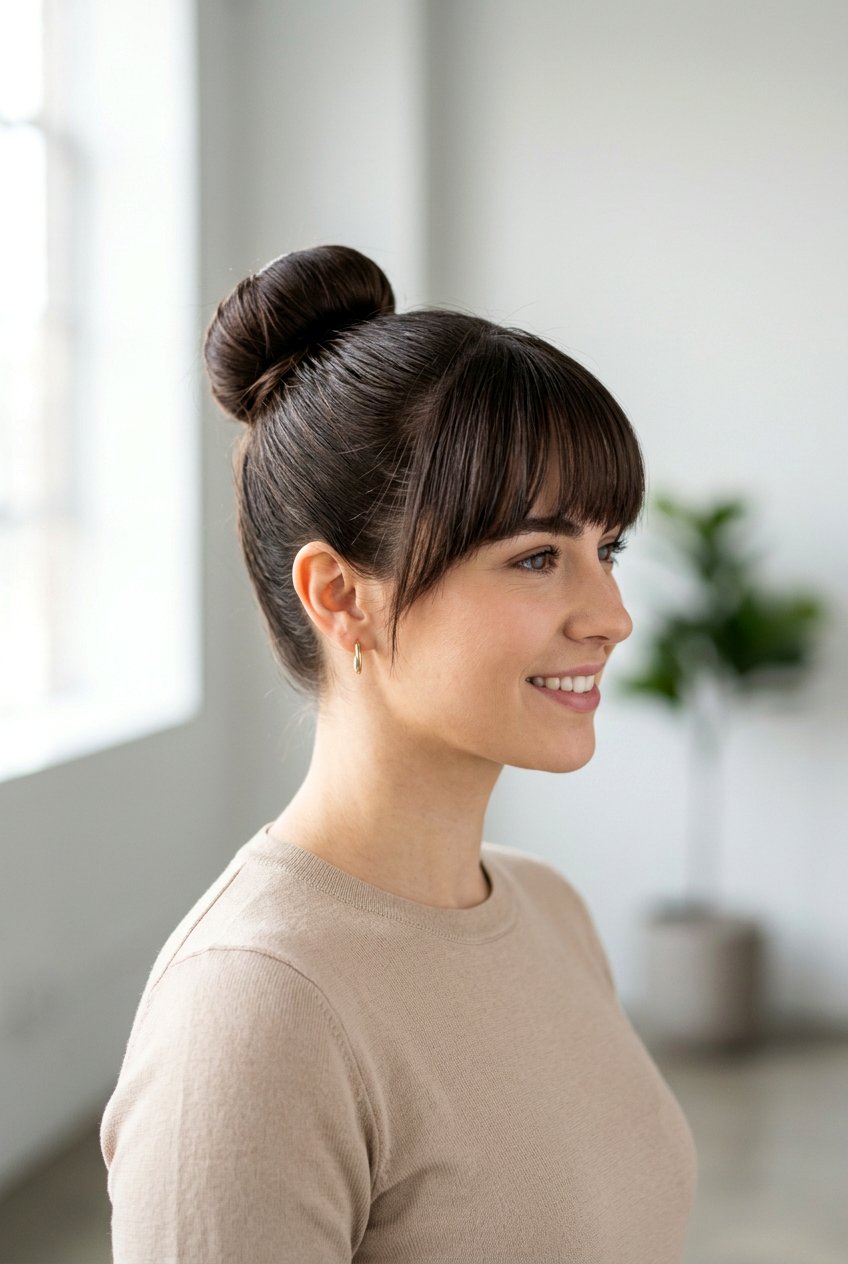
2. High Rope Twist Bun
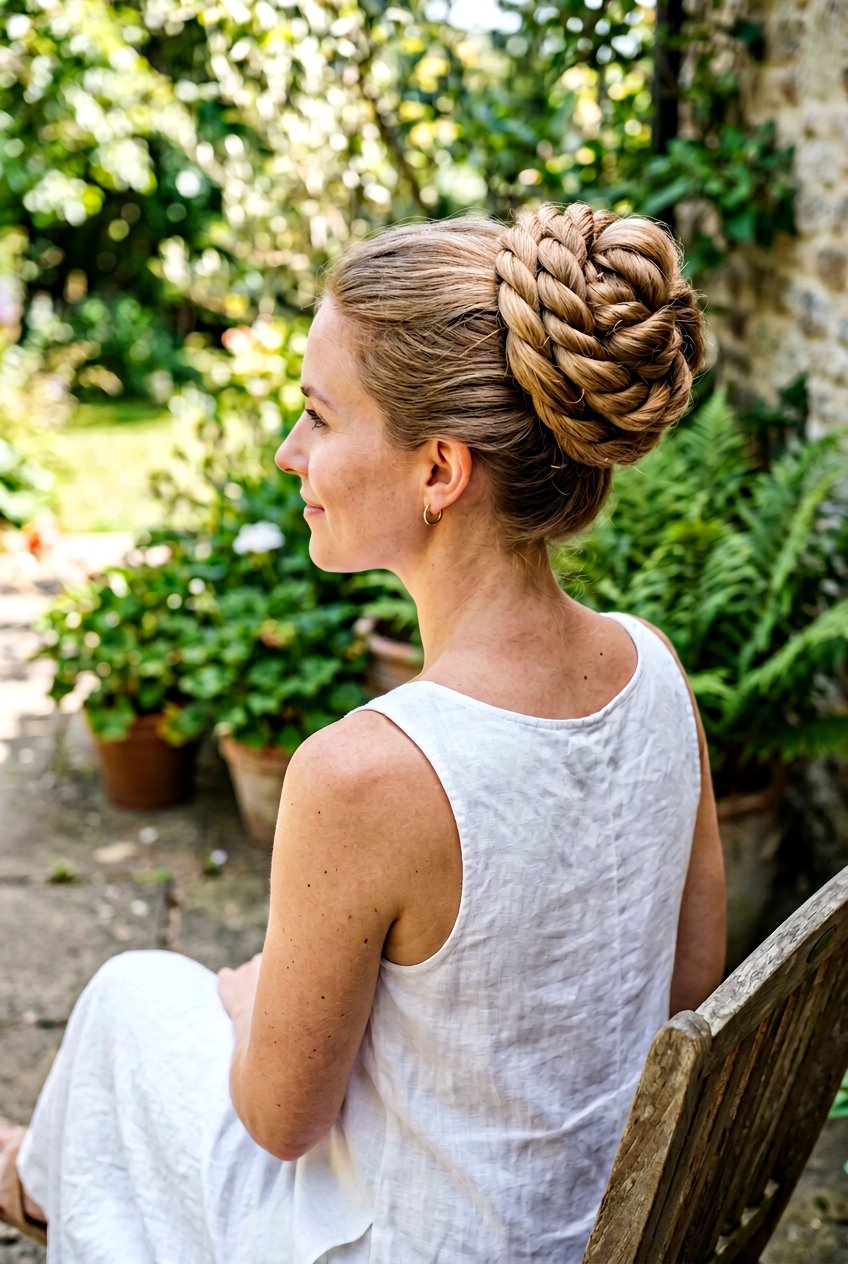
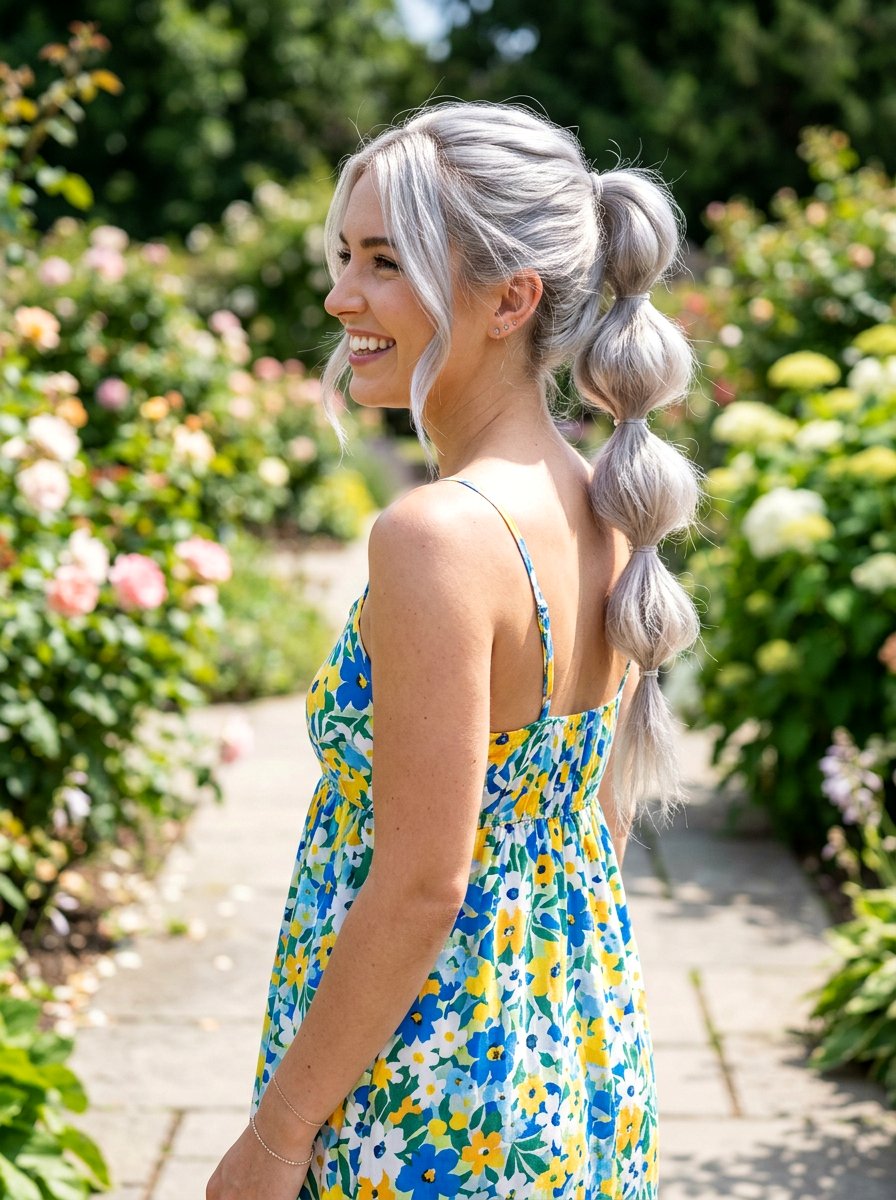
If you like your hair off your neck and out of the way, a high rope twist bun keeps everything up and still looks intentional and chic. Start with a high ponytail on the crown, twist the two sections, then wrap the rope around the base, pinning as you go so it feels secure and balanced. This placement is great for hot weather or workouts when you want your hair completely off your back. It can also give an instant “lift” to your face because the eye is drawn upward. For a softer look, gently pull on sections of the rope after you secure it, which makes the bun look fuller without needing extra hair or padding. A light mist of texture spray before twisting helps the rope grip and stay put.
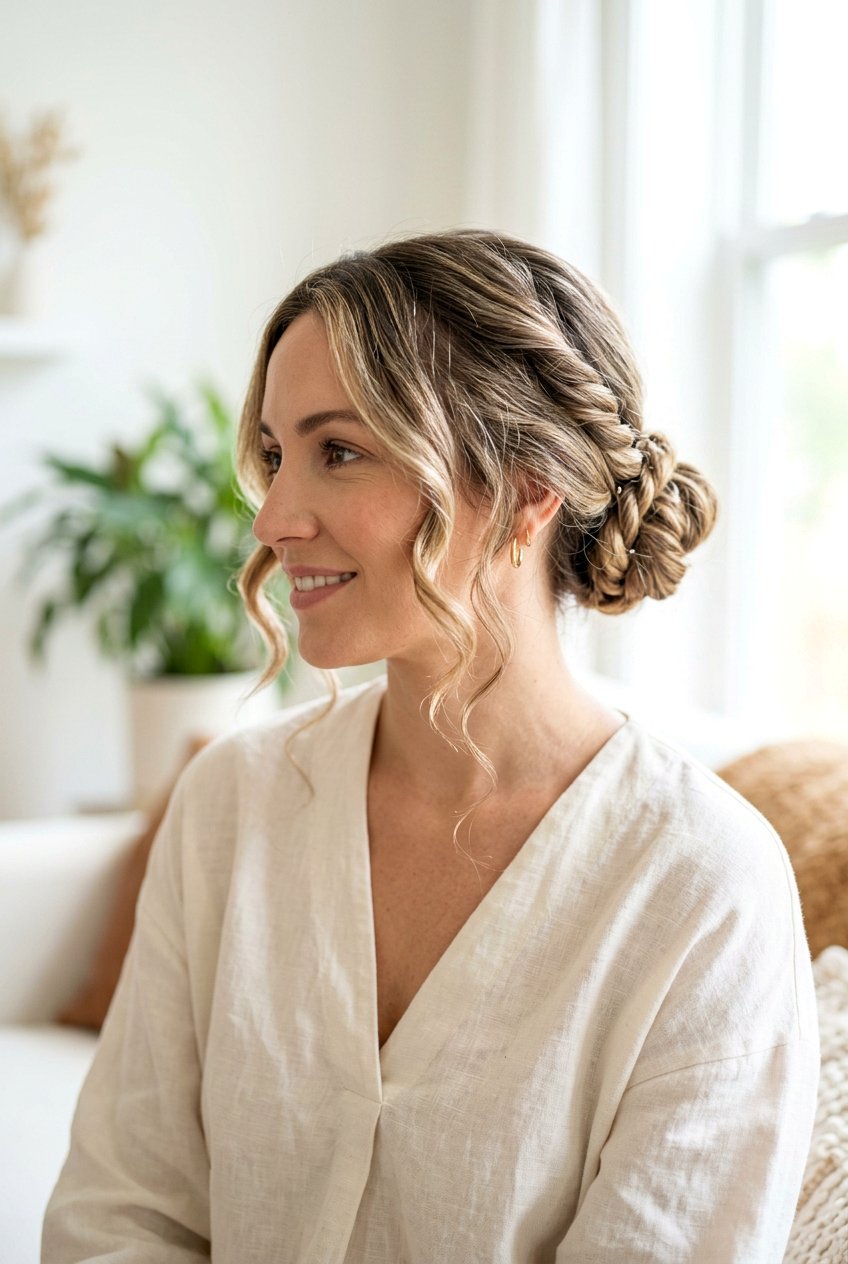
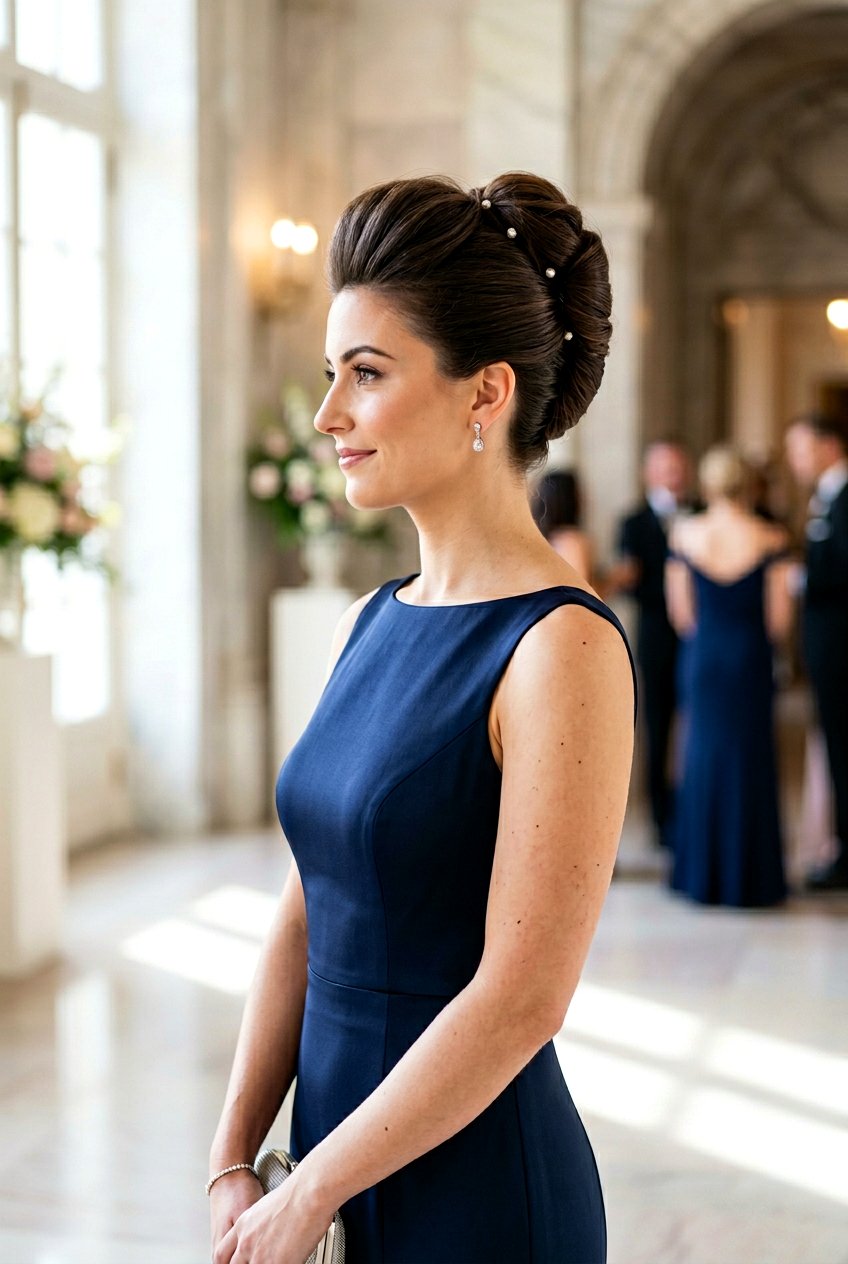
3. Side Rope Twist Bun
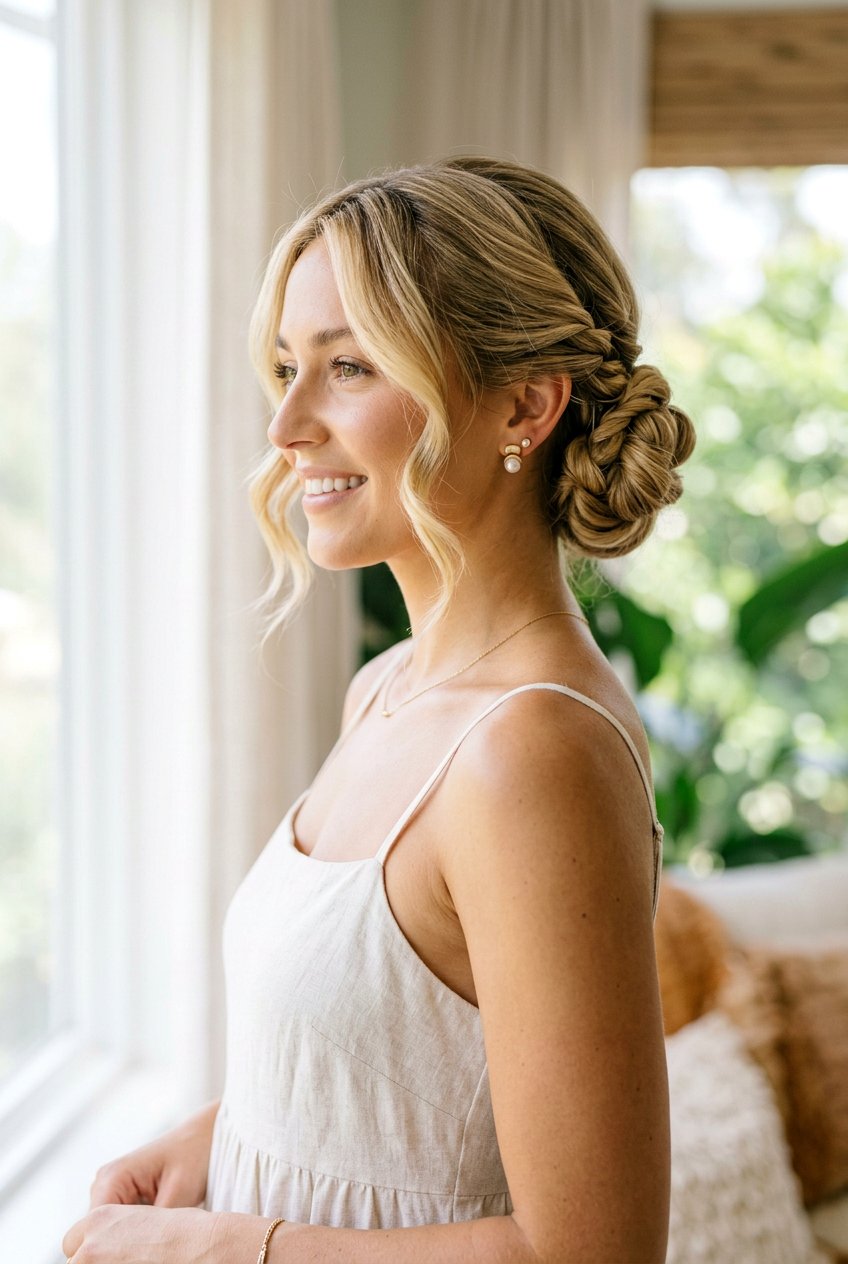
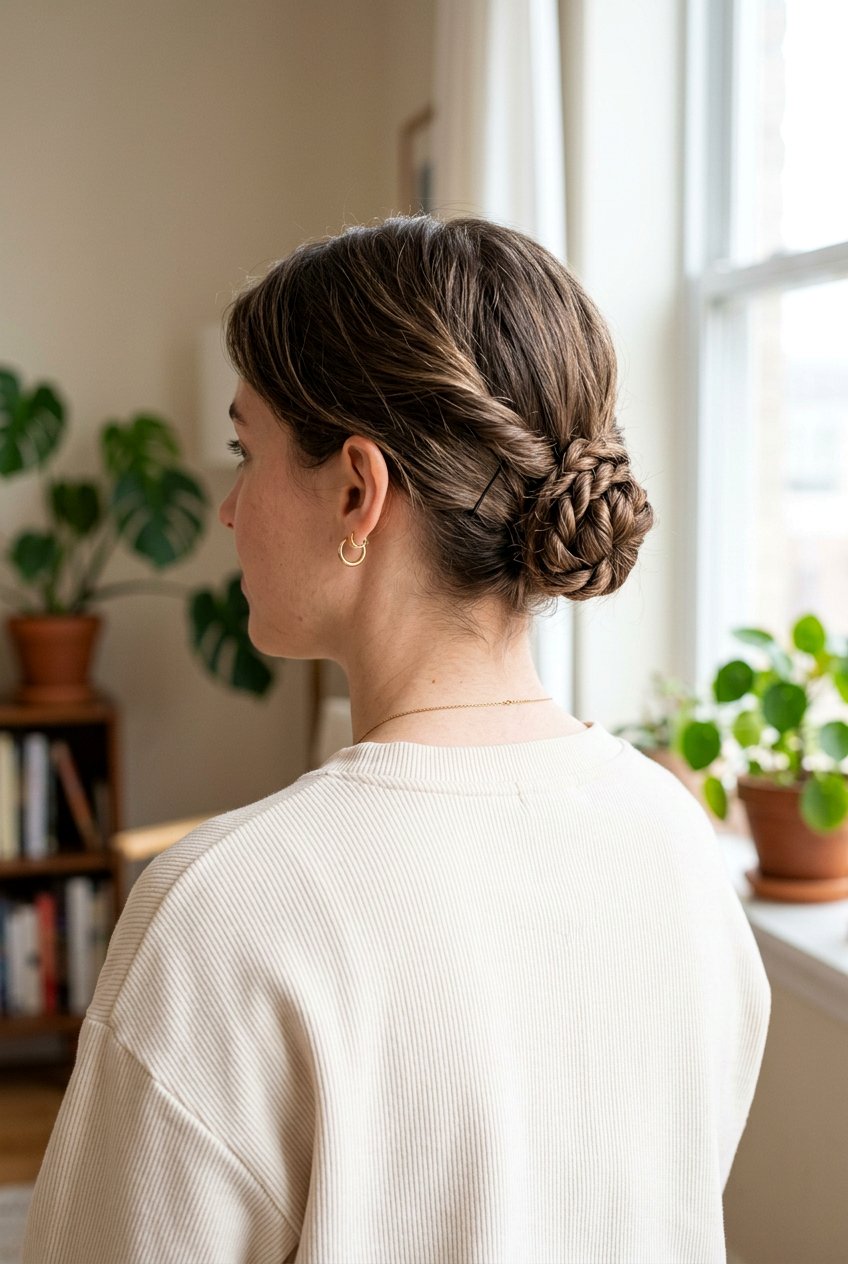
A side rope twist bun adds a romantic touch because the bun sits just behind one ear instead of centered. You part your hair slightly off-center, gather it low to one side, and form your rope twist as usual before coiling it into a bun. This placement frames your face and shows more in photos, which makes it lovely for special occasions or if you wear statement earrings. It’s especially cute on wavy or curly hair, because any natural texture around the hairline contrasts nicely with the smooth twist. You can keep the top smooth or add a small twist or braid along the front hairline before it joins the main bun for more detail. A few strategic pins under the bun keep it from drooping throughout the day.
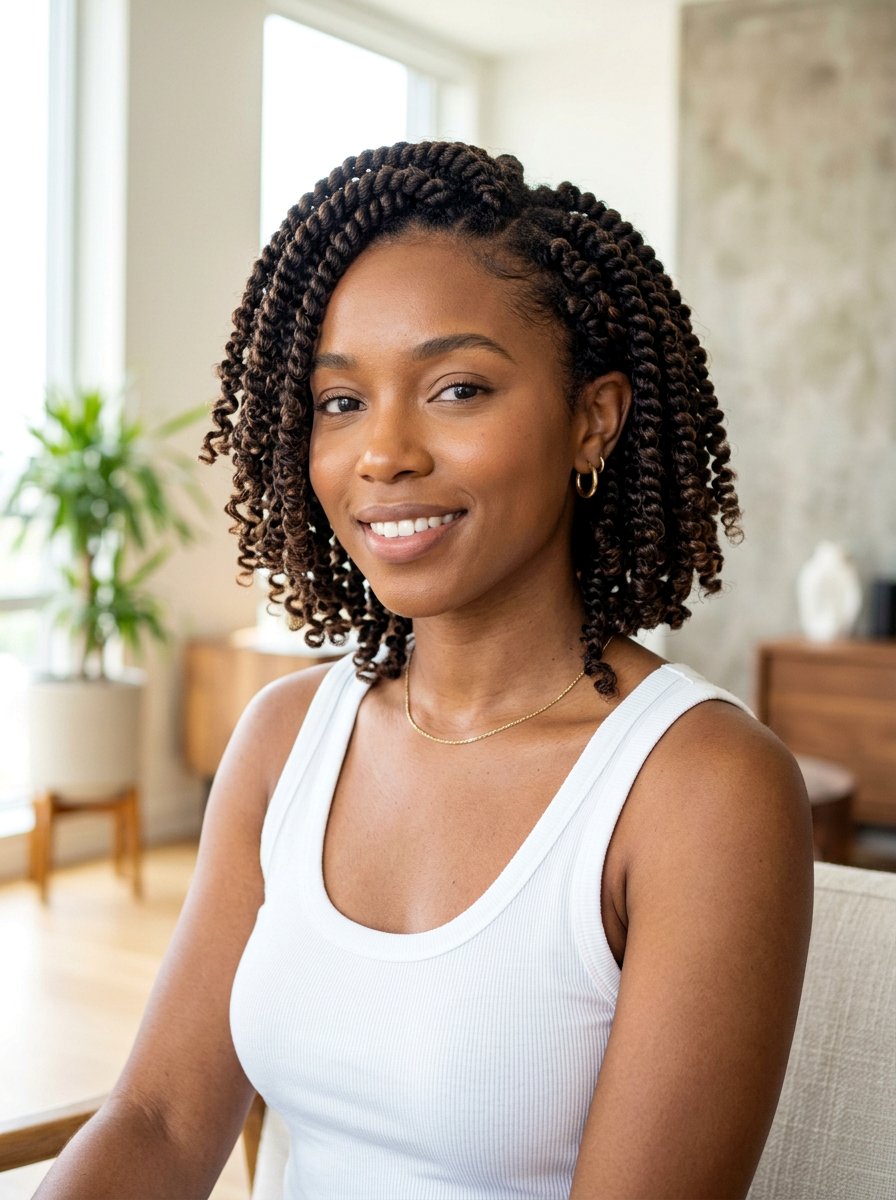
4. Rope Twist Bun On Curly Hair
Curly hair brings built-in volume to a rope twist bun, so you get a big, soft bun with a lot of visual texture. Instead of fighting frizz, you can use it by gathering second- or third-day curls into a ponytail and twisting without brushing out all the curls first. The rope twist adds structure while the curls puff out between the coils, making the bun look fuller and more interesting. This style works nicely when your curls have lost some definition but still have shape, because the twist smooths the ends and hides any uneven bits. Add a curl cream or light gel before twisting to tame flyaways while keeping movement. Because curls can be dense, use strong bobby pins and crisscross them at the base of the bun for better hold.
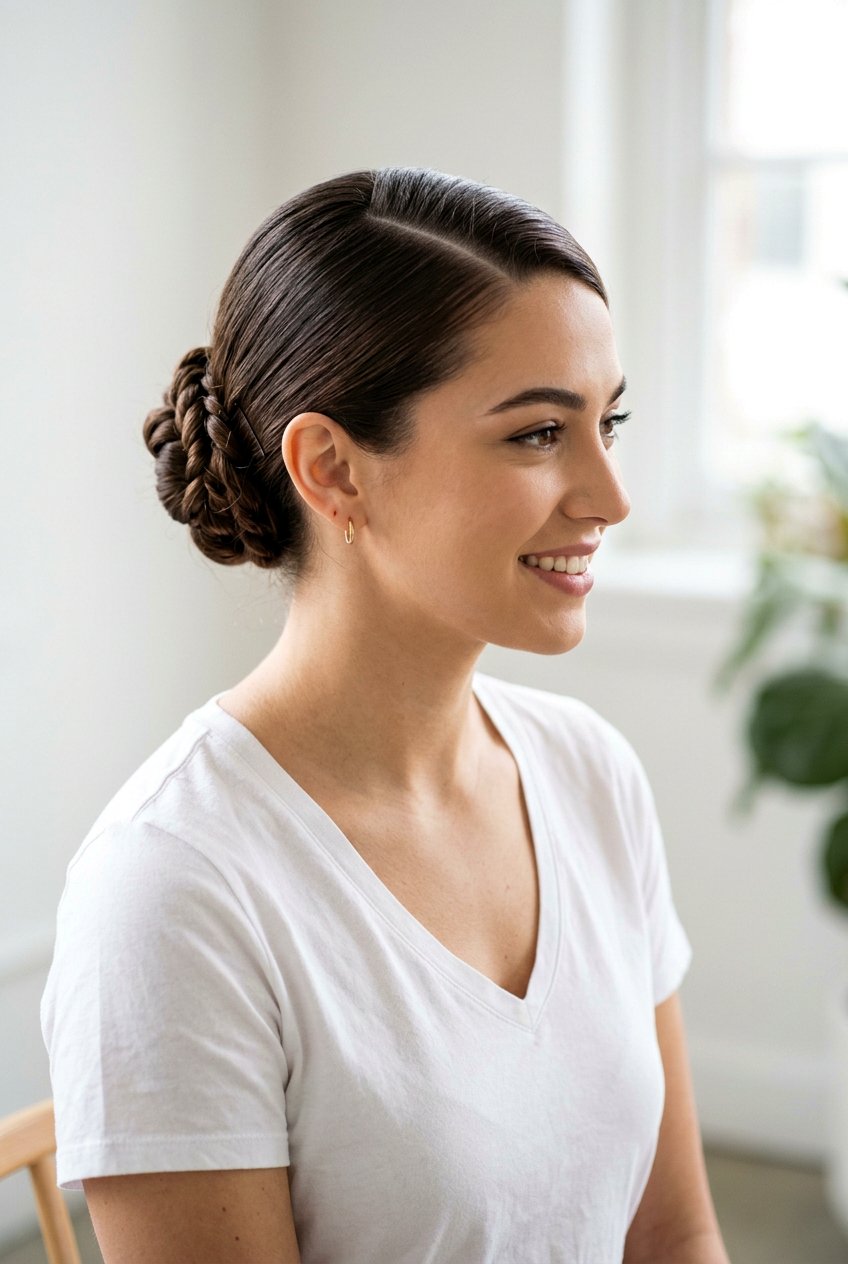
5. Rope Twist Bun With Middle Part
A rope twist bun with a middle part feels clean and modern, and it pairs well with minimal makeup and simple outfits. You create a straight center part, smooth each side back with a brush and product, then gather the hair into a low or mid-height ponytail before twisting. The sharp part line gives structure while the rope twist bun in back keeps things soft. This look is great if you want to highlight your facial symmetry or show off brows and lashes. On frizz-prone hair, working a bit of gel along the part and hairline with a fine-tooth comb helps you get that sleek finish. You can leave the bun tight for a more polished feel or gently loosen the rope for a slightly relaxed, everyday version.
6. Rope Twist Bun With Side Part
A rope twist bun with a side part gives a little more drama while still staying easy to wear every day. You start by creating a deep or soft side part, then sweep the hair back into a ponytail on the opposite side or centered in back. The heavier side of hair naturally adds volume at the front, which can balance strong facial features or soften a square jawline. Once you form your rope twist bun, the asymmetry at the front makes the whole style feel more intentional. This layout is flattering on many face shapes because the part line breaks up the forehead differently than a center part does. Use a light-hold spray so the front pieces stay in place without looking stiff.
7. Rope Twist Bun With Face Framing Pieces
Leaving face-framing pieces out around a rope twist bun can instantly relax the look and make it feel more casual and soft. You simply pull out small sections around your hairline before you secure your ponytail, then twist the rest into your rope bun. These loose bits can be lightly curled or left straight depending on your texture. The contrast between the smooth twist and the airy tendrils gives a nice balance, especially for dates, brunch, or photos. It’s important not to pull too much hair out, or the bun can lose density, so focus on thin sections near the temples and around the ears. A tiny bit of styling cream on the loose pieces will reduce frizz and help them frame your face instead of puffing out.
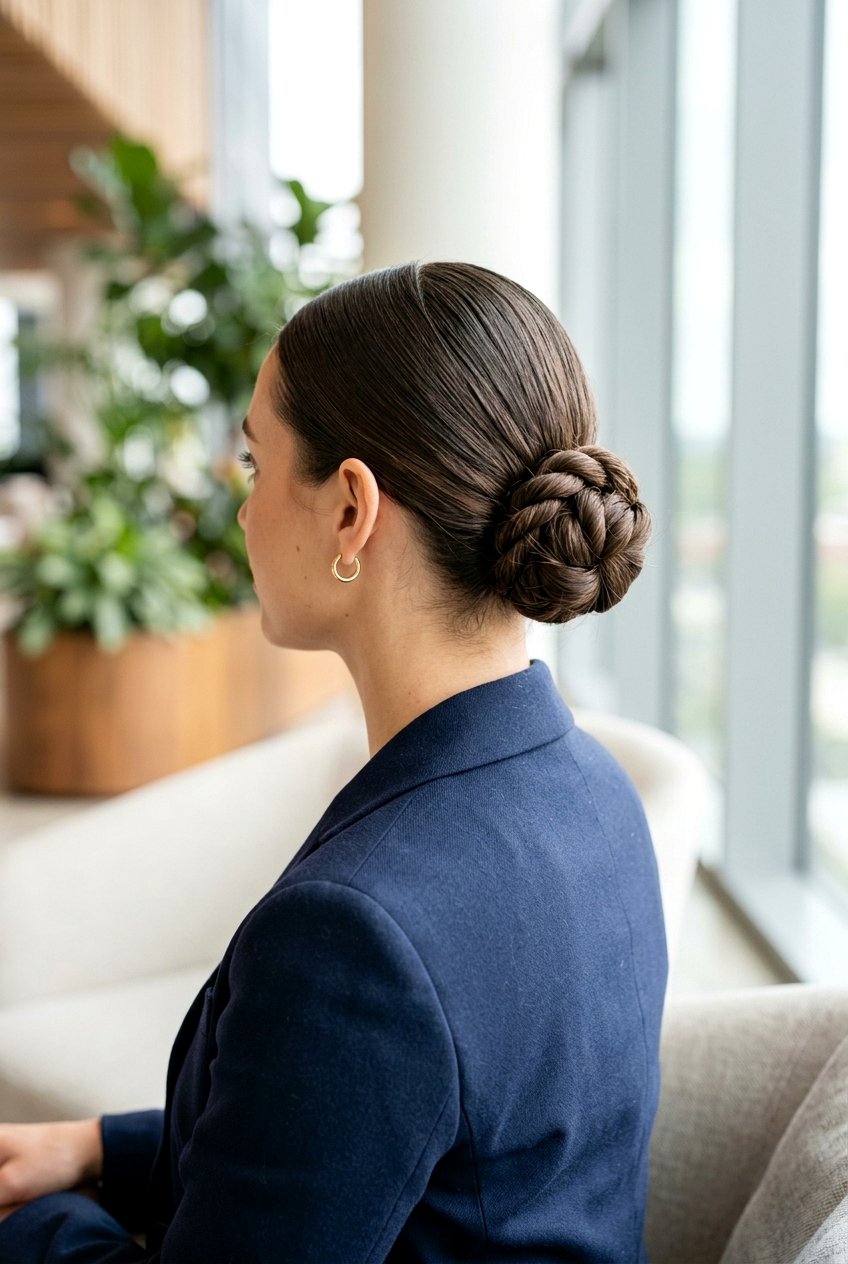
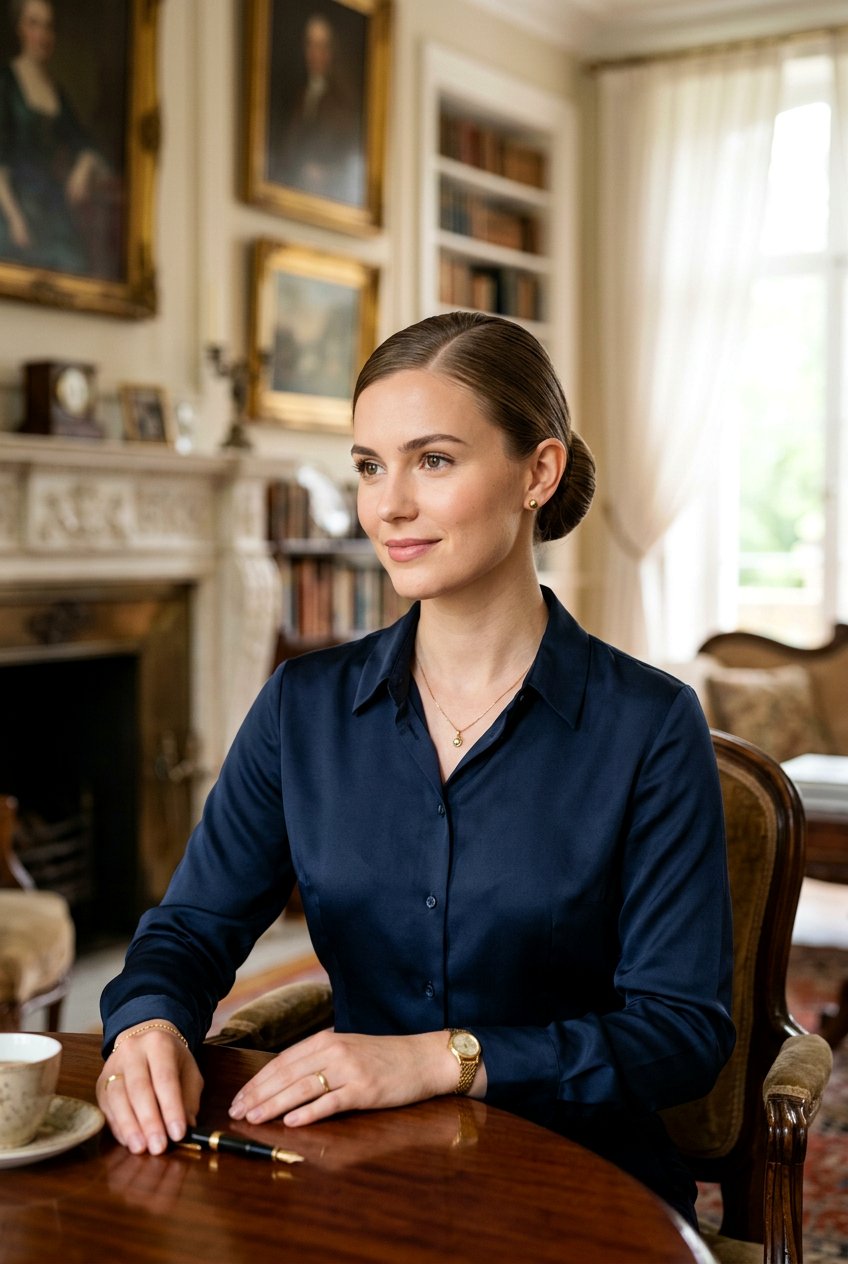
8. Sleek Rope Twist Bun
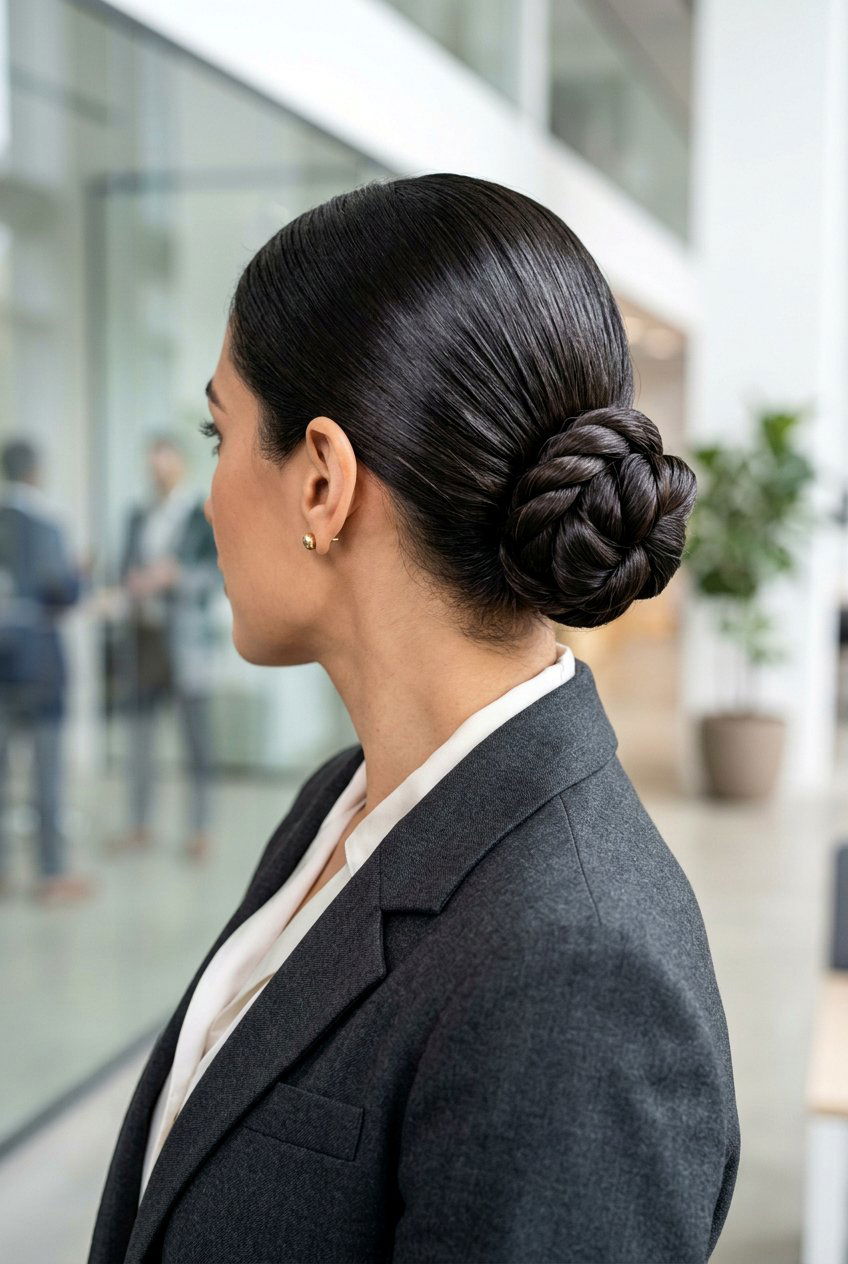
A sleek rope twist bun is a go-to for professional settings, formal events, or any time you want your hair to look very controlled and neat. You start on smooth, brushed hair and use gel or a strong-hold cream to slick everything back before forming your rope twist bun. Every strand is directed into the ponytail, and the twist itself stays tight and compact. This clean look shows off your features and pairs well with tailored clothing and bold accessories. To avoid stiffness, focus product along the hairline and part, then use a boar bristle brush to spread it evenly. Finish with a shine spray for a glossy effect, and tuck any flyaways with the tip of a comb or an edge brush.
9. Messy Rope Twist Bun
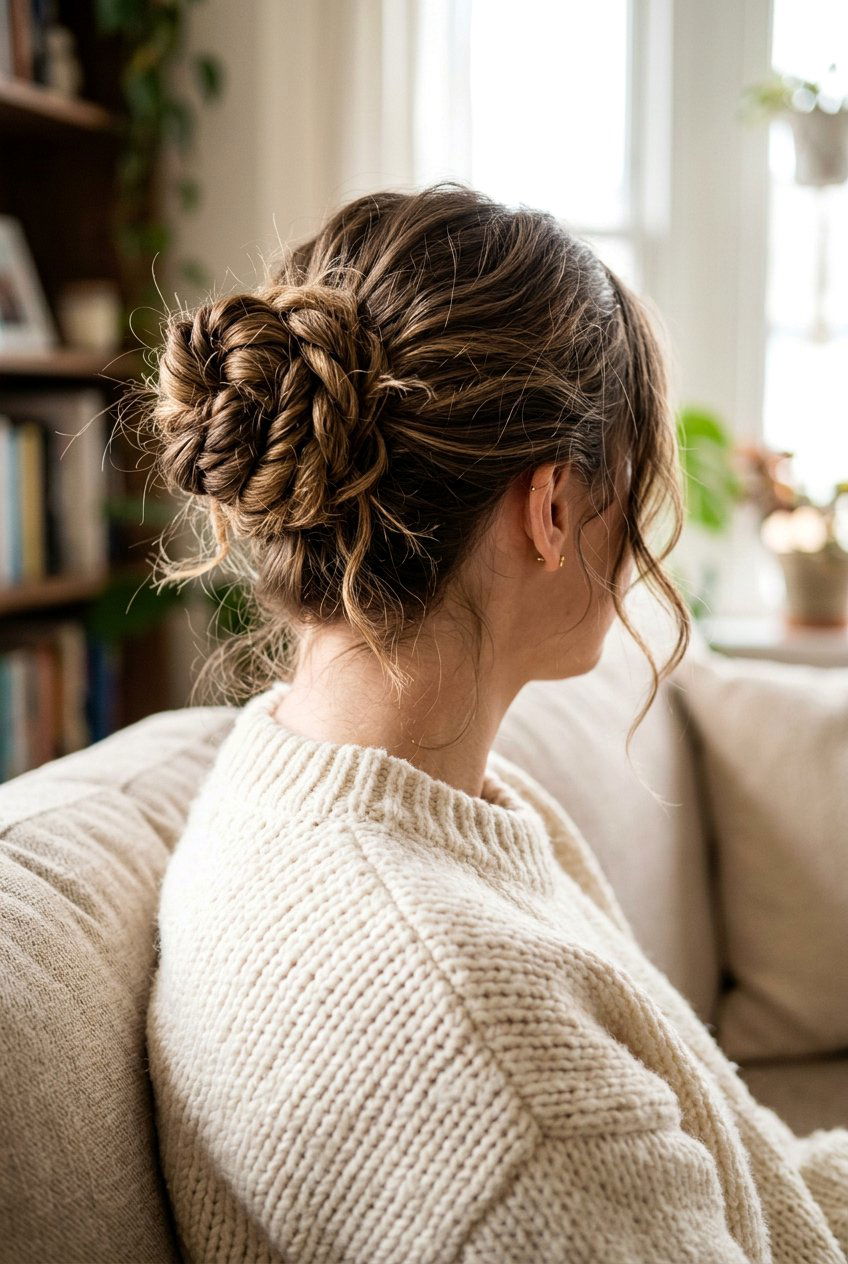
A messy rope twist bun gives you that lived-in, effortless feel while still staying secure because of the twisting structure. You can start with day-old hair, add a bit of dry shampoo or texture spray, and loosely twist your sections instead of keeping them very tight. As you coil the rope into a bun, gently pull on loops and let some pieces escape for softness. The finished bun looks bigger and less precise, which is perfect for casual days, weekends, or creative workplaces. This version also hides minor imperfections like uneven ends because everything blends into the texture. Just make sure you still anchor the base with a few strong pins so the style looks intentionally undone, not like it is falling apart.
10. Double Rope Twist Buns

Double rope twist buns, often called “space buns,” use two buns instead of one and feel playful and youthful. You part your hair down the center, create two high or mid-height ponytails, and then twist each into its own rope bun. This layout works well for festivals, casual hangouts, or anytime you want something fun and bold. It looks especially striking on highlighted or balayage hair, because the color variations show through the twists in each bun. For a softer version, you can place the buns lower near the nape and keep the twist a bit looser. Use elastics that match your hair color and pin the buns so they sit at the same height for a balanced look.
11. Rope Twist Bun With Braided Crown
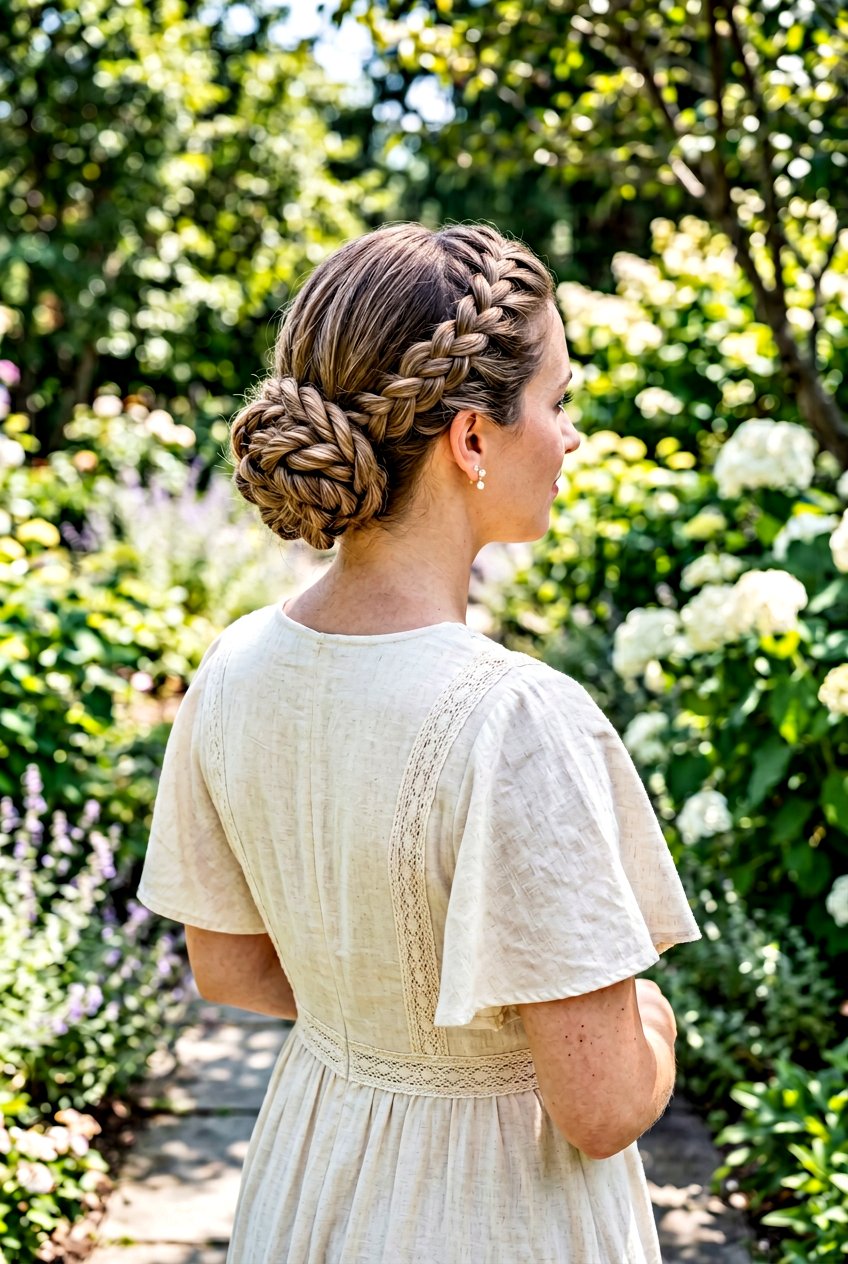
Combining a rope twist bun with a braided crown adds a boho or romantic touch that looks more intricate than it actually is. You create a small braid along your front hairline or from temple to temple, then gather the rest of the hair into a ponytail and form your rope twist bun. The braid acts like a crown across the top, while the rope bun anchors the style at the back. This pairing is perfect for weddings, formal events, or outdoor gatherings where you want your hair up but still detailed. It works on many textures and can be dressed up with small decorative pins tucked into the braid. Make sure to slightly loosen the braid by pulling the edges so it looks fuller and matches the volume of the bun.


12. Rope Twist Bun For Wedding Guest
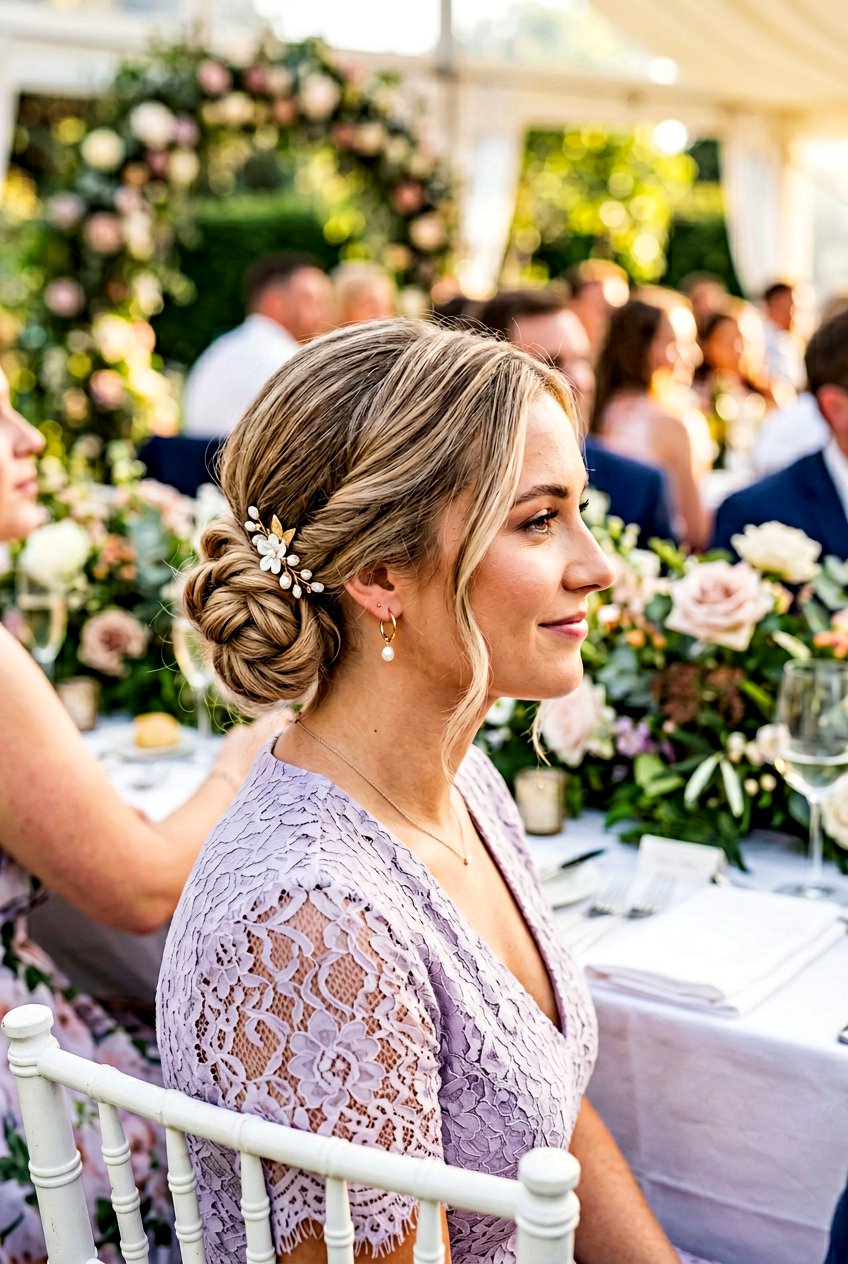
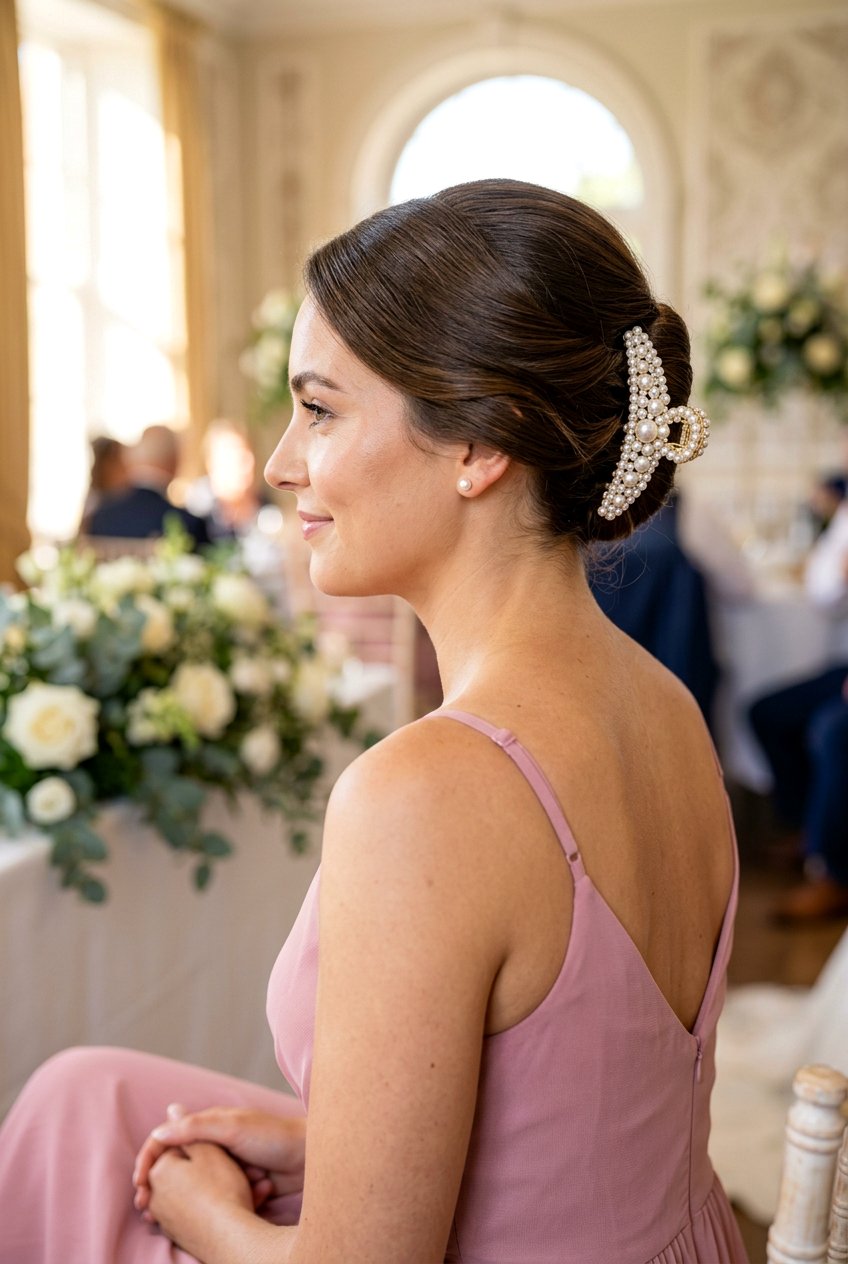
A rope twist bun makes a polished choice for wedding guests because it looks dressy but not like you are trying to outshine the wedding party. You can go for a low or side placement, add some face-framing pieces, and keep the twist slightly soft for a romantic feel. Texture spray before twisting helps the bun hold its shape through a long ceremony and reception. This style also works well with accessories like combs, pins, or small flowers placed just above or beside the bun. Because weddings often last many hours, use enough pins and a firm-hold hairspray around the hairline so your style stays fresh for photos. Avoid over-accessorizing if the dress is already busy, letting the rope texture be the subtle detail.
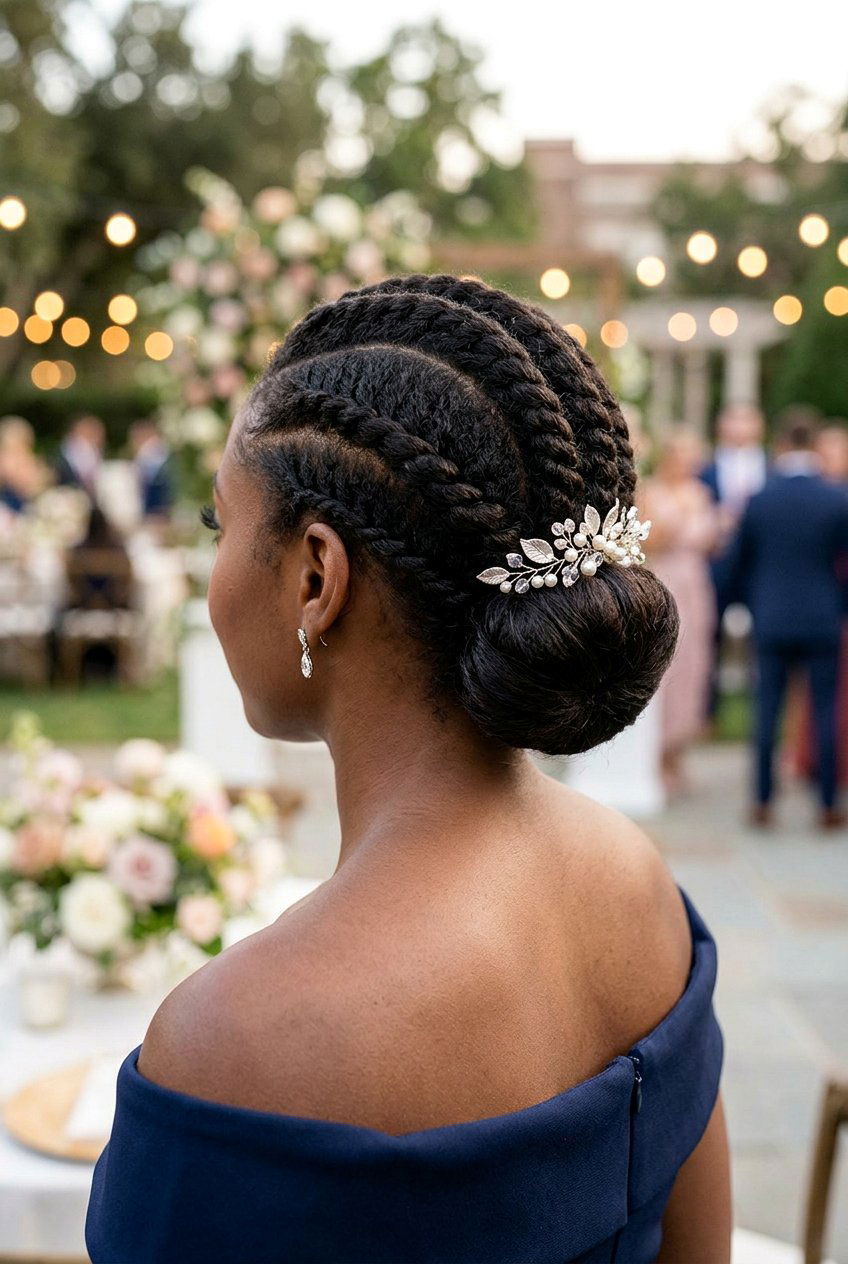
13. Rope Twist Bun For Bridesmaid
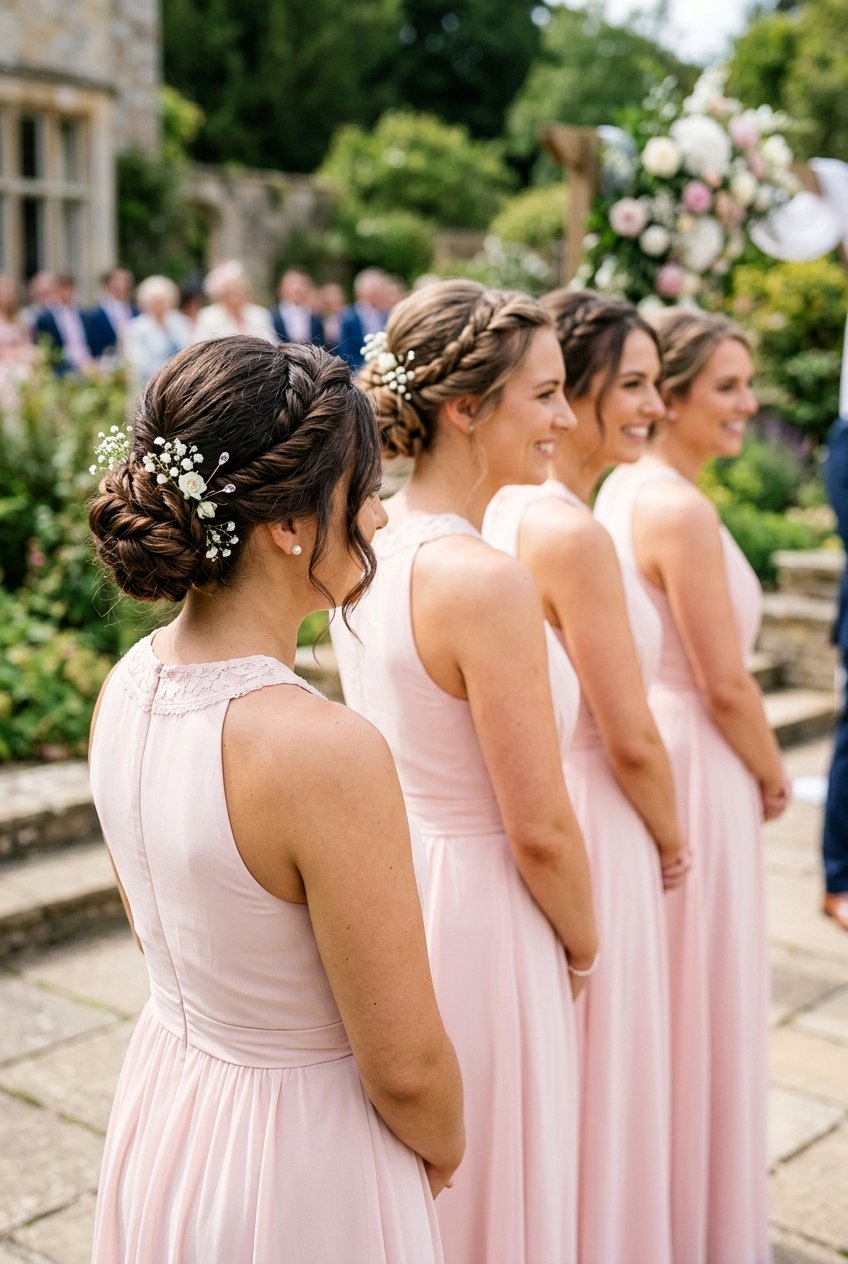
For bridesmaids, a rope twist bun can unify the group while still giving each person room to personalize the details. The stylist might choose the same bun placement for everyone, like low and centered, and then adjust how tight or loose the rope is based on each person’s hair type. Some bridesmaids can have smooth fronts, while others wear soft pieces around the face or a small twist leading into the bun. This keeps the photos cohesive without feeling too uniform. Rope buns also work well with matching hair accessories, such as identical pins or combs placed near the bun. Using a base of mousse or setting spray when blow-drying helps the style last through dancing and photos.
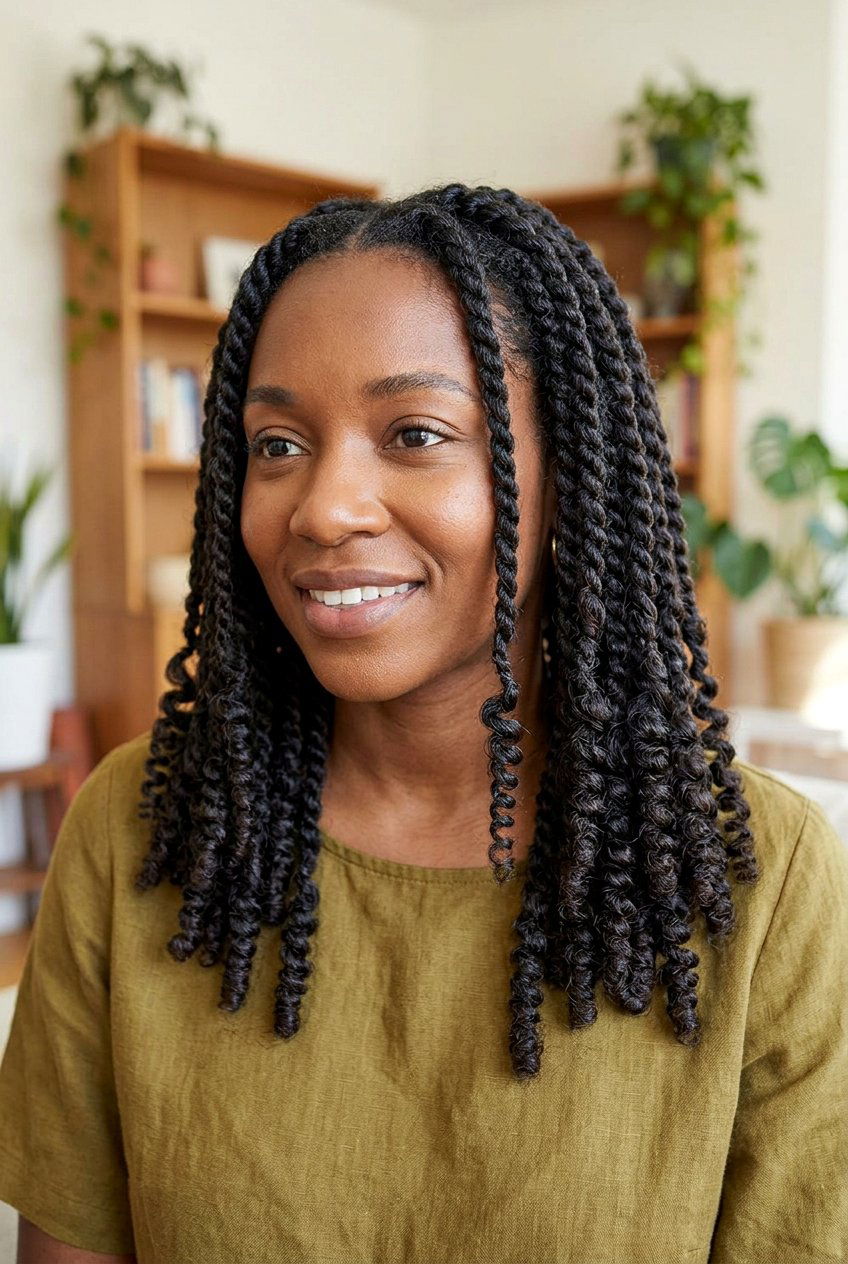
14. Rope Twist Bun For Natural Hair
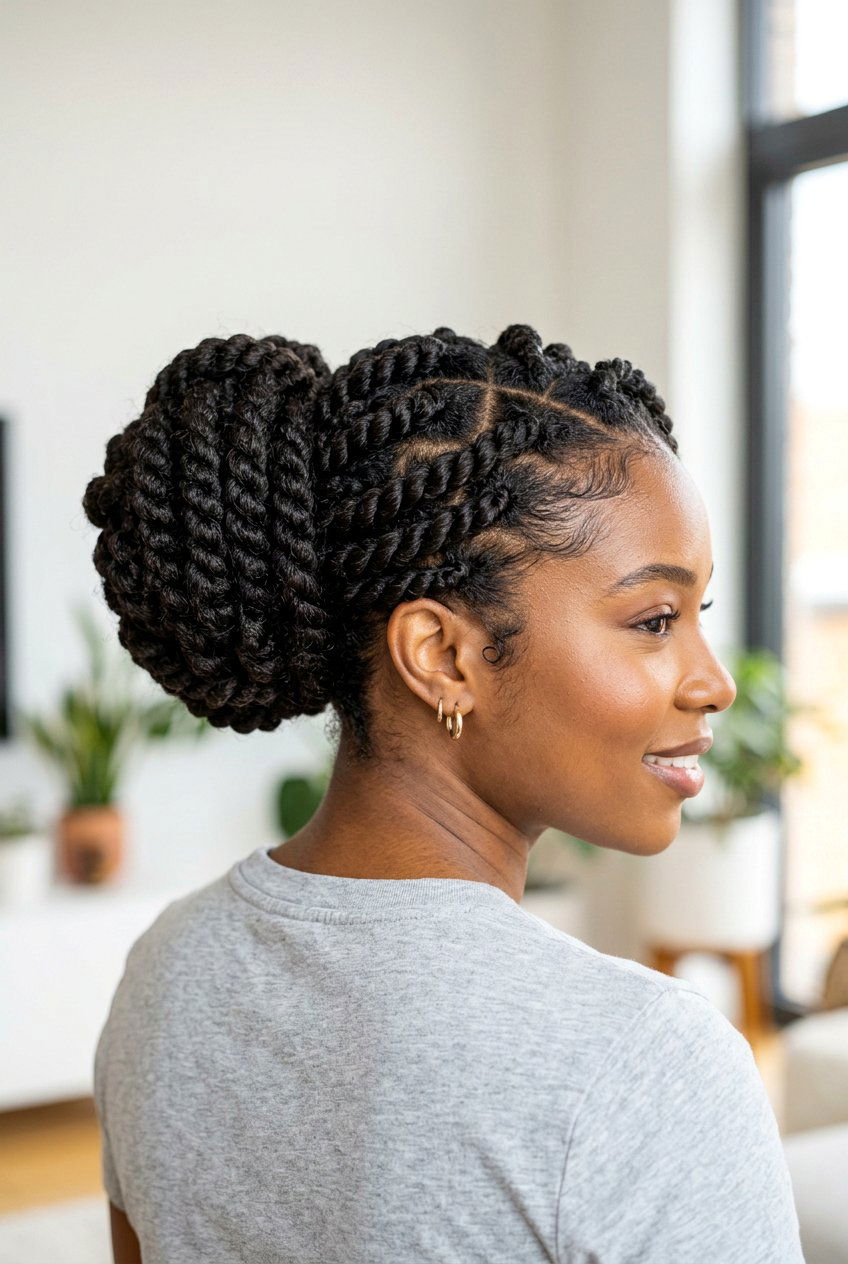
On natural hair, rope twist buns can double as both a protective style and a cute updo. You can create rope twists with your own hair or use added braiding hair, then wrap those twists into a bun at the crown, nape, or side. This keeps your ends tucked away and reduces daily manipulation, which is helpful if you are focused on length retention. Moisturizing the hair with leave-in conditioner and oil before twisting is key so the style doesn’t dry your strands out. The finished bun can be sleek and compact or big and chunky, depending on how many twists you include. Silk or satin scarves at night will help preserve the style and cut down on frizz along the hairline.
15. Rope Twist Bun With Extensions
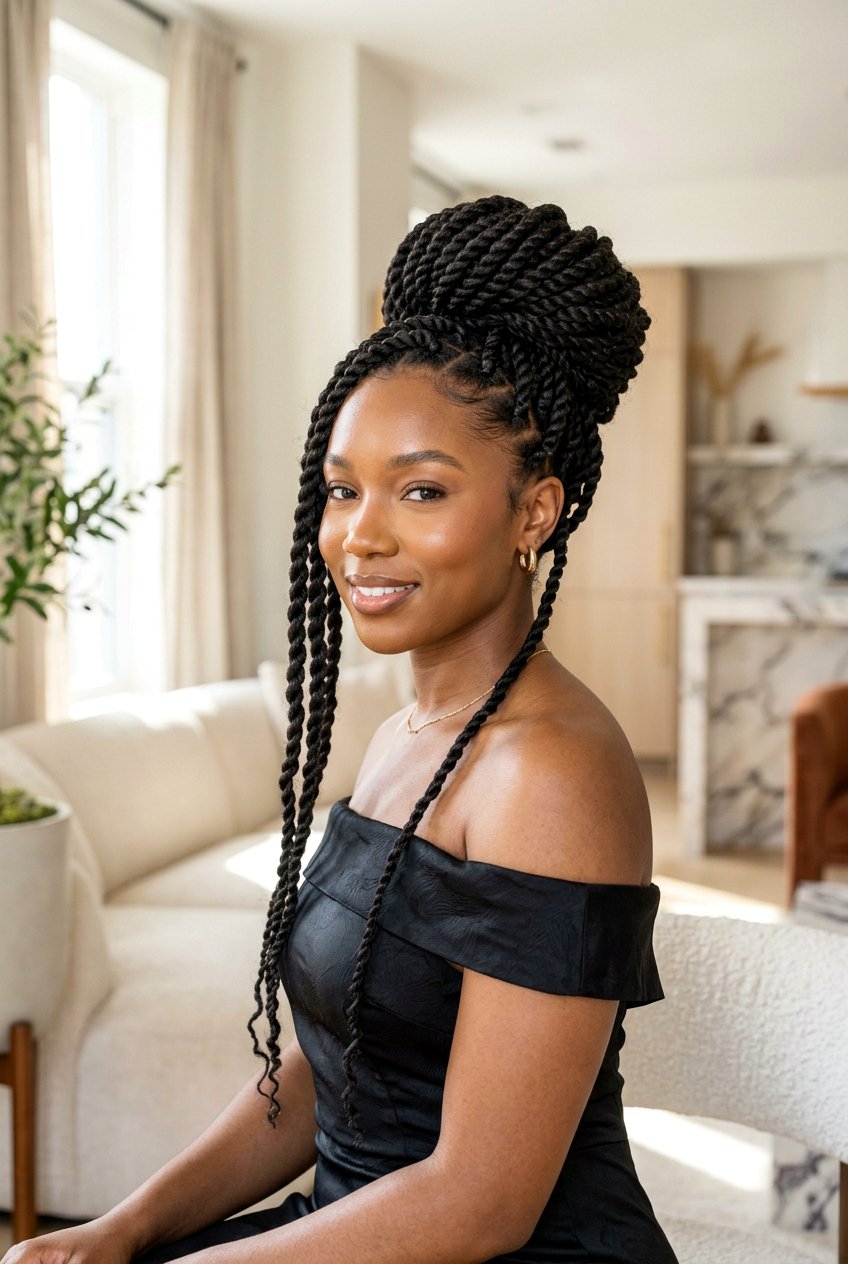
Adding extensions to a rope twist bun lets you increase length and thickness quickly, which is ideal if your natural hair is shorter or fine. You can install rope twist extensions all over and then gather them into a bun, or clip in extra hair just for the bun portion. The extra volume gives the rope more presence, making the bun look full and dramatic. This is especially popular for formal events and photo shoots where you want a statement updo. When using synthetic hair, avoid too much heat near the bun and focus on gentle pinning to avoid damage. Be sure not to make the base too tight, as the weight of added hair combined with tension can strain your scalp.
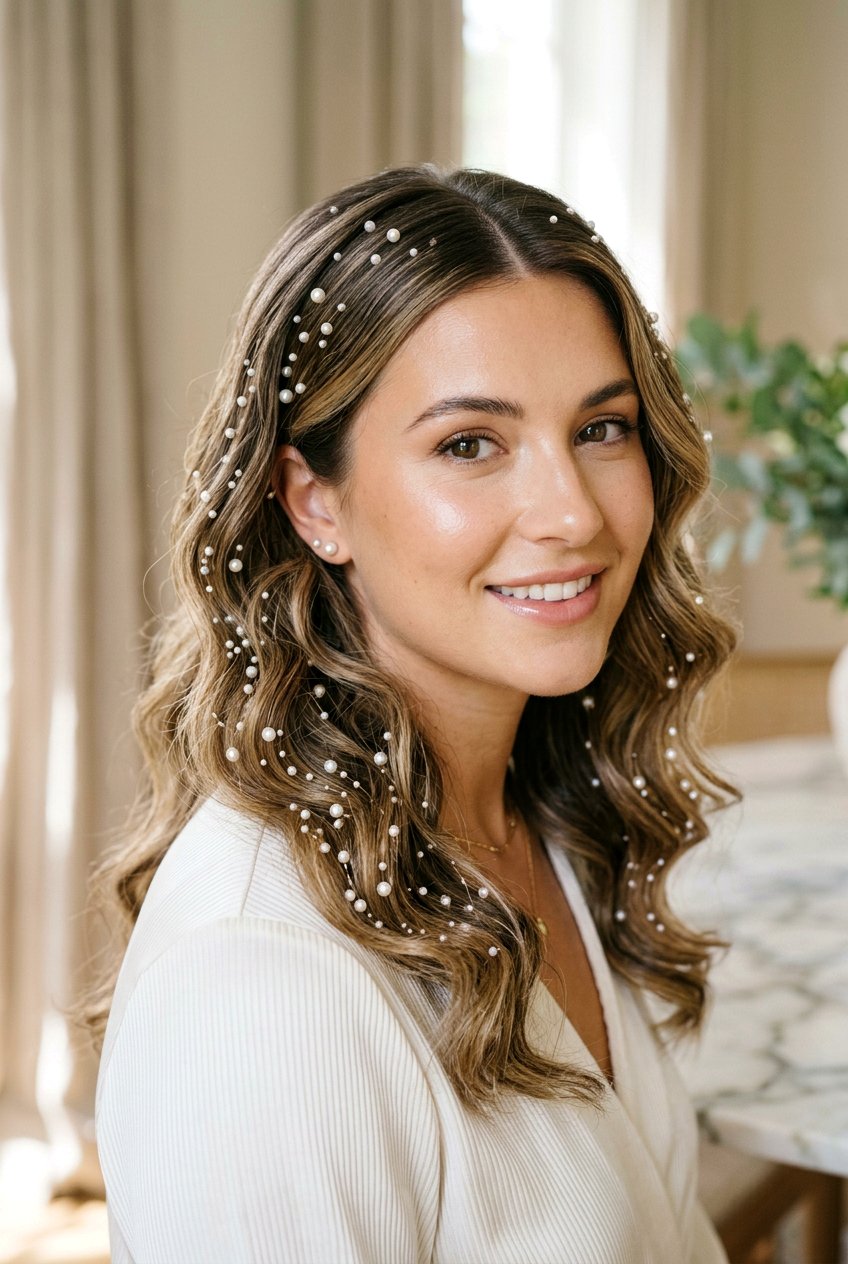
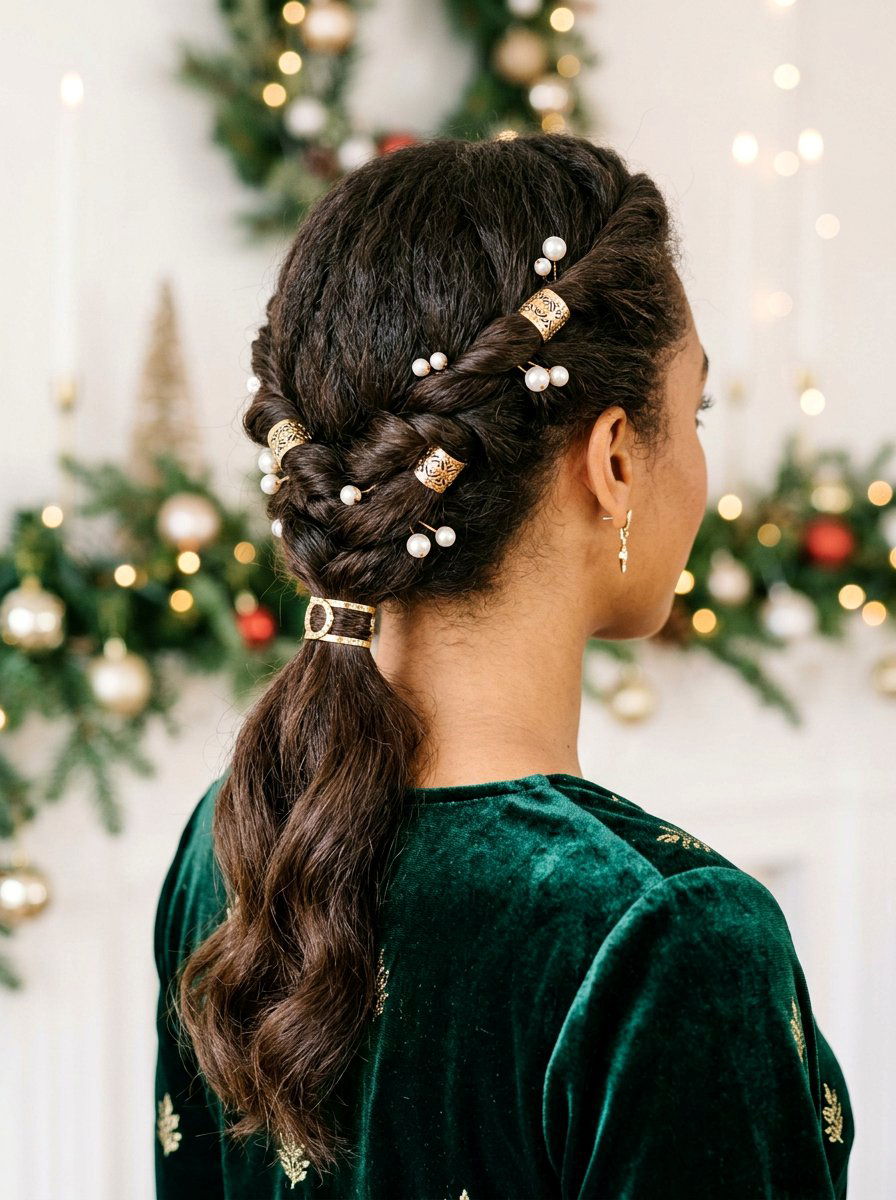
16. Rope Twist Bun With Hair Accessories

Hair accessories can transform a simple rope twist bun into something more personalized and eye-catching. You might tuck decorative pins into the side of the bun, slide in a minimalist barrette above it, or place a delicate comb just beneath it. The rope texture gives accessories something to grip so they stay put. This approach works for both casual and dressy settings, depending on whether you choose subtle metal pieces or more embellished designs. It’s best to style the bun first, then add accessories last so you can see exactly where they should sit. Try to keep the number of pieces balanced on both sides of your head so the style feels cohesive from every angle.
17. Rope Twist Bun For Short Hair
If your hair is on the shorter side, you can still create a rope twist bun by working with a small ponytail or using half-up placement. Gather the longest section of your hair, usually near the crown or at the back, into a ponytail and twist what you have into a compact rope bun. The bun will be smaller, but the twist detail still makes it feel styled. You can leave the lower hairline or shorter layers down and smooth them with product, or pin them up separately. For chin-length cuts, a half-up rope twist bun gives the illusion of an updo without needing full length. Use clear or color-matched elastics and mini bobby pins so the hardware does not overwhelm the smaller bun.
18. Rope Twist Bun For Long Hair
Long hair makes rope twist buns look luxurious because there is more length to wrap and fan out. You may want to lightly curl or add texture spray before twisting so the rope holds instead of slipping. With more hair, the bun can become large, so placing it slightly lower on the head helps balance the weight. You can also wrap the rope more loosely to create a soft, voluminous bun instead of a very tight coil. People with very long hair might need extra pins around the outer edge of the bun to keep everything anchored. A finishing spray with flexible hold will control flyaways without making the long strands stiff or crunchy.
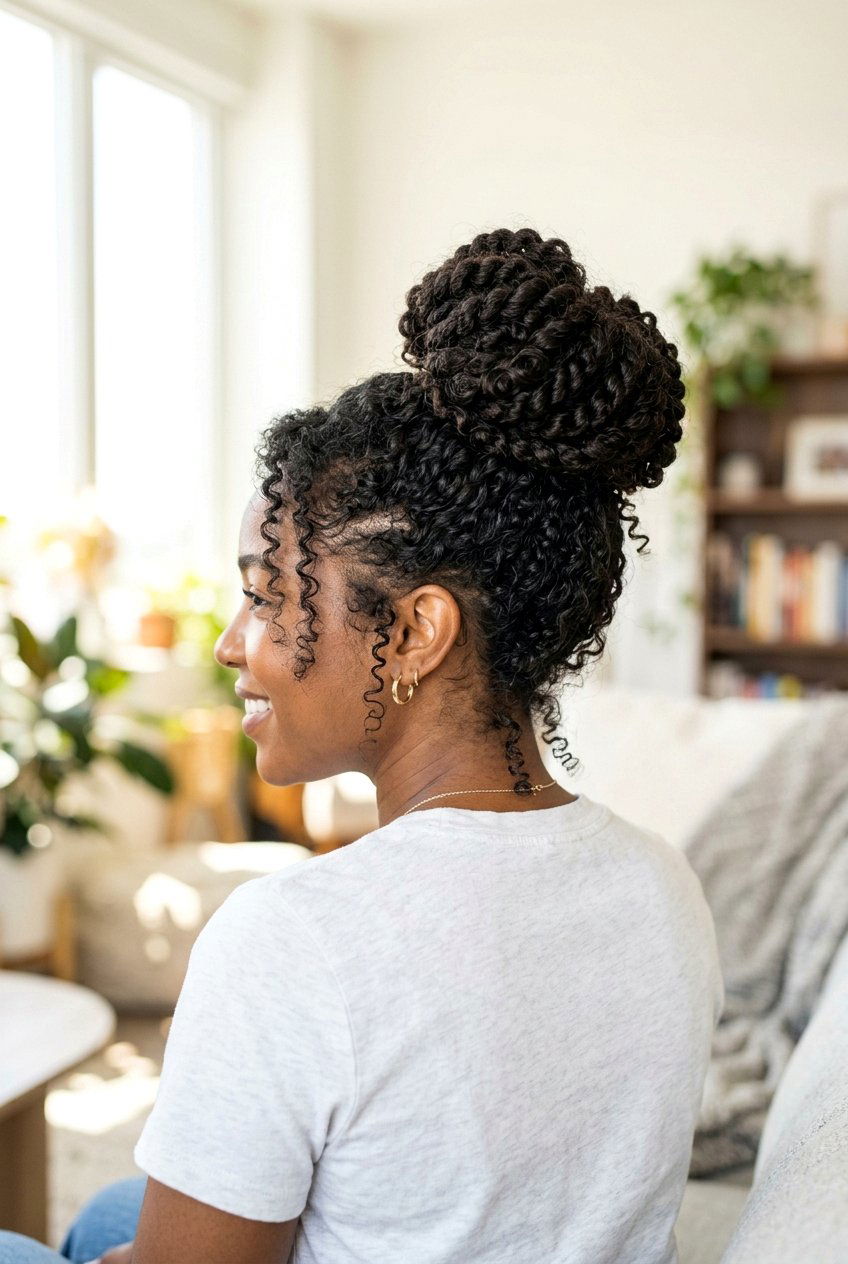
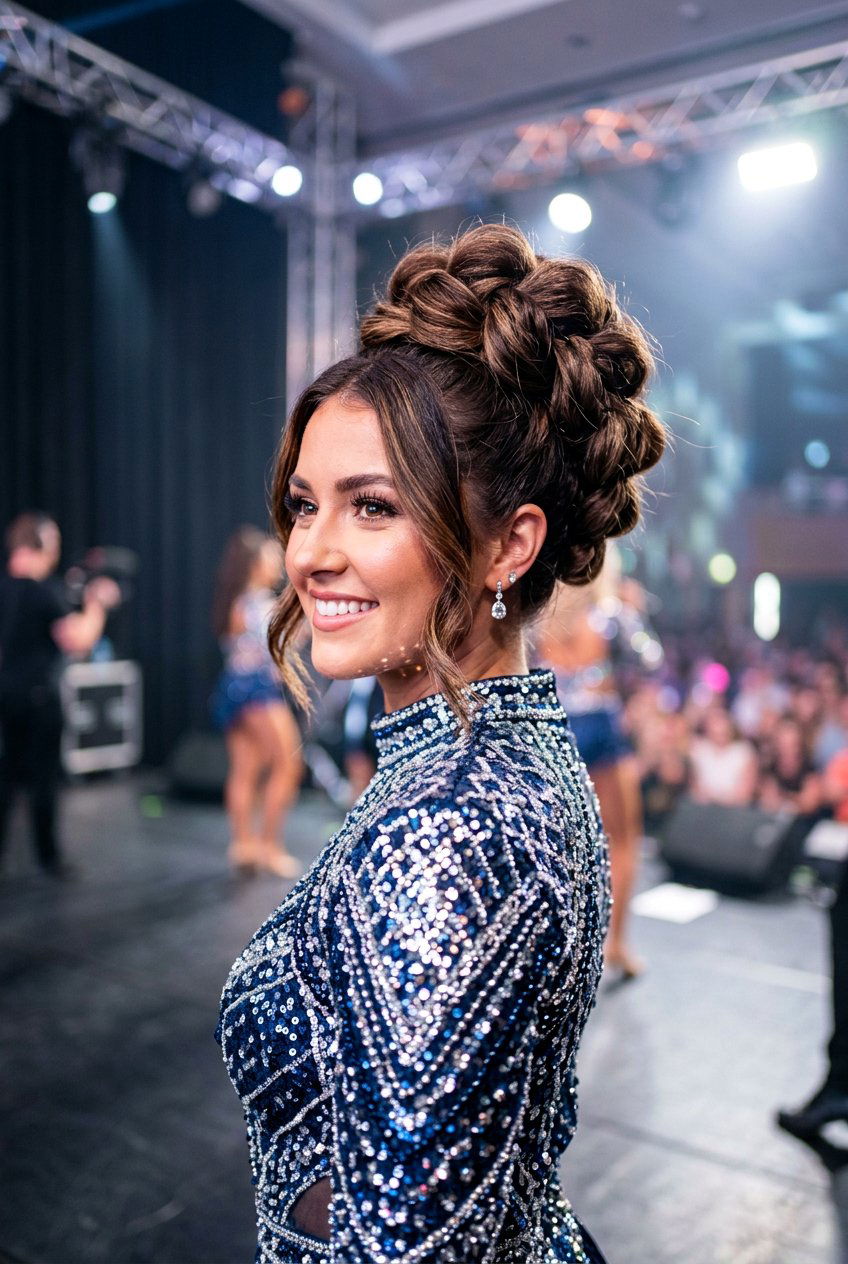
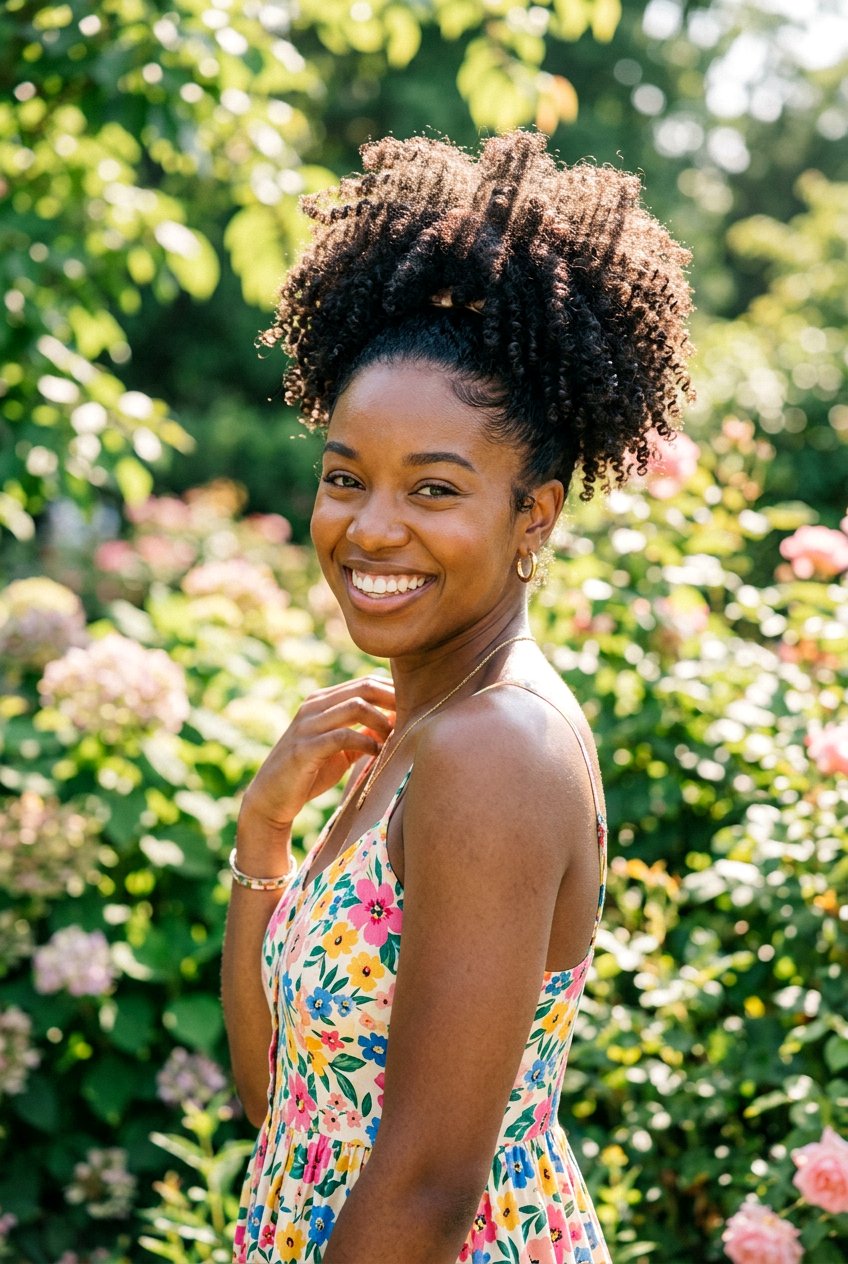
19. Rope Twist Top Knot Bun
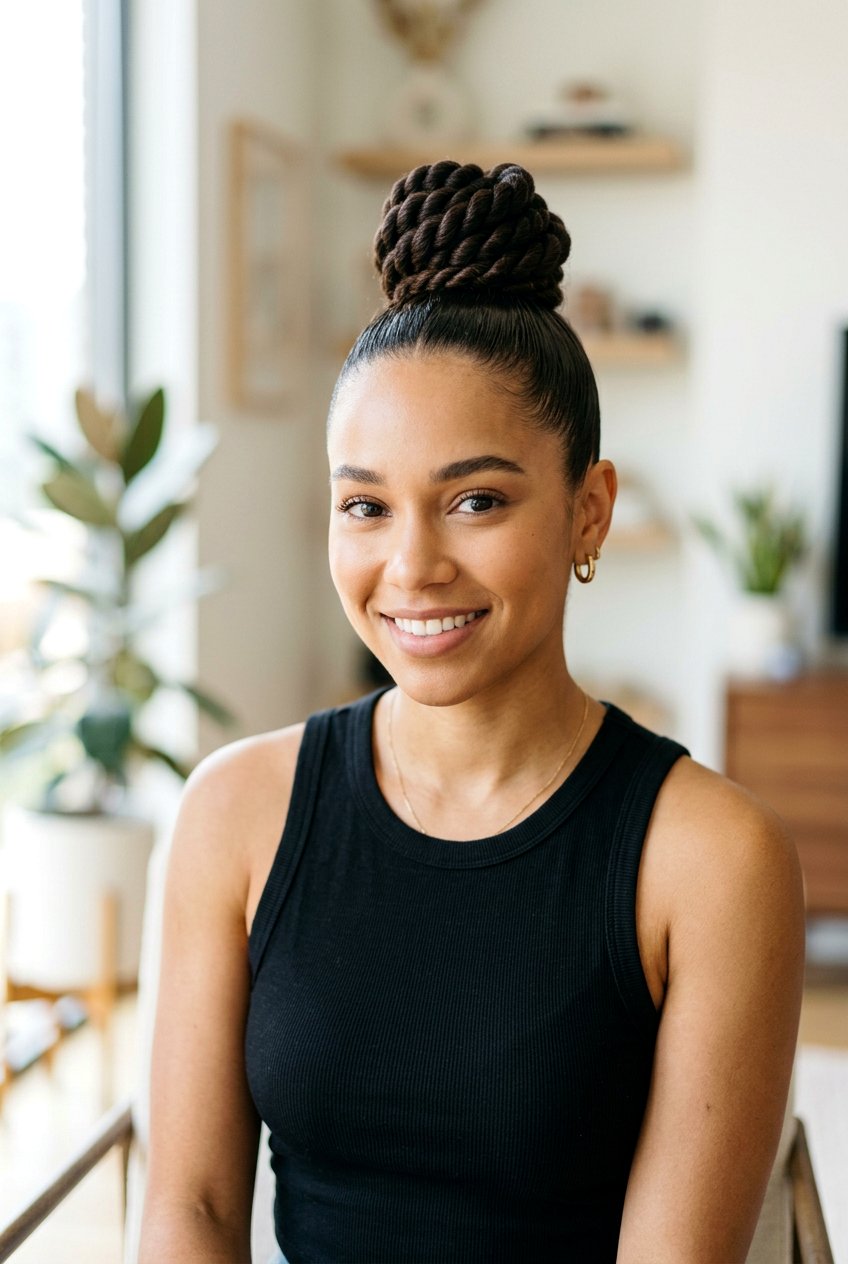
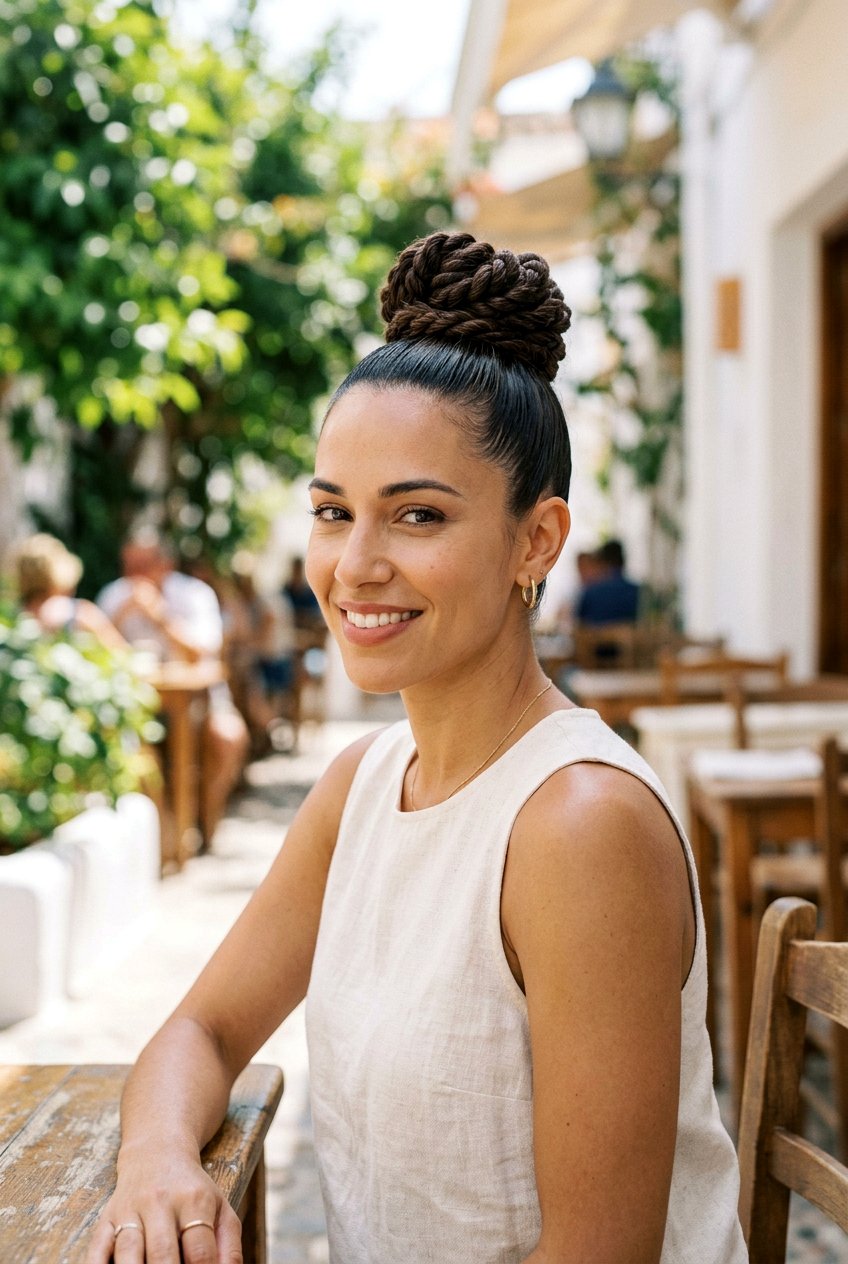
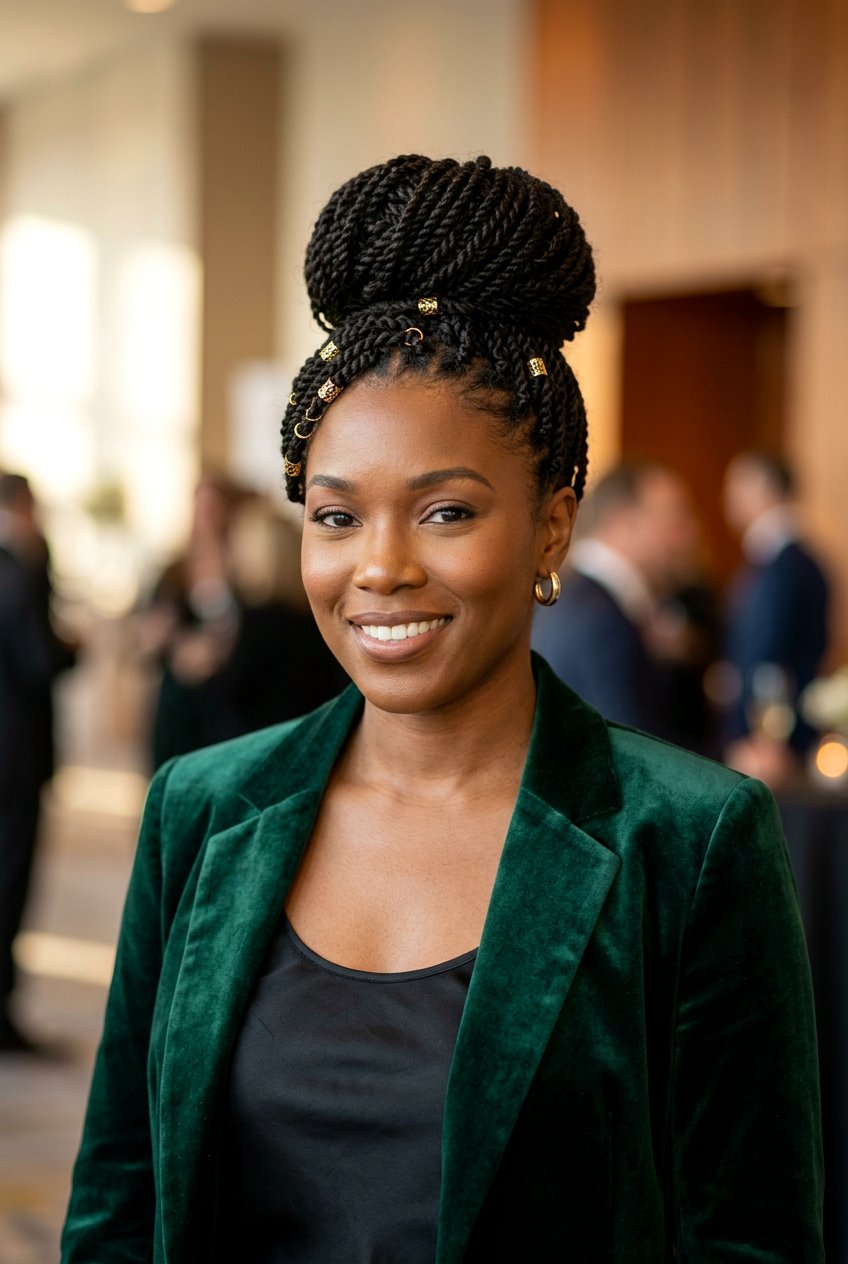
A rope twist top knot bun sits high on the head and gives a trendy, fashion-forward vibe while still being practical. You pull your hair into a high ponytail, twist the sections into a rope, and wrap it upward and around so the bun sits right on the crown. This placement shows off the bun from the front and side, making it a great choice if you like your updos to stand out. It pairs well with casual outfits and also with structured looks, depending on how sleek or messy you keep the base. For a sporty feel, keep the sides smooth; for a softer look, let a few pieces fall out around the ears. Because all the hair is high, check the bun from multiple angles to make sure it is centered.
20. Rope Twist Bun Ponytail Combo
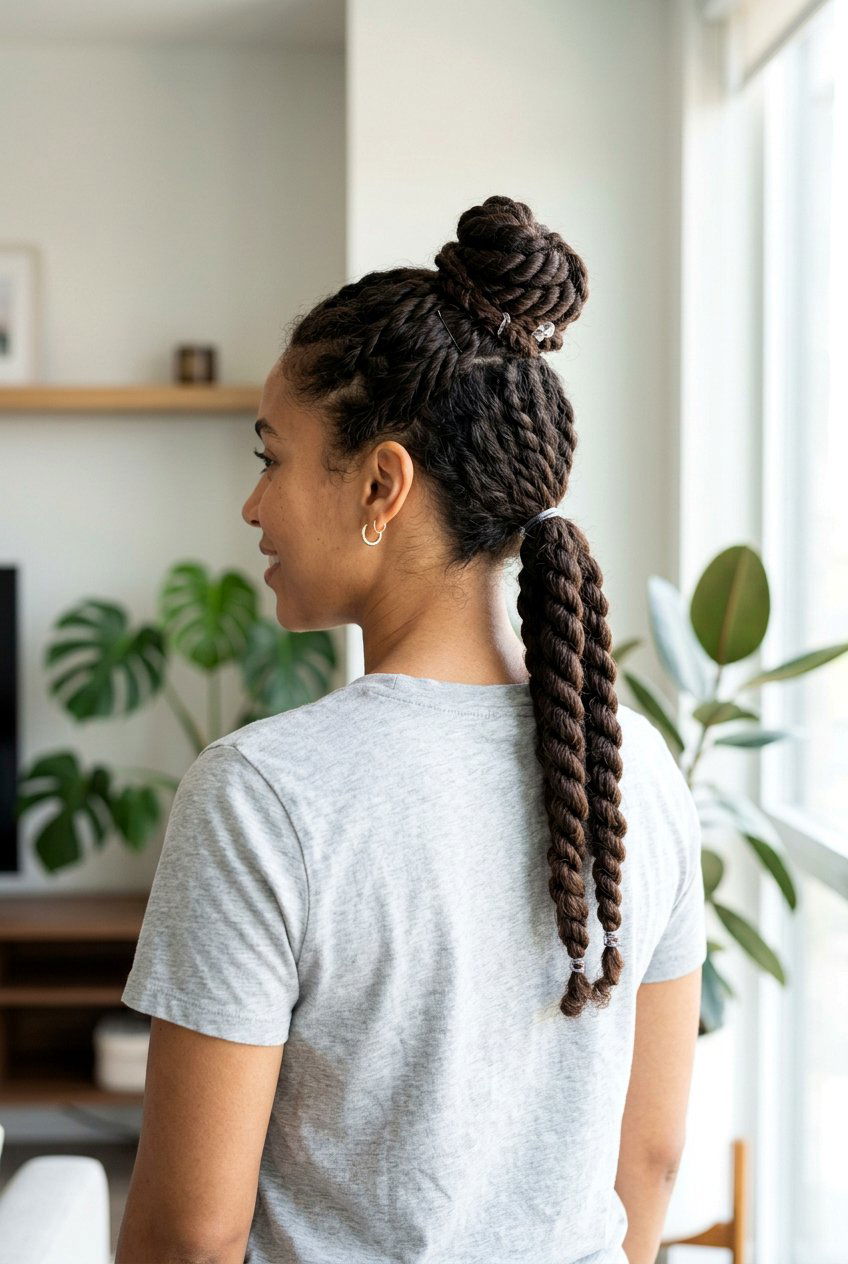
A rope twist bun ponytail combo blends both an updo and a ponytail by leaving some of the rope hanging while you tuck part of it into a bun. You start with a ponytail, twist the length into a rope, then wrap only a portion of it around the base to form a mini bun and let the rest drape down. This gives you movement from the ponytail along with the structure and interest of the bun. It works well with highlighted or balayage hair because the twist shows off the color pattern along the hanging section. You can adjust how much of the rope you wrap versus leave out to change the look from more bun-focused to more ponytail-focused. A couple of pins at the base will keep the bun from loosening even if you are active.
Conclusion:
Rope twist bun hairstyles are surprisingly versatile, giving you options from sleek office-ready looks to soft, romantic updos and playful double buns. Once you master twisting each section in the same direction and wrapping them together in the opposite direction, you can build many of these variations from the same basic technique. Whether your hair is straight, wavy, curly, natural, short, or very long, there is a rope twist bun that can work for your texture and length. These buns are practical because they keep hair off your face and neck while still showcasing texture, color, and accessories. With a few elastics, bobby pins, and the right prep products, you can customize placement, finish, and details to fit workdays, weddings, and everything in between.
You'll Like These Styles:


Leave a Reply