Floral braids bring a soft, romantic twist to everyday hair and special occasions, from weddings to festivals and family gatherings. These looks combine classic braiding techniques with real or faux flowers, giving you a hairstyle that feels feminine, playful, and on-trend. They work on many hair types and lengths, and can be customized with loose textures, polished finishes, or bold blooms. You can go minimal with a single flower accent or create a full braided “bouquet” down your back. Floral braids are also a great way to coordinate with outfits, color schemes, and seasons. Below, you’ll find 20 floral braid hairstyle looks, each explained clearly so you know who they suit, when to wear them, and how to style them.
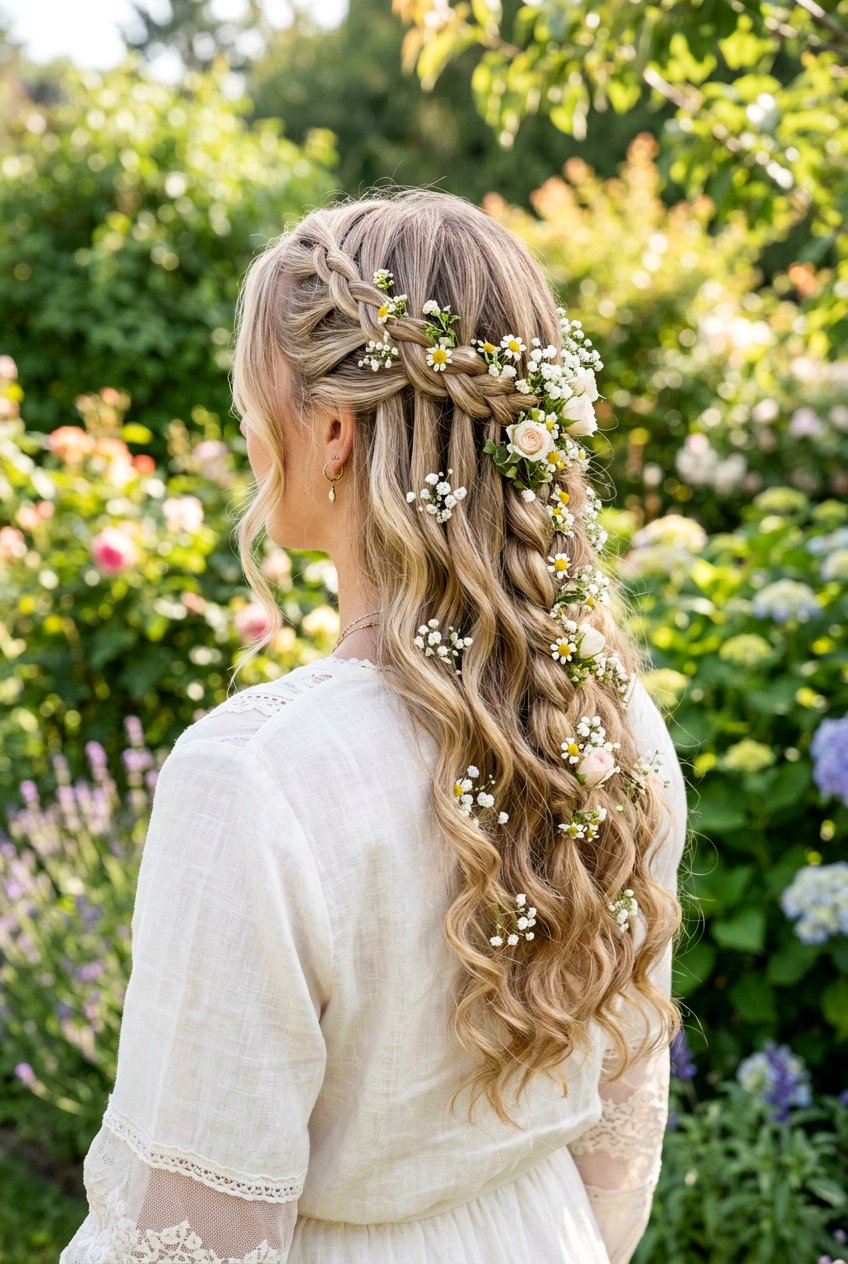
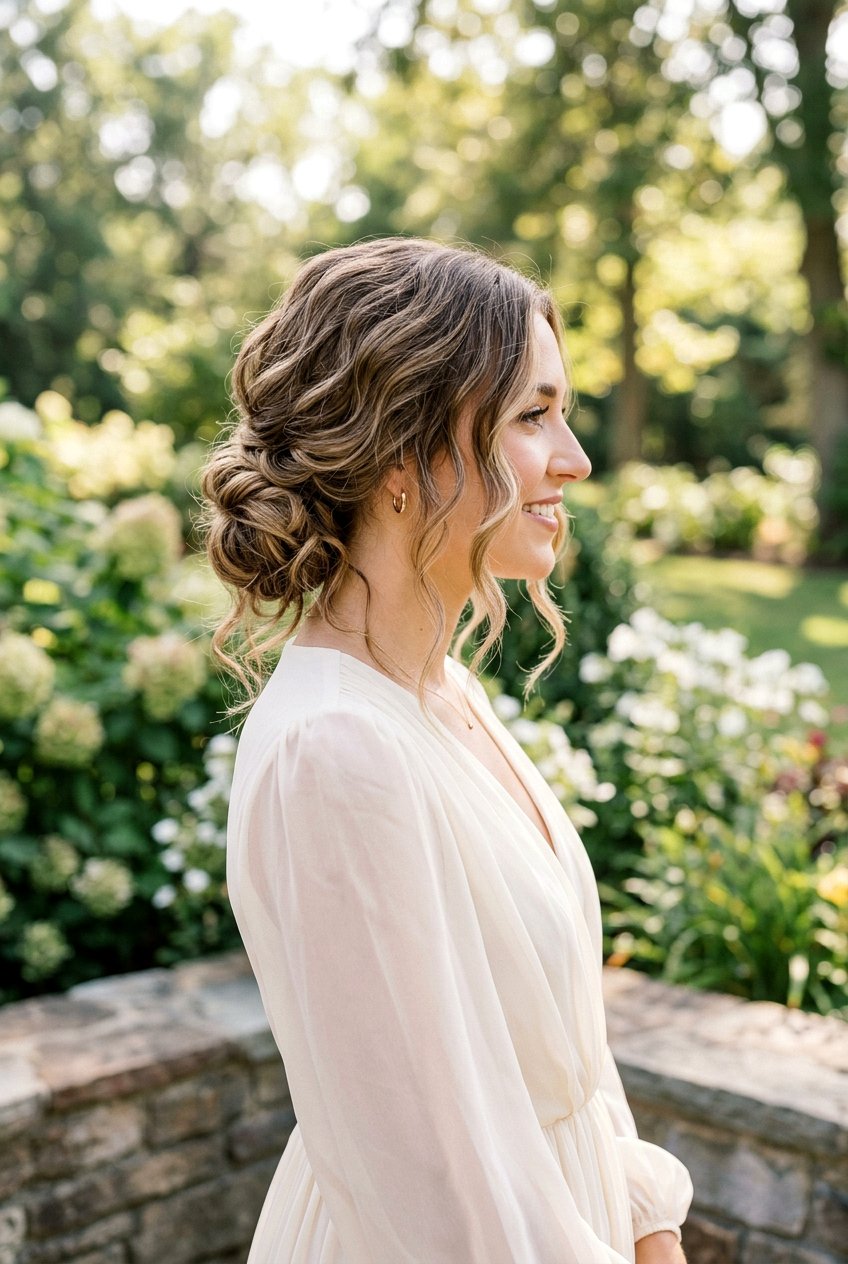
1. Half Up Floral Braid
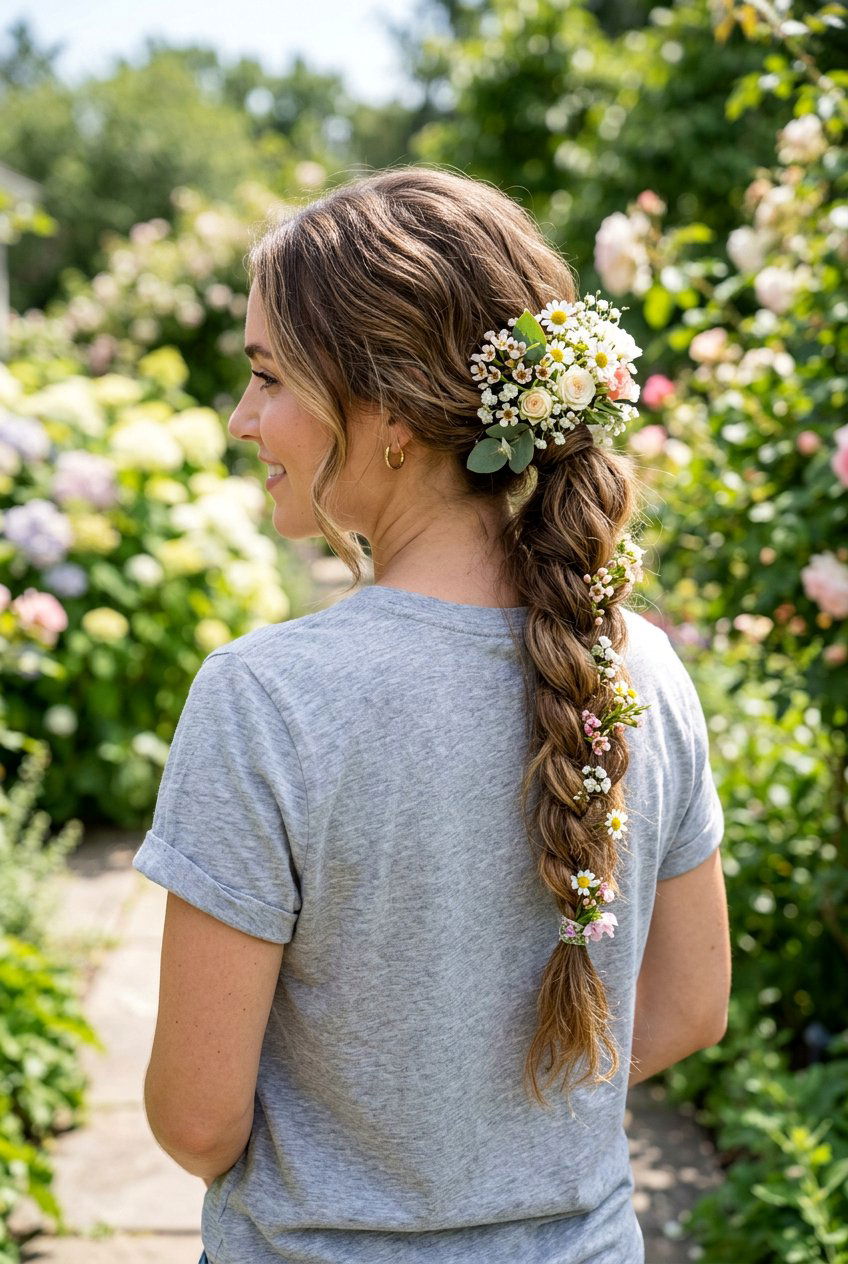
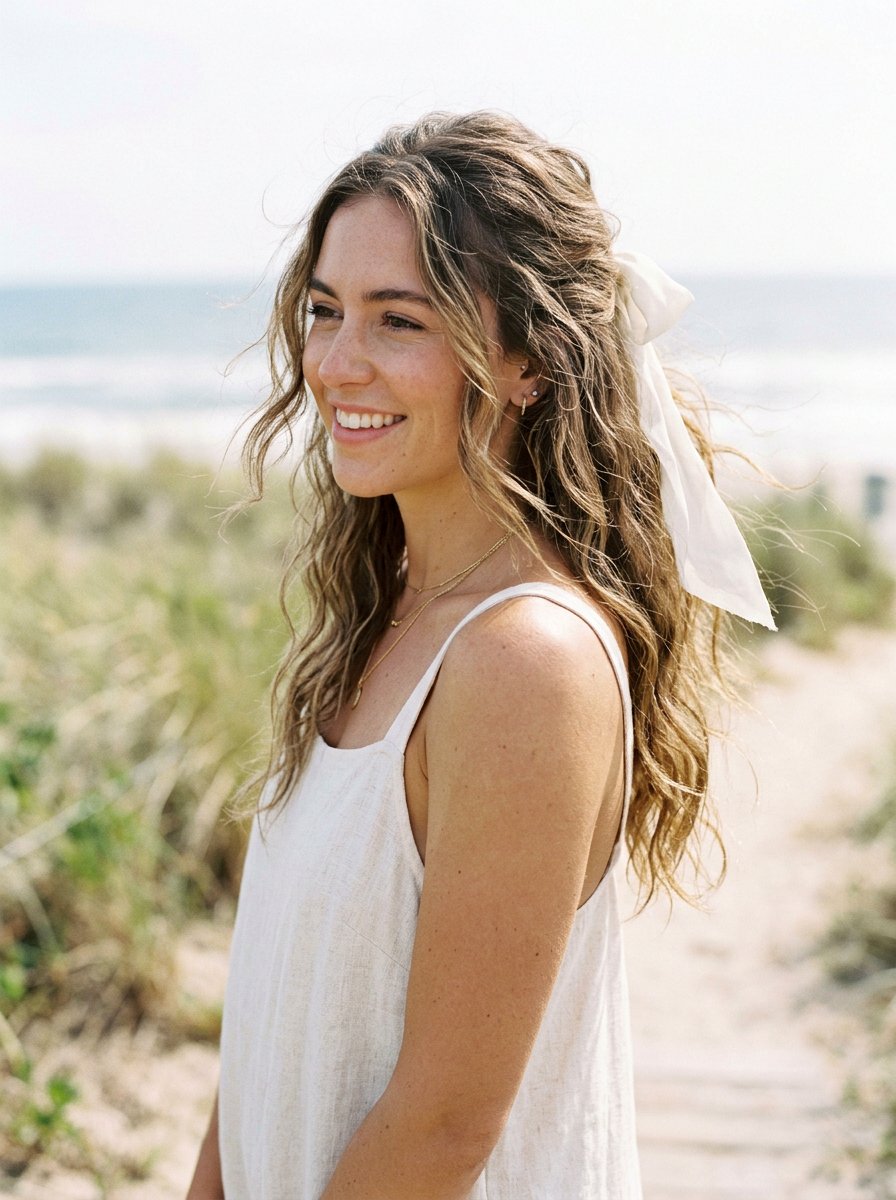
Picture the top half of your hair woven into a soft, loose braid, with the lower half left down in gentle waves and dotted with small flowers. This half up floral braid is perfect when you want hair away from your face but still love the look of length and movement. It works beautifully on medium to long hair and looks especially pretty with soft curls or a light wave through the ends. Use a simple three-strand or Dutch braid along the crown, then “pancake” the braid by gently pulling on the edges to make it look fuller. Tuck in baby’s breath or tiny silk blossoms along the braid for a romantic finish.
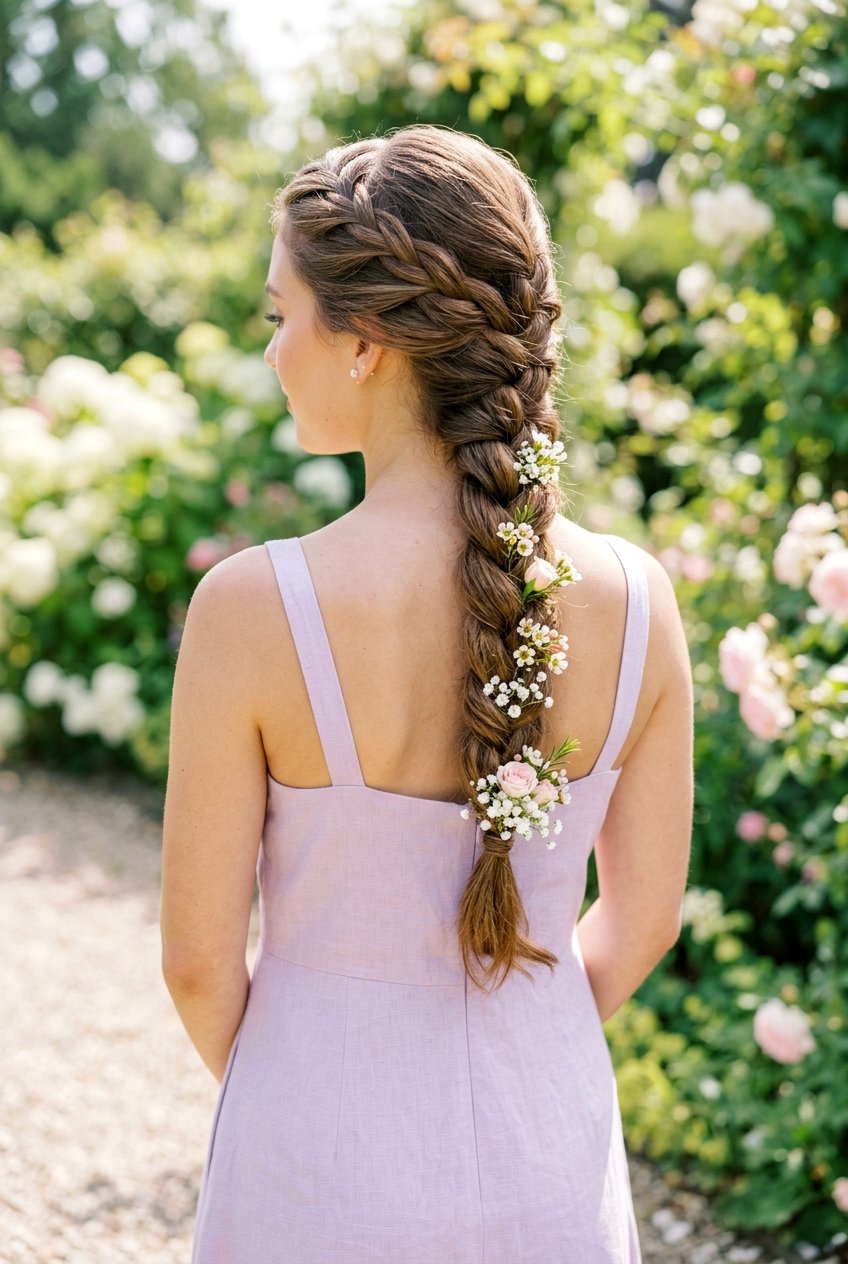
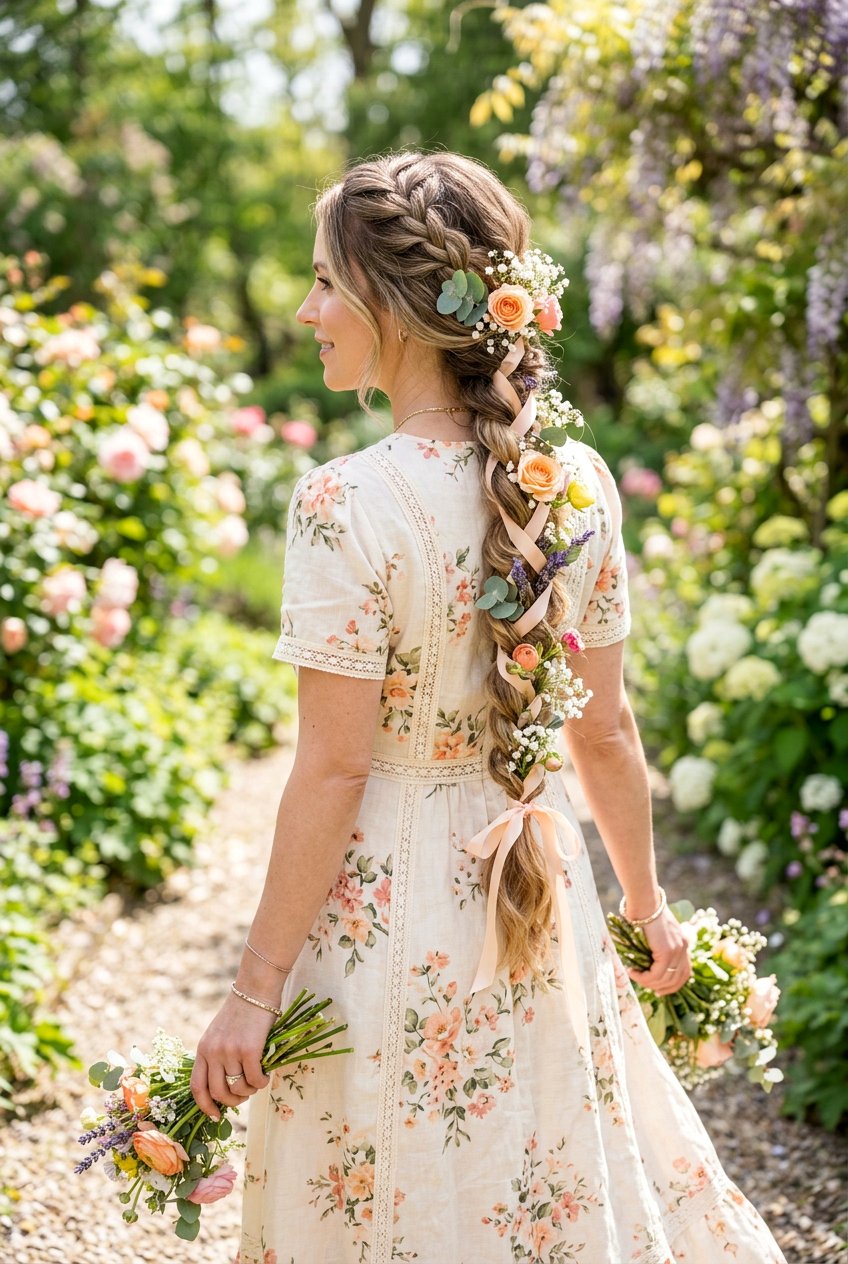
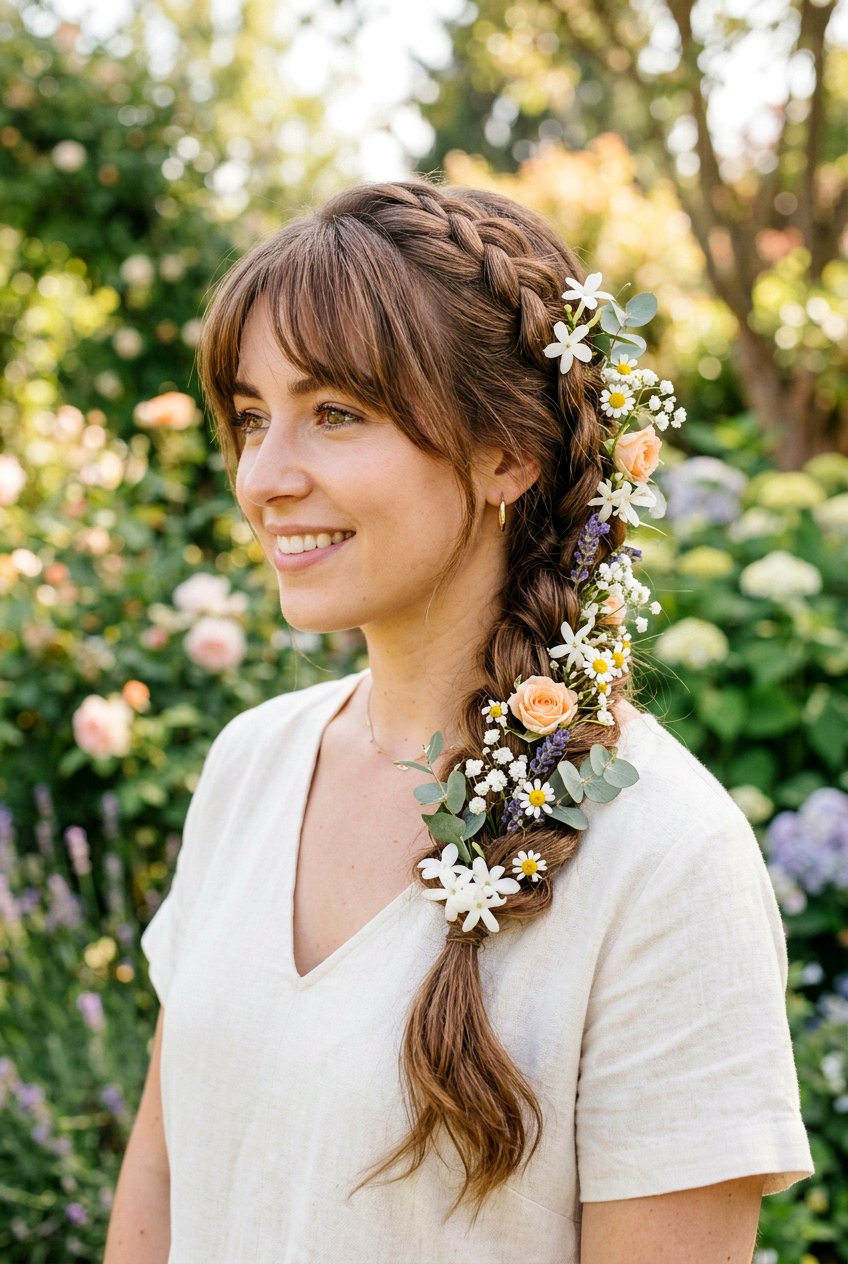
2. Side Swept Floral Braid
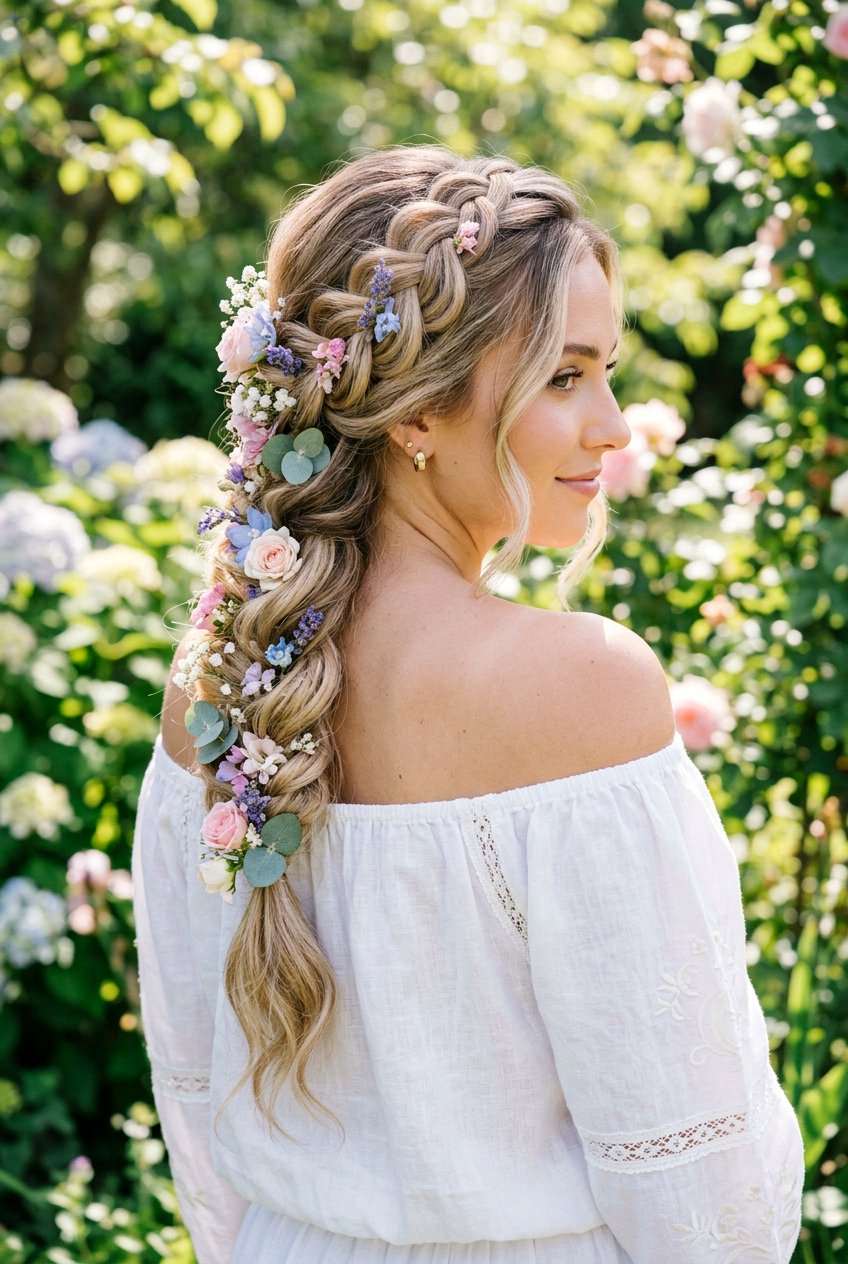
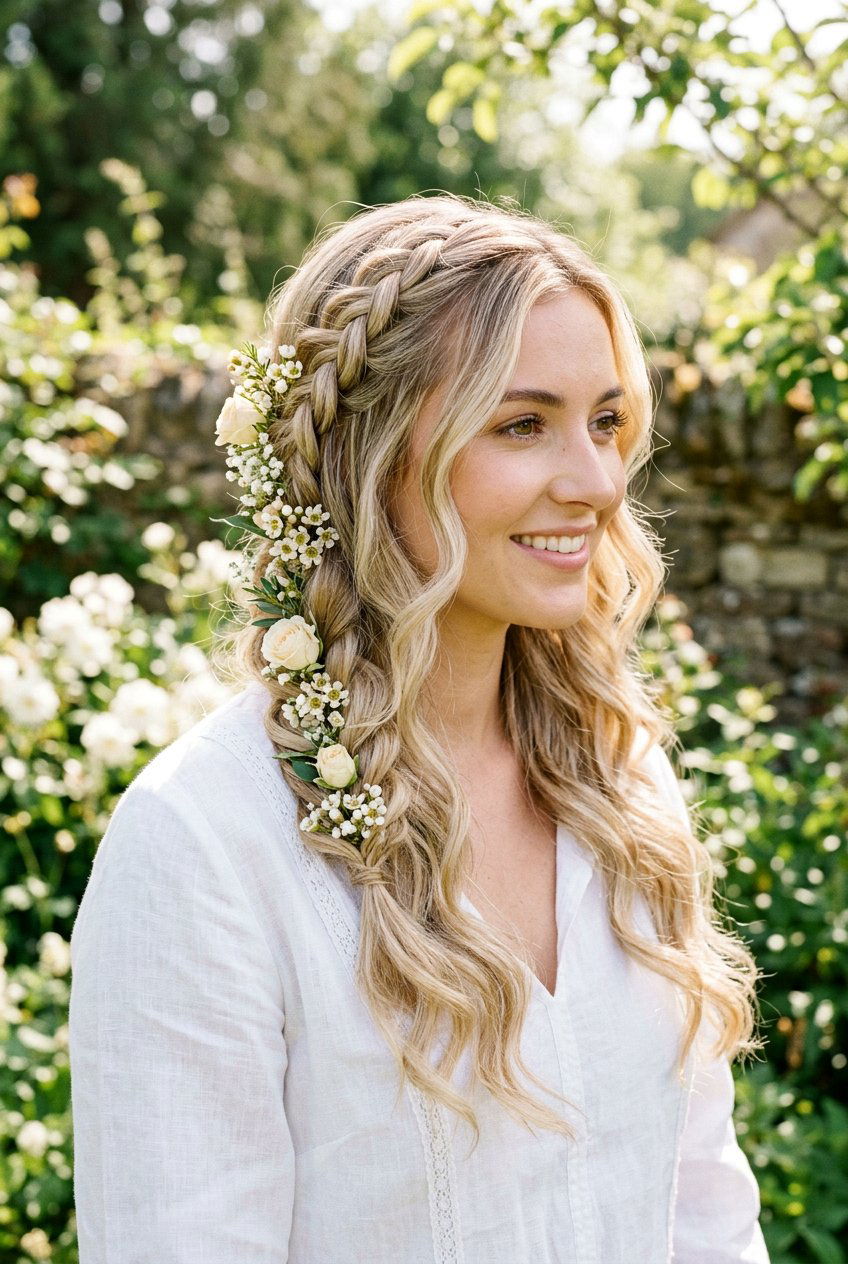
A side swept floral braid instantly gives off a dreamy, boho feel, and it photographs incredibly well from every angle. Start by parting your hair to one side, then bring all your length over the shoulder with more hair on the heavier side. Create a loose three-strand or fishtail braid starting below the ear, keeping tension soft so the braid looks full and relaxed. As you braid, leave out a few face-framing pieces for softness. Once secured, gently pull the braid apart to widen it, then weave small flowers or greenery along one side, concentrating more blooms near the bottom for a cascading effect.
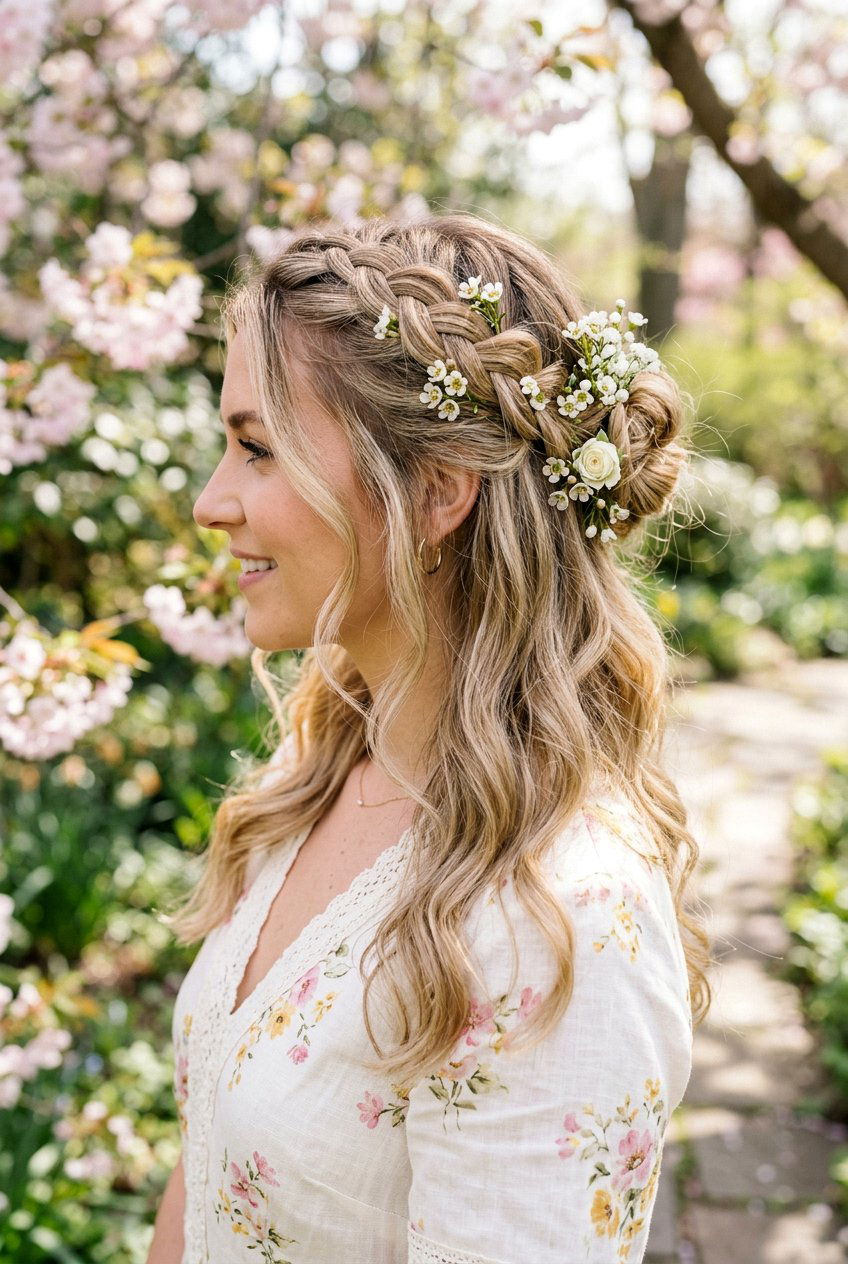
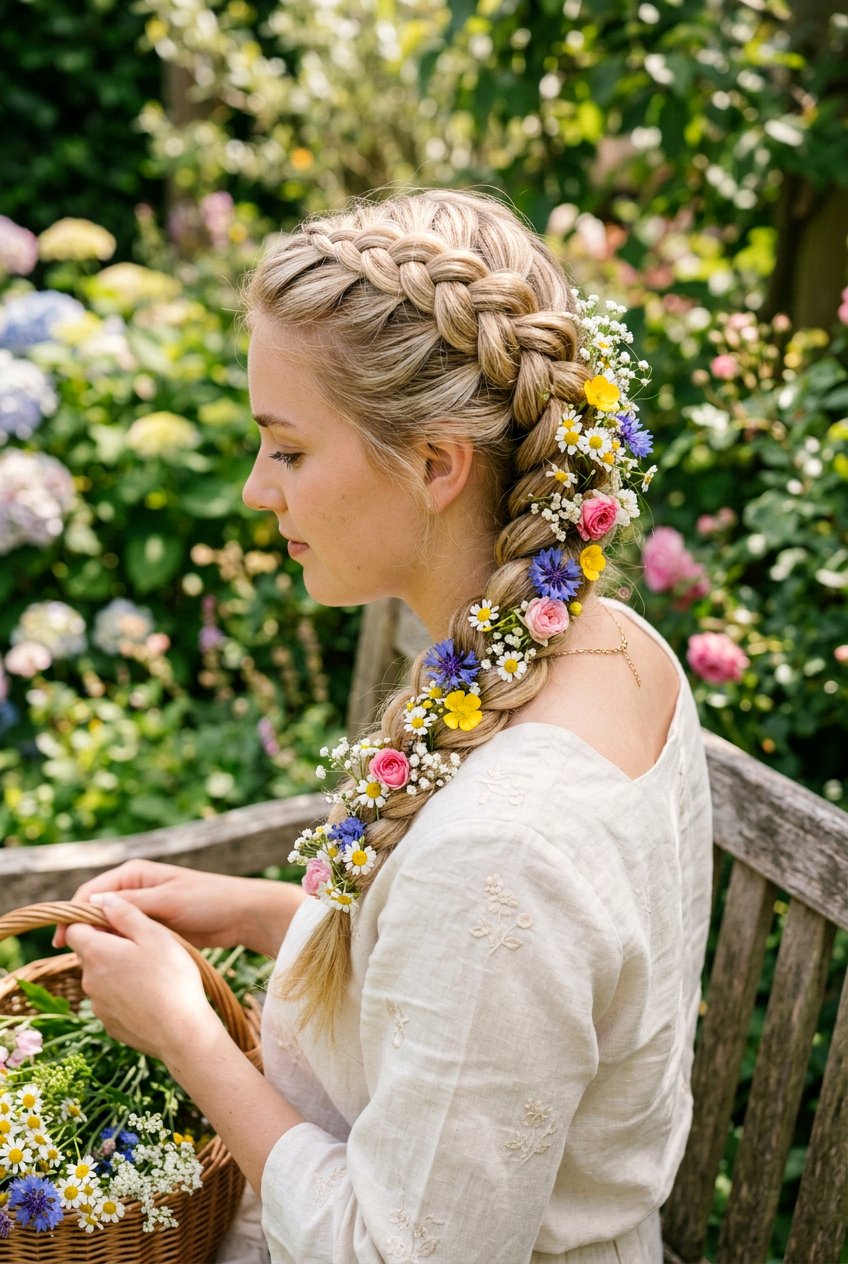
3. Crown Floral Braid
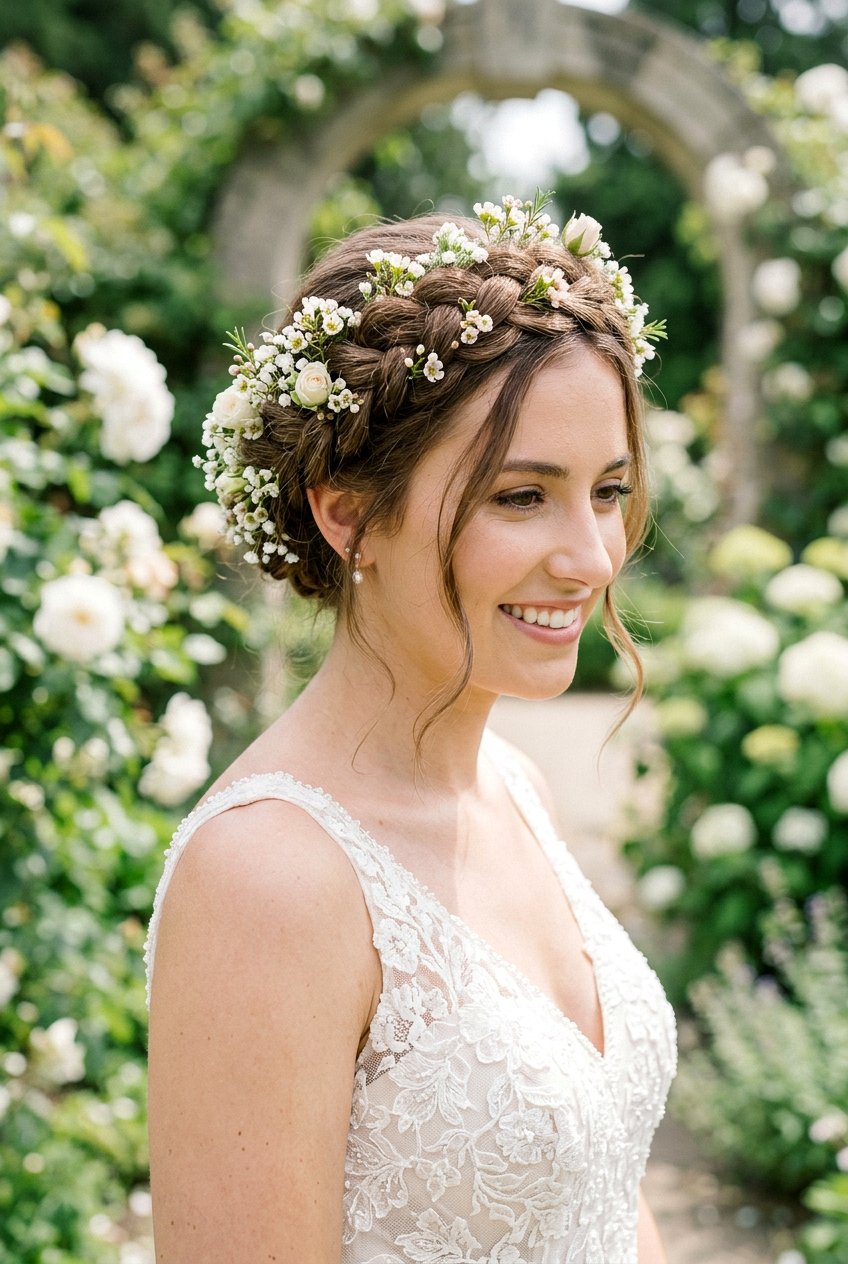
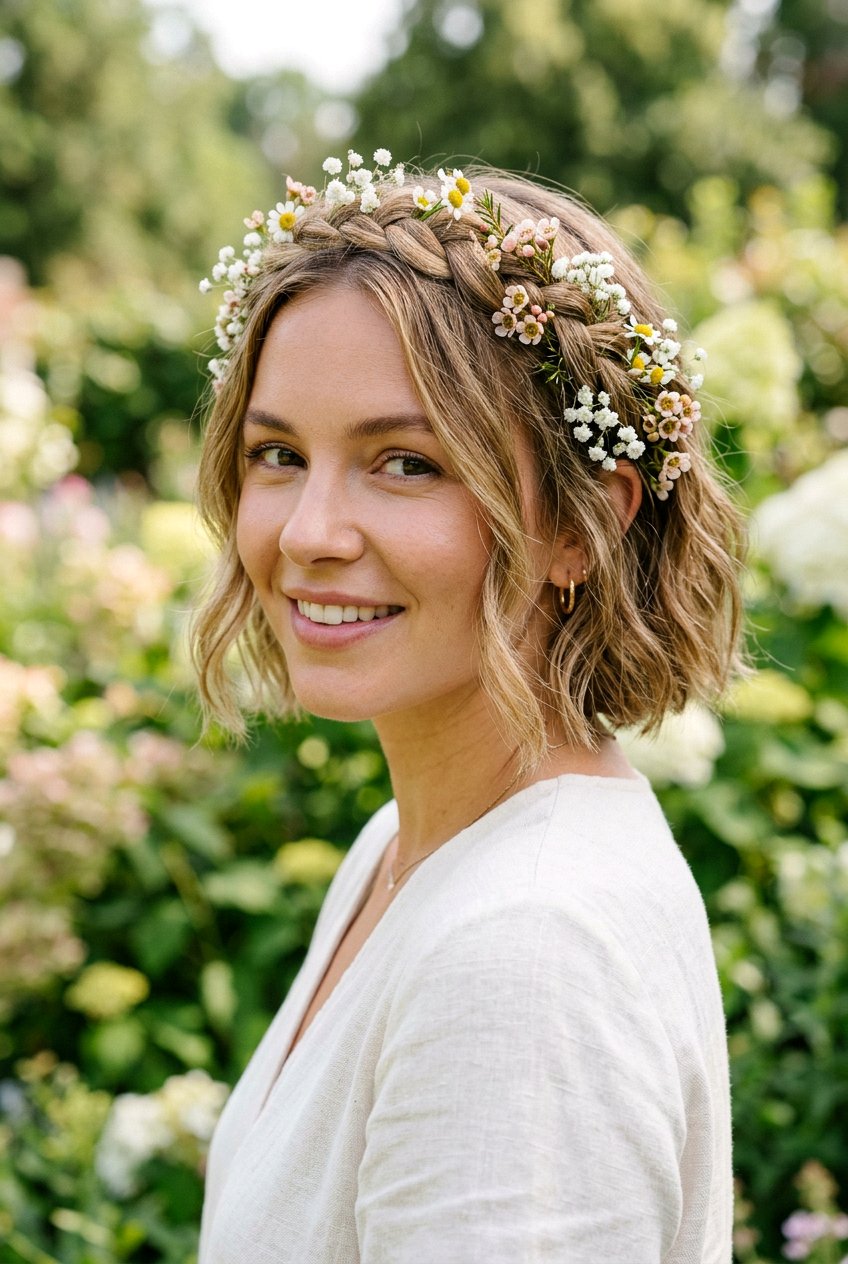
A crown floral braid wraps around your head like a soft, braided halo decorated with blooms, making it a favorite for brides, bridesmaids, and outdoor events. Begin with a center or slightly off-center part, then braid each side of your head in a Dutch or French braid, following the hairline toward the nape. Cross the braids over at the back and pin them securely so they form a complete circle. Pull gently on the edges of each braid for a fuller look and to soften any hard lines. Finish by tucking small flowers along the top and sides of the braid, focusing more near the temples and back of the head.
4. Dutch Floral Braid
The Dutch floral braid gives you a raised, statement plait that stands out nicely against straight, wavy, or curly hair. To create it, take three sections at the crown and cross the hair under, not over, as you add new pieces down the back of your head. This underhand technique makes the braid sit on top of the hair, which is perfect for showcasing flowers along the edges. Once the braid reaches the nape, continue a regular Dutch braid or switch to a simple three-strand braid to the ends. Loosen the outer edges for volume, then place flowers along the raised braid line to highlight its bold structure.
5. French Floral Braid
A French floral braid feels classic and elegant, and it transitions easily from casual days to more polished events. Start near the front of your head with three small sections and cross them over the center as you gather new pieces from each side, working straight down the back of your head. Keep the braid snug at first so it stays secure, then gently pull on the outer edges once you reach the nape to add softness and volume. This style is ideal for medium and long hair and pairs well with both straight and wavy textures. Add small fresh or artificial flowers along one side of the braid or cluster them near the bottom for a simple, romantic touch.
6. Fishtail Floral Braid
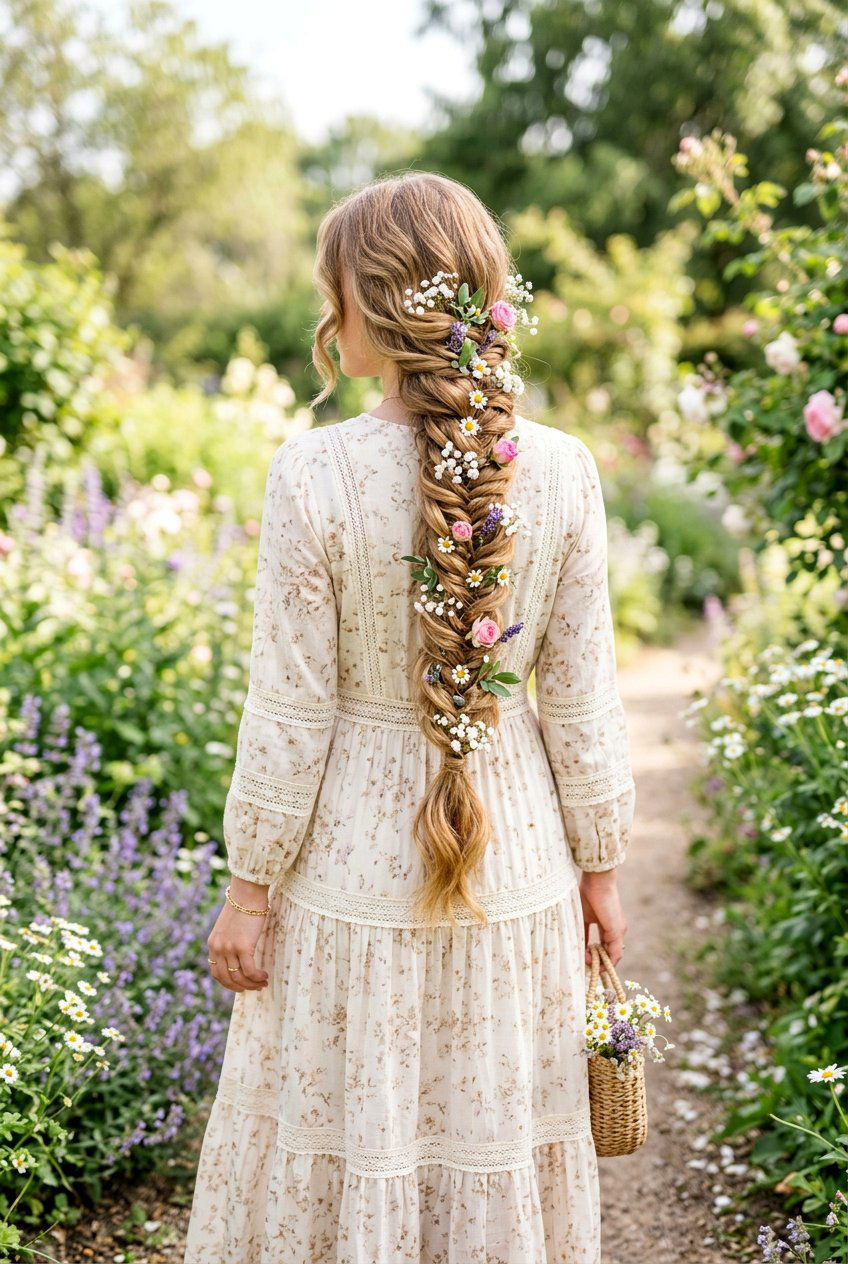
If you love intricate detail, a fishtail floral braid is a beautiful choice, especially for long hair that shows off the pattern. Split your hair into two sections, then take a thin piece from the outer edge of one side and cross it over to the other side, repeating this pattern down the length of your hair. The result is a narrow, detailed braid that looks complicated but is surprisingly achievable with a little patience. Fishtail braids look best when slightly pulled apart to create fullness and texture. Once you’ve widened the braid, tuck small flowers in every few inches or concentrate them where the braid rests on your shoulder.
7. Waterfall Floral Braid
A waterfall floral braid combines a pretty braid with strands that “fall” through, creating movement and visual interest across the back of your head. Begin near the front hairline with a small three-strand braid, then each time you would cross a section over, drop it down and pick up a new piece of hair behind it. This creates a cascading effect along the back or side of your head. Waterfall braids look especially nice on hair with soft curls or waves because the dropped pieces frame the back in a flowing curtain. Add tiny flowers along the braid line or where the strands fall to emphasize the waterfall effect.
8. Boho Floral Braid

The boho floral braid is all about effortless texture, loose pieces, and plenty of soft detail. Start with hair that has natural wave or added curl for movement. Create a loose braid down the back or to the side, allowing tendrils to fall around the face and at the nape for a lived-in feel. You can mix in different braiding techniques—like a small fishtail section within a larger three-strand braid—to keep things interesting. Once secured, pull the braid apart a lot, focusing on the middle sections for a wide, chunky look. Decorate with mixed flowers, greenery, or small floral clips throughout for a relaxed, festival-ready finish.
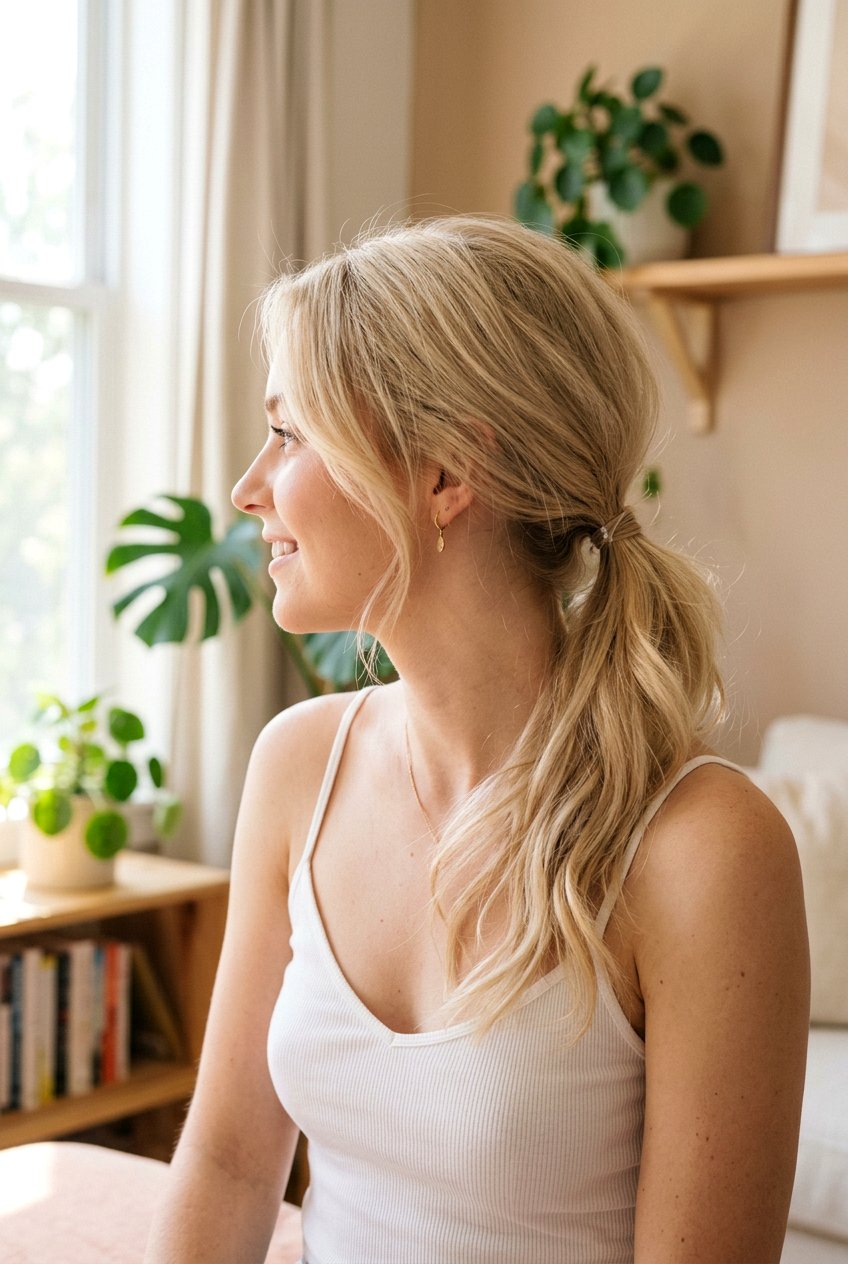
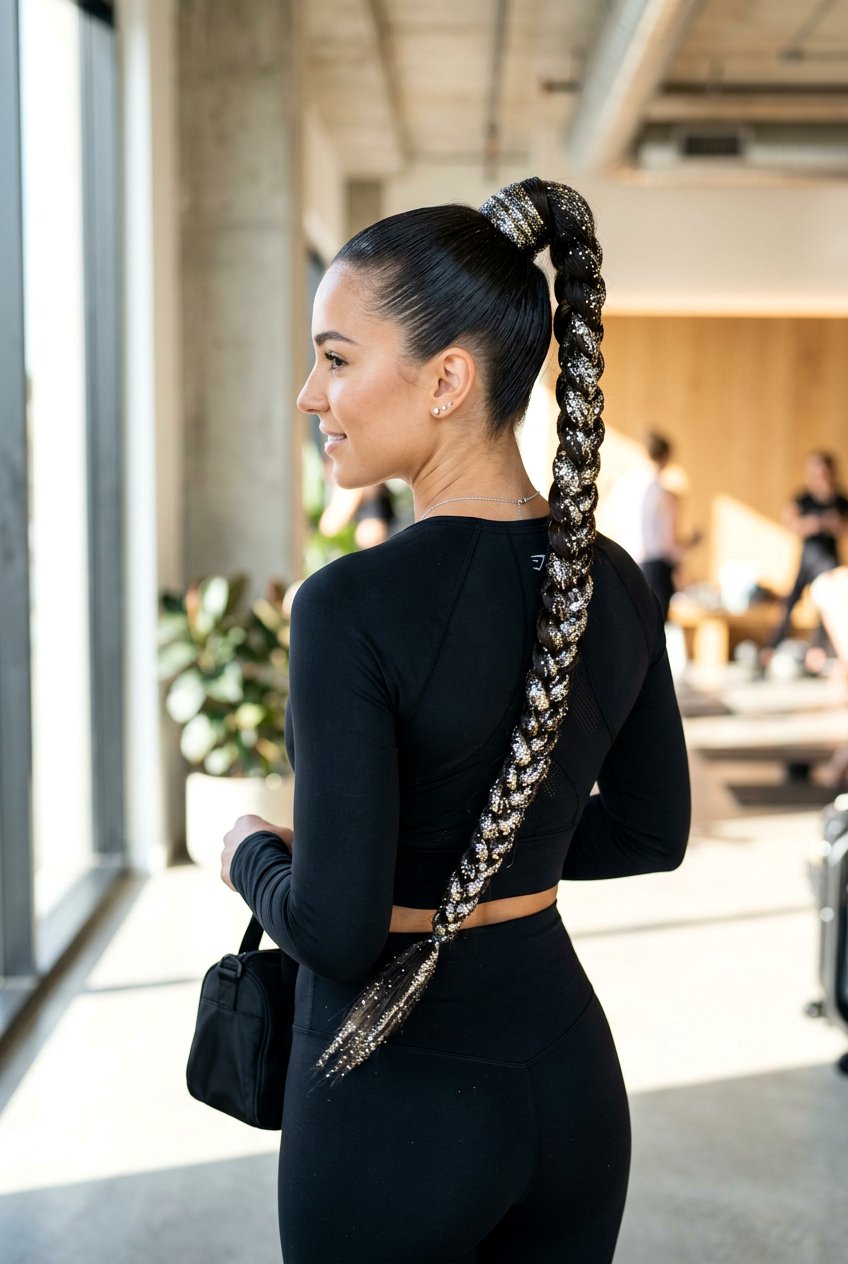
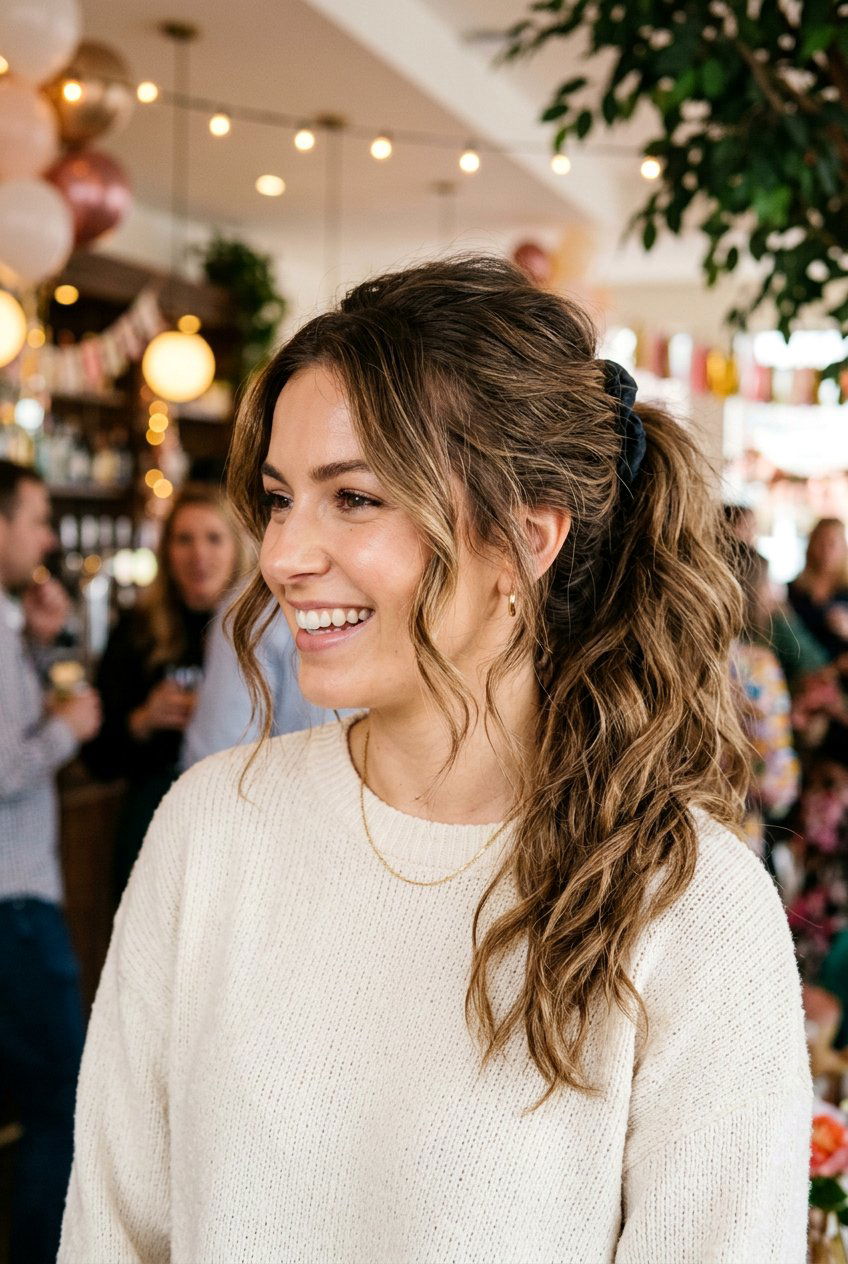
9. Floral Braid Ponytail
A floral braid ponytail is perfect when you want something practical but still feminine and eye-catching. Start by gathering your hair into a mid or high ponytail, smoothing the base or leaving it soft and slightly textured depending on your preference. Secure the ponytail, then braid the length in a three-strand, Dutch, or fishtail pattern. Gently widen the braid to create volume, then place flowers along the base of the ponytail holder and scattered down the braid. This look works well on straight or wavy hair and can be dressed up with more flowers and shine spray or kept casual with a few simple blooms.
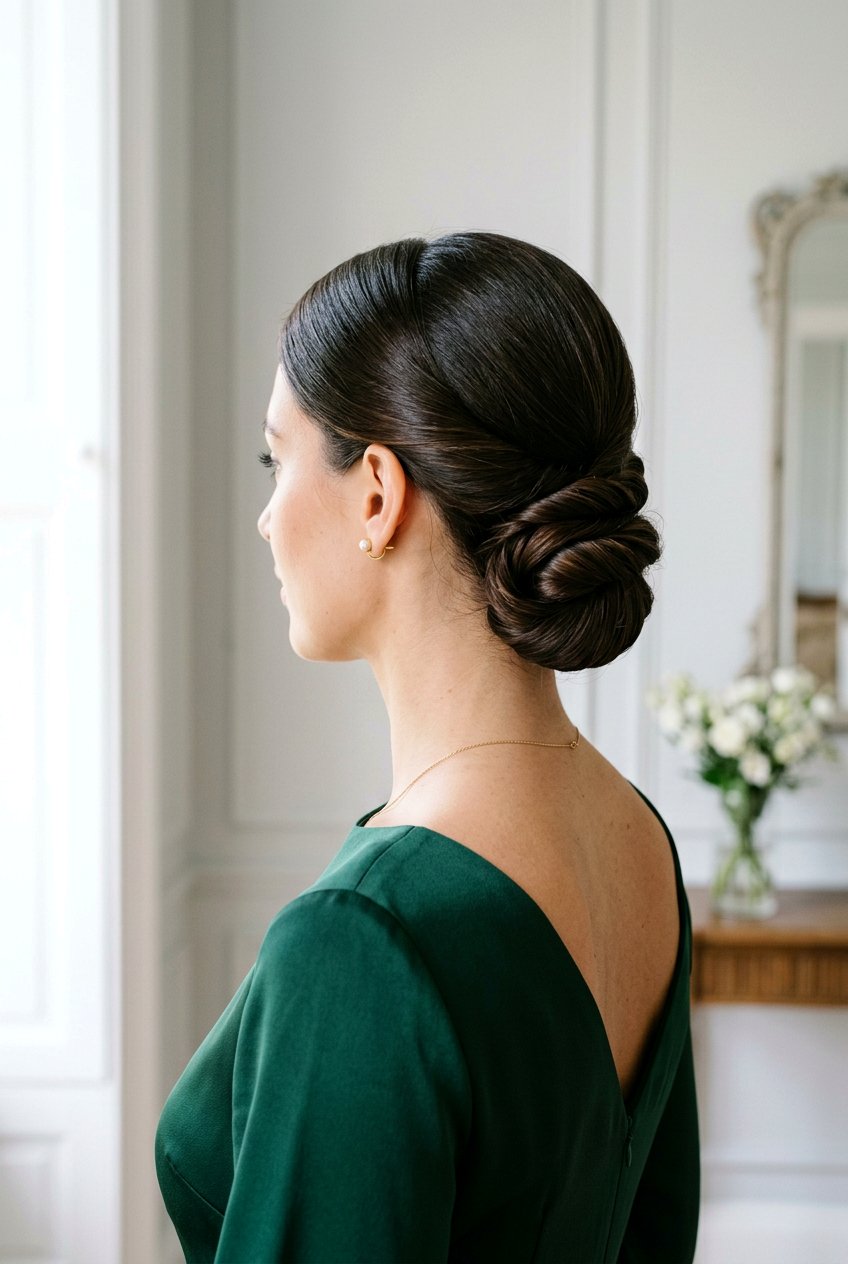
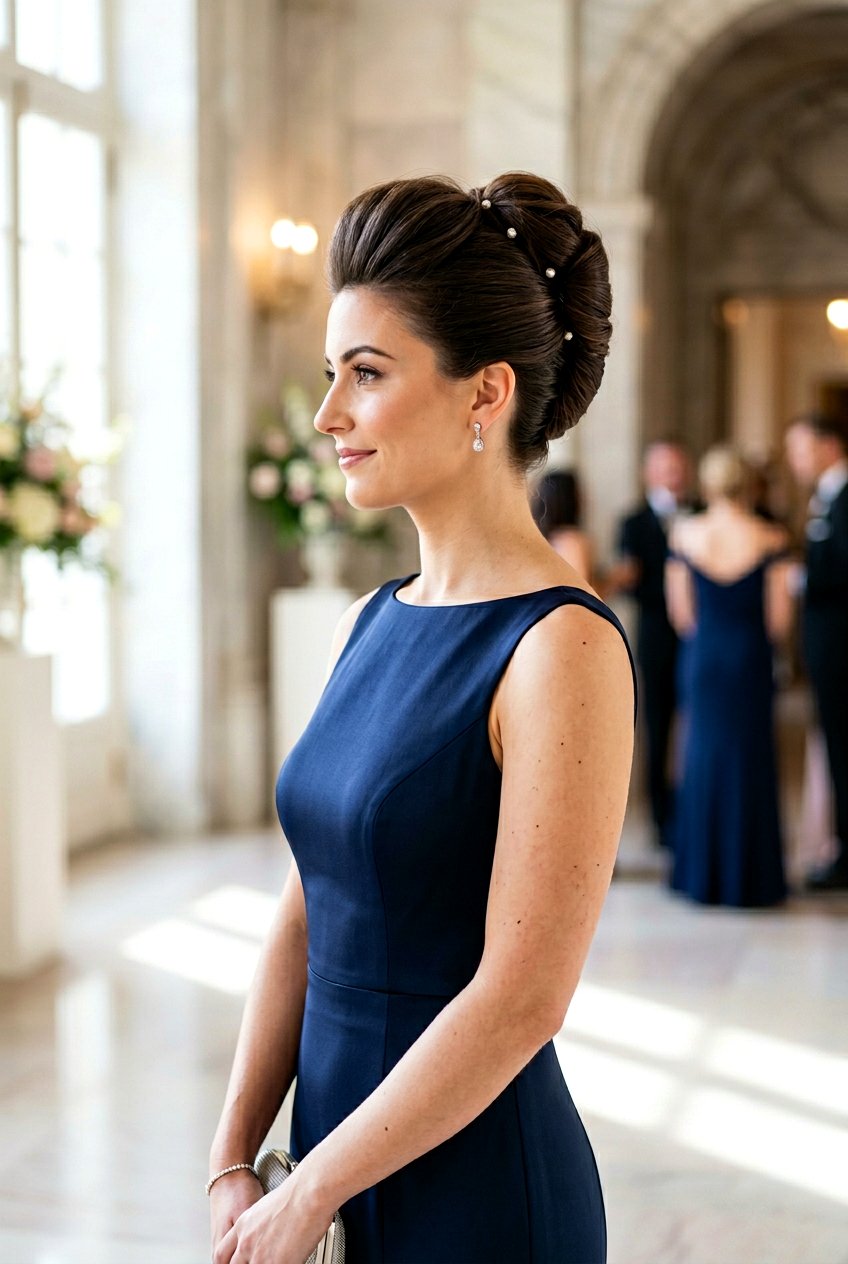
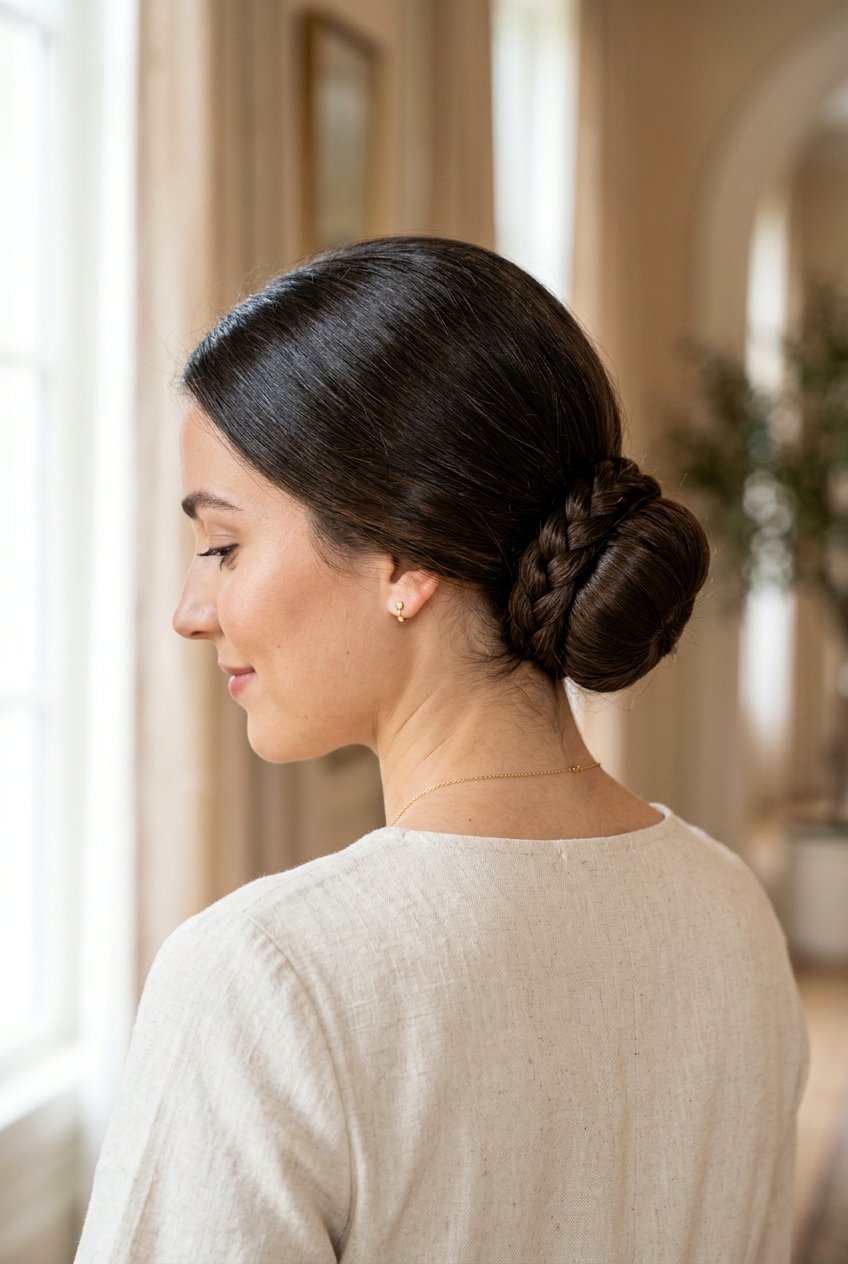
10. Floral Braid Bun
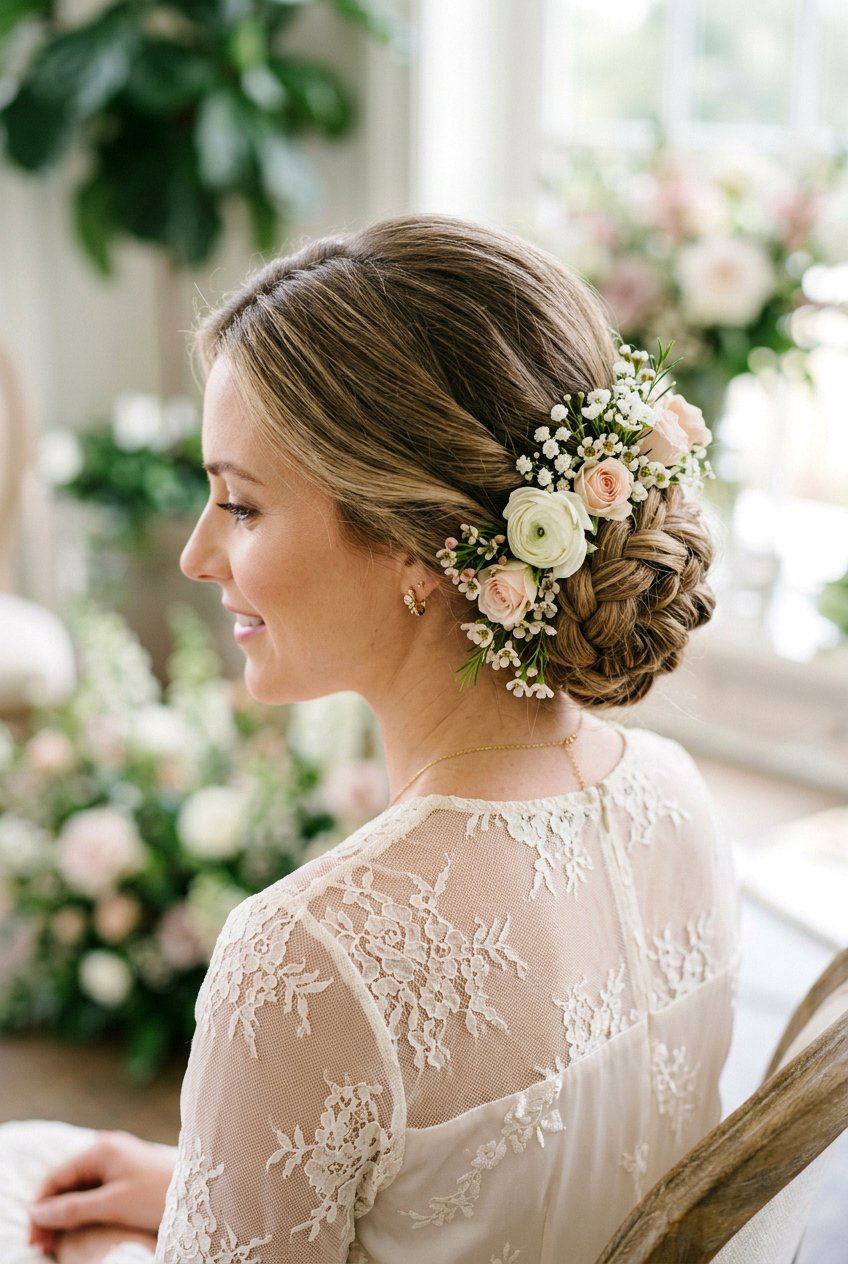
The floral braid bun is a chic way to keep hair off your neck while still showcasing braiding and flowers together. Start by creating a braid—this can be a simple three-strand, Dutch, or French braid—either from the crown or the nape. Once braided, wrap the length into a bun, securing with bobby pins and keeping the braid visible from the outside. Leave a few soft pieces around the face for balance if you like. Then tuck flowers into the bun, focusing on one side or all around for a full wreath effect. This style is great for weddings, formal events, or any time you want an elegant updo.
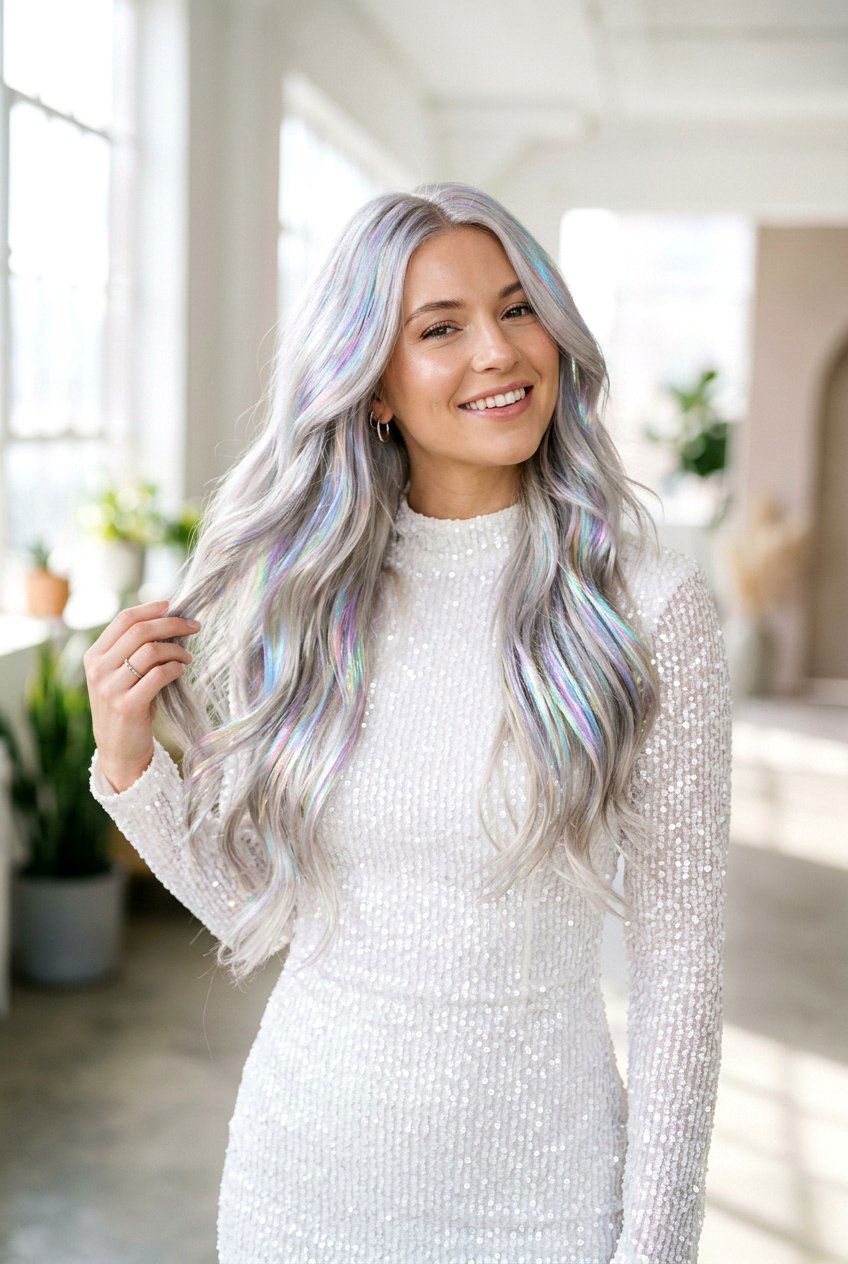
11. Floral Braid With Loose Waves
This look combines the structure of a braid with the softness of loose, flowing waves for a very romantic effect. Curl or wave your hair first, using a large barrel iron or heatless method, then let the curls cool and soften them with your fingers. Create a small to medium braid along one side of your head or down the back, keeping it light and not too tight. The braid should blend into the loose waves instead of dominating them. Finish by placing flowers through the braid and a few scattered through the waves, focusing on where the hair falls over your shoulders.

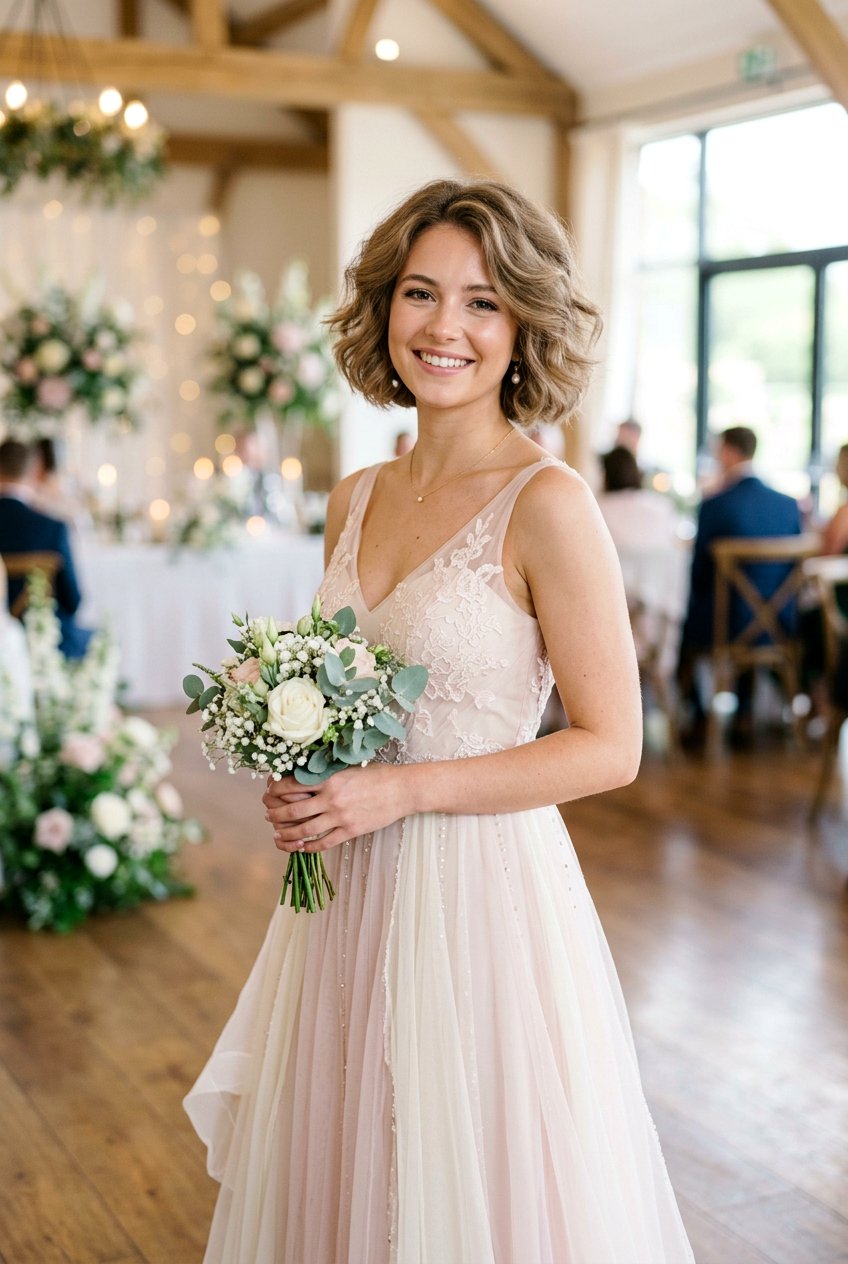
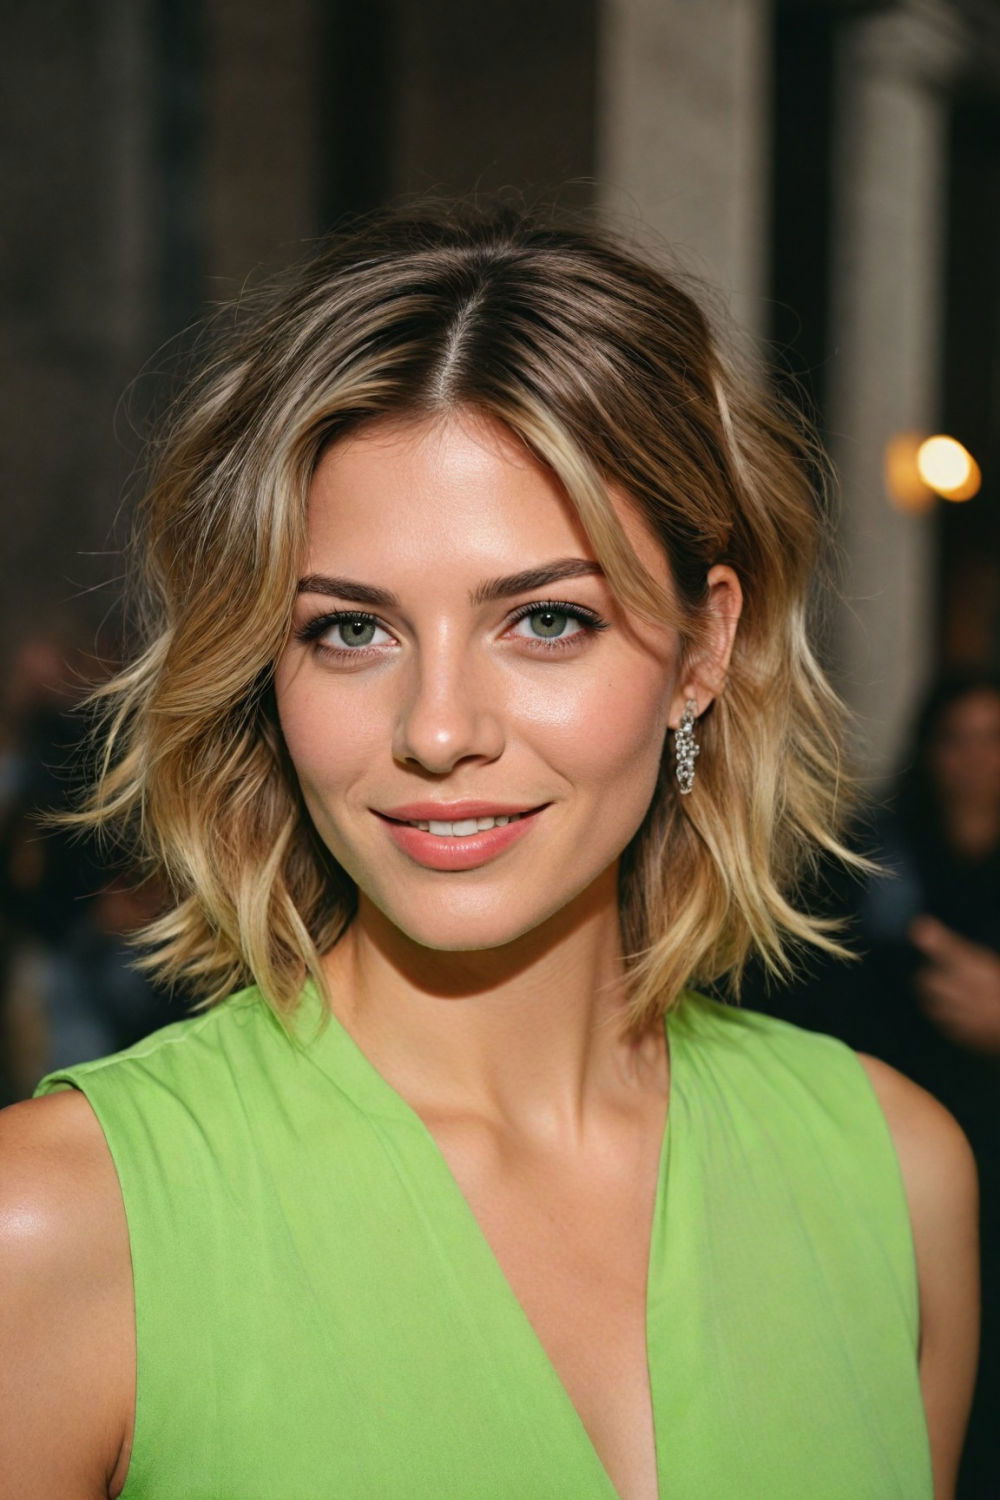
12. Floral Braid For Short Hair
Short hair can absolutely rock a floral braid, as long as you place the braid where your length allows it. For chin-length and shoulder-grazing cuts, focus your braid along the front hairline or crown, creating a small French or Dutch braid that sweeps back from the forehead. Secure the braid with discreet pins and let the shorter pieces at the nape remain loose for a soft, casual feel. You can also braid just one side and tuck it behind the ear. Add tiny flowers or mini clips along the braid, choosing smaller blooms so they don’t overpower the shorter hair.
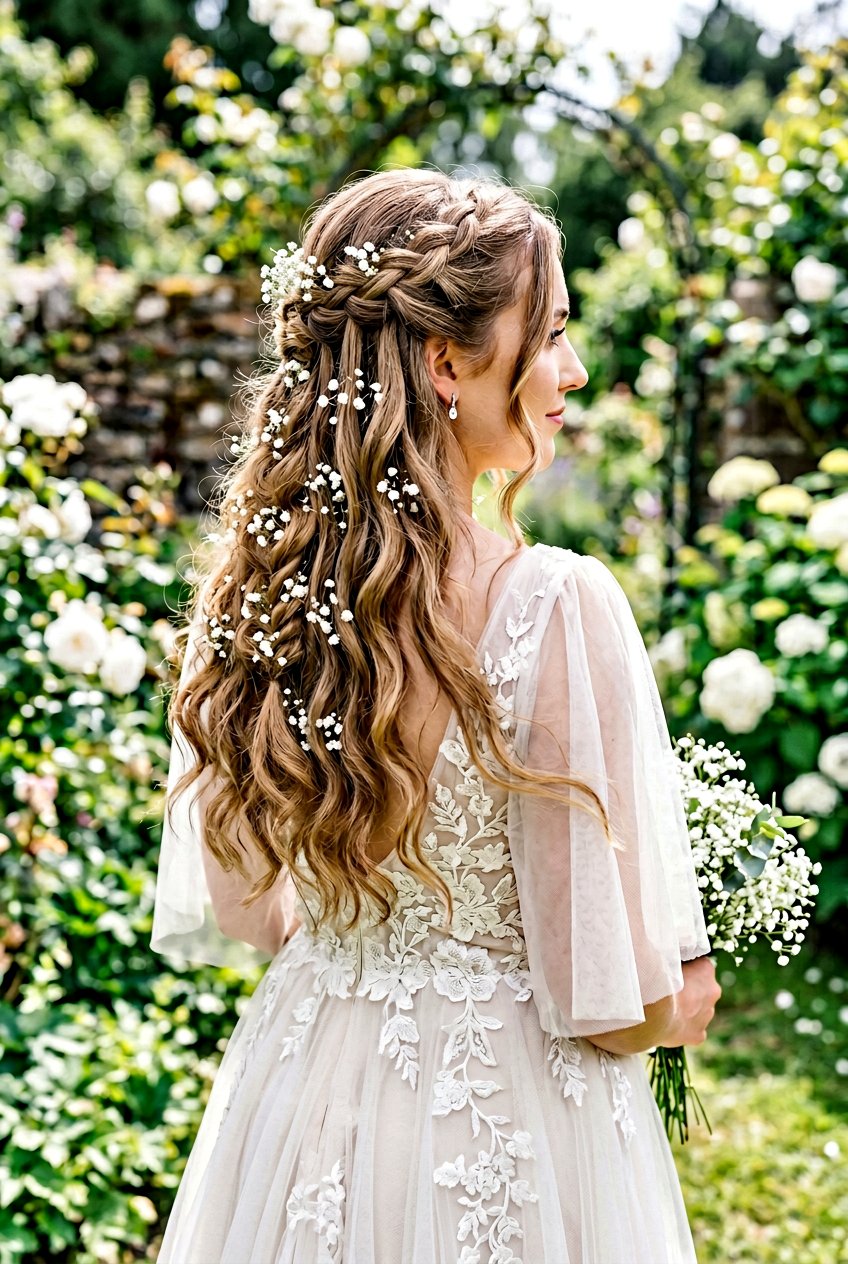
13. Bridal Floral Braid
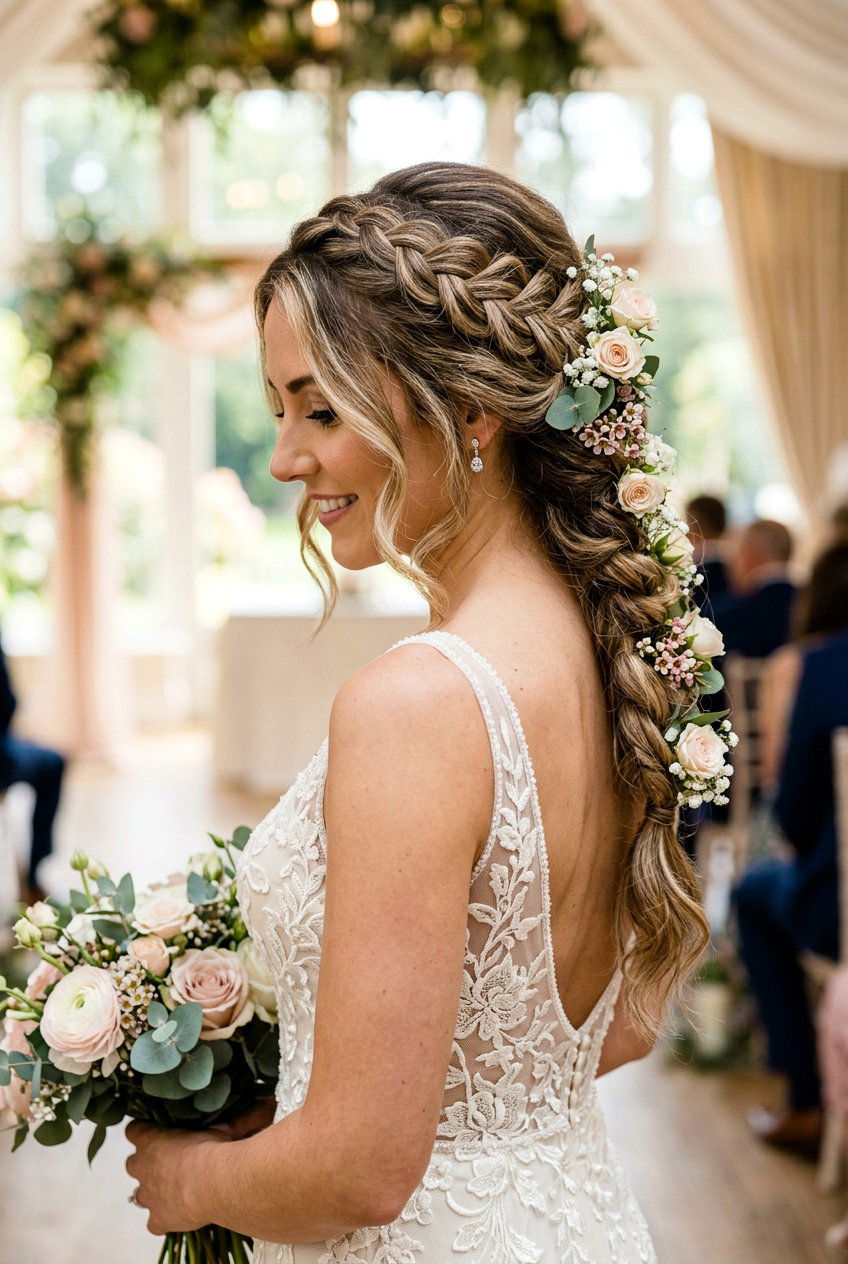
A bridal floral braid is all about romance, durability, and matching the overall wedding theme and dress style. Start with a braid type that suits your hair and gown—often a loose side braid, full back braid, or half up braided look works beautifully. Make sure the braid is secure with clear elastics and pins, then gently expand it for volume and softness. Coordinate flowers with the bridal bouquet and color palette, using a mix of larger focal blooms and smaller filler flowers. Place them carefully along the braid where they will show in photos, and use lightweight floral wire or pins so everything stays in place all day.
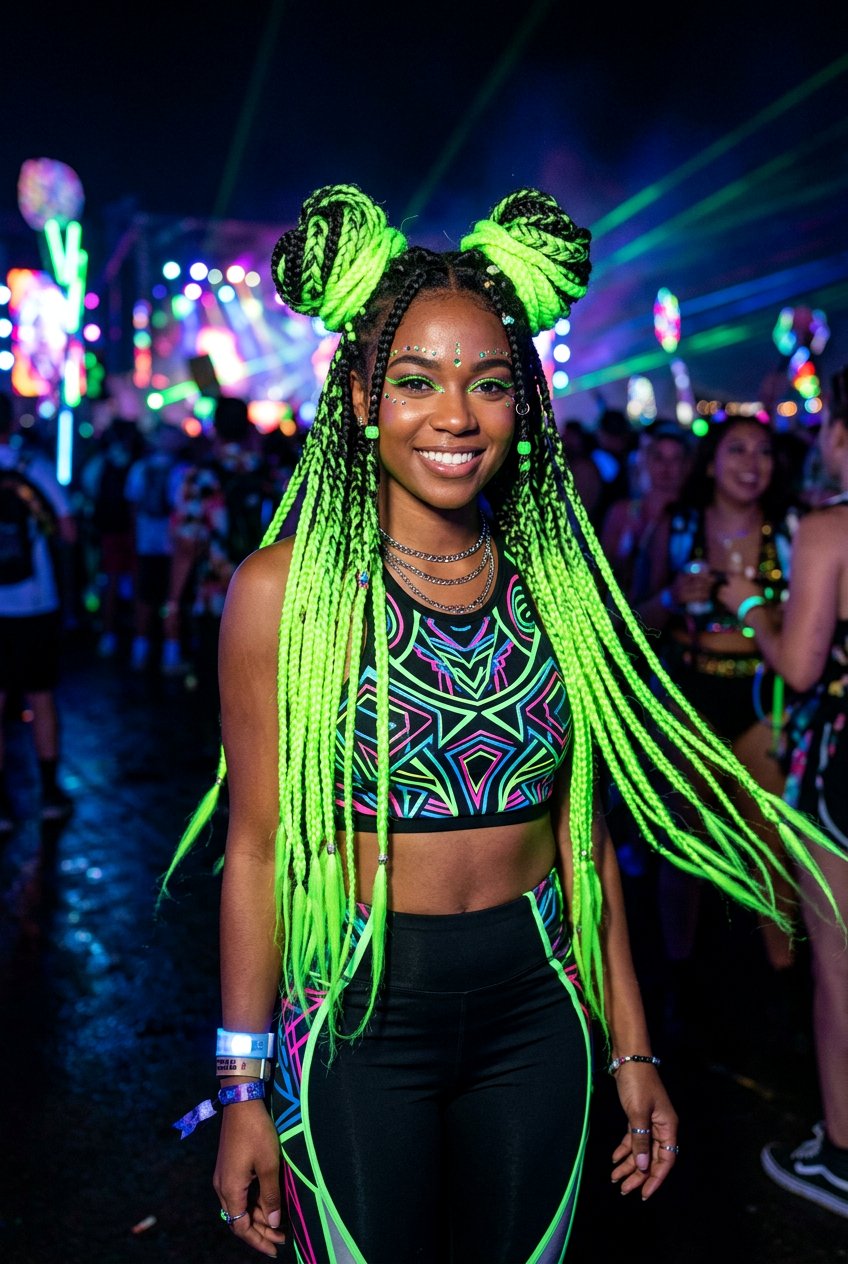
14. Festival Floral Braid
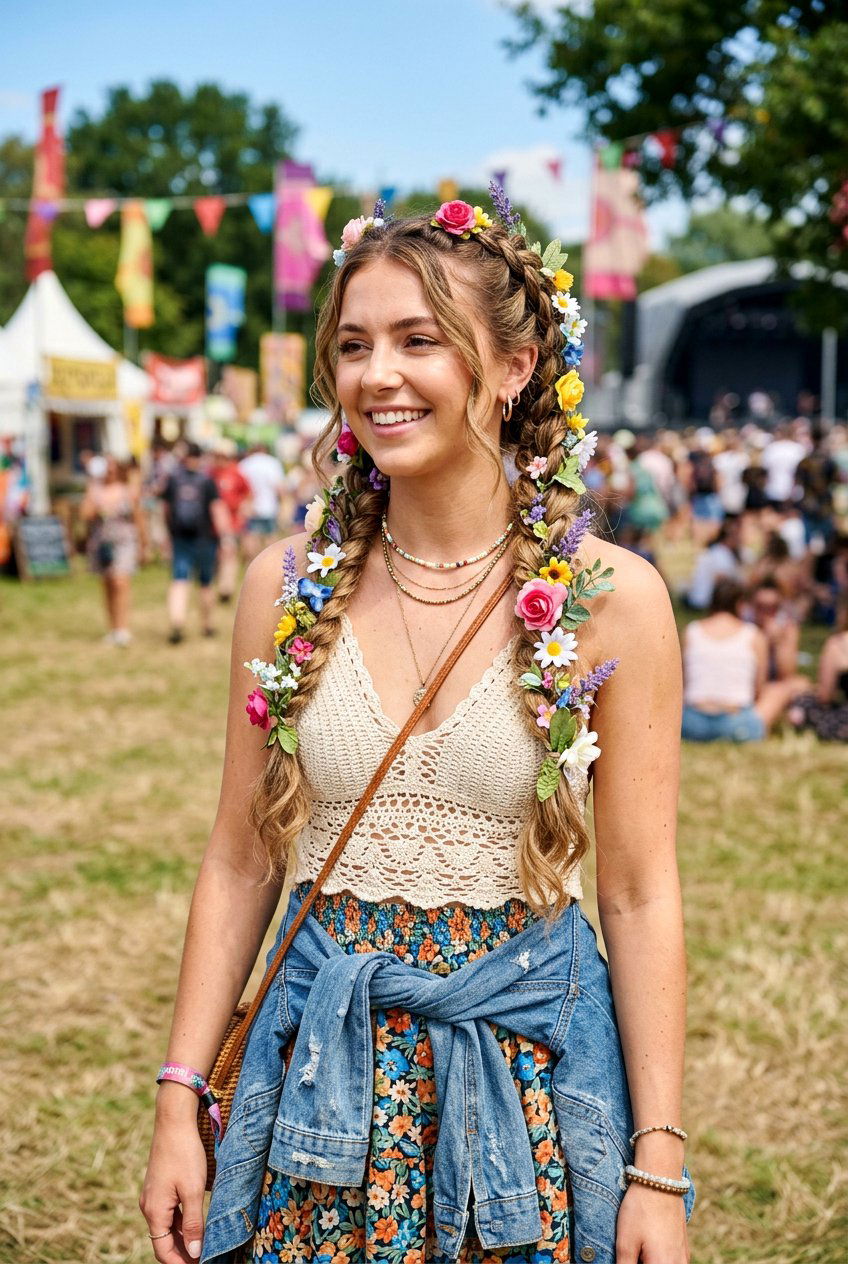
The festival floral braid is playful, colorful, and built to last through dancing and long days outdoors. Start with textured hair using dry shampoo or texturizing spray for grip. Consider braiding two Dutch braids from the front hairline back, or a single bold braid down the center or side. Keep tension secure near the scalp so the style holds, then pull on the outer edges of the braids for a fuller shape. Add bright faux flowers, maybe in neon or contrasting colors, along the braids for fun. This look can handle bold accessories like metallic clips or glitter on the roots if you want extra festival flair.
15. Floral Braid With Ribbon
Adding ribbon to a floral braid gives an extra touch of softness and color, and it looks especially pretty in photos. Choose a ribbon color that coordinates with your outfit or flowers. Secure one end of the ribbon near the start of your braid with a small elastic or bobby pin, then weave it through the sections as you braid. You can run the ribbon along one strand or alternate it between strands for more interest. Once finished, pull the braid apart slightly to show off both the texture and the ribbon. Tuck in flowers alongside the ribbon for a layered, detailed effect.

16. Double Floral Braids
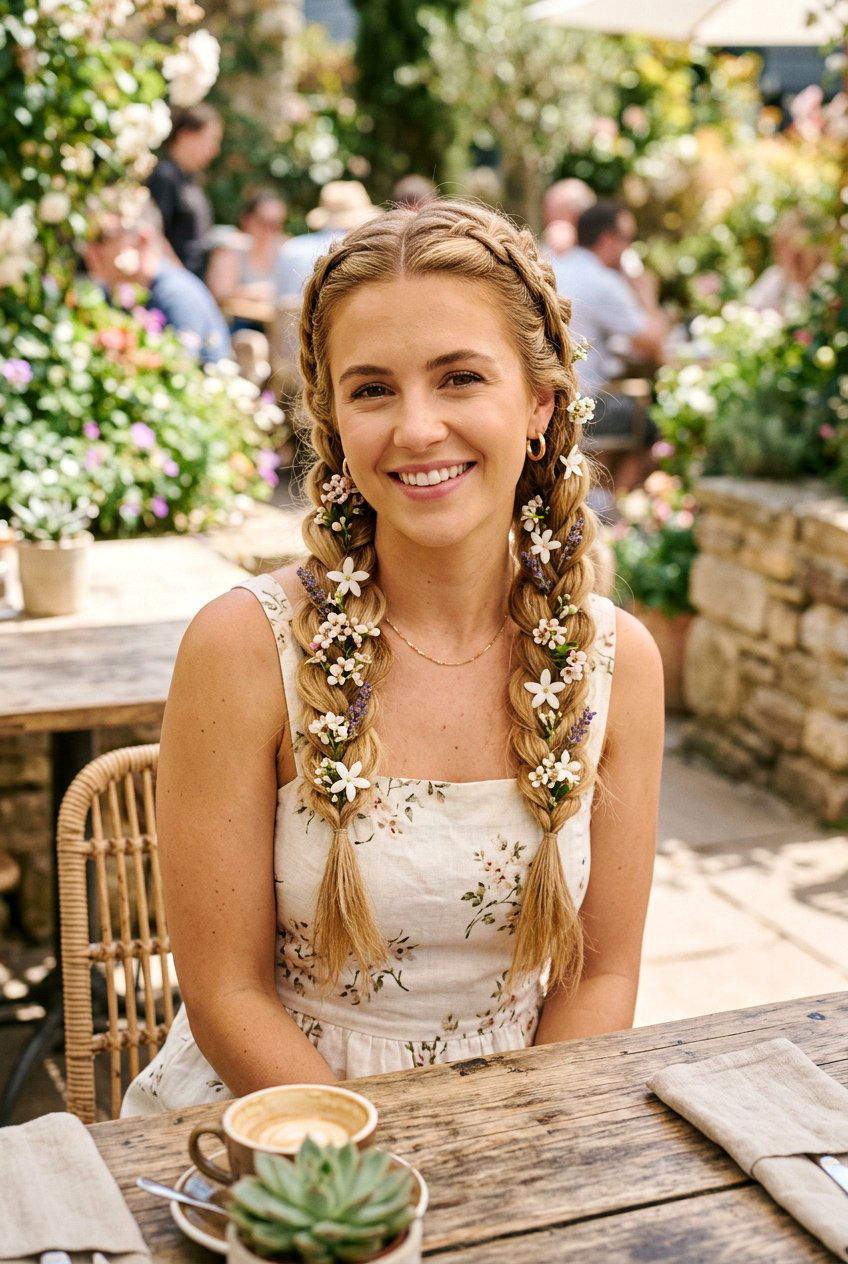
Double floral braids, often starting as two braids from the front, give a symmetrical and youthful look that still feels polished. Part your hair down the middle and create a braid on each side, using a Dutch, French, or simple three-strand method. Keep the braids tight near the scalp for control and loosen them slightly toward the ends for softness. You can leave the braids hanging or join them at the back into one combined braid or half up look. Place matching flowers along each braid so the design feels balanced. This style is great for outdoor events, casual parties, or any time you want a playful vibe.
17. Floral Braid With Bangs
Floral braids pair beautifully with bangs because the fringe frames your face while the braid and flowers add interest to the sides and back. Leave your bangs as usual—straight, side-swept, or slightly curled—then create a braid starting behind the bangs on one or both sides of your head. You can go for a small, tight braid for subtle detail or a wider, loose braid for more impact. Make sure the braid blends smoothly into the rest of your hair, whether it’s straight, wavy, or curly. Place flowers where the braid begins or along the side of your head, keeping them clear of the bangs so your eyes remain the focus.
18. Floral Braid Mohawk
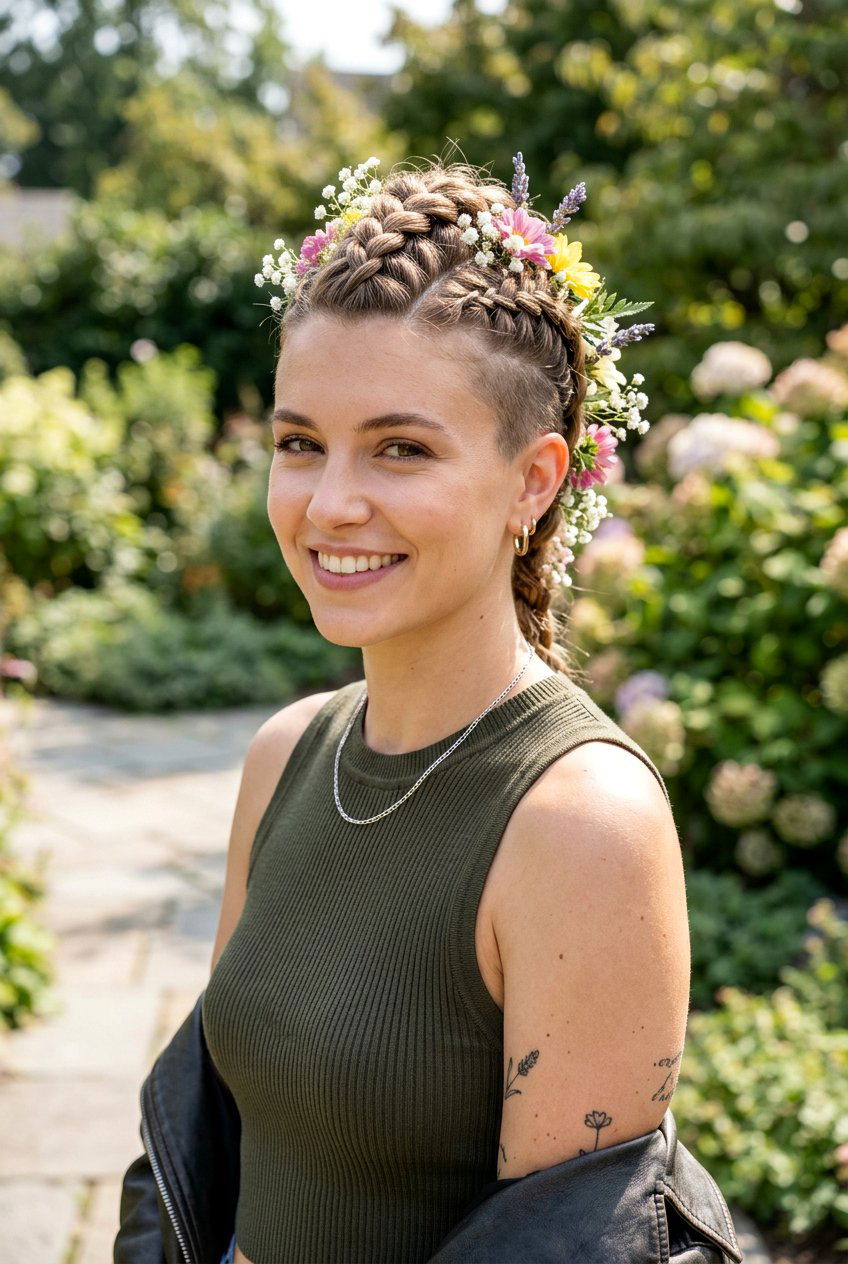
For a bolder, more fashion-forward look, the floral braid mohawk draws the eye straight down the center of your head. Start by sectioning off a strip of hair from your forehead to the nape, leaving the sides either slicked back or loosely pinned. Create a Dutch braid through this center section so it stands up slightly and has a strong profile. Pull the braid edges outward to make it wider and more dramatic, giving that mohawk shape. Once the braid is secure, tuck flowers along both sides of the braid, concentrating them toward the crown and back for a striking, editorial-style finish.
19. Floral Braid For Curly Hair

Curly hair and floral braids make a perfect pair because the natural volume and texture give the style a lush, full appearance. Start by defining your curls with a moisturizing cream or gel, then let them dry completely. Decide where you want the braid—along the front, side, or back—and create a loose braid that doesn’t pull too tightly on the curls. You want to maintain the curl pattern around the braid, not flatten it. Once the braid is finished, gently stretch its edges for a softer look and tuck flowers in between the curls and along the braid itself. The curls will help hold the blooms in place naturally.
20. Floral Braid For Long Hair
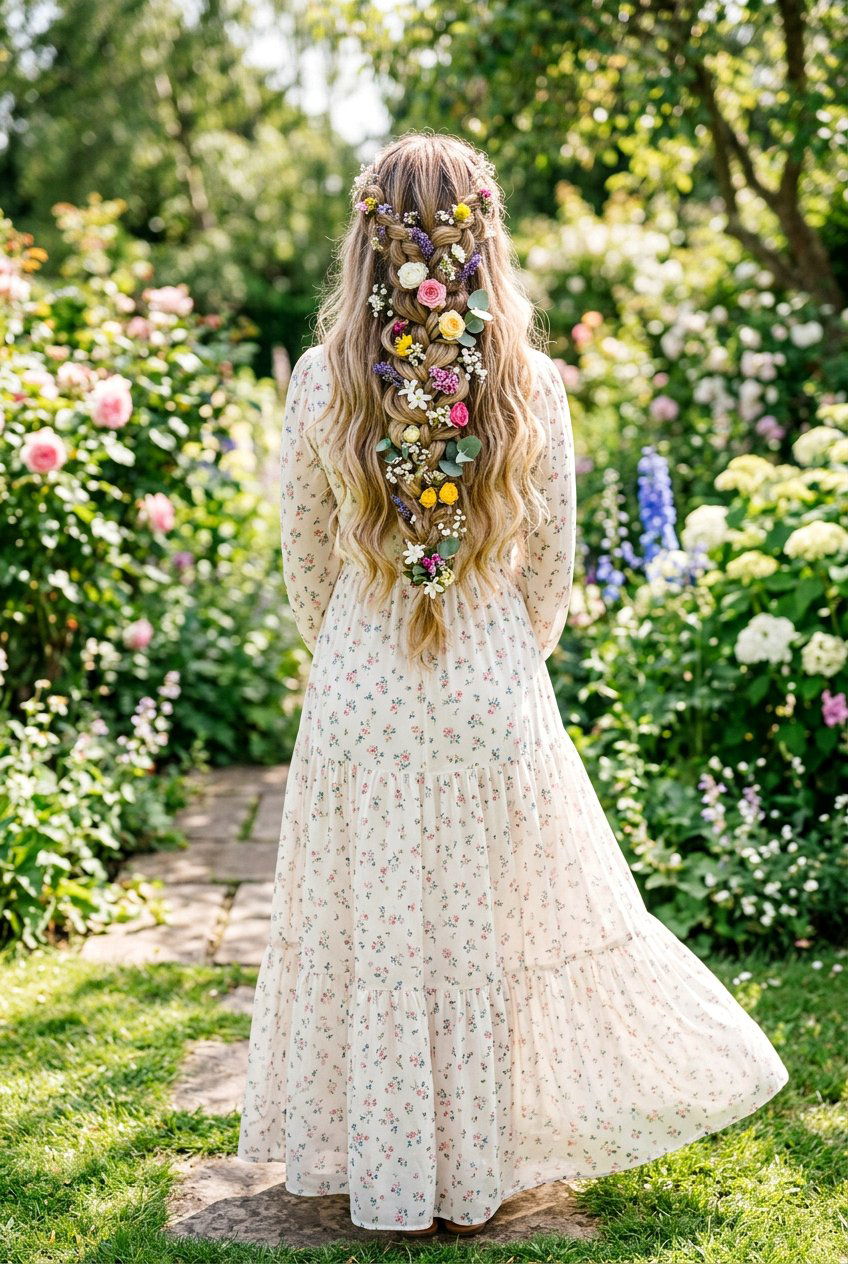
Long hair is ideal for a dramatic floral braid that shows off length, texture, and plenty of bloom placement. Begin with hair that has light wave or smooth texture—either works—as long as it is detangled. Choose a braid type that you feel comfortable with, like a long Dutch, fishtail, or classic three-strand down the back or over one shoulder. Braid all the way to the ends, then pull the braid outward to increase width and softness, especially through the middle. Add flowers throughout the length, starting closer together at the top and spacing them slightly wider as you move down. This creates a beautiful, cascading effect that looks stunning from every angle.
Conclusion:
Floral braid hairstyles give you endless ways to combine braids and blooms, whether your hair is short, long, straight, or curly. Each look above centers on a complete hairstyle, not just a single detail, so you can picture the full effect from front to back. From half up and side swept braids to bold mohawk and double braid looks, there’s a floral braid for every occasion and comfort level. You can switch between real flowers for special events and faux flowers for everyday wear or festivals. The key is to keep the braid secure, gently pull it apart for fullness, and place flowers where they highlight the braid’s shape. With a little practice, floral braids can become one of your go-to ways to turn a simple hairstyle into something special.
You'll Like These Styles:


Leave a Reply