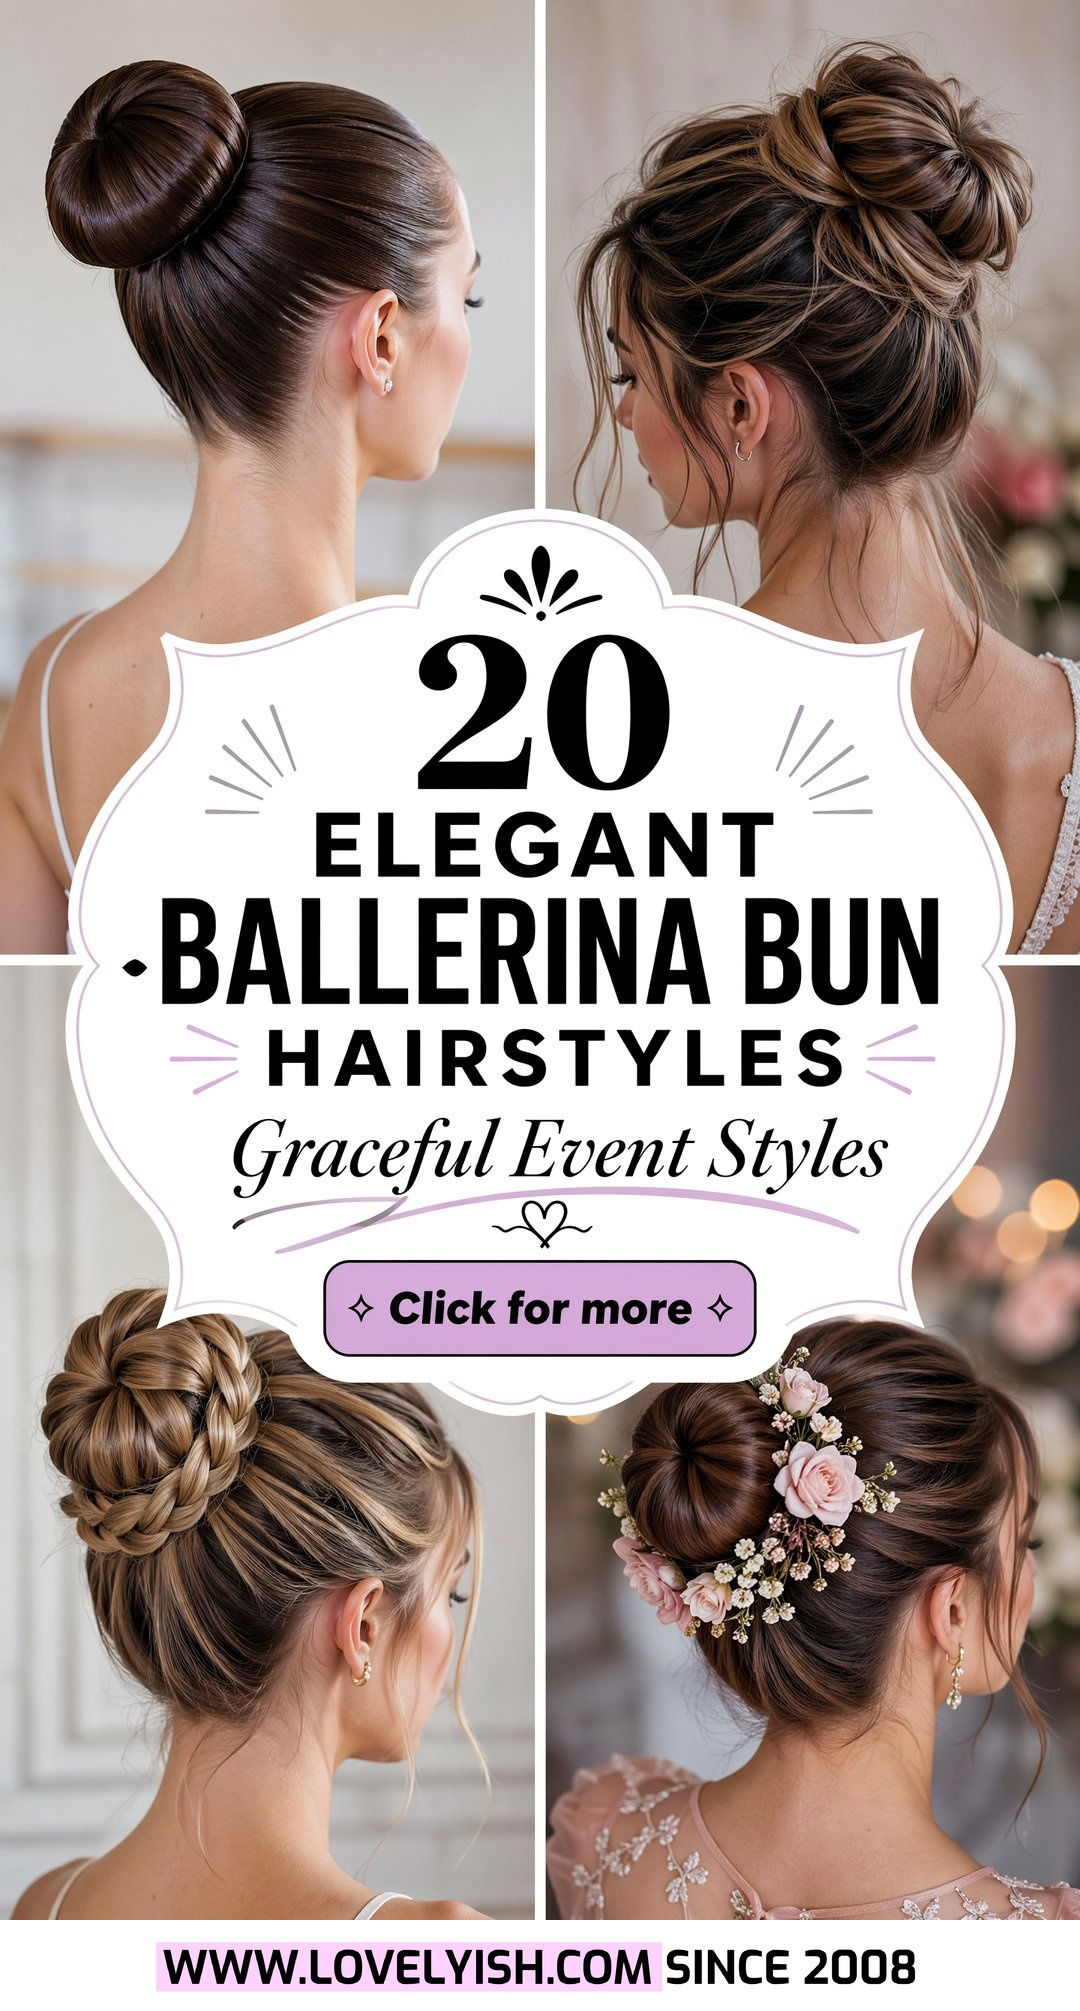
Pulled high and perfectly smooth, the classic ballerina bun has become a go‑to look far beyond the dance studio. Women love it because it keeps hair secure, looks polished from every angle, and works with everything from gym wear to evening outfits. Thanks to “balletcore” trends, you now see many fresh takes on this updo, from low romantic buns to braided and messy versions. The key is always the same: a clean base ponytail, a tightly wrapped coil or donut, and plenty of pins and hold. Whether your hair is fine, thick, straight, or curly, you can tweak the placement, texture, and accessories to suit your face and lifestyle.
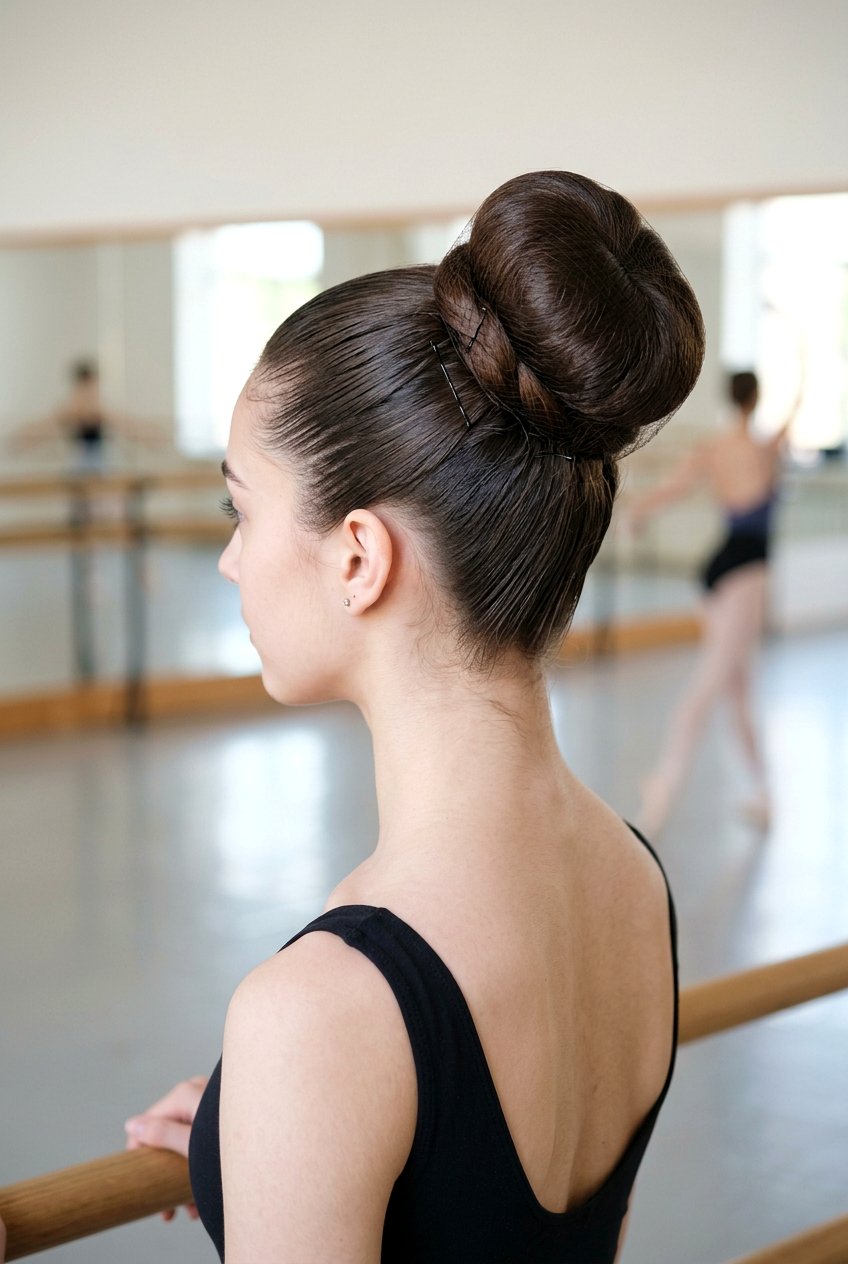
1. Classic High Ballerina Bun
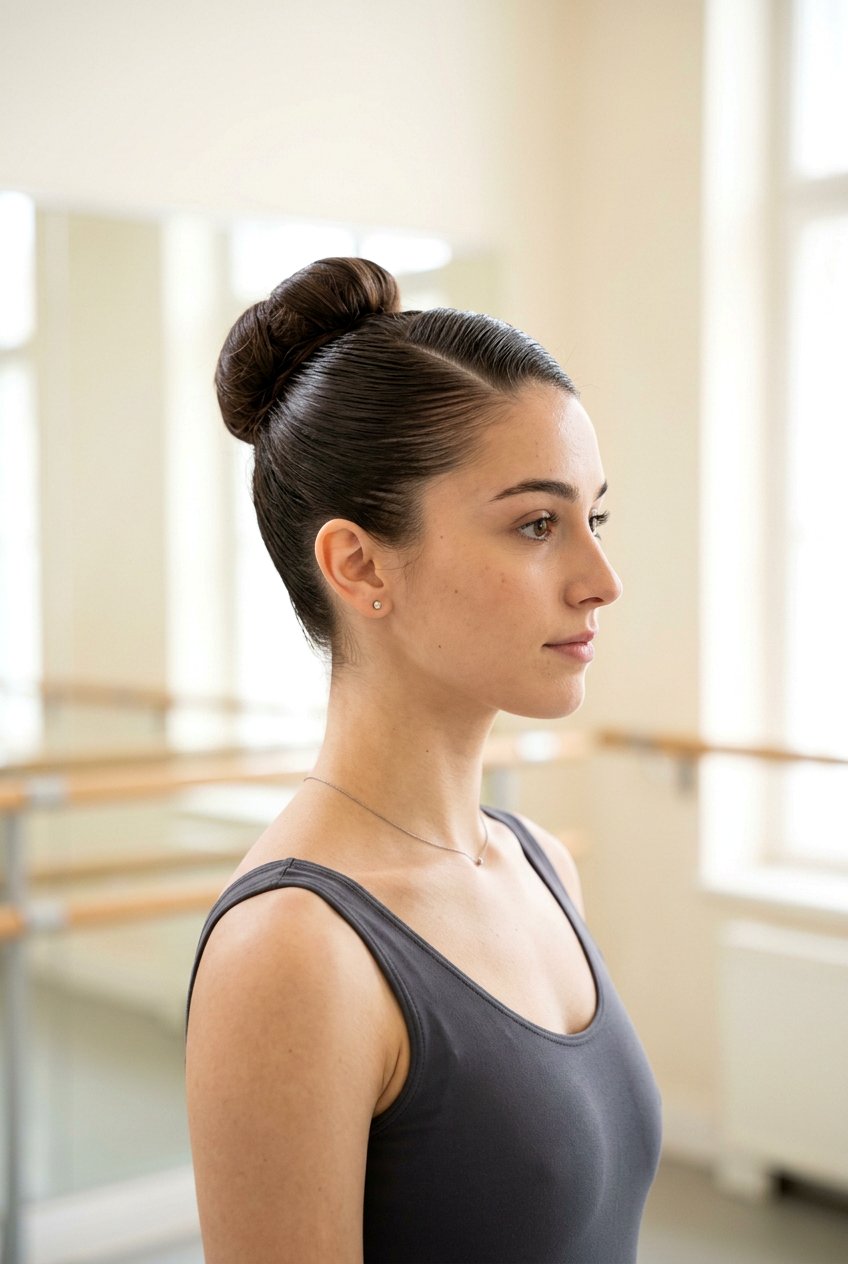
A classic high ballerina bun sits right at the crown and gives that lifted, elegant profile dancers are known for. Start on brushed, tangle‑free hair, then smooth everything into a tight ponytail using a boar‑bristle brush and a bit of gel or styling cream. Secure the ponytail with a strong elastic, then twist the length into a rope and wrap it around the base, pinning as you go for a firm, round bun. Add extra bobby pins around the edges so it stays put through busy days or workouts. Finish with hairspray to tame flyaways and give that sleek, stage‑ready shine that still looks chic for everyday errands.
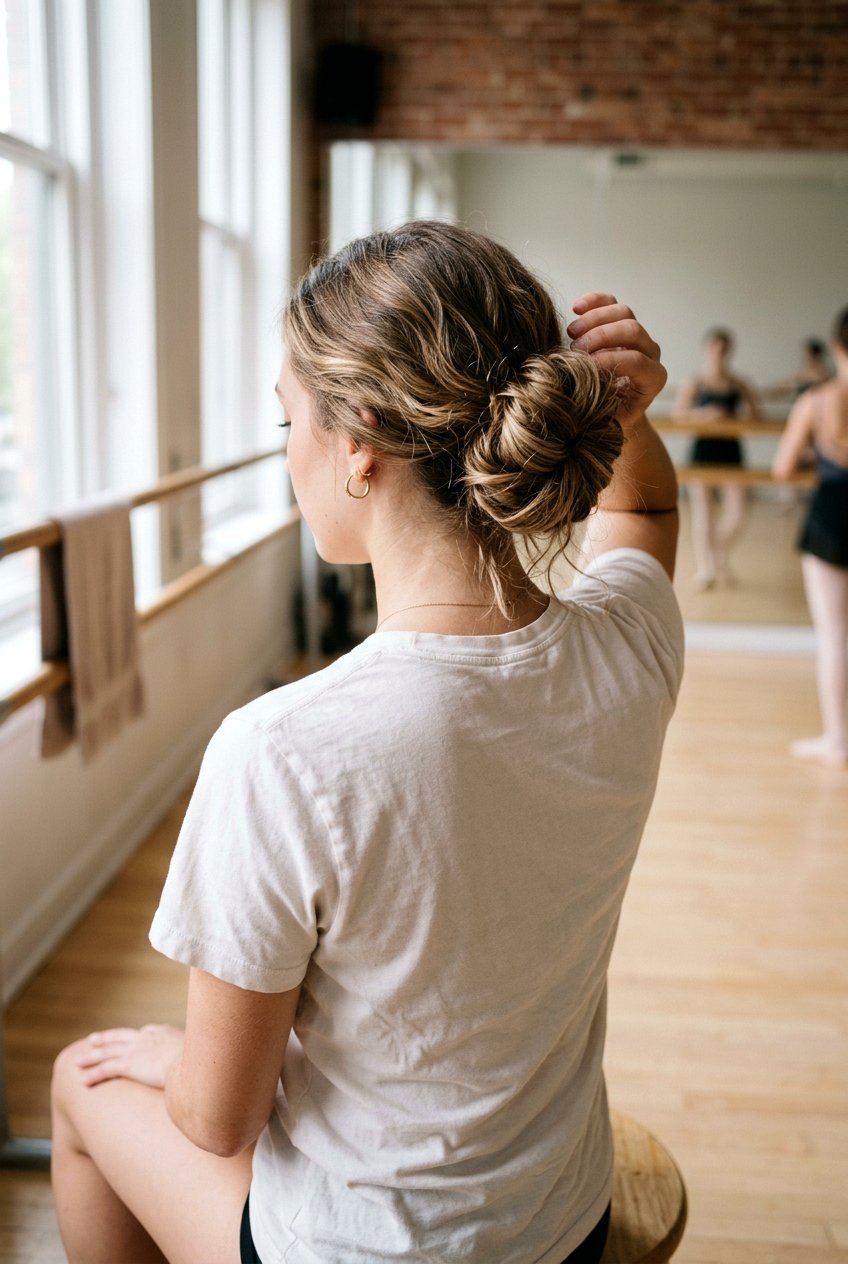
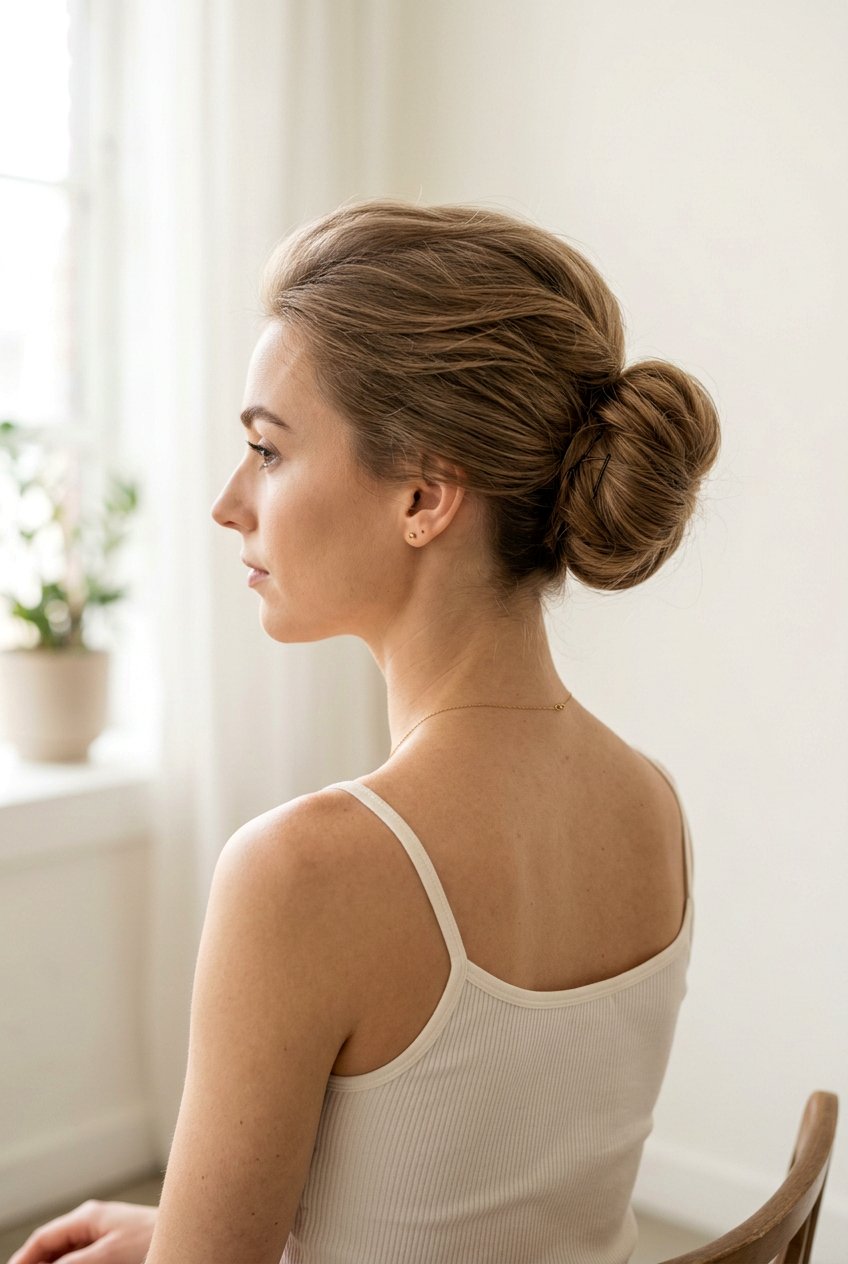
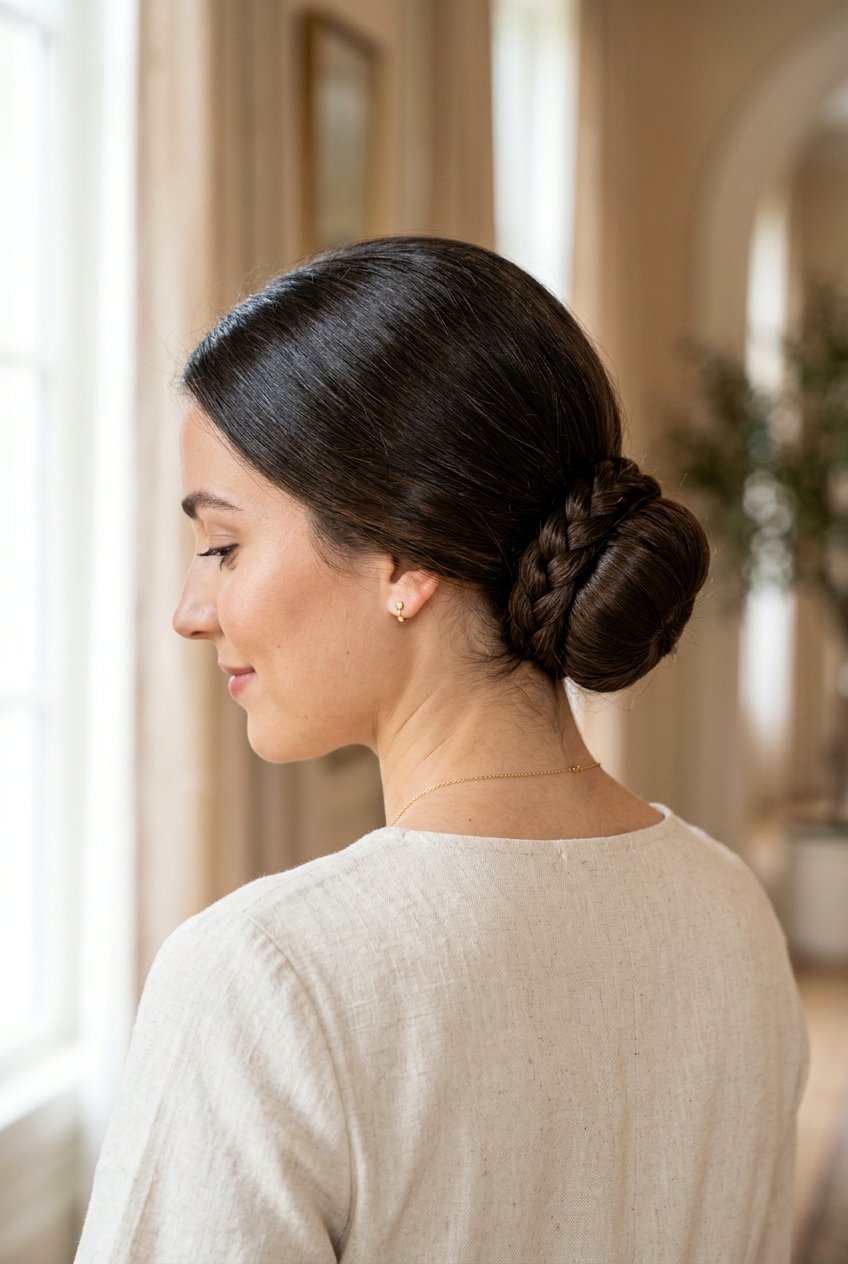
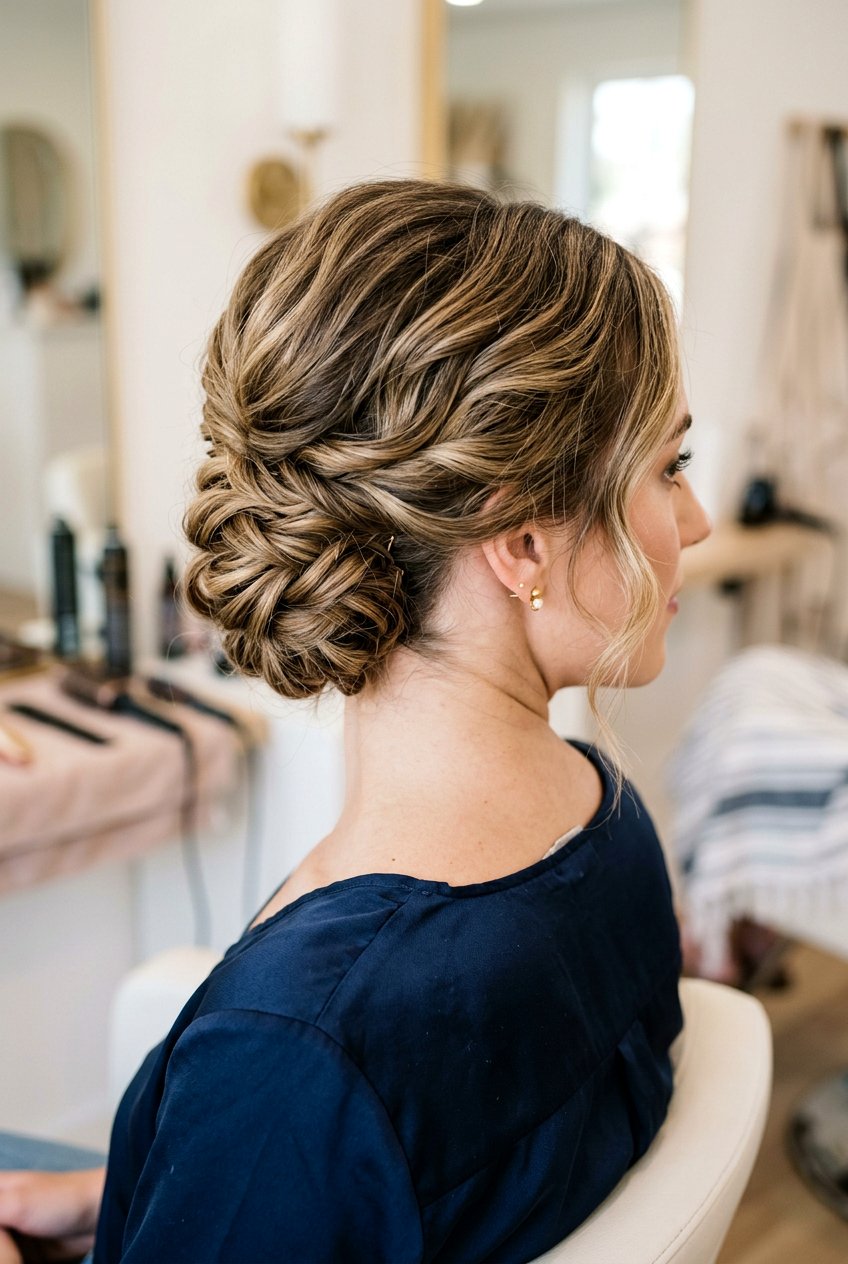
2. Low Ballerina Bun
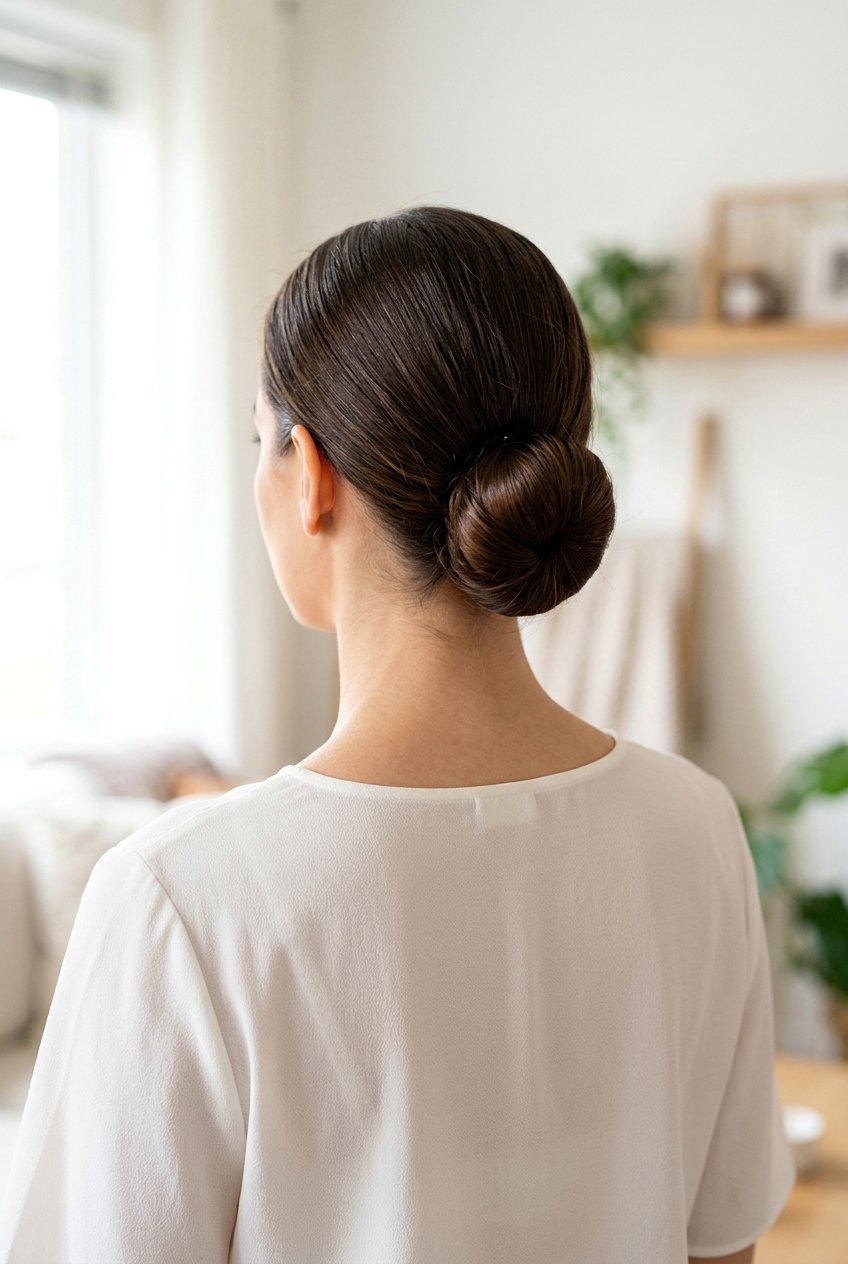
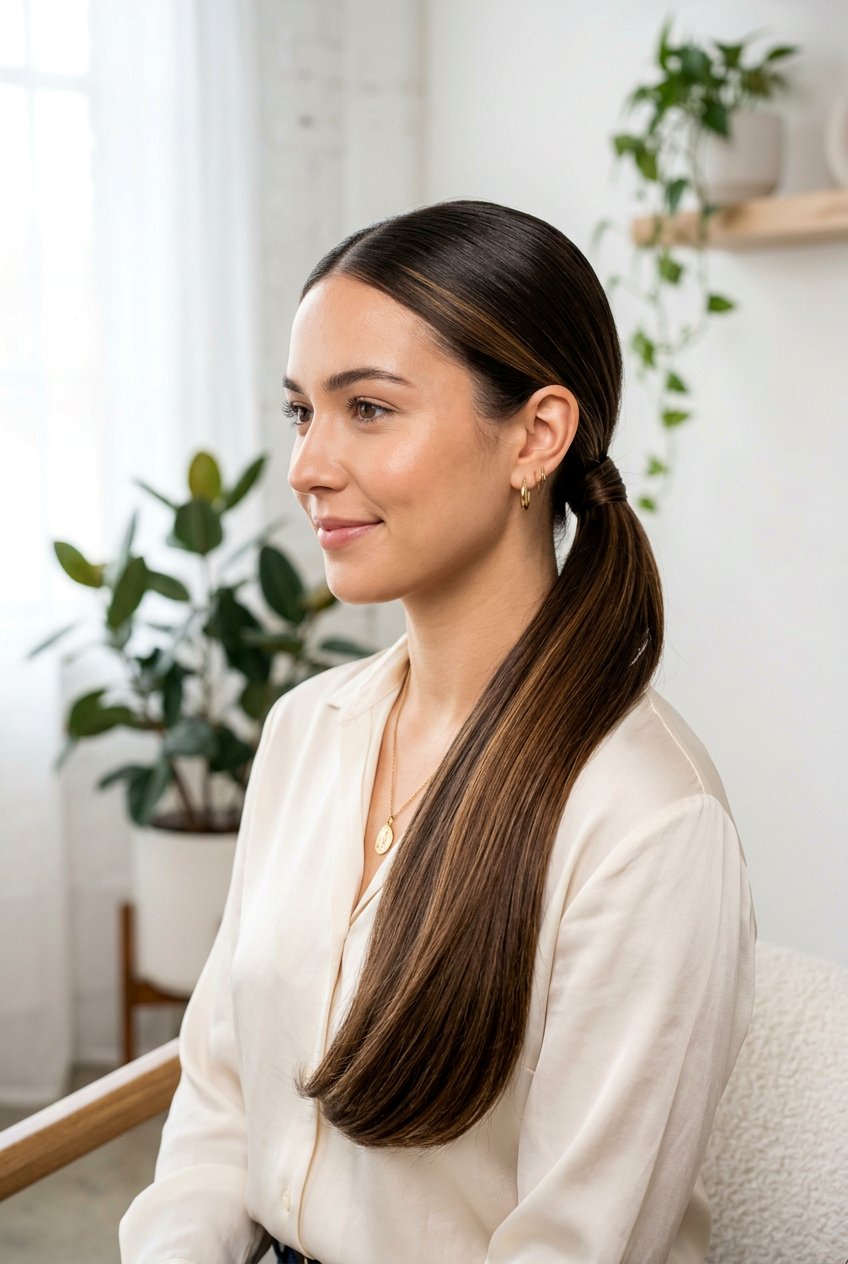
A low ballerina bun offers the same graceful feel but with a softer, more relaxed vibe that sits near the nape. Brush hair back into a smooth low ponytail, keeping the part either centered or slightly off‑center depending on your face shape. Twist the ponytail tightly, then coil it flat against your head, securing with pins tucked close to the elastic so they stay hidden. This placement works especially well if you want to wear hats, headbands, or prefer updos that do not pull at your hairline. A light mist of hairspray and a quick smoothing with your hands will keep it neat without losing its romantic, minimal look.
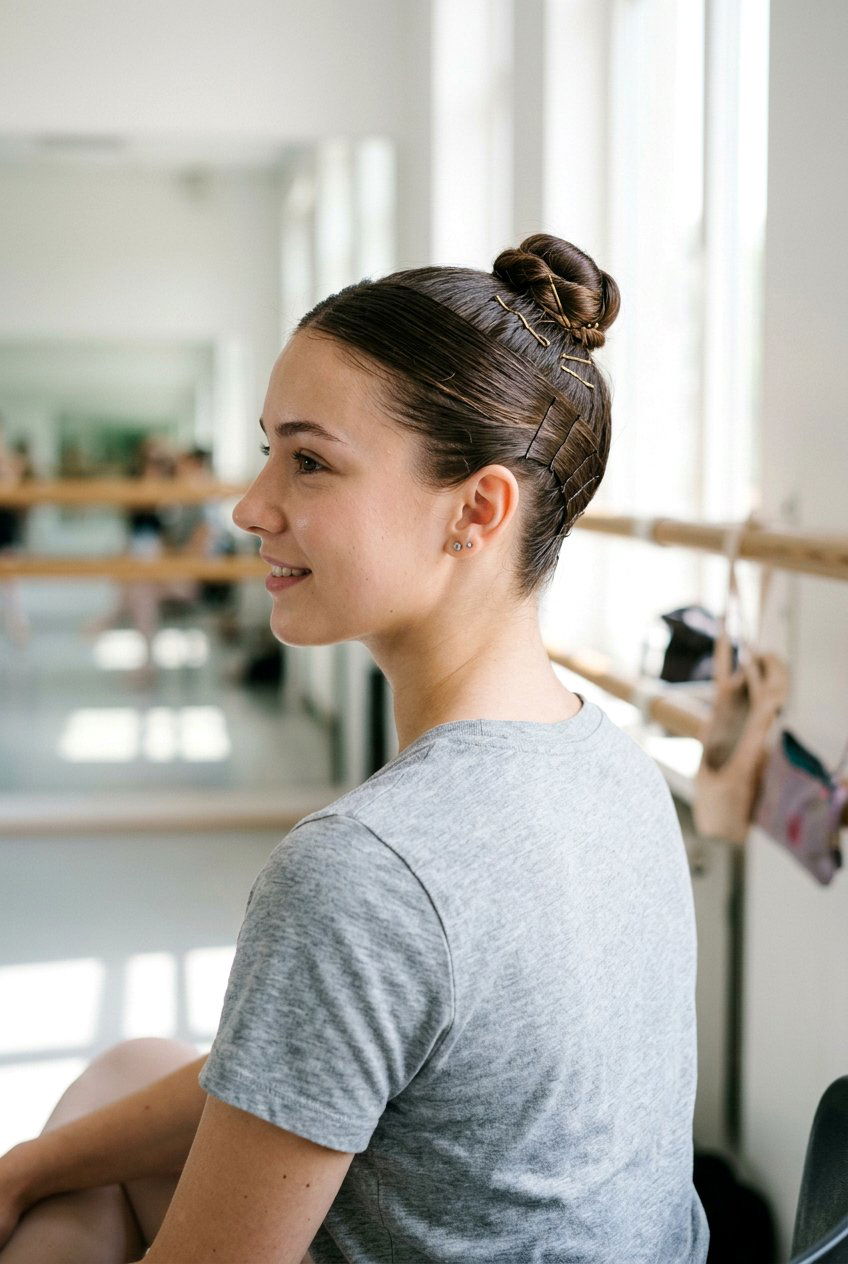
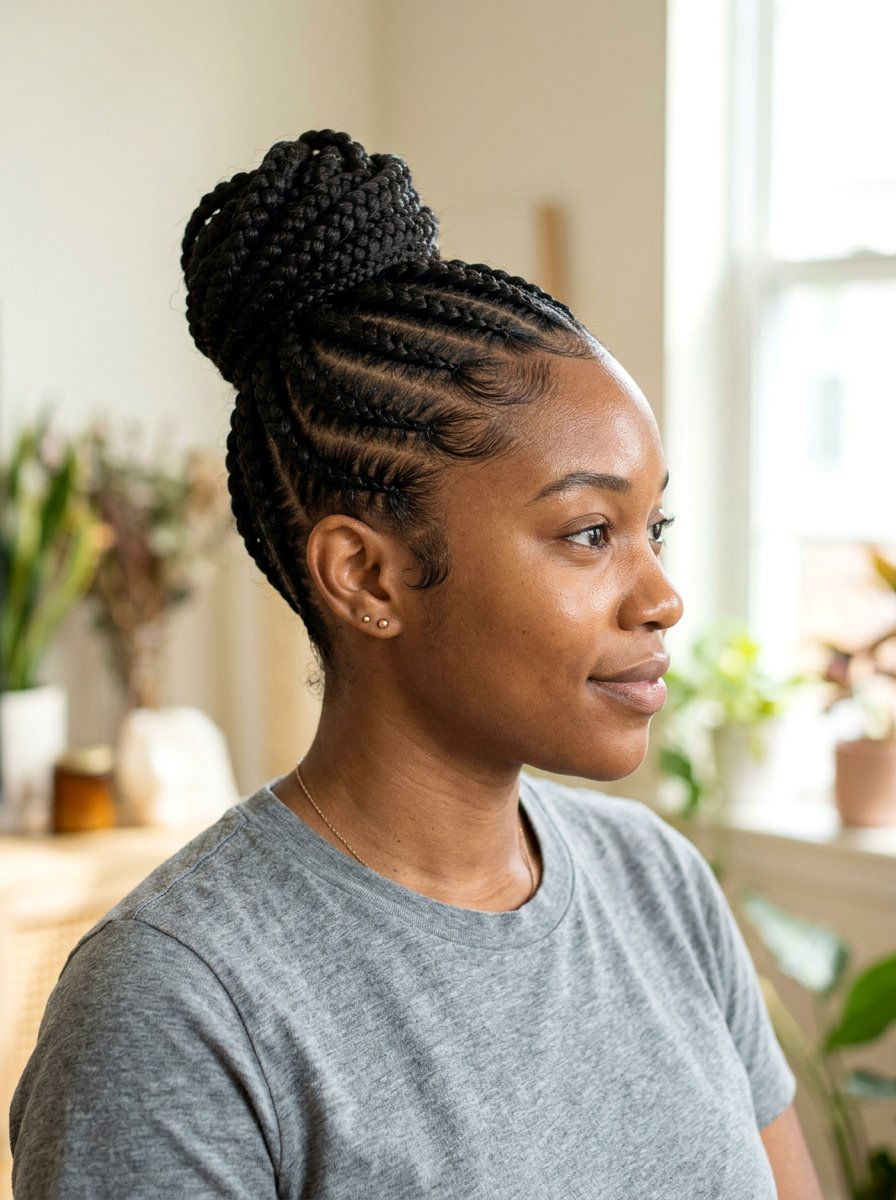
3. Sleek Ballerina Bun With Middle Part
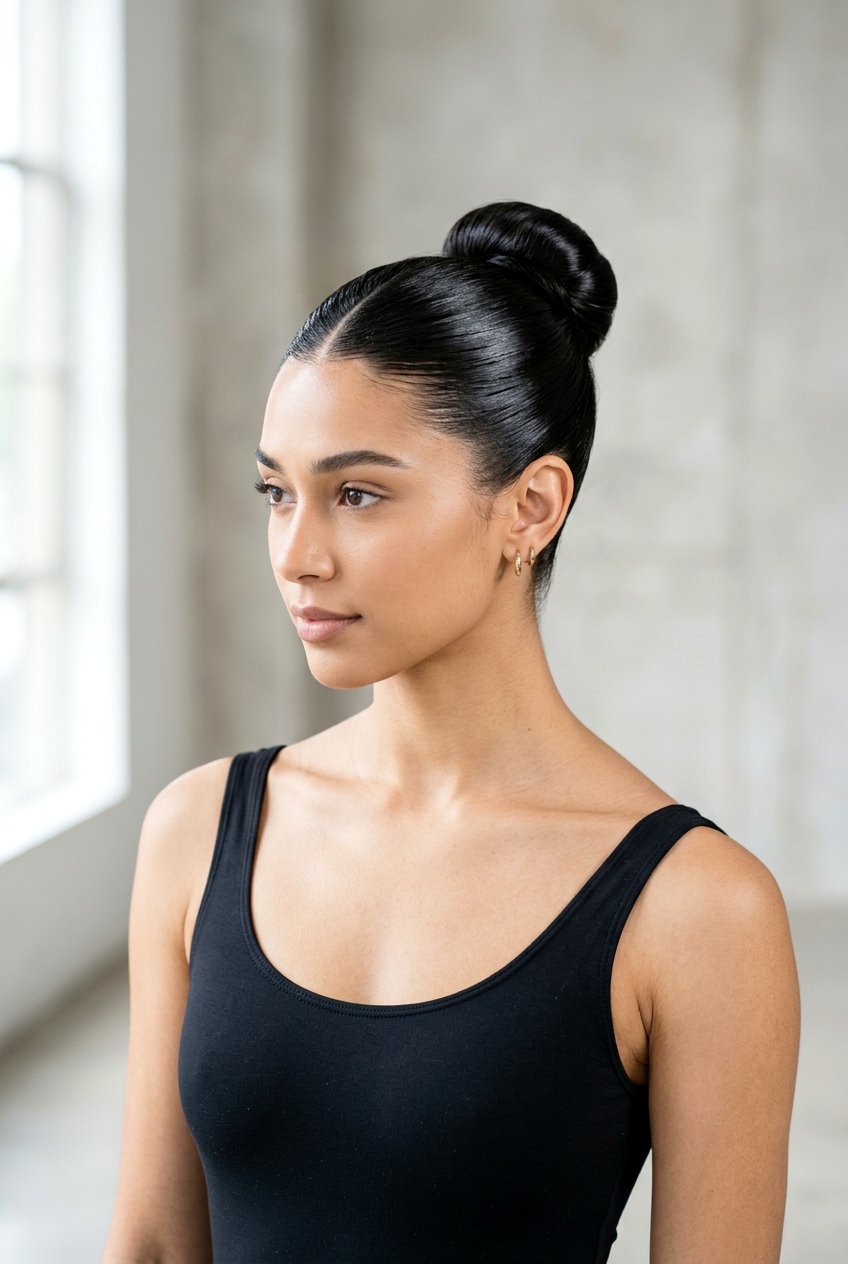
A sleek ballerina bun with a middle part feels modern and sharp while still honoring the traditional ballet aesthetic. Begin by creating a clean, straight center part, then work a small amount of smoothing product from roots to mid‑lengths for shine and control. Gather hair into a ponytail at the crown or slightly lower, making sure both sides lay flat with no bumps before you secure it. Twist the ponytail, coil it tightly, and hold the shape with bobby pins distributed evenly around the bun. Finish with a strong‑hold hairspray and, if needed, a toothbrush spritzed with spray to refine baby hairs for that runway‑ready, glassy finish.
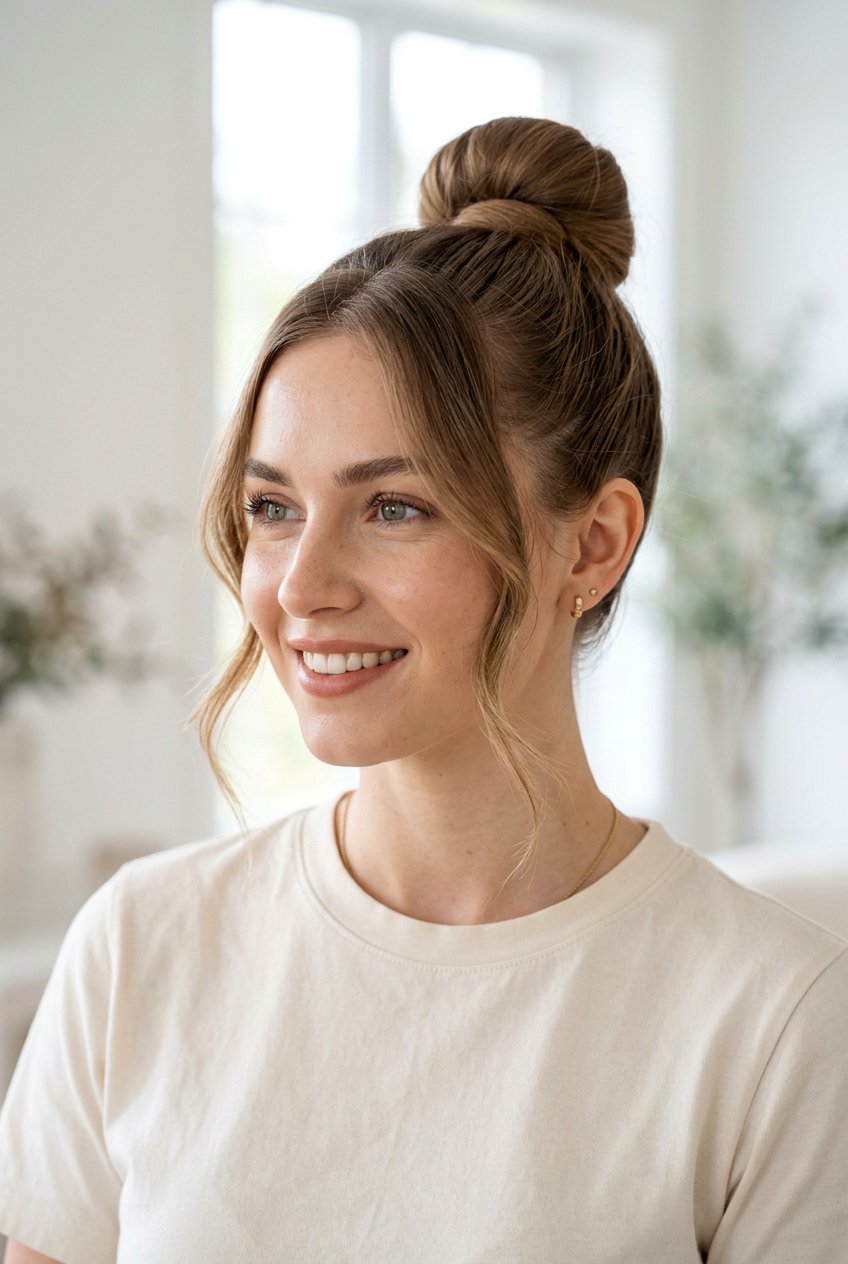
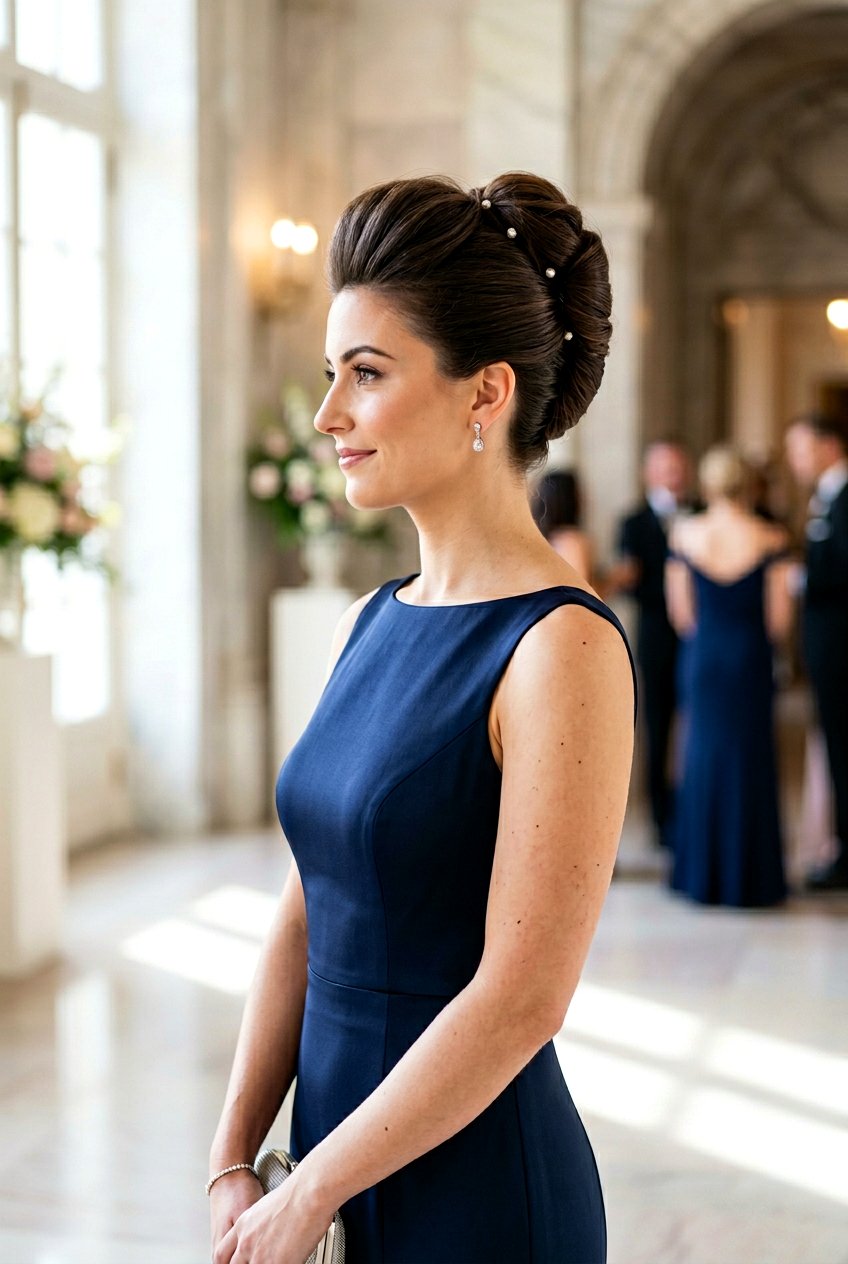
4. High Ballerina Bun With Side Part
A high ballerina bun with a side part adds subtle drama and softness around the face. Create a deep or slight side part first, then brush hair back toward a high ponytail, keeping the part visible along the front hairline. Apply a lightweight gel or pomade to tame frizz while you smooth the hair upward with a fine‑tooth comb. Secure the ponytail, twist the length, and wrap it around the base, pinning carefully so the bun looks even from the front and sides. This version flatters many face shapes because the part breaks up the symmetry and makes the look feel a bit more casual yet still polished.
5. Messy Ballerina Bun
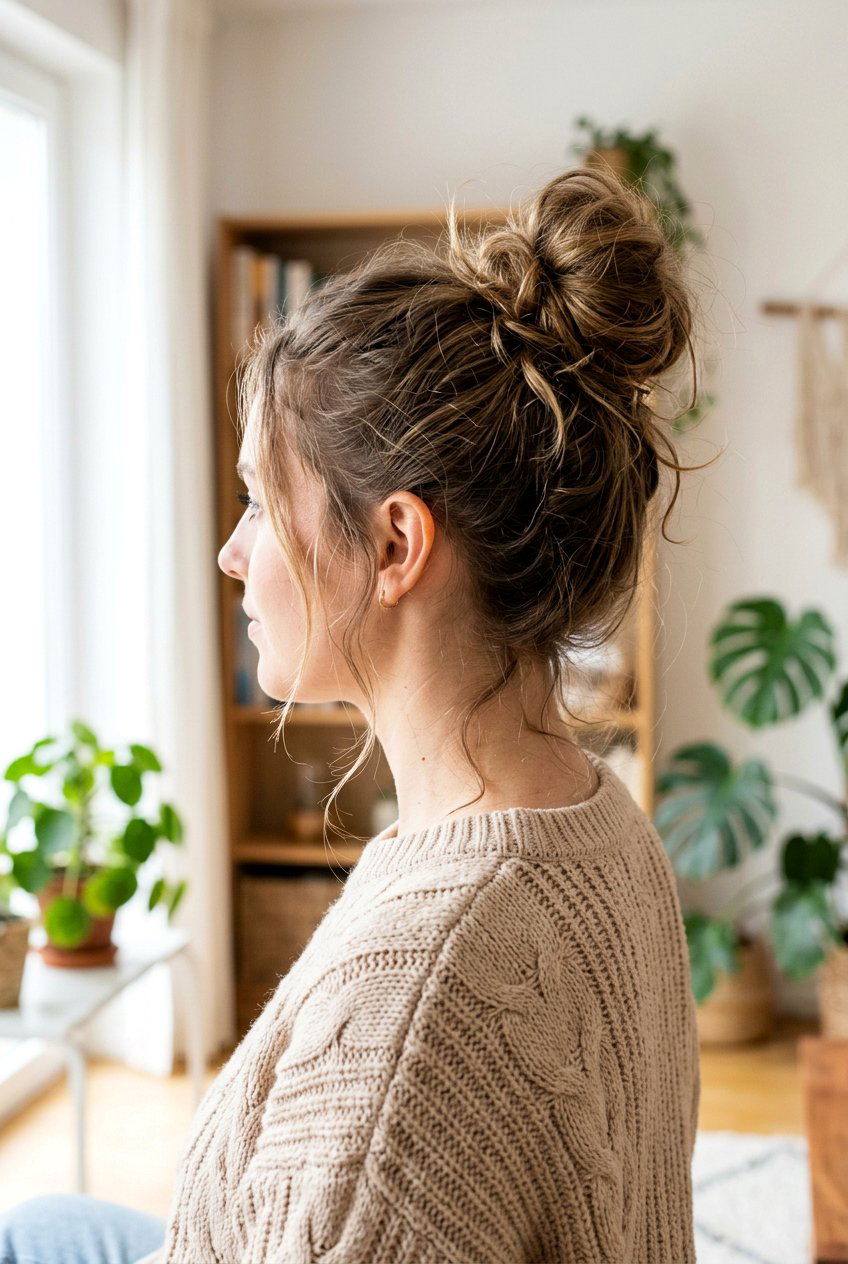
A messy ballerina bun brings balletcore into laid‑back weekends and casual daytime outfits. Instead of brushing hair perfectly smooth, use your fingers to pull it into a ponytail so some texture and movement stay visible. Twist the ponytail loosely, then wrap it around the base, letting a few shorter pieces slip out naturally as you pin. You can gently tug on sections of the bun to make it fuller and less structured, almost like a soft cloud on top of your head. Finish with a flexible‑hold hairspray or texturizing spray so the bun holds its shape without losing that effortless, undone charm.
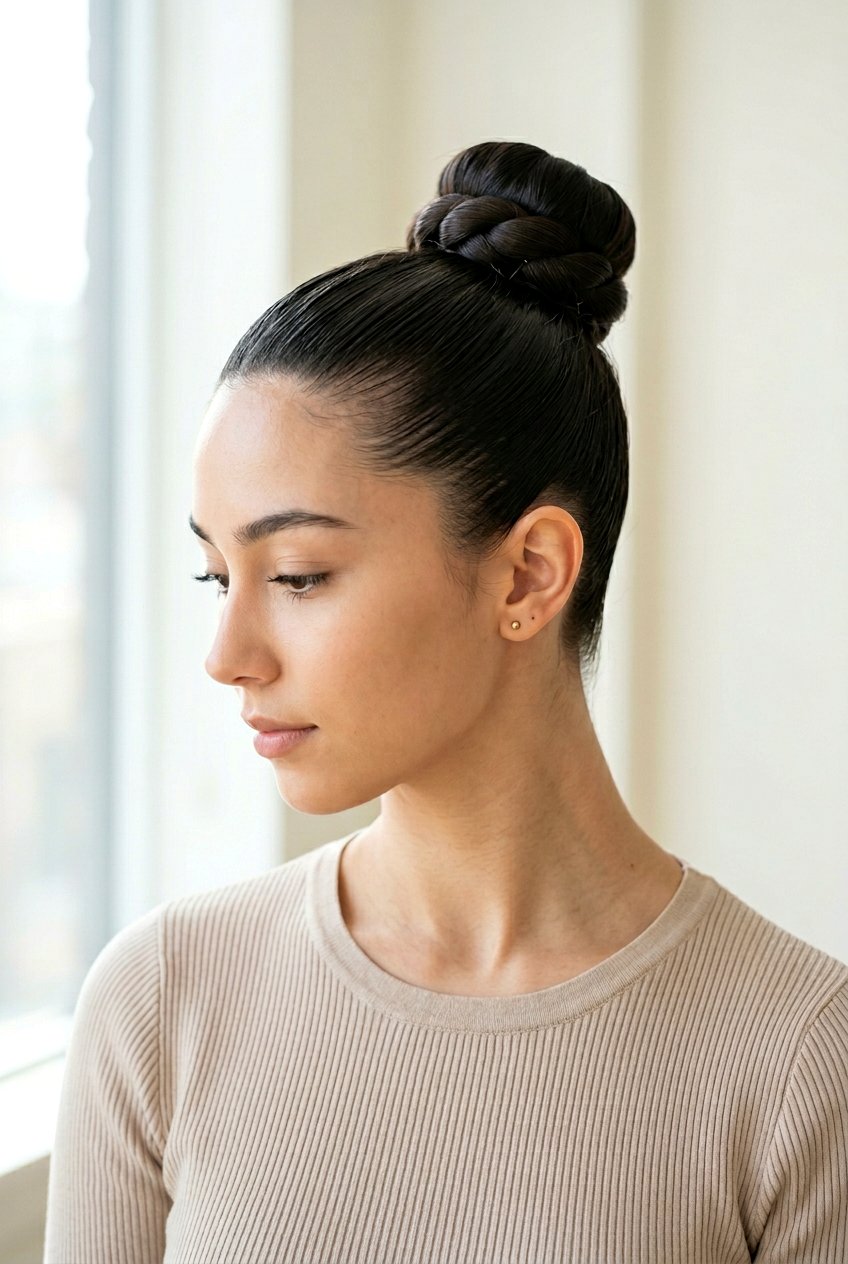
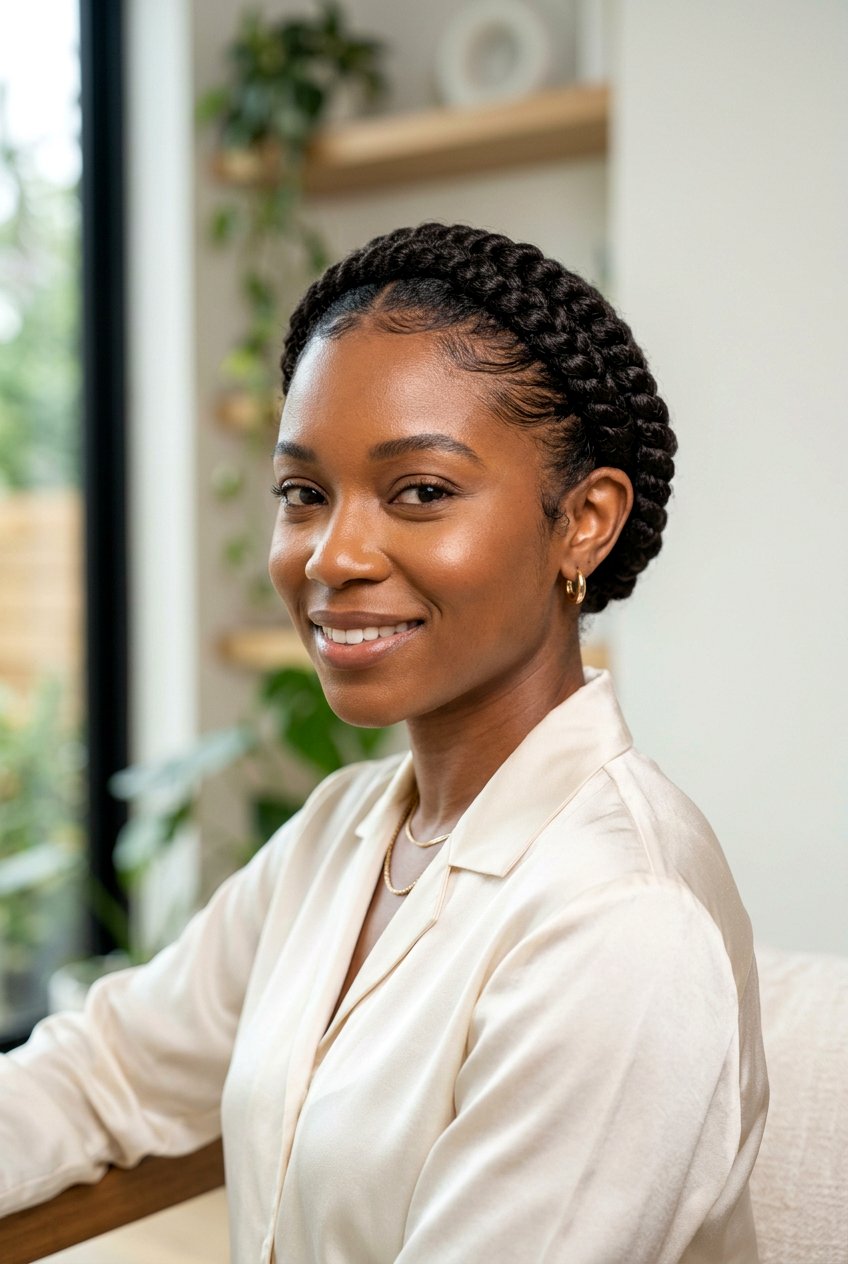
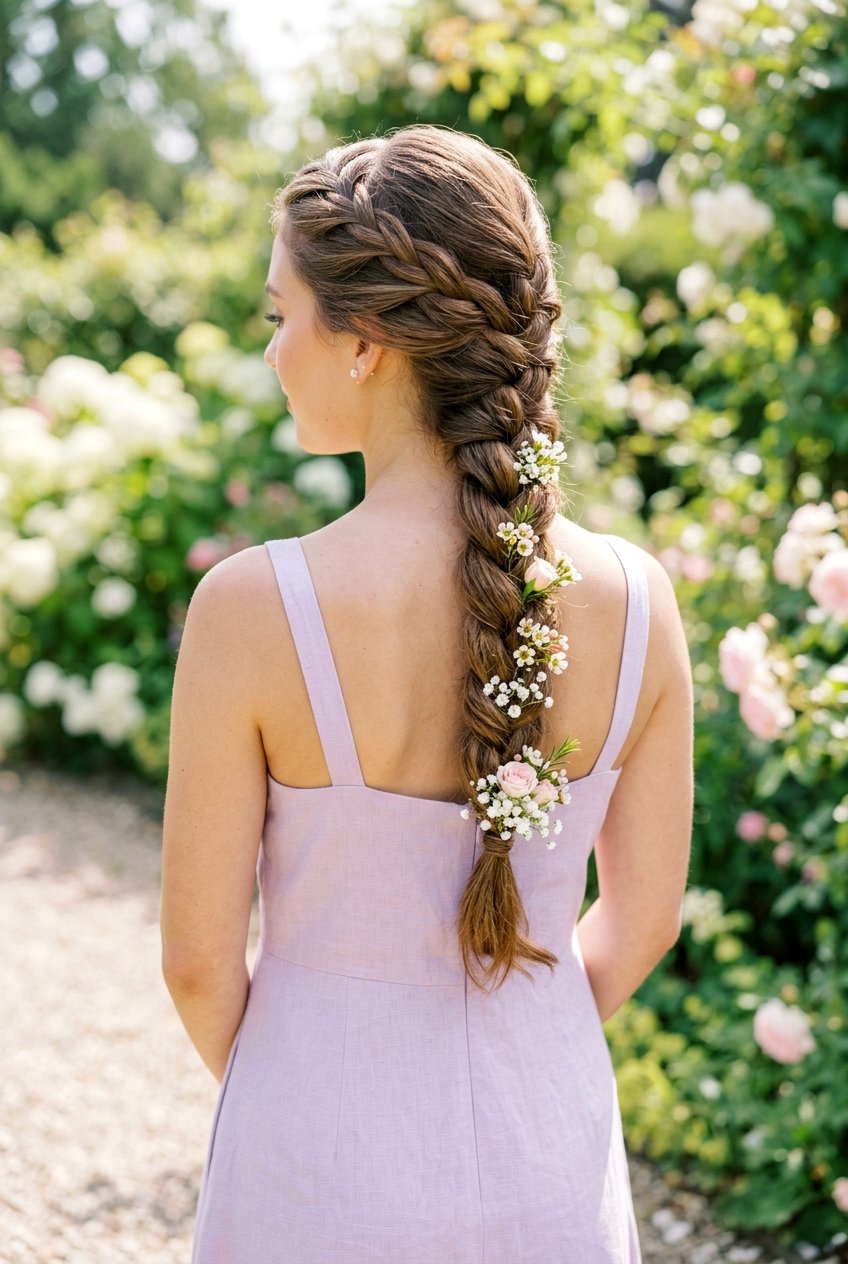
6. Braided Ballerina Bun
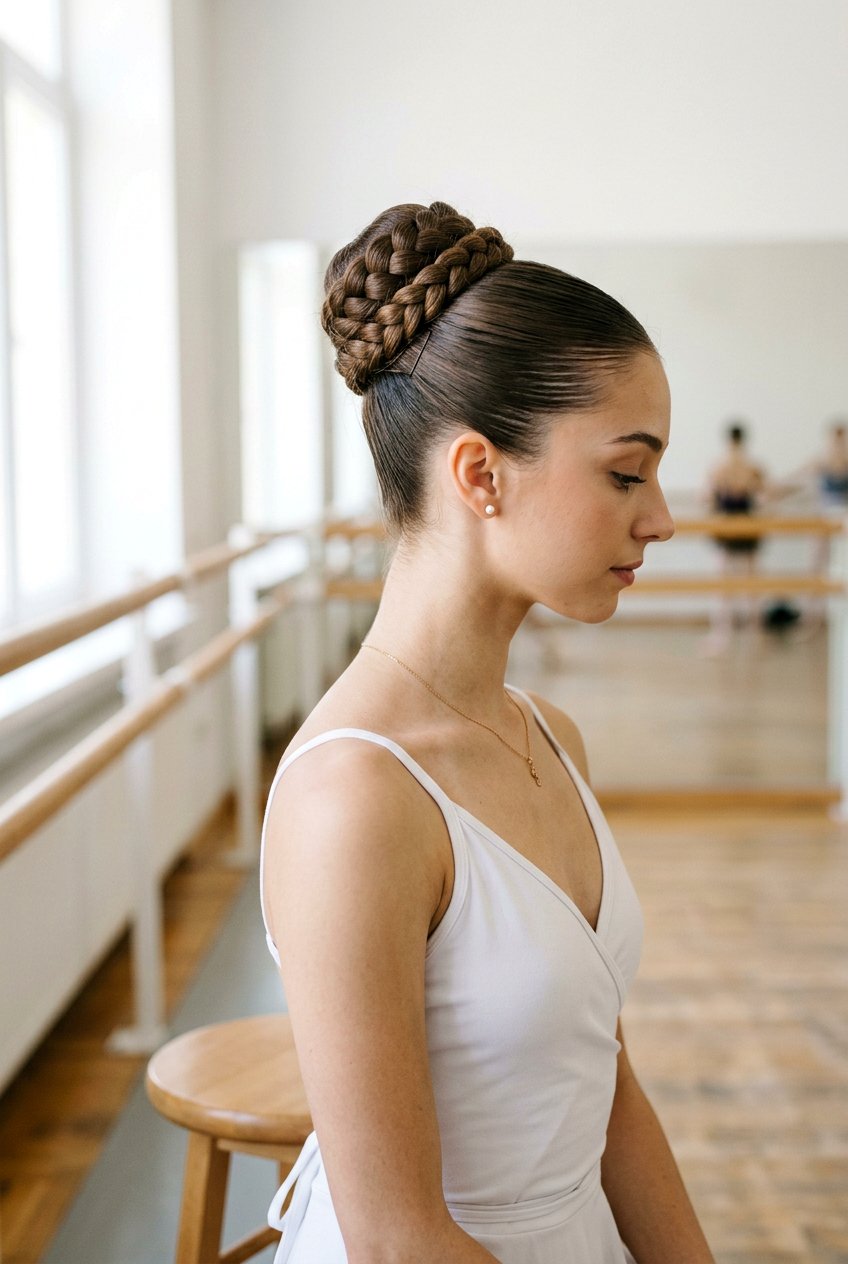
A braided ballerina bun combines the clean lines of a bun with the visual interest of a braid wrapped around it. Start by pulling hair into a sleek ponytail, then separate the ponytail into three strands and braid them all the way to the ends. Secure the braid with a small elastic and wrap it around the base in a spiral, pinning it flat for a neat, woven bun. This look works beautifully for special events because the braided texture catches light and photographs well from every angle. A touch of shine spray will emphasize the pattern and help your bun look detailed without being overly complicated or time‑consuming.
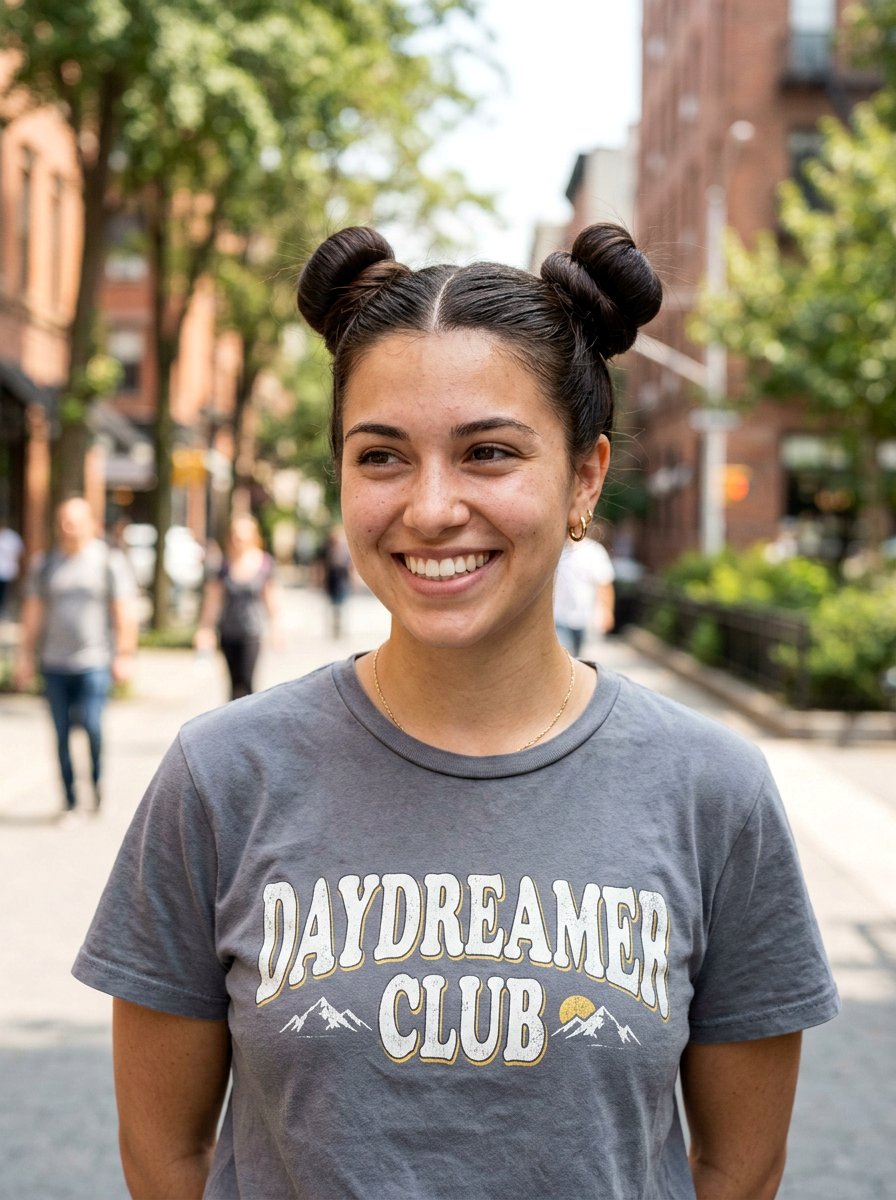
7. Double Ballerina Space Buns
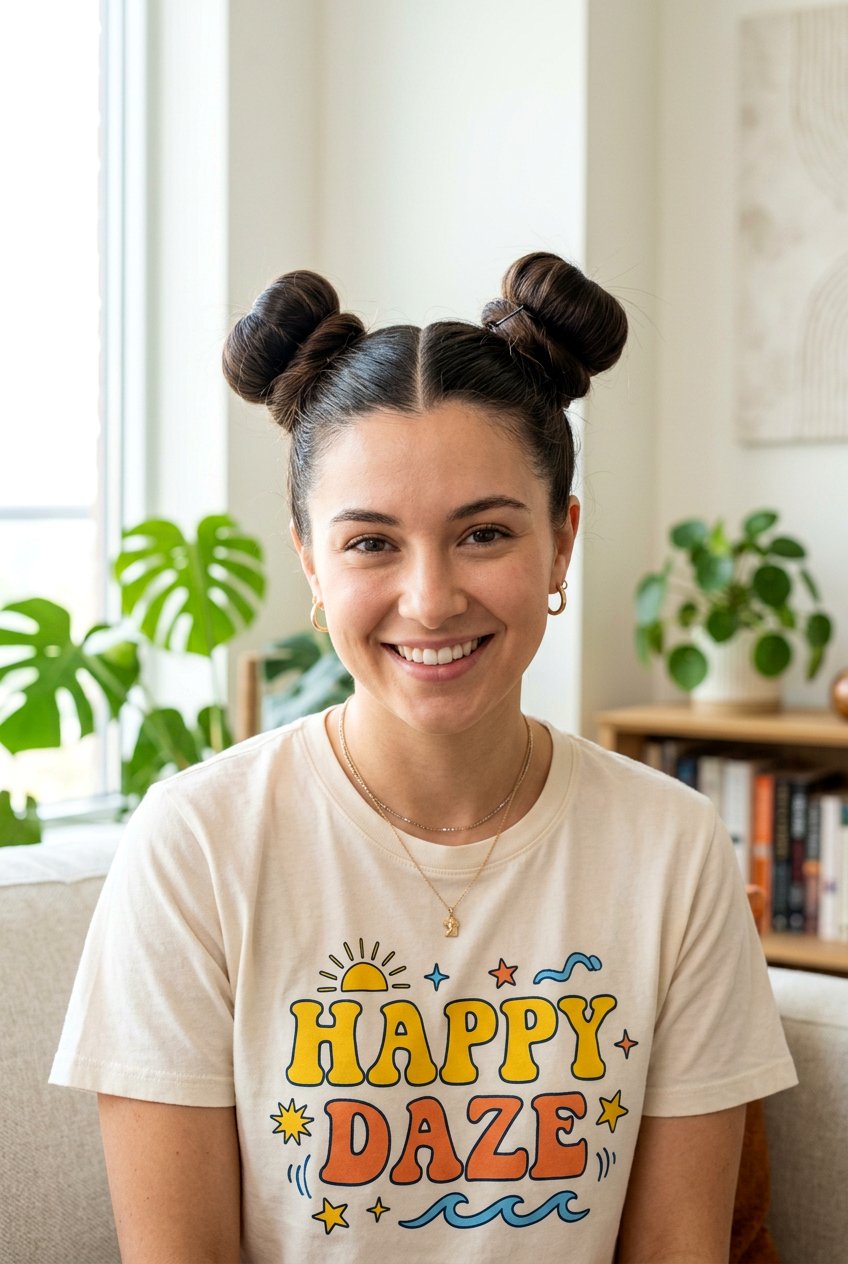
Double ballerina space buns bring playful energy to the traditional ballet bun shape. Part your hair straight down the middle, then create two high ponytails placed symmetrically on either side of the crown. Twist each ponytail into a rope, wrap them into buns, and secure with plenty of bobby pins so they sit even and balanced. You can keep the base sleek for a cleaner finish or pull out a few face‑framing pieces for a softer, trendier feel. This look is perfect for festivals, casual hangouts, or anytime you want a cute updo that still keeps hair completely off your neck and face.
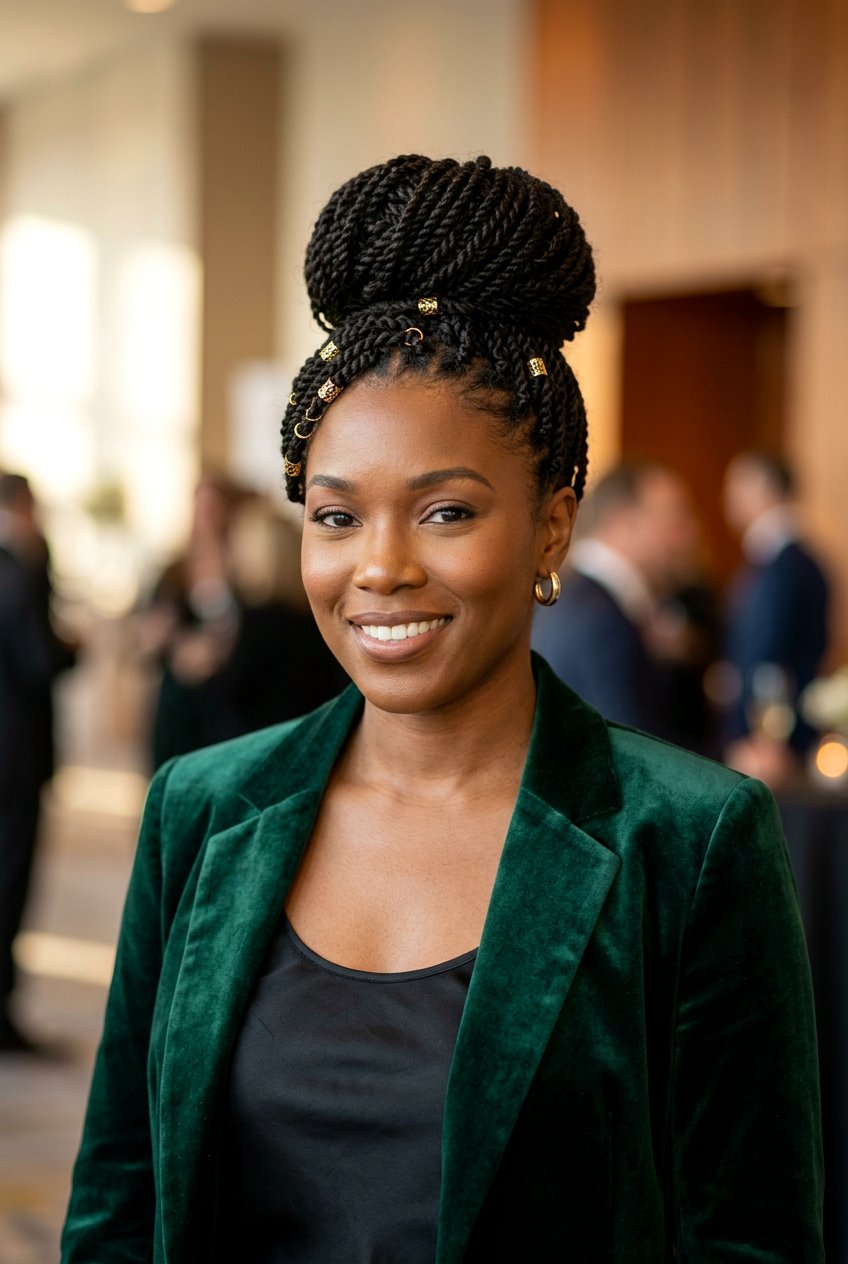
8. Ballerina Bun With Donut
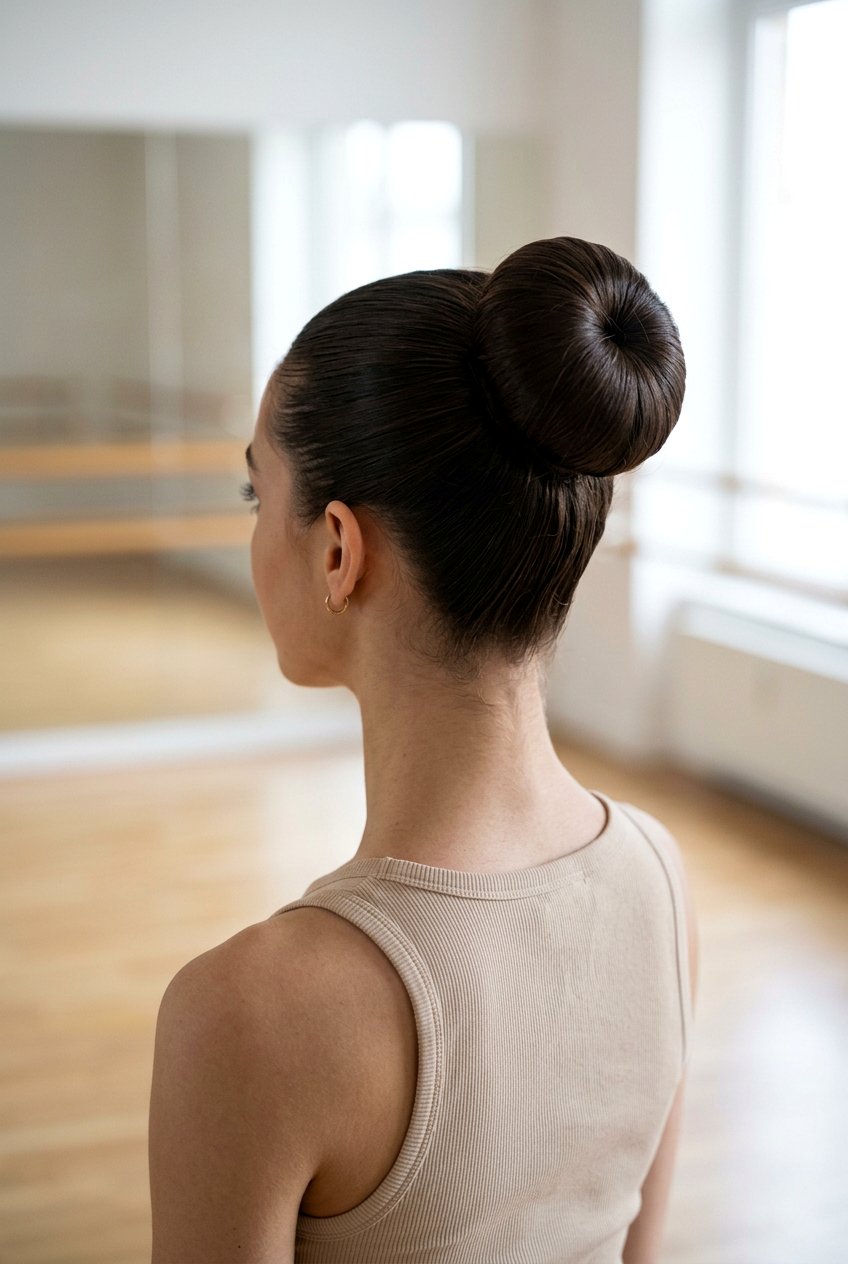
A ballerina bun with a donut is ideal when you want a perfectly round, full bun even on thinner hair. Create a ponytail where you want the bun, then slide a bun donut over the elastic so your hair falls evenly around the sponge ring. Spread the hair smoothly over the donut, tuck the ends underneath, and secure them with pins until the sponge is completely hidden. This method creates a tidy, uniform shape that looks almost professional with minimal effort. Finish with gel or hairspray at the roots to keep flyaways down so the focus stays on that perfect, rounded silhouette.
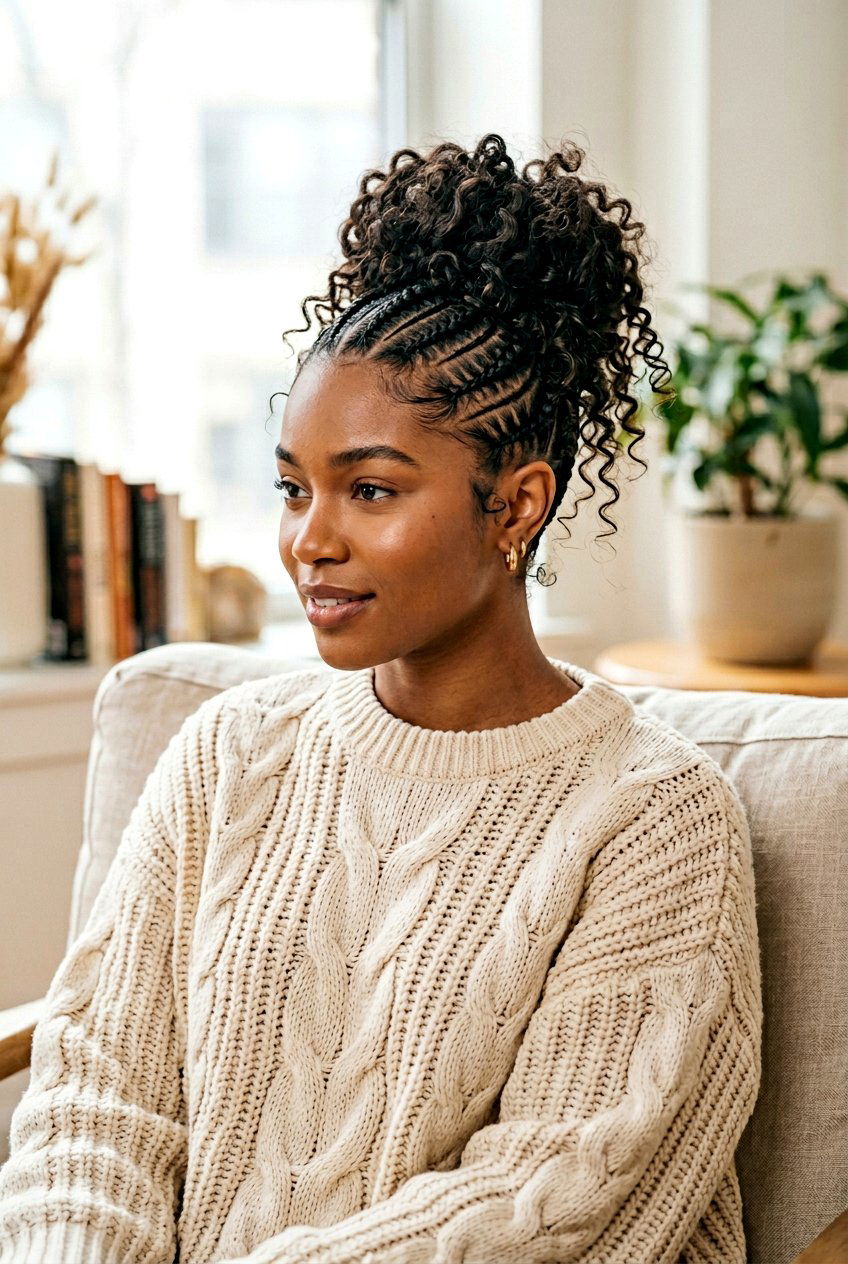
9. Curly Hair Ballerina Bun
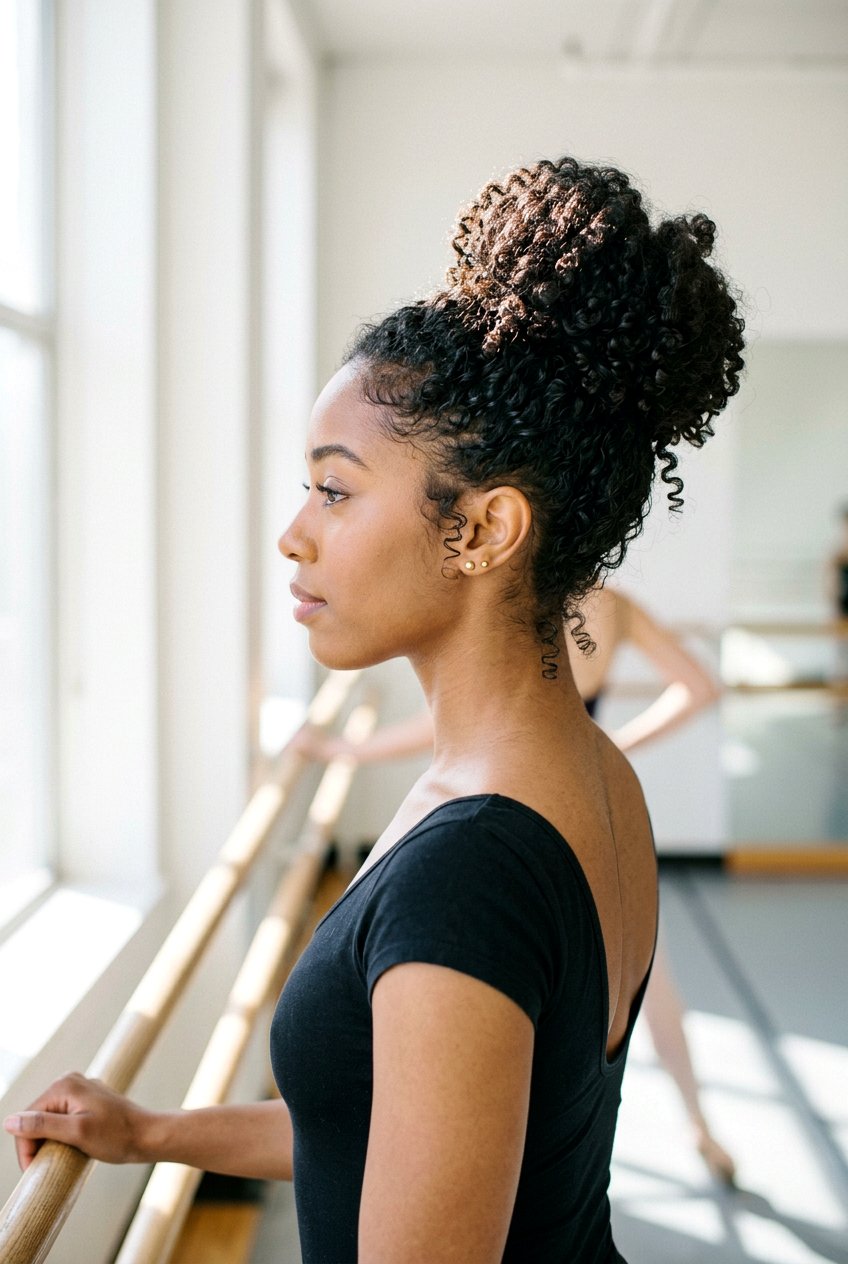
A curly hair ballerina bun celebrates texture while still offering the control of a classic updo. Work a leave‑in conditioner or curl cream through damp curls, then gently gather them into a ponytail without over‑brushing so you maintain definition. Coil the ponytail loosely into a bun, pinning sections where they naturally fall instead of forcing them completely smooth. Let some curls puff out slightly from the bun for volume, especially on top, which gives a romantic, cloud‑like effect. Use a light‑hold gel along the hairline to control frizz while still keeping the bun soft, bouncy, and true to your natural texture.
10. Ballerina Bun For Short Hair
A ballerina bun for short hair is absolutely possible with a few strategic tricks. Start by gathering as much hair as you can into a small ponytail at the crown or back of your head, using gel or pomade to sweep shorter pieces. Twist the ponytail into a mini bun and secure it with pins, then pin any remaining shorter sections around it to build the shape. You can also use a small bun donut to add volume if your ponytail is very short. Finish by smoothing the sides and nape, then mist with strong‑hold hairspray so everything stays in place and looks intentionally sleek.
11. Ballerina Bun With Headband
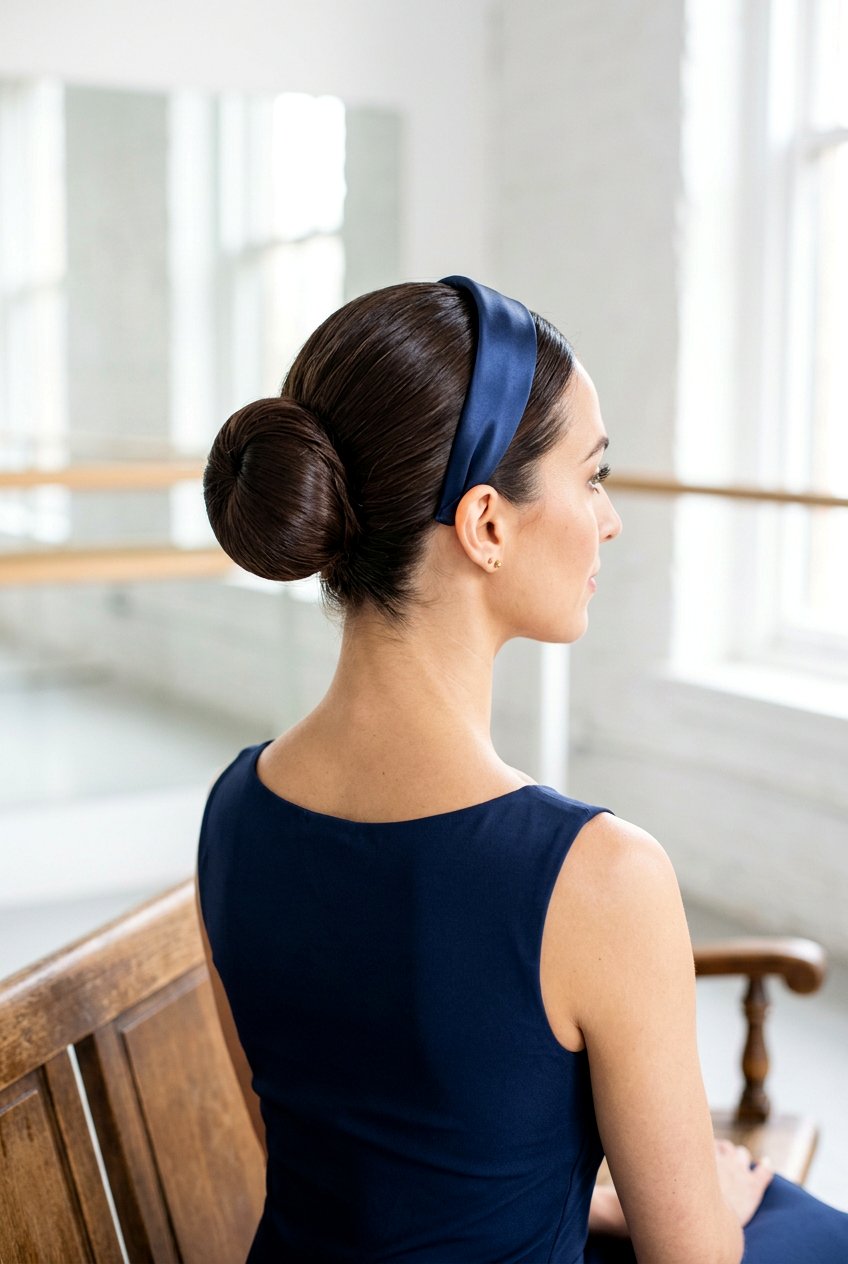
A ballerina bun with headband instantly looks polished and put together with almost no extra effort. Create a classic high or low bun first, making sure the base is secure and as smooth as you like. Then slide on a fabric, satin, or embellished headband, positioning it just behind your hairline so it frames your face. The headband helps hide any minor bumps and adds a stylish focal point without competing with the bun. This combo works well for workdays, brunch, or events where you want hair off your face but still a touch of personality and color up top.
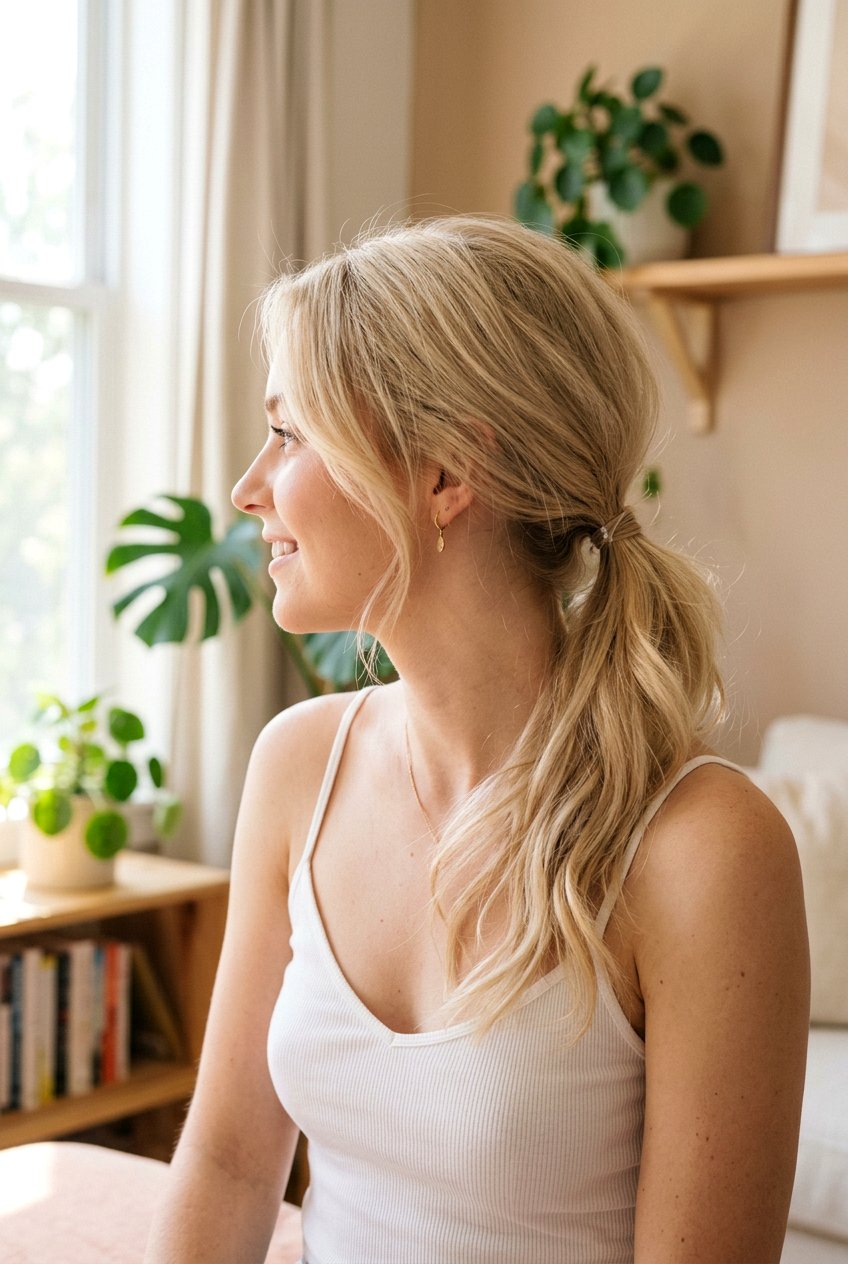
12. Ballerina Bun With Scrunchie
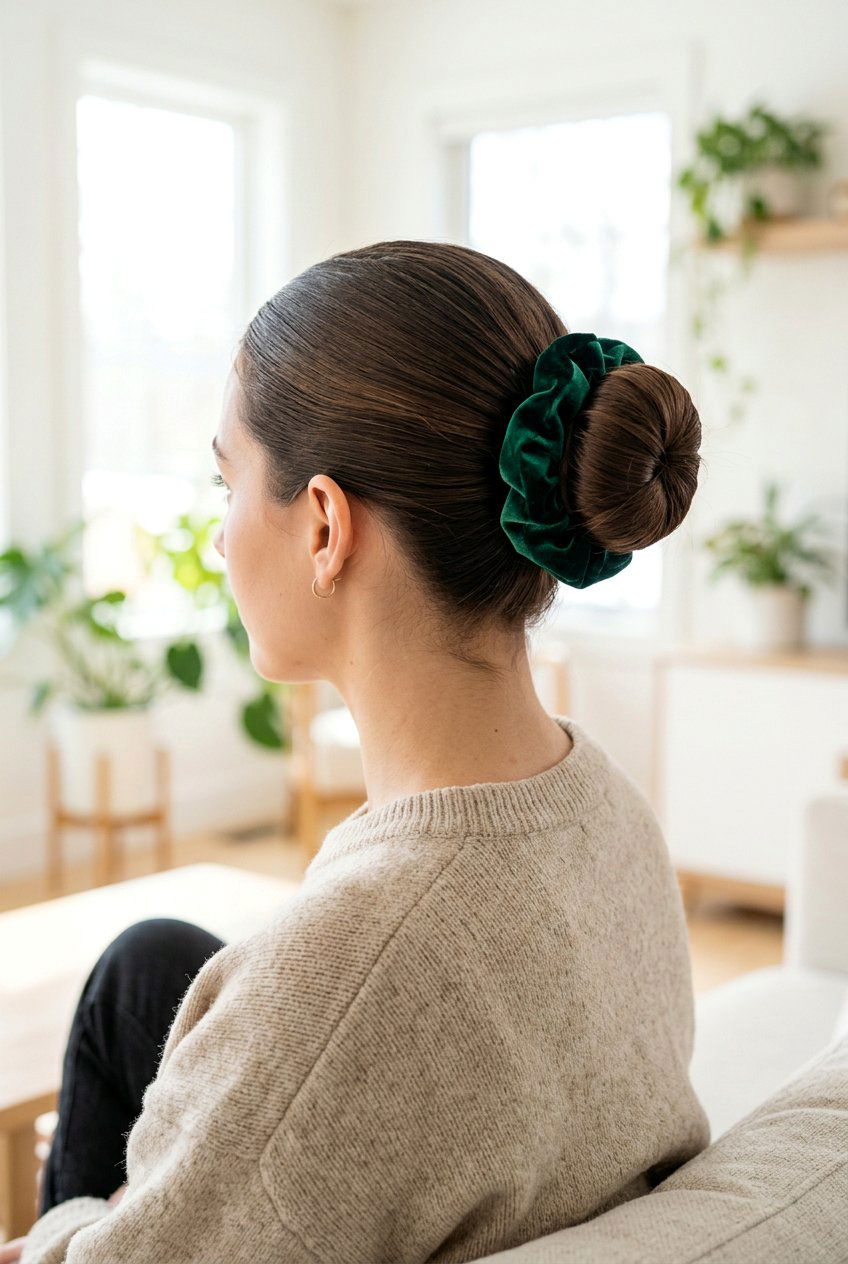
A ballerina bun with scrunchie blends nostalgic charm with practical hold. Begin with a smooth ponytail in your preferred position, then create your bun by twisting and wrapping the hair around the base. Once the pins are in place, slide a scrunchie over the bun, resting it around the base so it frames the shape. Choose a scrunchie in velvet, satin, or a fun print to match your outfit or mood. This look feels softer and more playful than a bare bun, while the scrunchie also adds extra support to keep everything secure throughout the day.
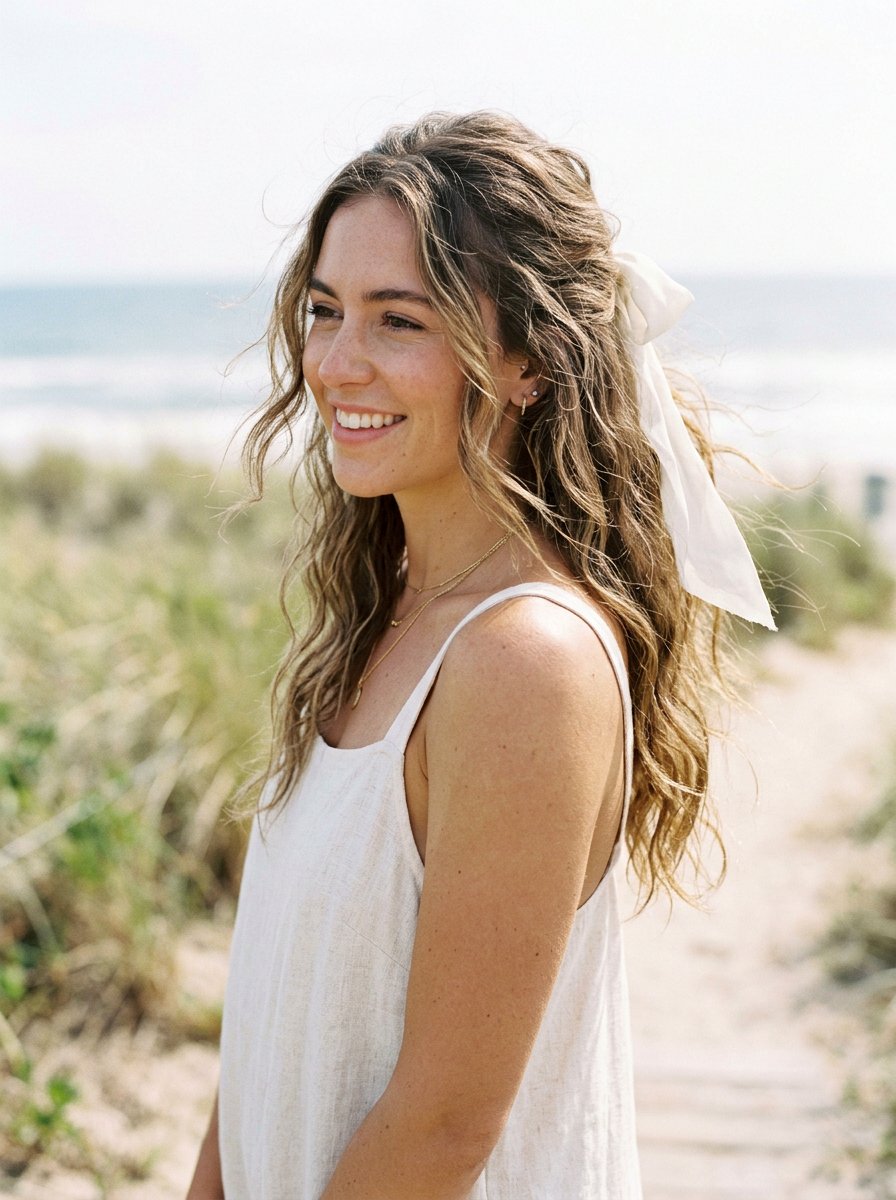
13. Ballerina Bun With Ribbon

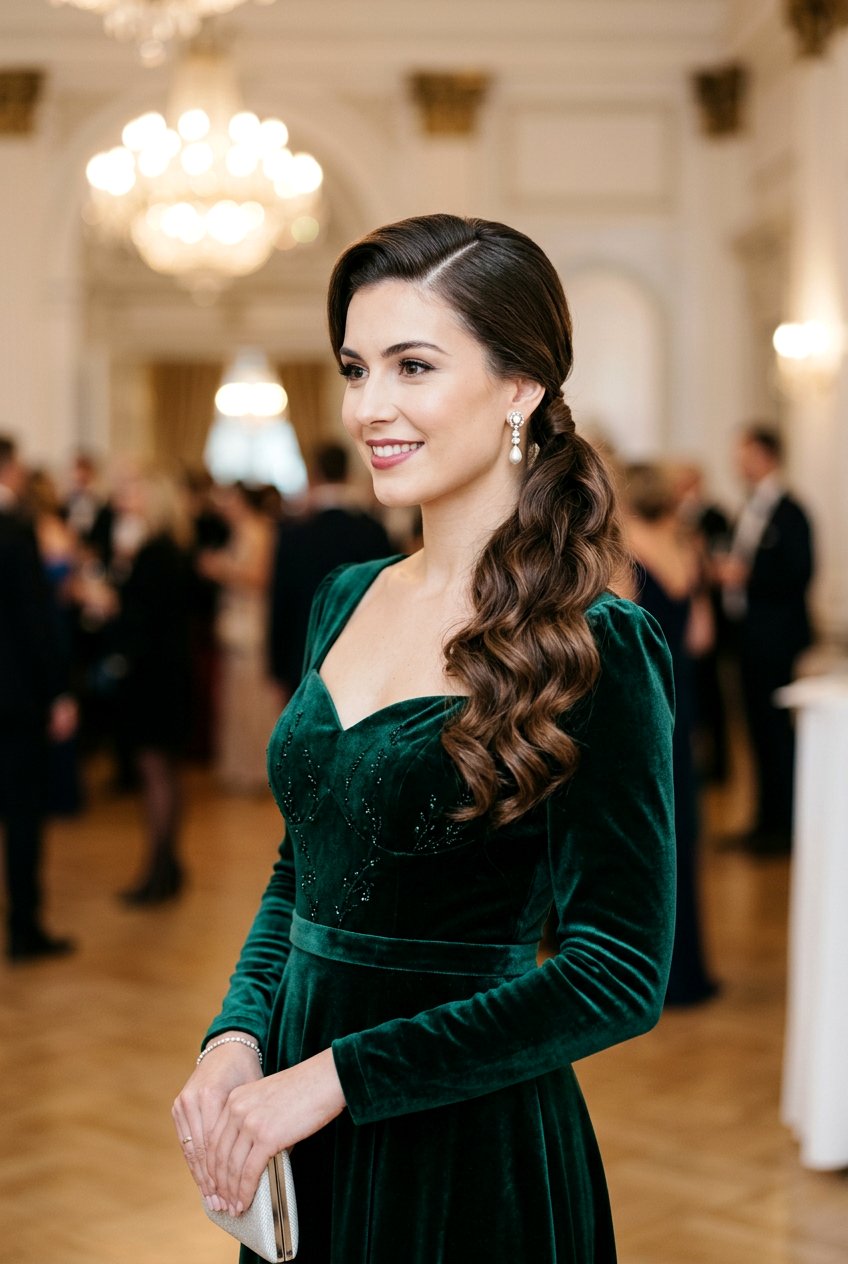
A ballerina bun with ribbon is a timeless choice that immediately reads sweet and feminine. After creating your bun in a high or low placement, tie a ribbon around the base in a neat bow, letting the tails drape down. You can match the ribbon color to your outfit, keep it neutral, or choose a soft pastel for a subtle ballet‑inspired finish. Make sure the bow sits centered at the back so it looks balanced in photos. A quick spritz of hairspray over the bow and bun helps everything stay smooth and keeps the ribbon from slipping as you move.
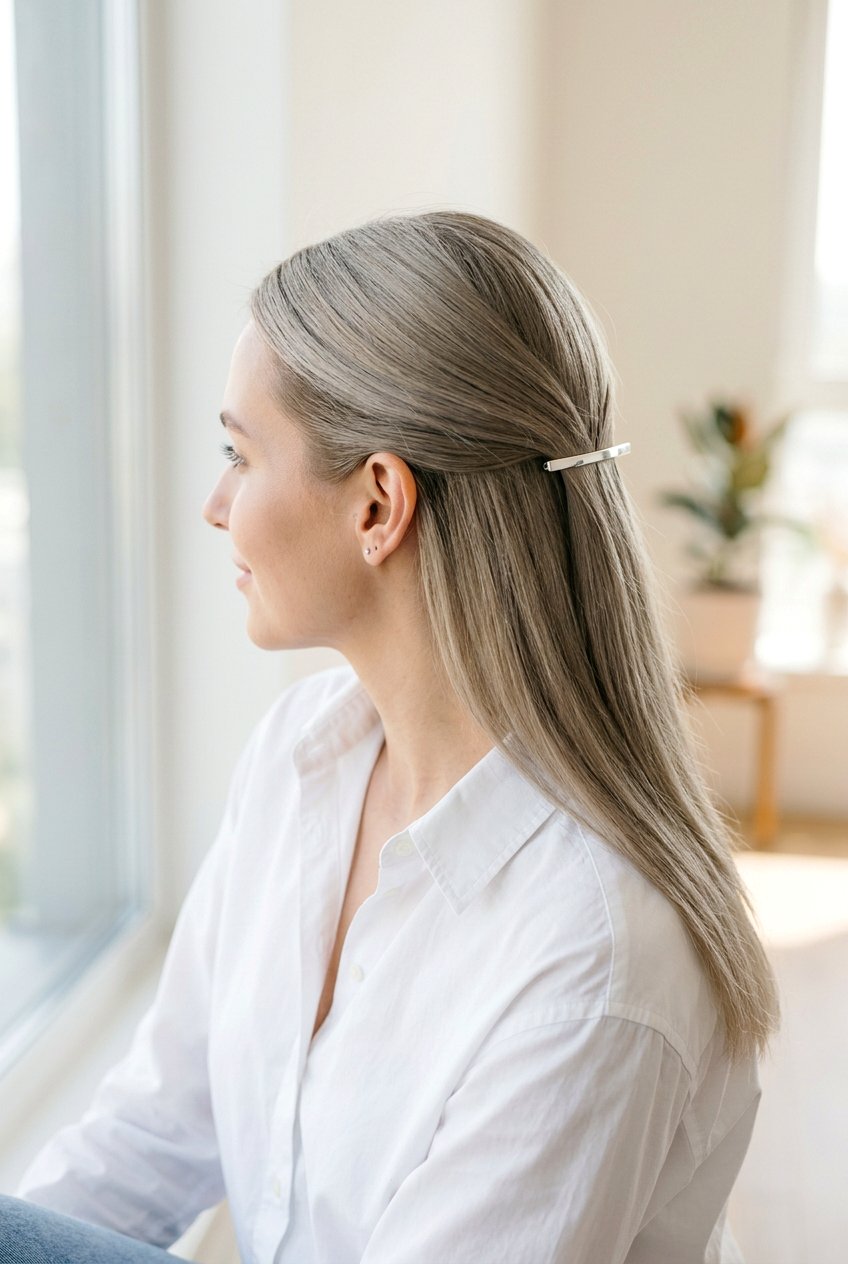
14. Half Up Half Down Ballerina Bun
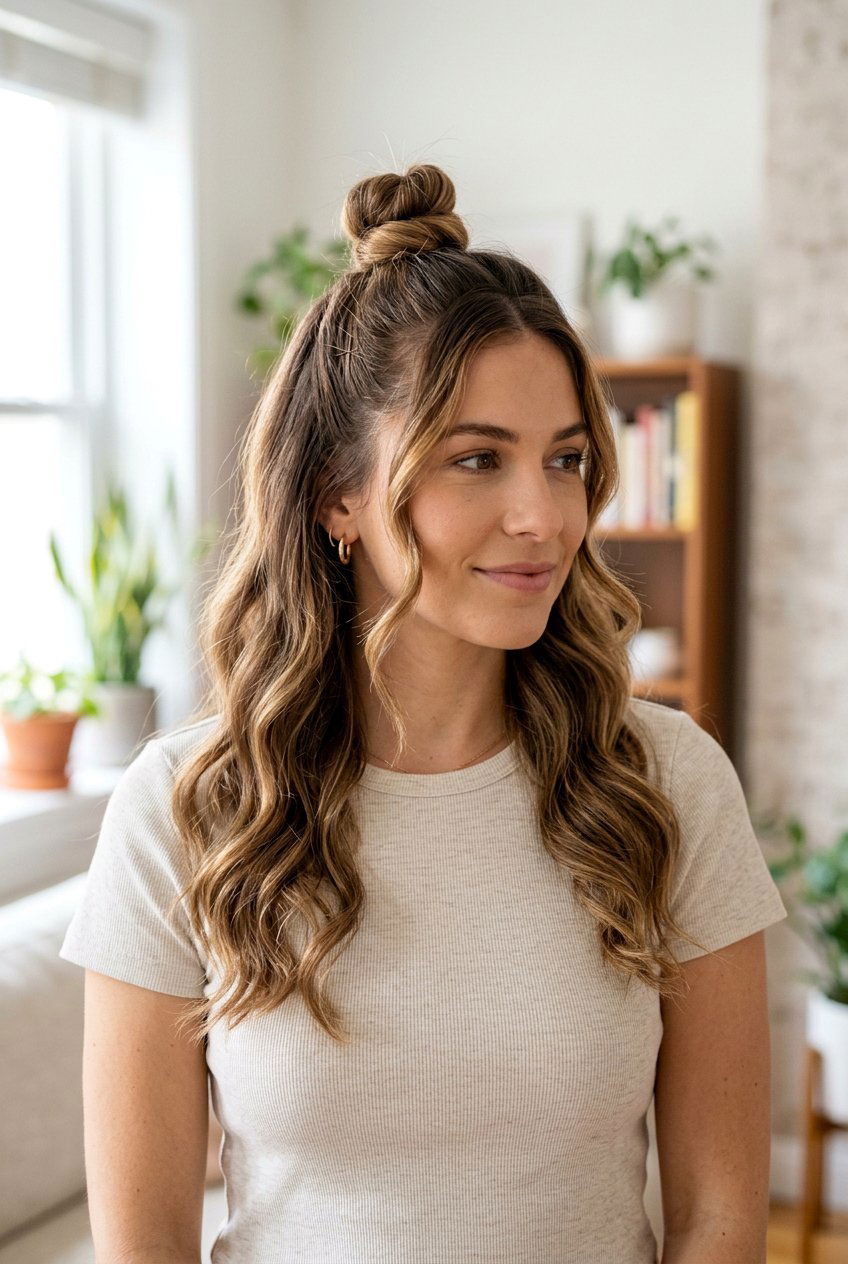
A half up half down ballerina bun gives you the best of both worlds: hair off your face and length flowing freely. Section off the top half of your hair from temples to crown and secure it into a ponytail, leaving the lower half loose. Twist the ponytail into a compact bun, pinning it firmly so it sits neatly above the hanging hair. You can keep the loose lengths straight, wavy, or curly depending on your usual texture and the occasion. This look feels playful yet polished and works especially well if you like volume at the crown without committing to a full updo.
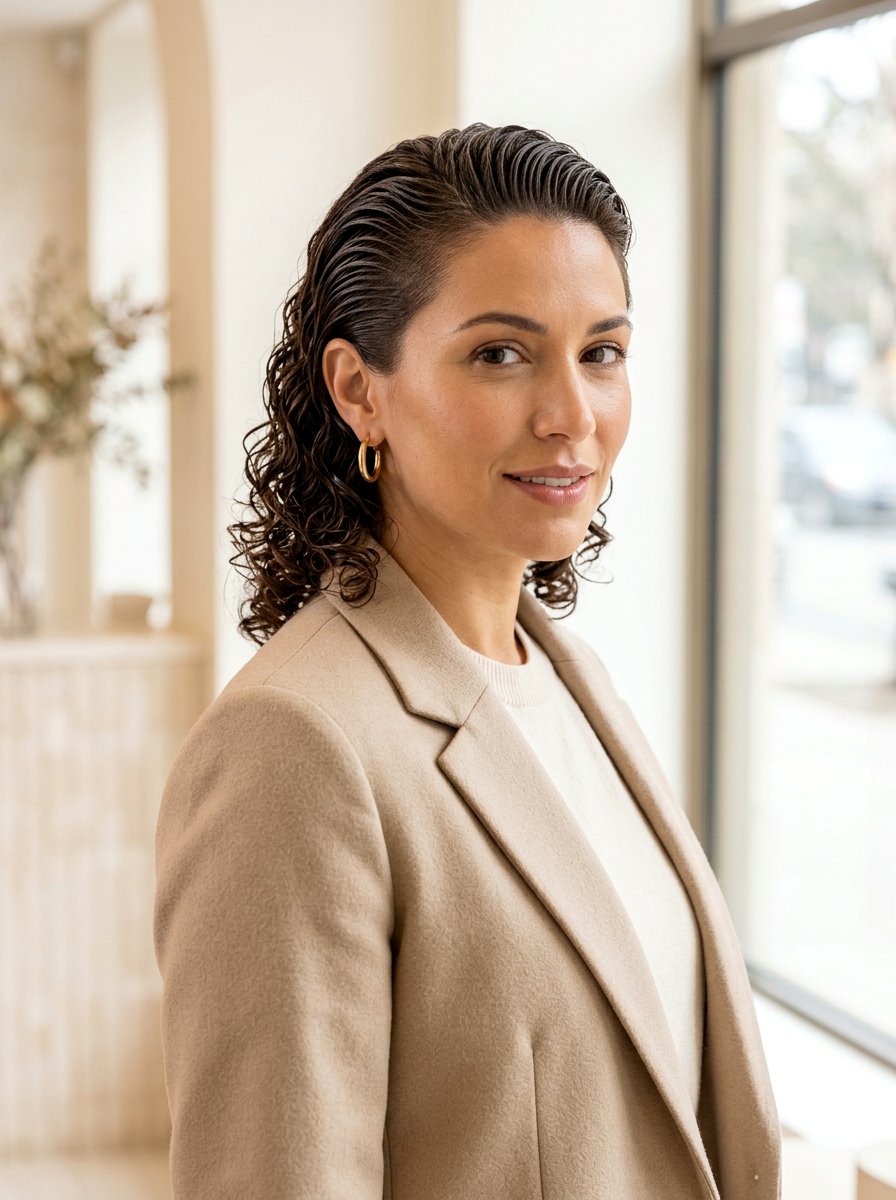
15. Slicked Back Ballerina Bun

A slicked back ballerina bun is all about that ultra‑smooth, high‑shine finish. Start on slightly damp hair and work a generous but even layer of gel or styling cream from roots to mid‑lengths. Use a fine‑tooth comb to pull everything straight back into a ponytail, eliminating any bumps before tightening the elastic. Twist the ponytail into a firm rope, wrap it into a bun, and secure with pins placed close to the base. Seal the look with strong‑hold hairspray and, if you like, a light coat of shine spray for that mirror‑like, red‑carpet finish that stays sleek for hours.
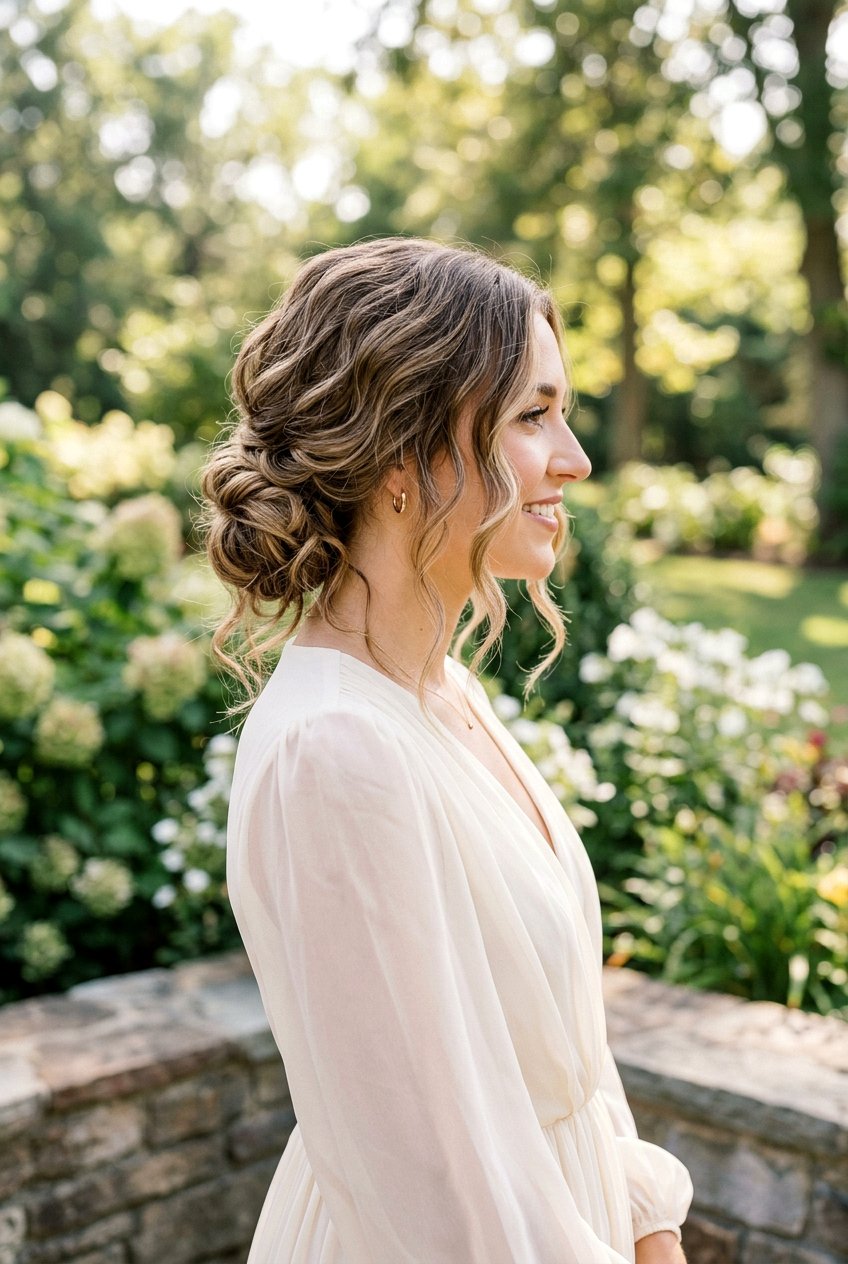
16. Textured Ballerina Bun
A textured ballerina bun offers a softer alternative to super sleek versions while still looking tidy. Prep your hair with a texturizing spray or dry shampoo to add grip and body, especially if your hair is straight or very smooth. Gather it into a ponytail using your fingers instead of a brush so some natural movement remains. Twist the ponytail loosely, then wrap it into a bun, pinning sections while allowing a few small pieces to poke out for dimension. Finish with a flexible‑hold spray so the bun feels touchable and relaxed while still staying secure through your day.
17. Ballerina Bun With Face Framing Pieces
A ballerina bun with face framing pieces softens the look and flatters your features. Leave out a few small strands or longer layers around your hairline before pulling the rest into a bun. Create your preferred bun shape, then lightly curl or smooth the loose pieces so they fall nicely along your cheeks and jawline. This detail helps balance a high bun, especially if you have a larger forehead or prefer not to wear everything pulled straight back. Use a tiny bit of styling cream on those front strands to keep them defined without looking stiff or greasy.
18. Ballerina Bun With Bangs
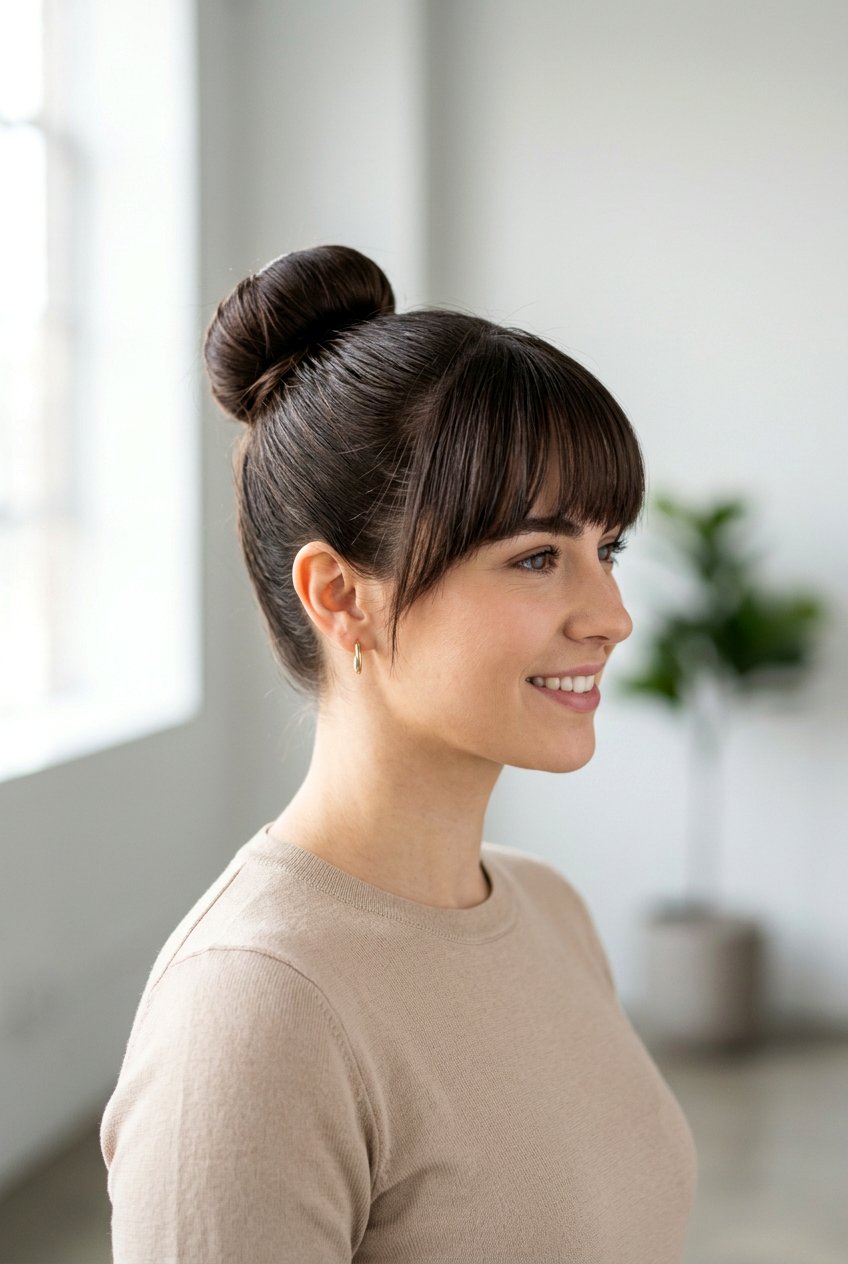
A ballerina bun with bangs offers contrast between a structured updo and soft fringe. Style your bangs first, either straight, slightly curved under, or softly parted, depending on your cut. Then gather the rest of your hair into a bun, being careful not to pull the bangs back or disturb their shape. A high bun showcases full blunt bangs, while a lower bun looks lovely with curtain or wispy fringe. Finish with light hairspray across the bangs and bun so everything stays in place but your fringe still moves naturally as you go about your day.
19. Ballerina Bun For Thick Hair
A ballerina bun for thick hair focuses on control and weight distribution so it feels comfortable. Apply a smoothing cream or light oil to damp hair, then blow‑dry or stretch it so it is easier to gather. Create a firm ponytail using a strong elastic, and consider splitting the ponytail into two sections, twisting each separately for easier wrapping. Coil the sections around the base, layering them to build a full but balanced bun, and use plenty of large bobby pins. A final layer of strong‑hold spray will keep everything controlled while the shape shows off your natural thickness beautifully.
20. Ballerina Bun For Fine Hair
A ballerina bun for fine hair aims to maximize volume without losing the neat outline. Start by applying volumizing mousse to damp roots and blow‑drying upside down for extra lift. Gather hair into a ponytail and gently backcomb the lengths before twisting them into a bun to create more body. You can also add a small bun donut under the hair to bulk up the shape while keeping the outside smooth. Secure with pins and finish with lightweight hairspray so your bun looks plush and full without dragging fine strands flat against your scalp.
Conclusion:
Ballerina buns have evolved from strict stage hair into one of the most versatile updos you can wear. You can go classic and sleek, low and romantic, braided, textured, or accessorized, all while keeping the same basic wrapped‑bun foundation. Understanding your hair type helps you choose the right prep products, from smoothing gels for thick hair to volumizing mousse for fine strands. Small tweaks like parting, placement, and accessories also make a big difference in how modern or traditional the final look feels. With a little practice and the right pins and hairspray, you will have a rotation of ballerina buns ready for workouts, workdays, and special events alike.
You'll Like These Styles:
Leave a Reply