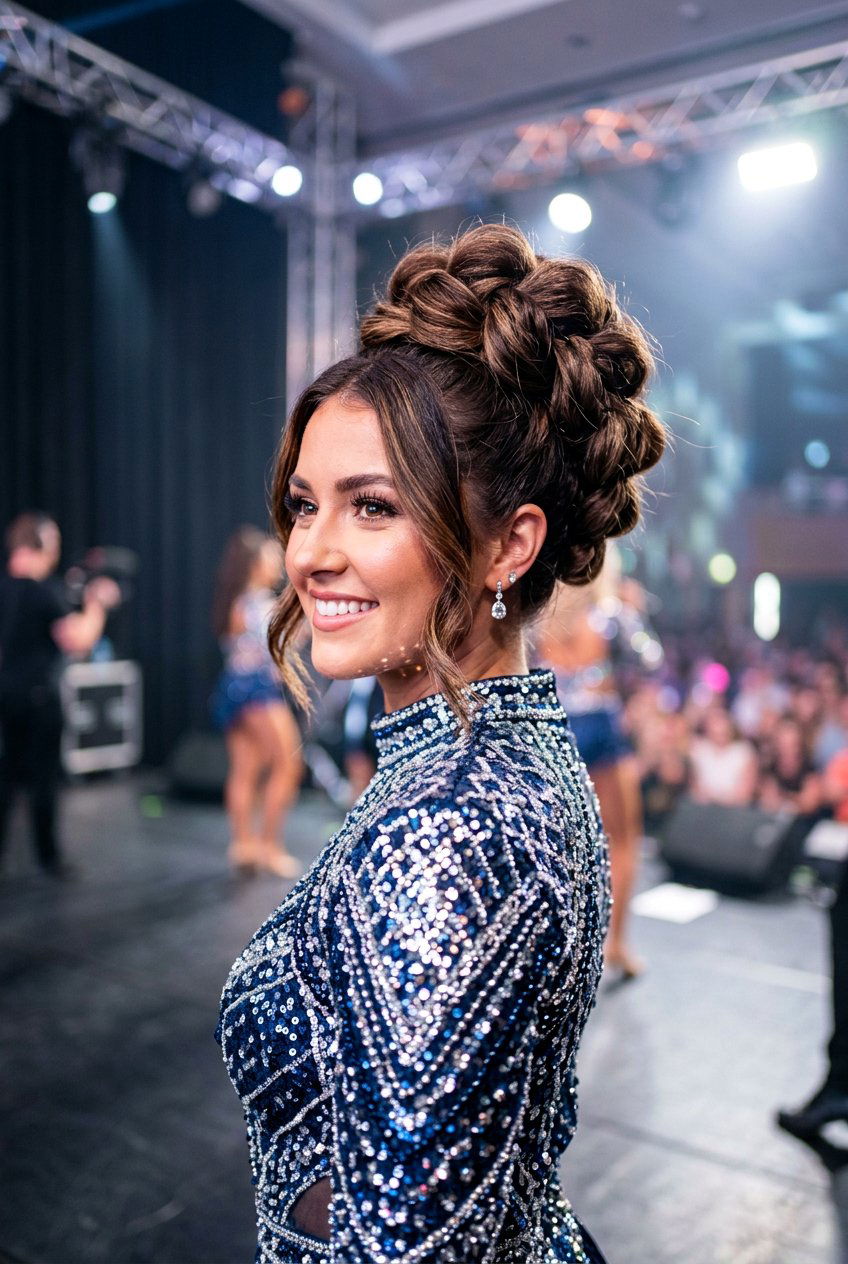
A clean recital bun is almost like part of a dancer’s uniform, helping the whole group look polished, professional, and in sync on stage. For parents and dancers, though, getting that bun smooth, centered, and secure can feel stressful, especially when you are rushing to the theater. The good news is that most recital buns follow the same basic logic: start with a firm ponytail, control flyaways, and then wrap the hair so it stays put through turns and jumps. In this guide, you will find a mix of low, mid, and high bun options, plus braided and sock bun variations that work for different hair lengths and textures. Each look focuses on neat lines, comfort, and security so dancers can focus on their performance, not their hair.
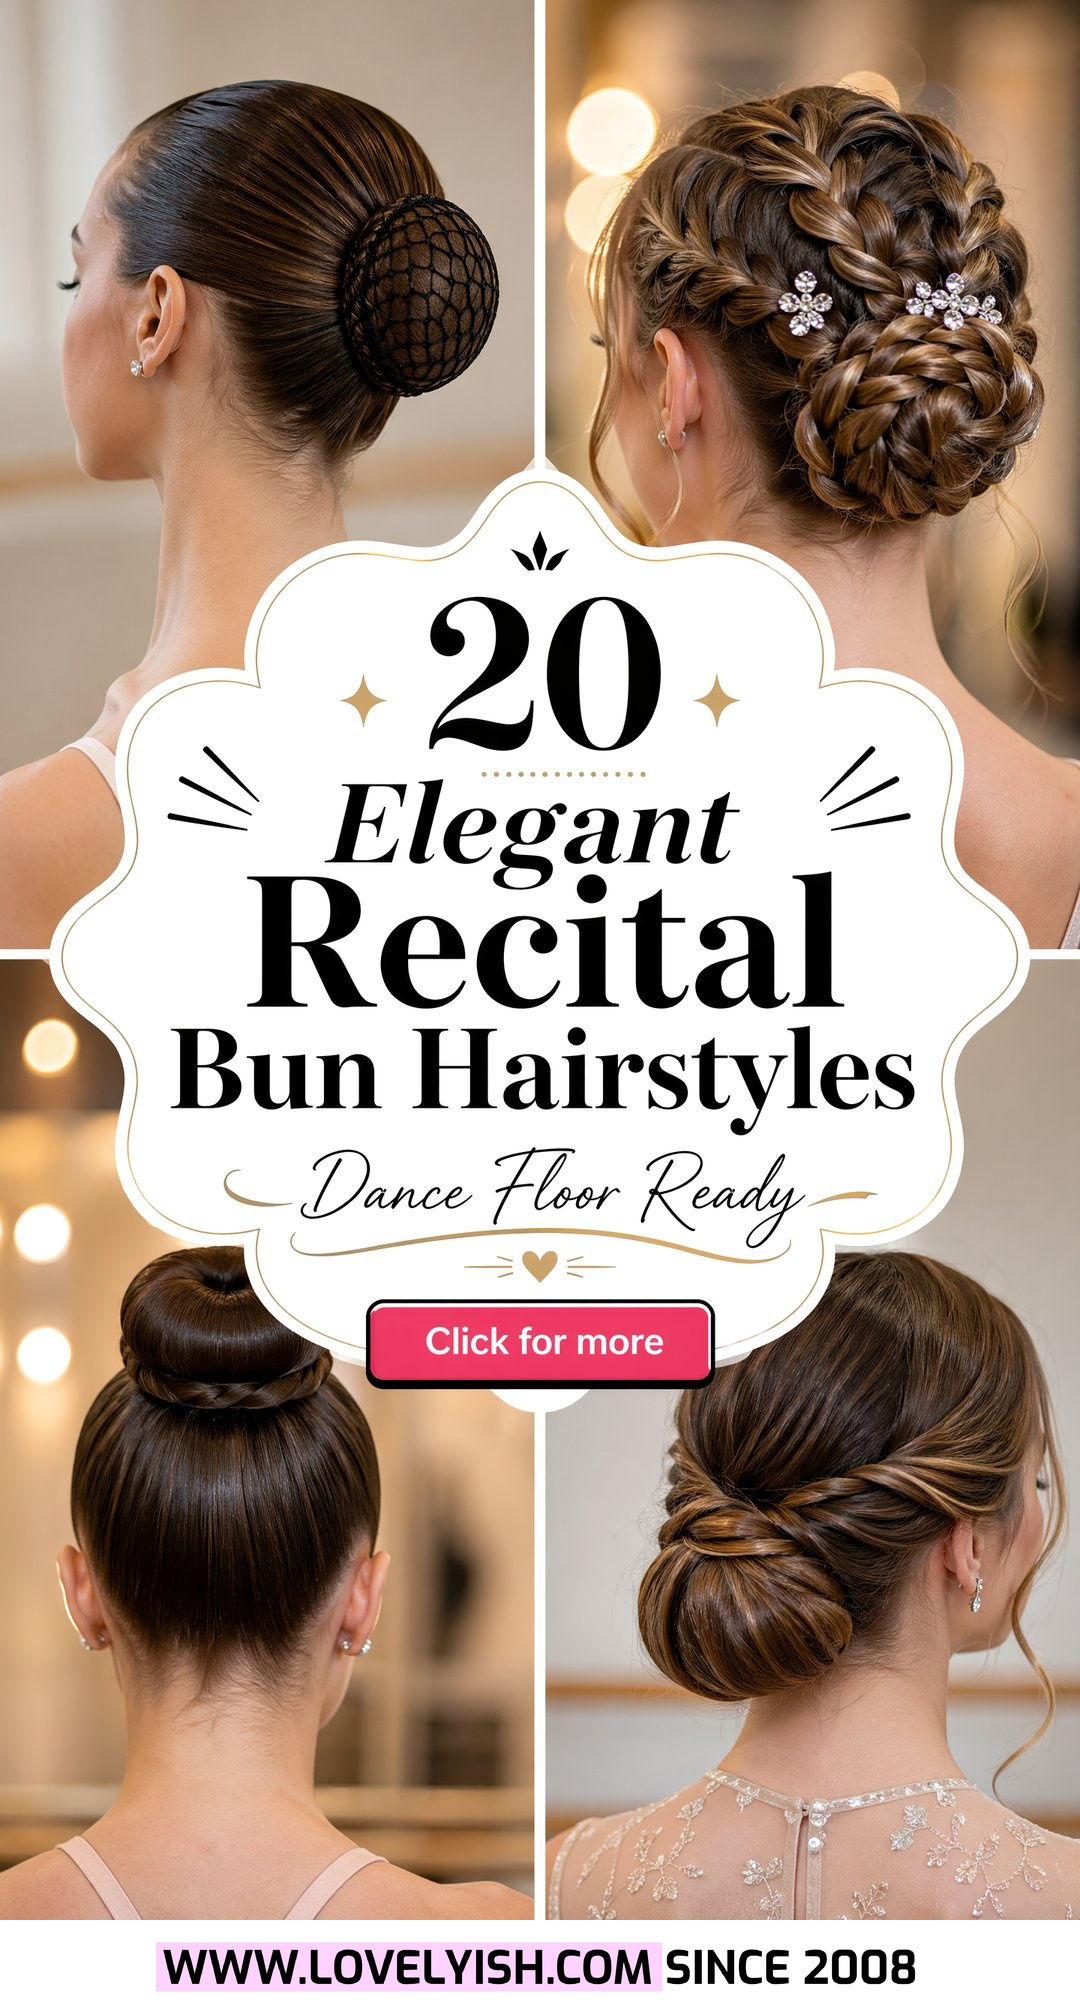
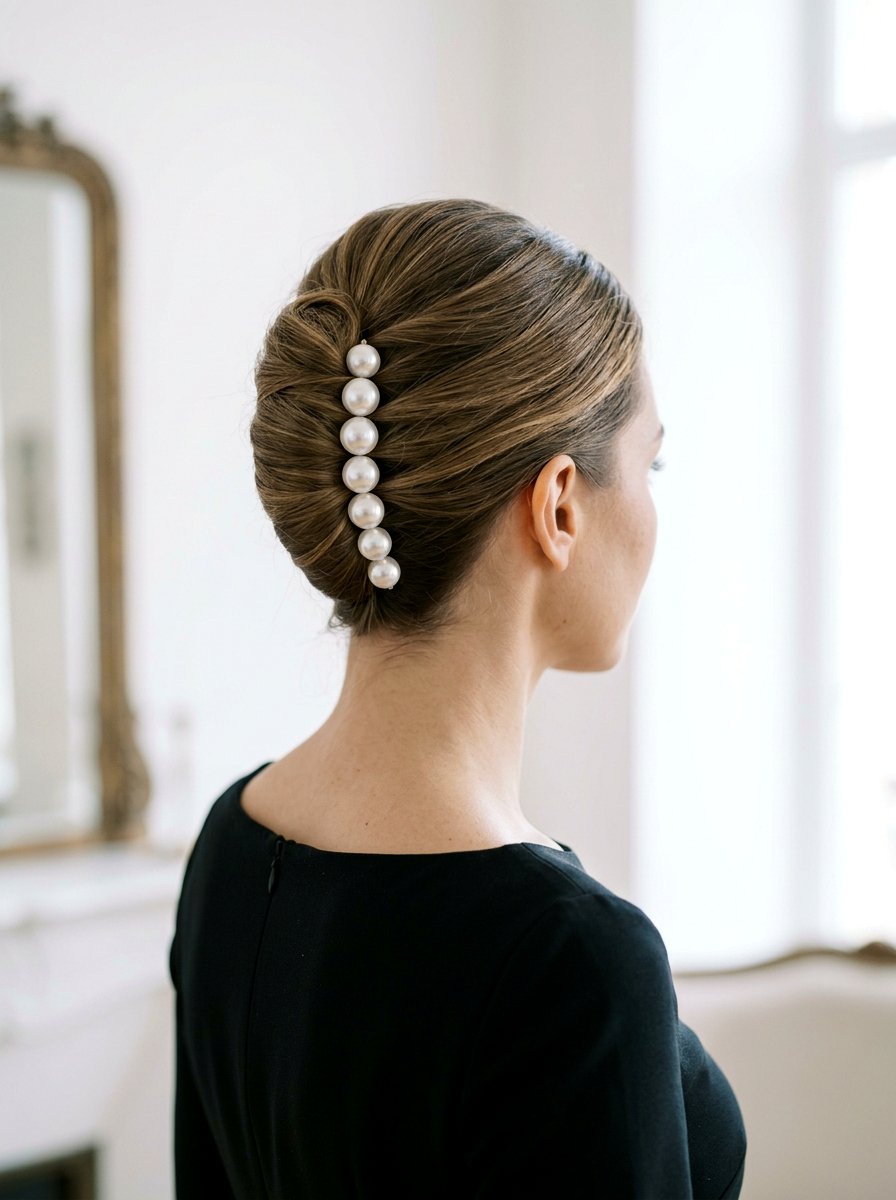
1. Classic Ballet Recital Bun
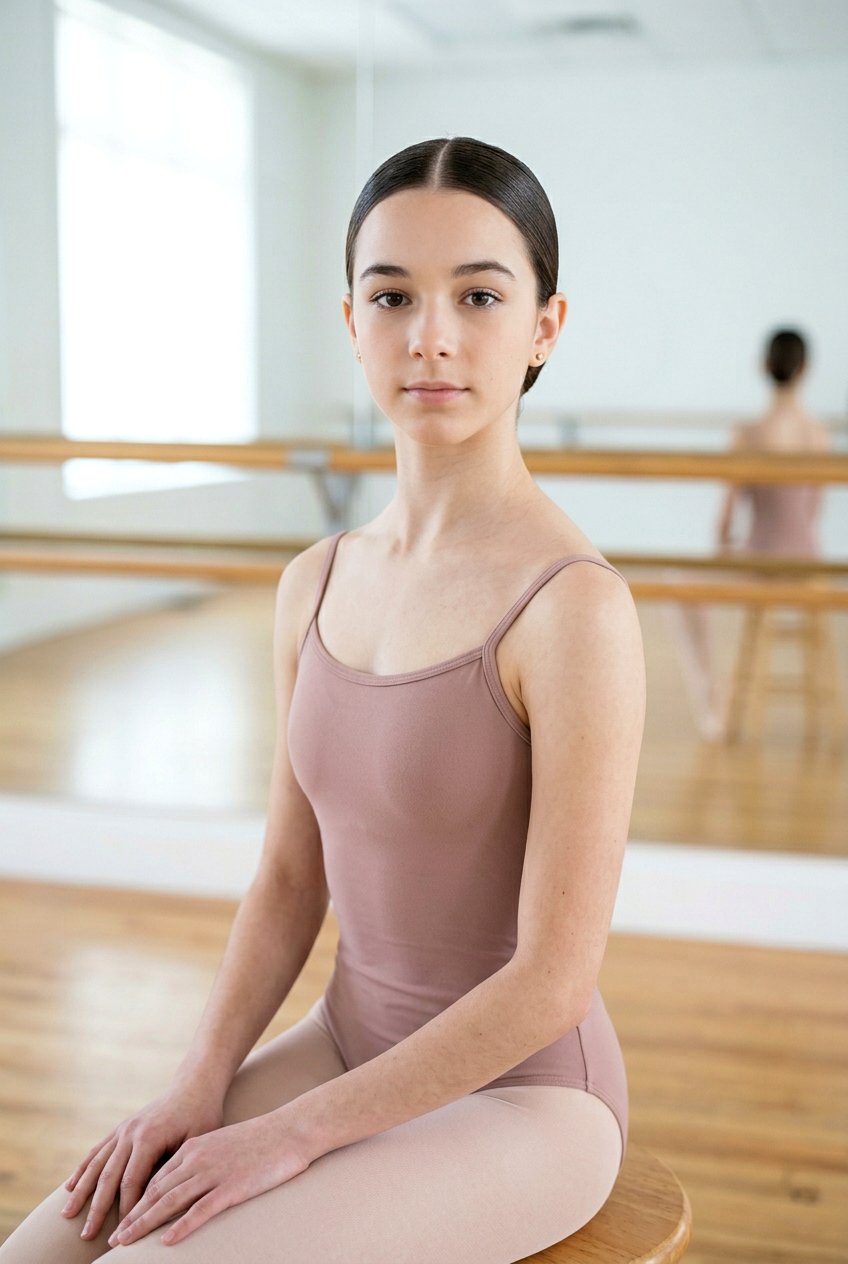
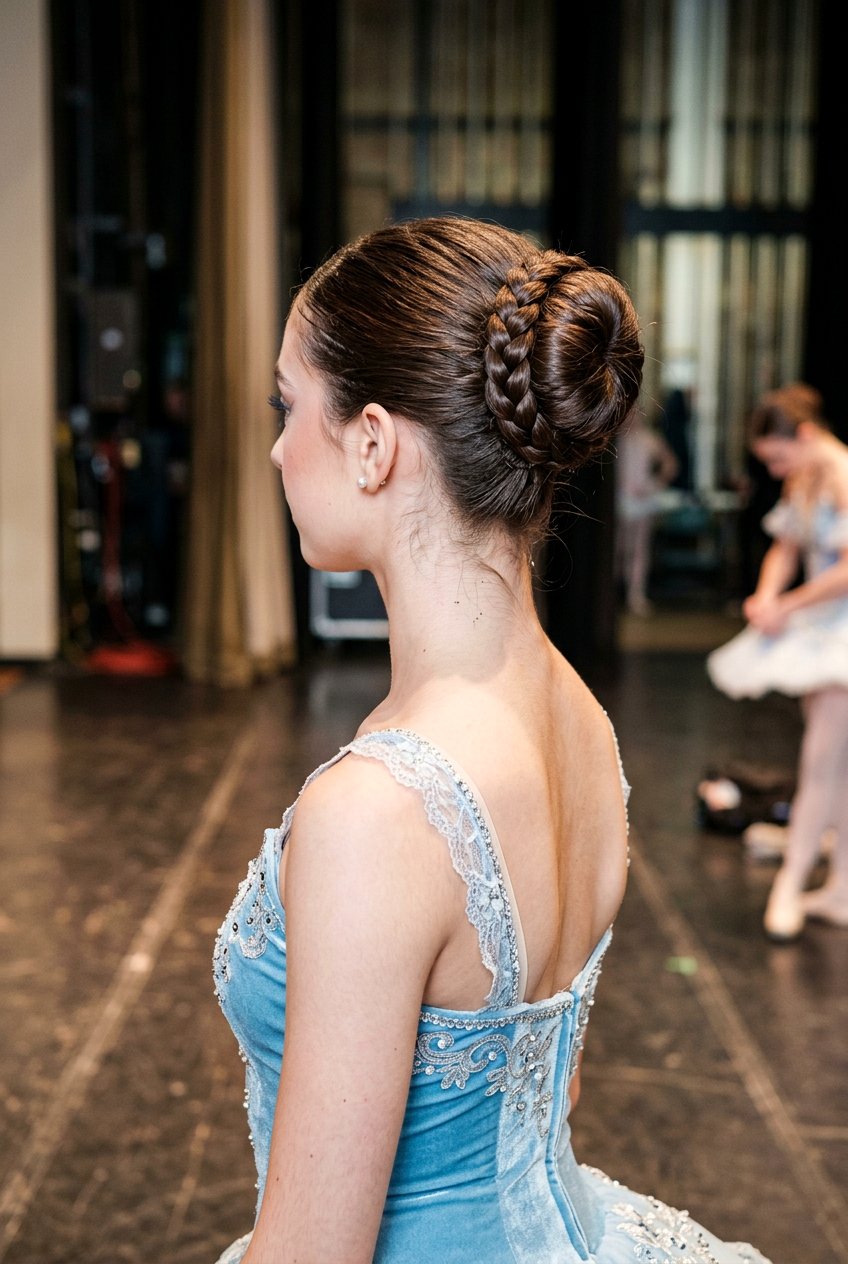
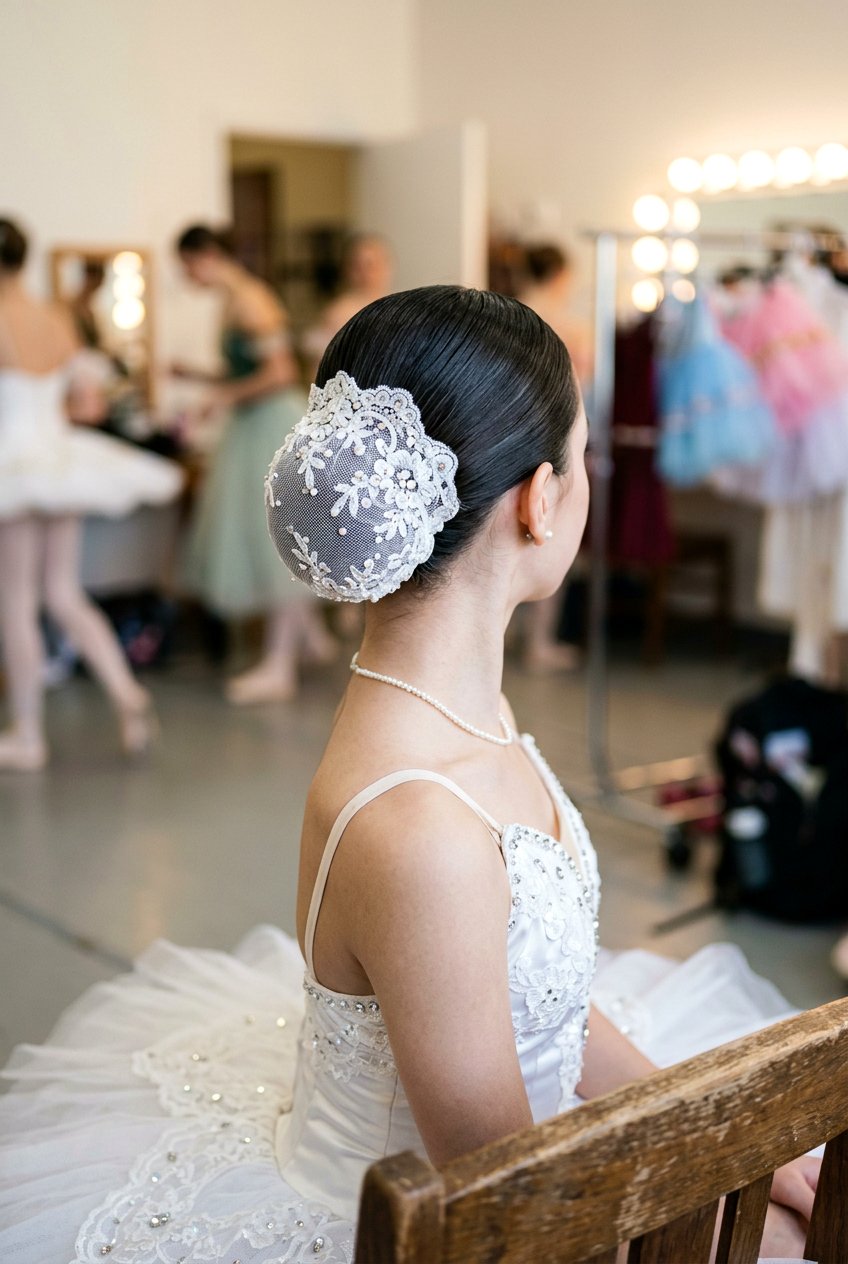
The classic ballet recital bun is the standard look most studios request because it is neat, timeless, and works for almost every costume. You start with a smooth mid‑to‑high ponytail, brushing hair straight back or following the dancer’s natural part if the studio allows. Add gel or mousse at the roots and along the hairline so the hair lays flat without fluffy pieces that show under stage lights. Twist the ponytail snugly, then coil it around the base and pin as you go with strong bobby pins or U‑shaped bun pins. A matching hairnet over the bun adds extra security and keeps shorter layers tucked in. This bun is great for long hair but also works on medium lengths if you wrap carefully and use enough pins.
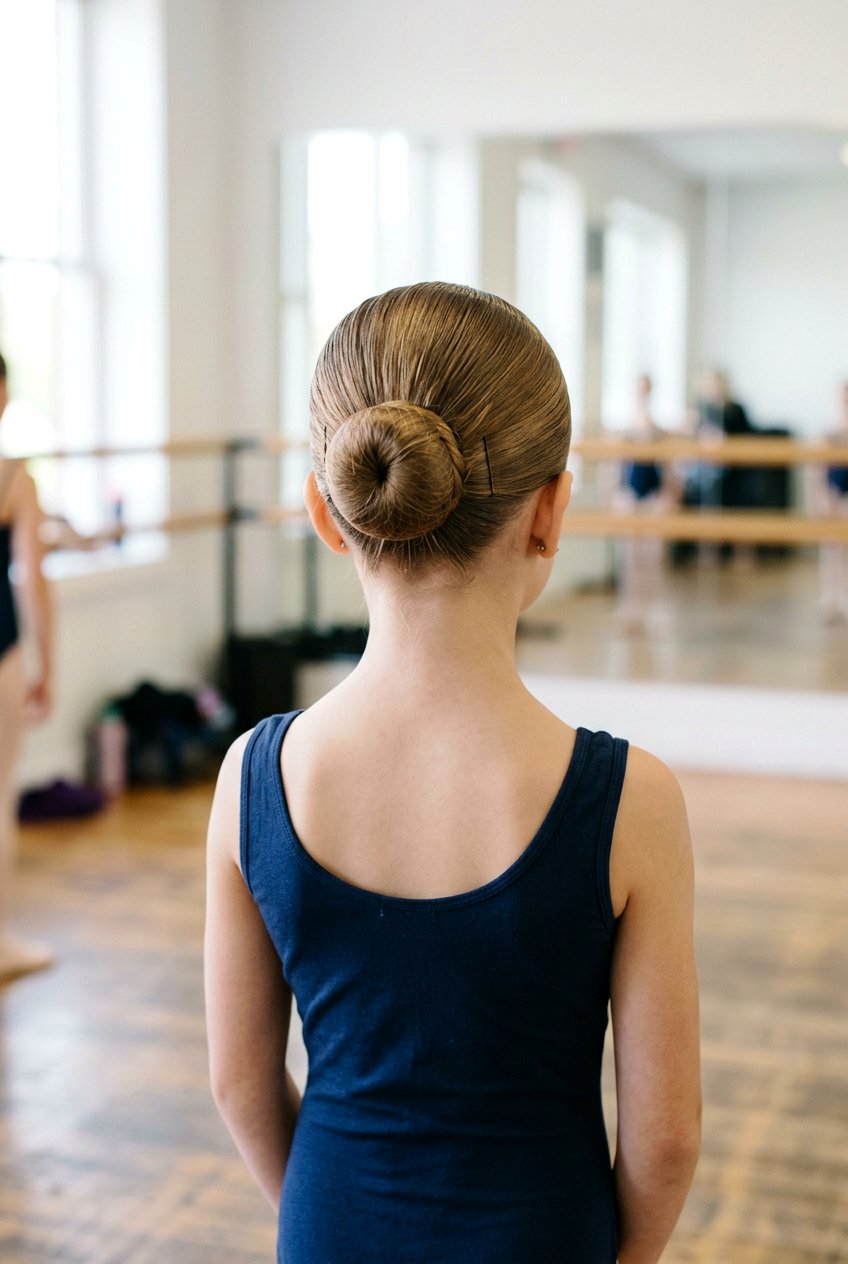
2. Low Recital Bun For Dancers
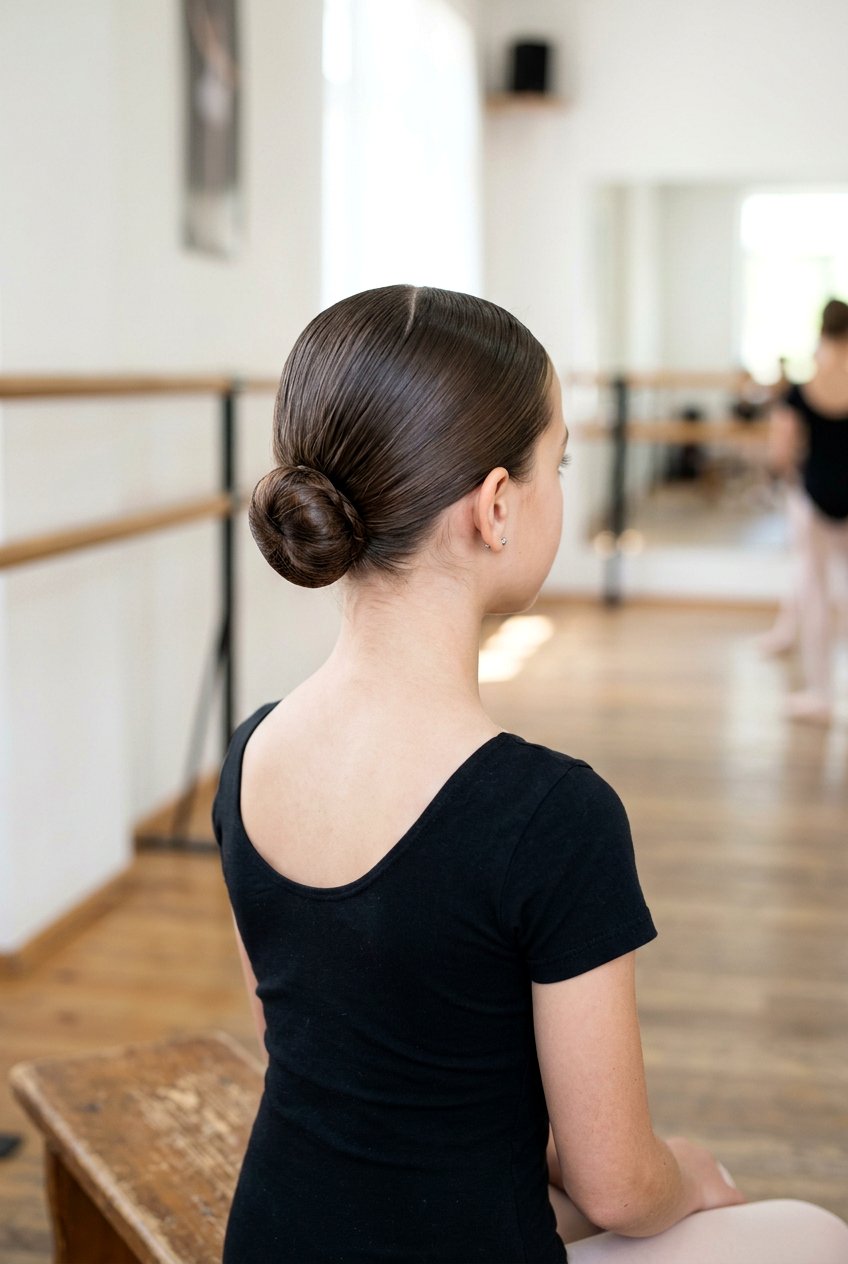
A low recital bun is especially popular for younger dancers, character pieces, or when headpieces sit higher on the crown. To create it, smooth the hair into a low ponytail that sits right at or slightly above the nape of the neck, making sure the line from the front hairline to the elastic is sleek and even. This placement is comfortable against the floor for choreography with rolls or lying down. Twist the ponytail and wrap it flat against the head, pinning the outer edge first so the shape stays round and close to the scalp. A light mist of hairspray and a hairnet will help keep everything from shifting. Low buns are also ideal for dancers with shorter hair because you can catch more layers and still keep things secure.
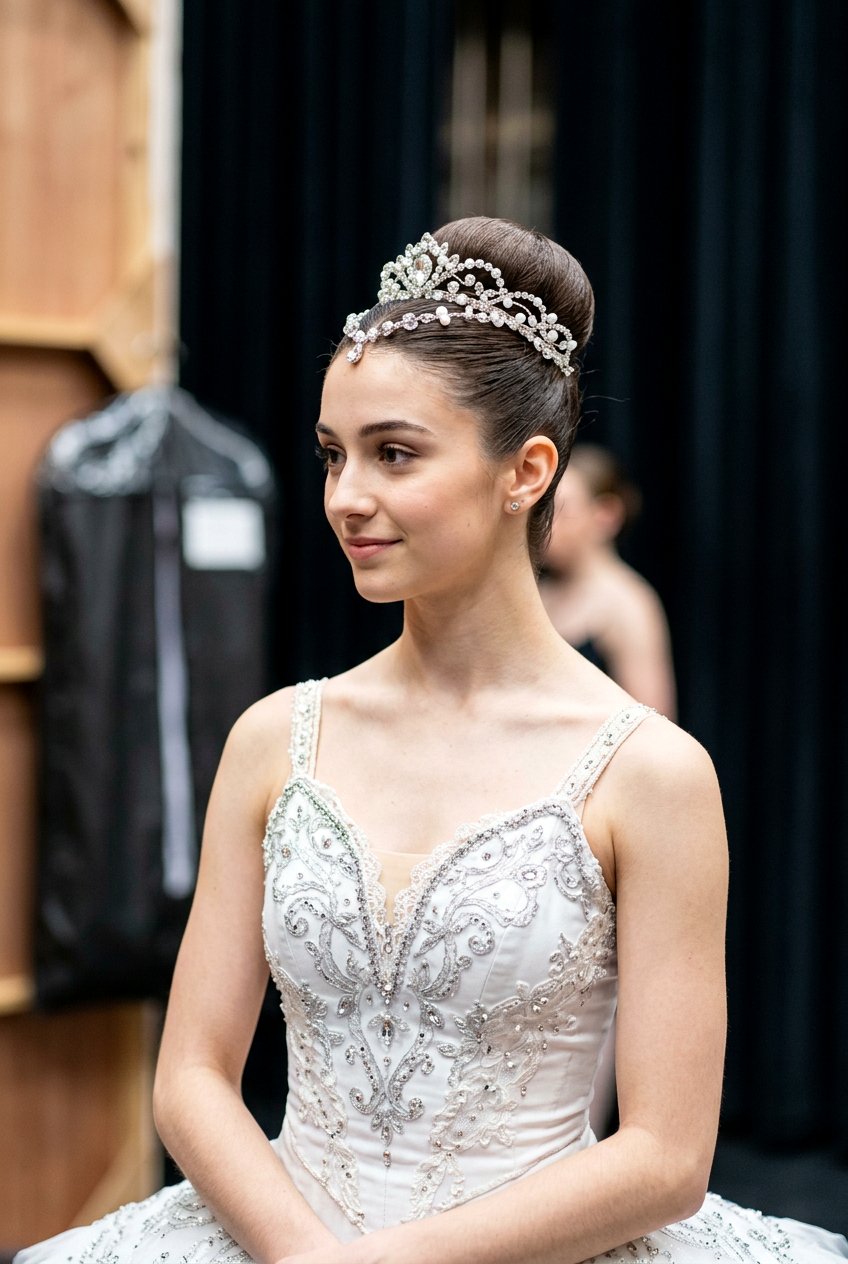
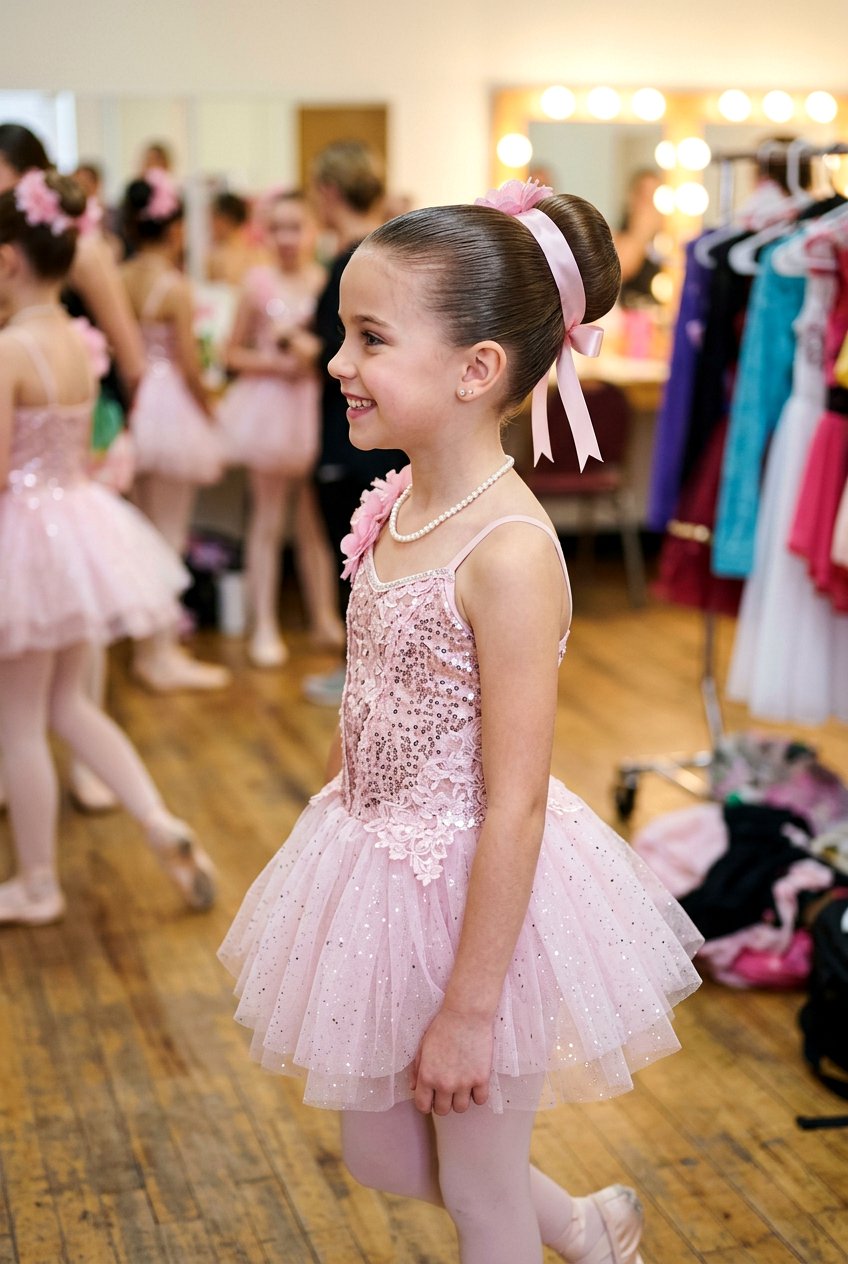
3. High Ballet Bun For Stage
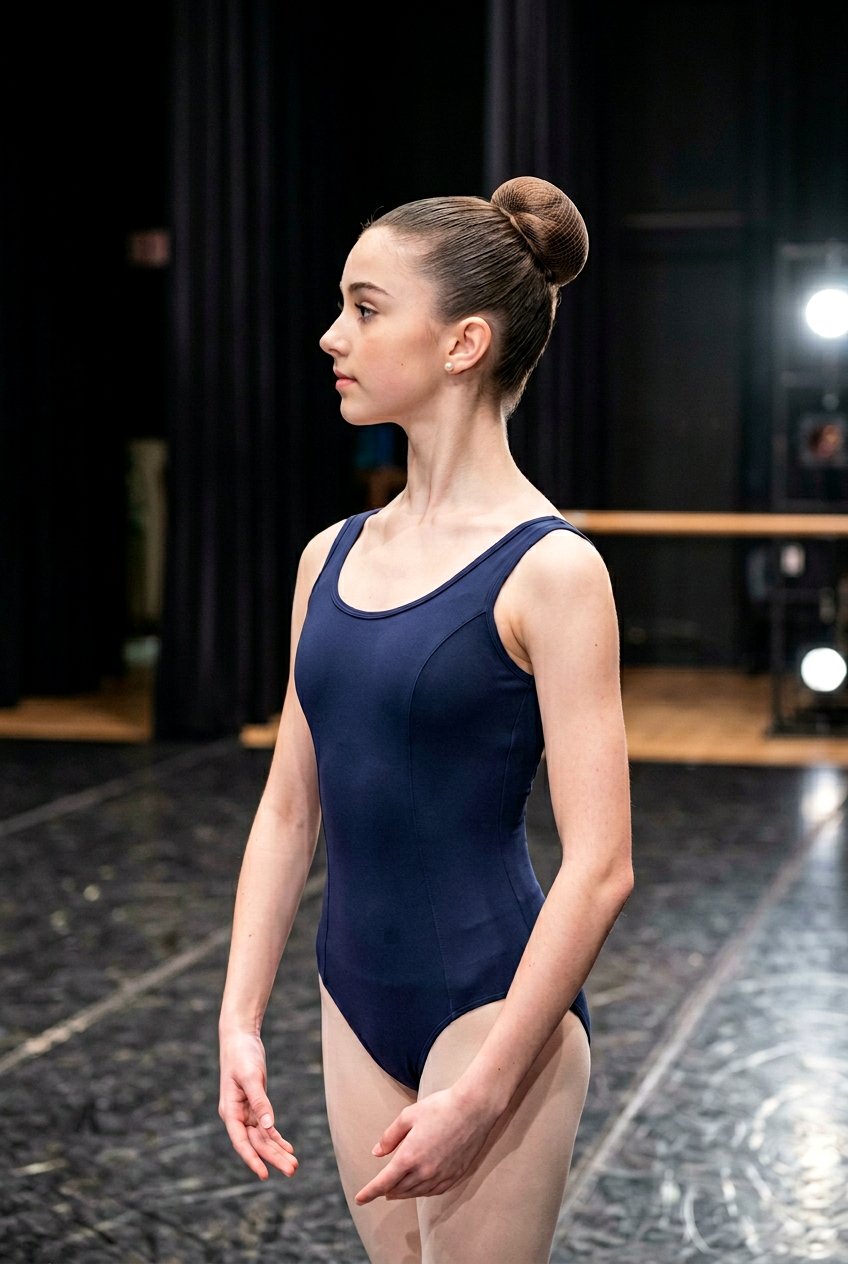
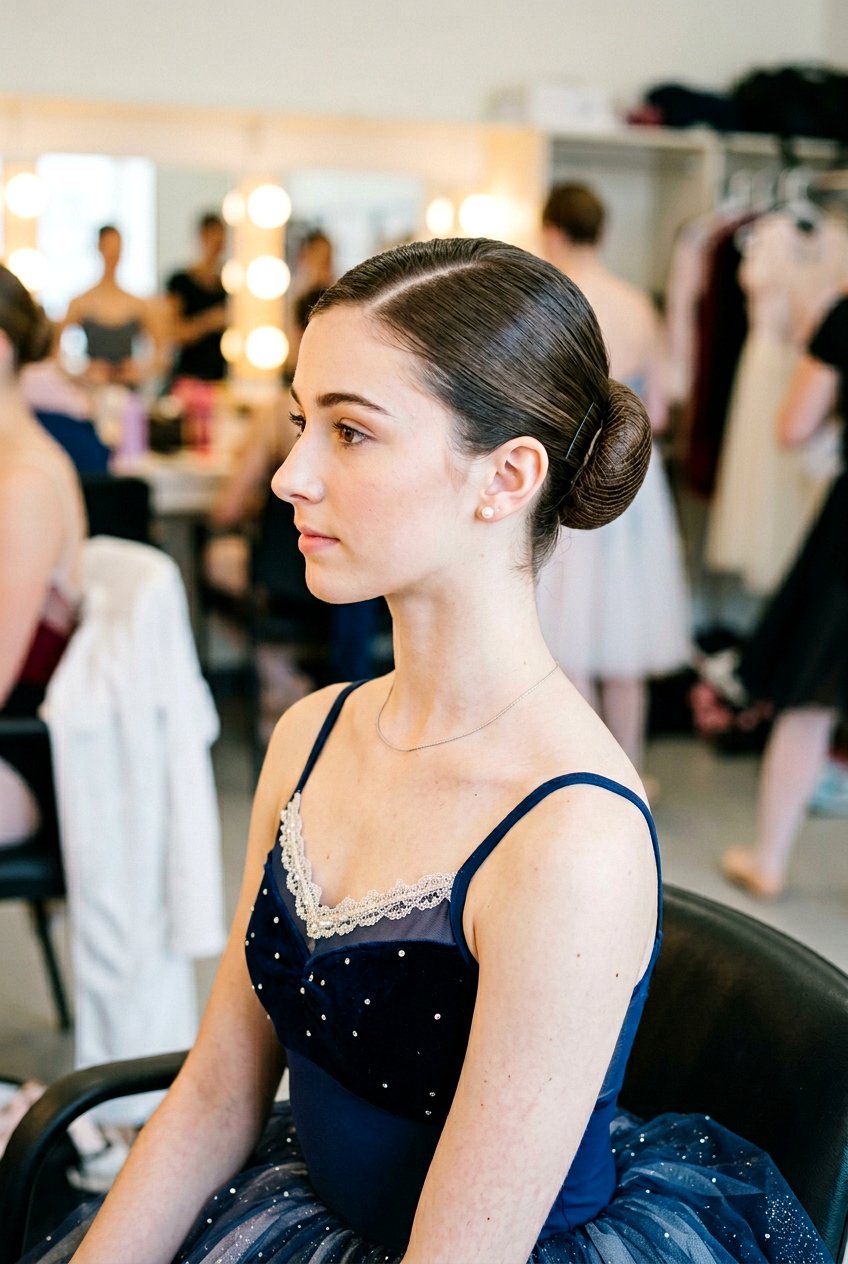
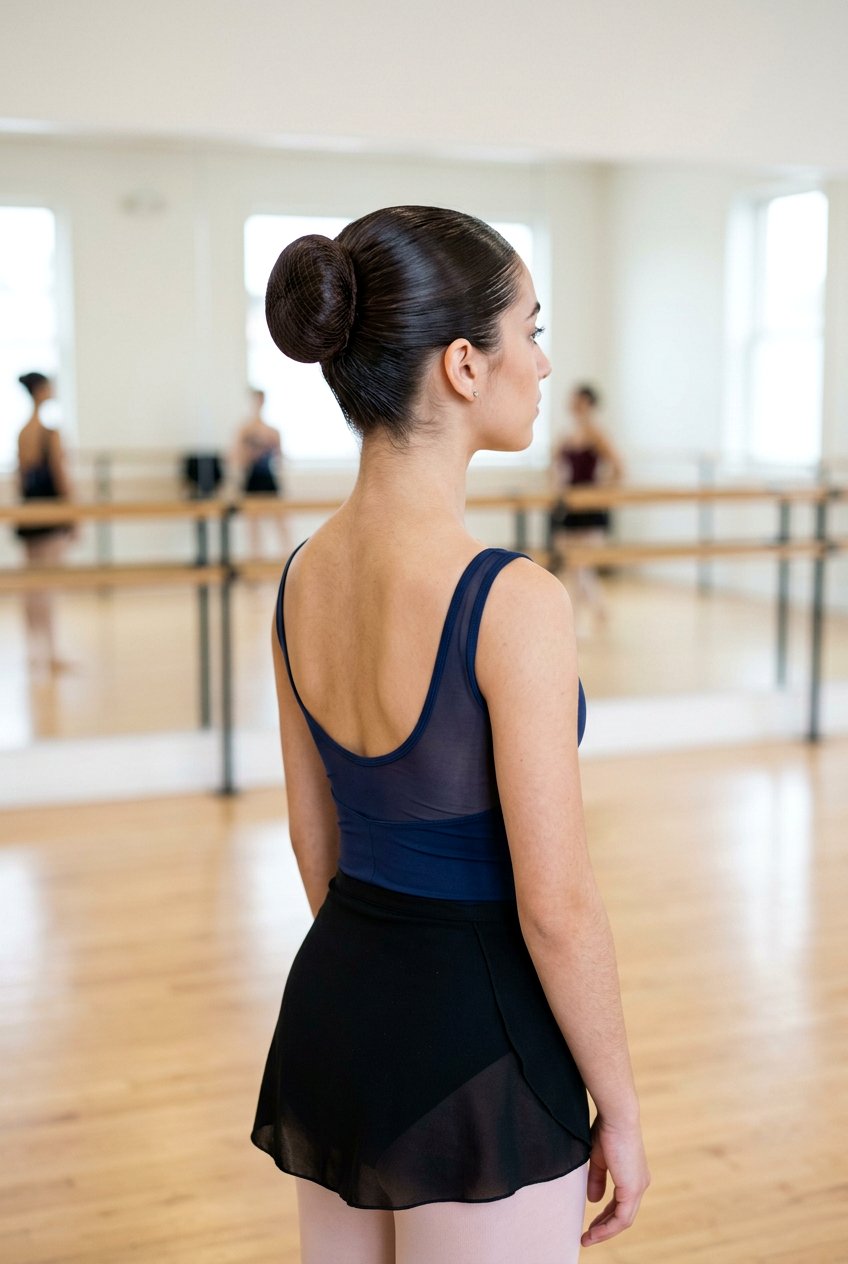
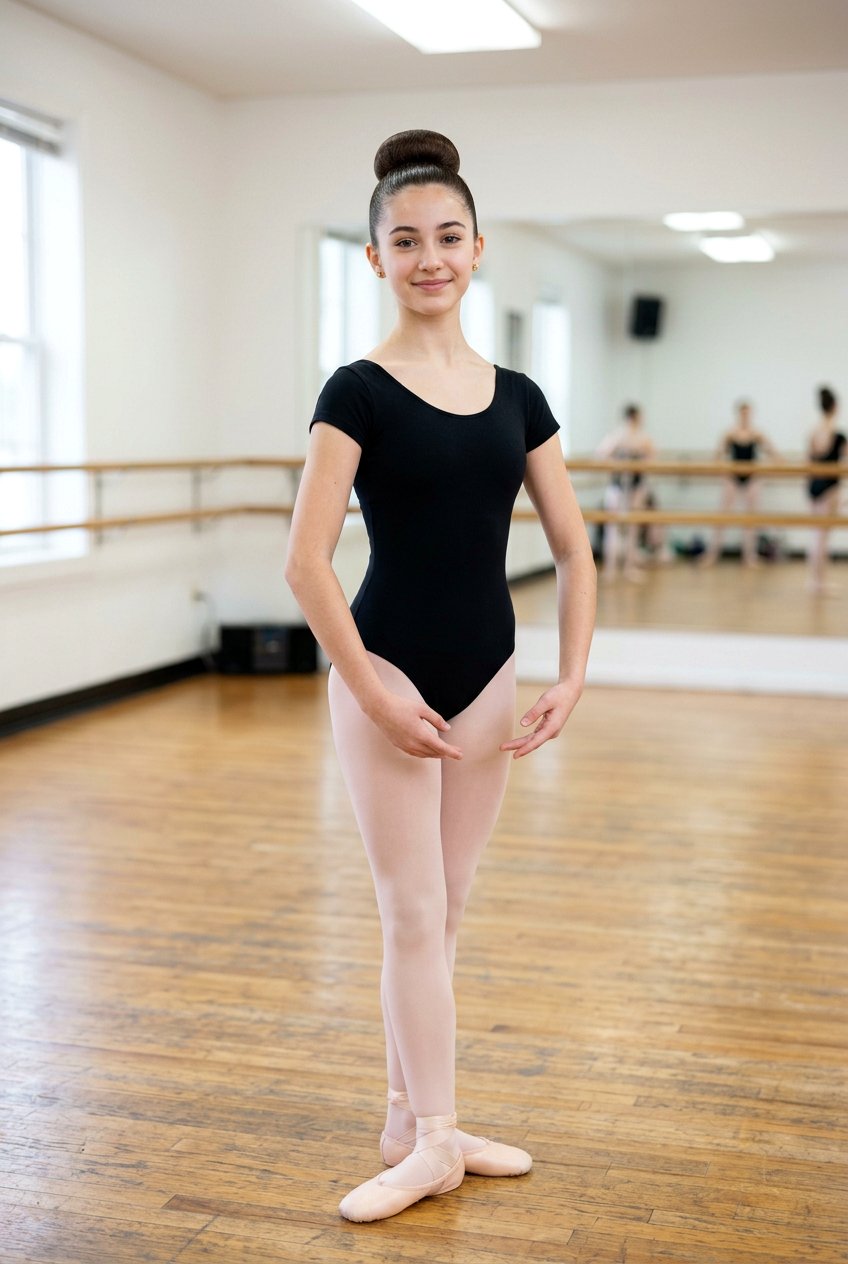
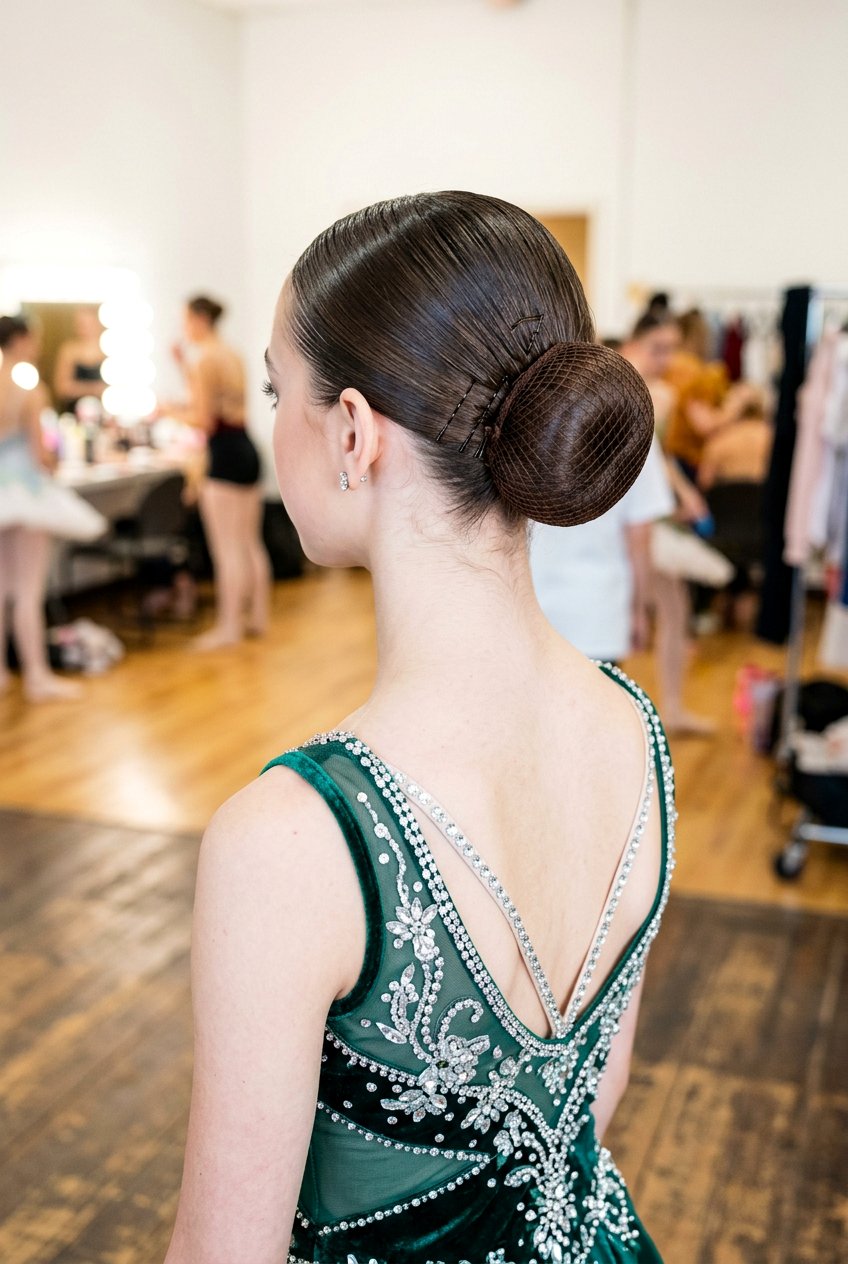
A high ballet bun sits near the crown and looks beautiful under tiaras, crowns, or headpieces that need to be front and center. Start by tilting the dancer’s head slightly back while brushing and gathering hair into a high ponytail; this stops bumps from forming along the back of the head. Use a fine‑tooth comb and gel or mousse to smooth flyaways, then tighten the ponytail so it feels snug but comfortable. Twist the length of the ponytail and wrap it around the base, keeping the coil tight and flat so the bun does not wobble when the dancer jumps or turns. Secure with strong pins around the entire perimeter and finish with a sheer hairnet. This high placement gives a lifted, elegant look that photographs beautifully during performances.
4. Center Part Low Recital Bun
The center part low recital bun has become a modern favorite because it looks clean, symmetrical, and flattering on many face shapes. Begin by parting the hair straight down the middle from the front hairline to the crown using the end of a comb for a sharp line. Apply gel or styling cream along the part and hairline, then brush each side back toward a low ponytail while keeping that part crisp. Once the ponytail is secured at the nape, twist the hair into a rope and coil it flat into a bun, pinning it firmly in place. A hairnet and extra pins under the bun help prevent gaps. This style is especially popular in contemporary or lyrical dances where costumes and choreography lean toward clean, minimal lines.
5. Side Part Ballet Recital Bun
A side part ballet recital bun offers a softer, more classic look while still meeting most studios’ neatness requirements. Create a deep side part over one eyebrow or a gentle side part depending on the dancer’s face shape and choreography notes. Smooth the hair back toward a mid‑height ponytail, taking care not to lose the part, then secure tightly with a strong hair tie. Twist the ponytail, wrap it around the base, and pin generously at the top, bottom, and around the edges. Use a hairnet that matches the dancer’s hair color so it disappears on stage. This bun works well for dancers who want a little personality in their look while still keeping hair completely off the face for clean lines.
6. Slicked Back Recital Bun For Thick Hair
For dancers with thick hair, a slicked back recital bun needs extra product and careful sectioning to stay smooth and secure. Start with slightly damp hair, then apply a generous amount of gel from roots to mid‑lengths, focusing on the hairline and crown. Brush hair firmly into a ponytail, sometimes splitting the hair into top and bottom sections that you combine into one ponytail for better control. Once secured, divide the ponytail into two or three smaller sections, twist each one, and wrap them around the base individually. Pin each section down with sturdy U‑pins, layering them to create a compact, balanced bun. A strong hairnet and finishing spray will keep thick hair from puffing out under the heat and movement of stage lights.
7. Sock Bun Recital Hairstyle
The sock bun recital hairstyle is perfect when you want a full, round bun that looks identical from every angle, especially on dancers with fine or medium hair. Cut the toe off a clean sock or use a foam bun donut, then roll it into a thick ring. Place the ponytail through the center of the donut and fan the hair evenly around it, smoothing sections so the donut is completely covered. Once the hair is spread, tuck the ends under and start rolling the donut downward toward the base, keeping the hair tight against it. Secure the finished bun with pins around the perimeter and add a hairnet to keep it sleek. This method creates a consistent, professional shape that stands out clearly from the audience.
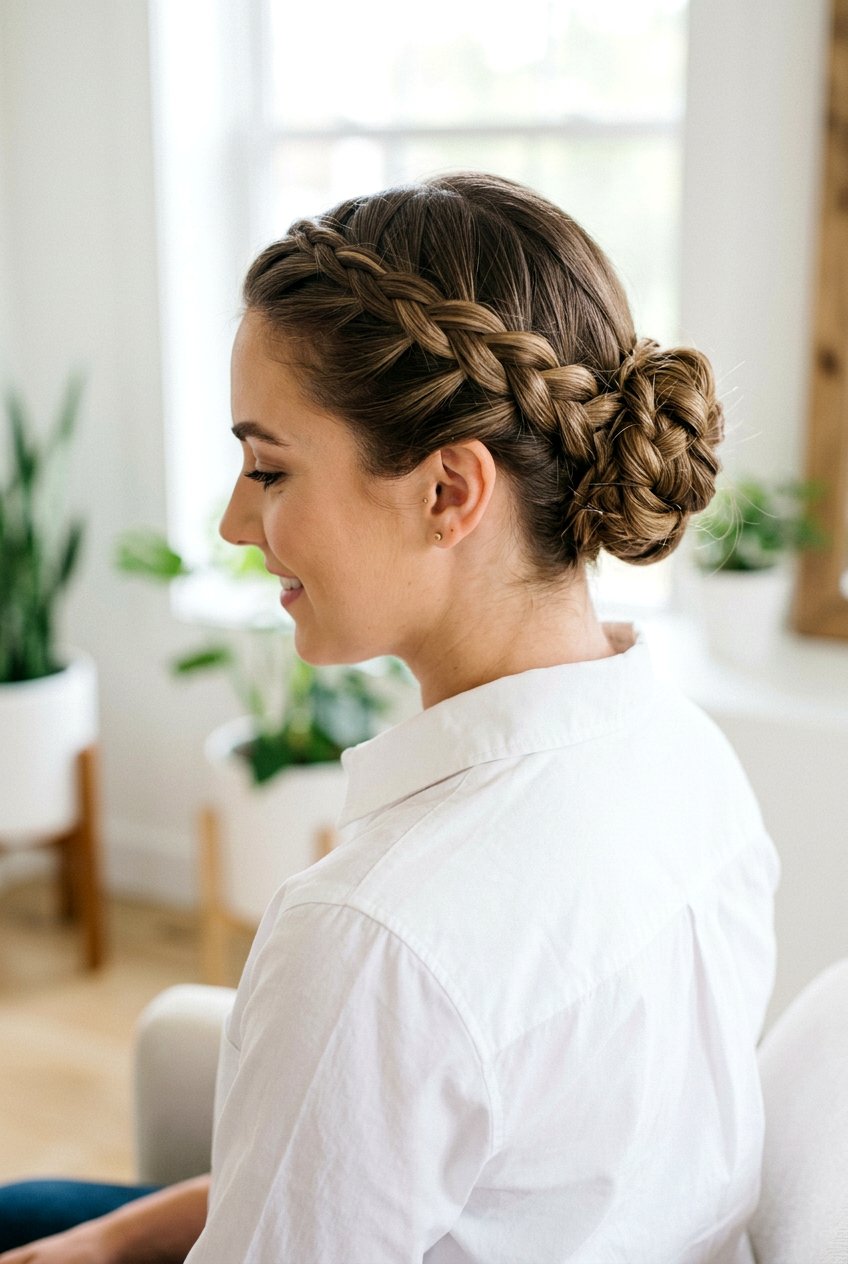
8. Braided Recital Bun For Long Hair
A braided recital bun for long hair is beautiful, secure, and keeps extra length under control. Start by brushing hair into a mid or low ponytail and securing it with a strong elastic. Braid the ponytail into a simple three‑strand braid or a rope braid, tying the end tightly so it doesn’t unravel. Then wrap the braid around the base of the ponytail, allowing the pattern of the braid to show around the outside of the bun. Pin the braid firmly as you go, paying attention to anchor it at the base and outer edge. Finish with a hairnet if your studio allows, or leave the texture visible for certain character or lyrical pieces where a more detailed bun is encouraged.
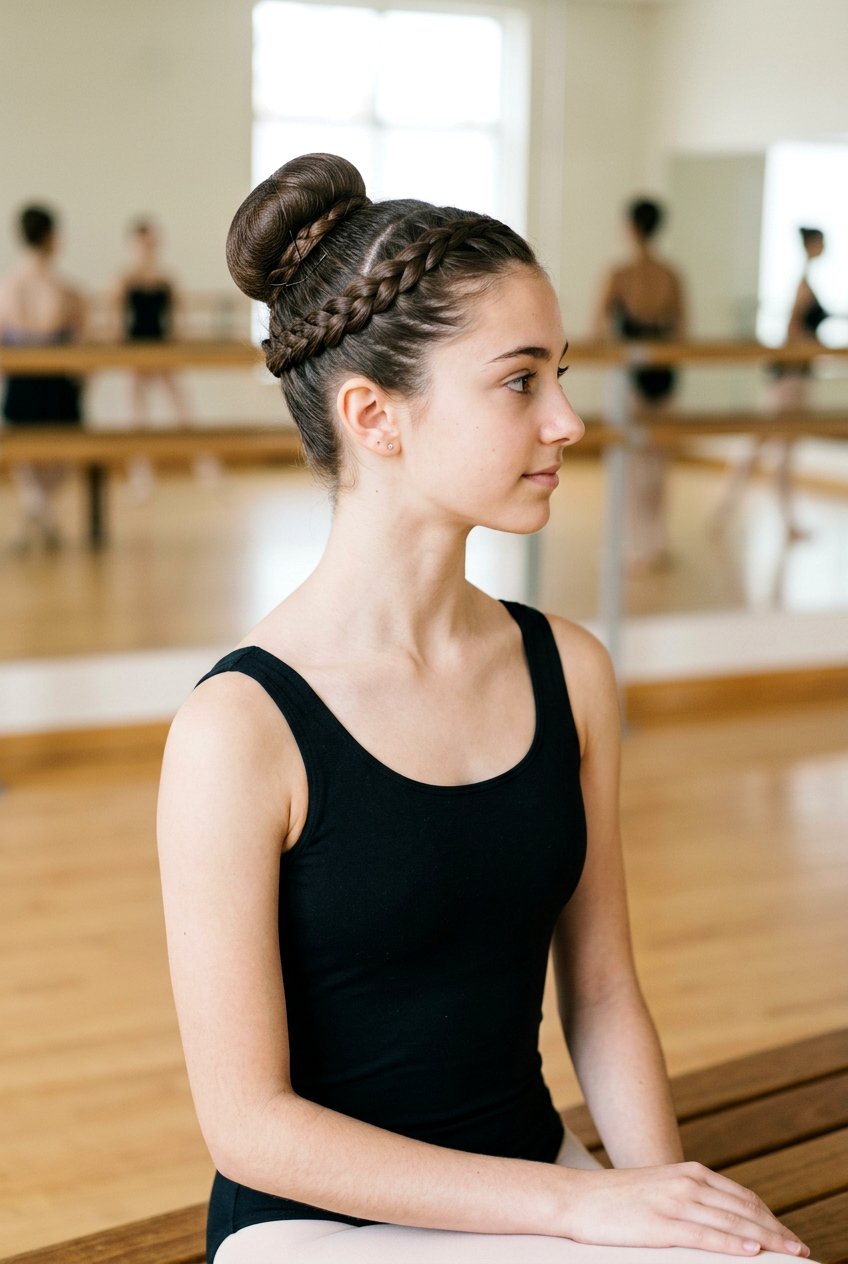
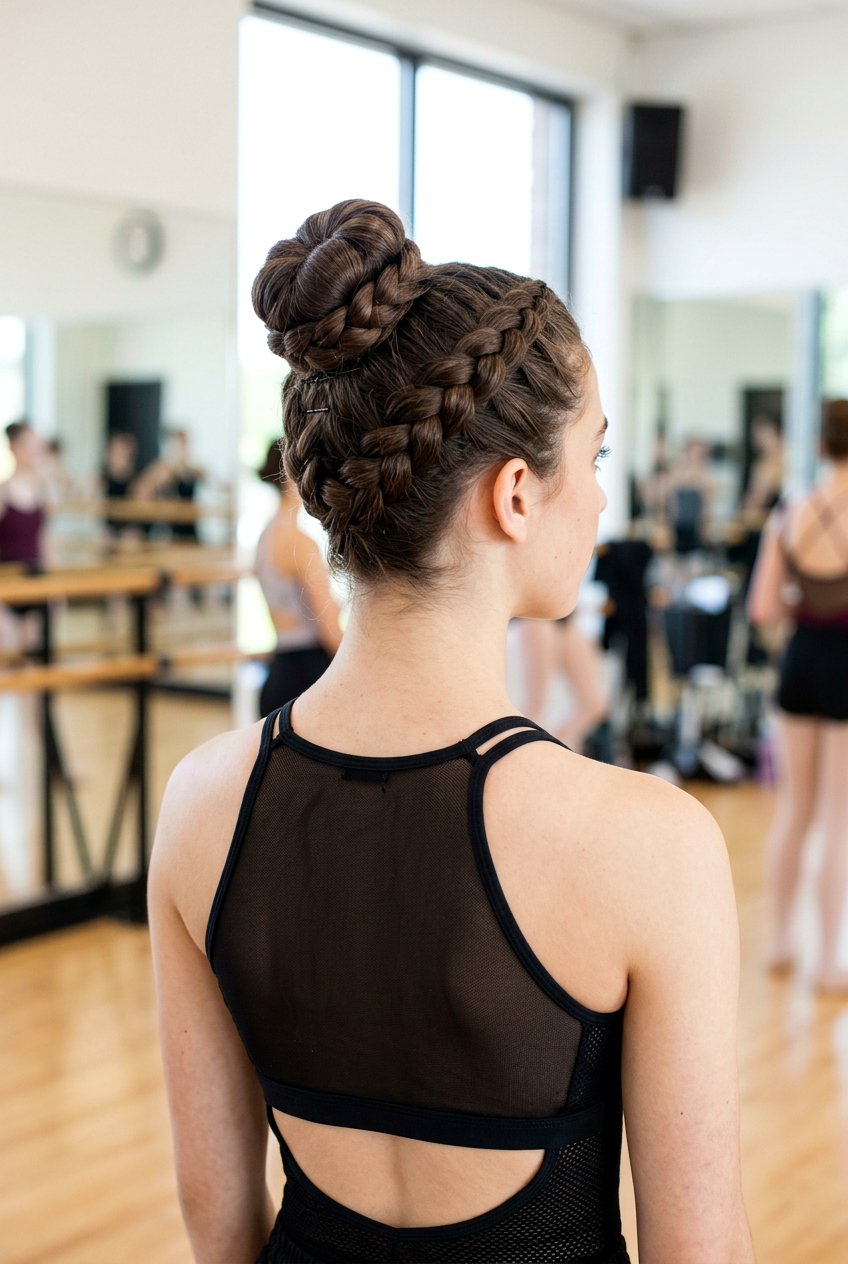
9. Double Braided Crown Recital Bun
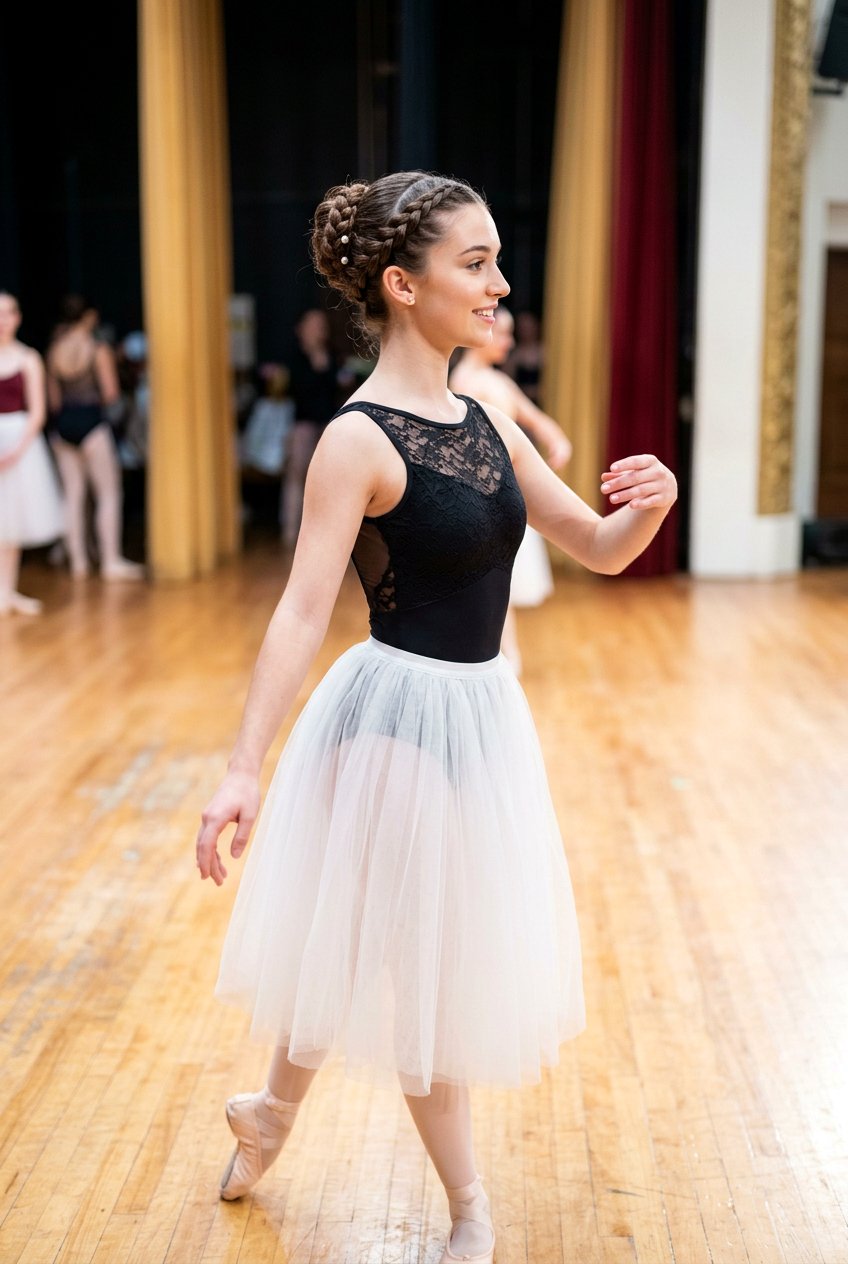
The double braided crown recital bun combines a sleek bun with braids that frame the head for a more decorative competition‑ready finish. Start with a clean center or side part, then section off two pieces at the front on either side of the part for braids. Braid each section back toward the ponytail spot, keeping the braids tight and close to the scalp. Join all the hair, including the braid ends, into a ponytail and secure it firmly. Twist the ponytail or braid it again, then wrap into a bun and pin securely. The front braids create a crown effect that looks gorgeous under stage lighting and holds accessories like small flowers or rhinestone clips without extra fuss.
10. Recital Bun For Short Hair
Creating a recital bun for short hair takes some extra patience, but it is absolutely possible with the right tricks. Start by applying gel or mousse to add grip, then brush the hair back into the lowest ponytail you can manage, catching as many shorter layers as possible. If some pieces do not reach, pin them flat against the head with bobby pins in a direction that follows the hair’s natural growth. For the ponytail, use a small bun donut or create a mini twisted bun, securing every tiny end with pins. A hairnet is essential here, as it helps hold the shorter strands together in a smooth shape. The goal is not a huge bun but a neat, secure knot that looks uniform with the rest of the class.
11. Curly Hair Recital Bun
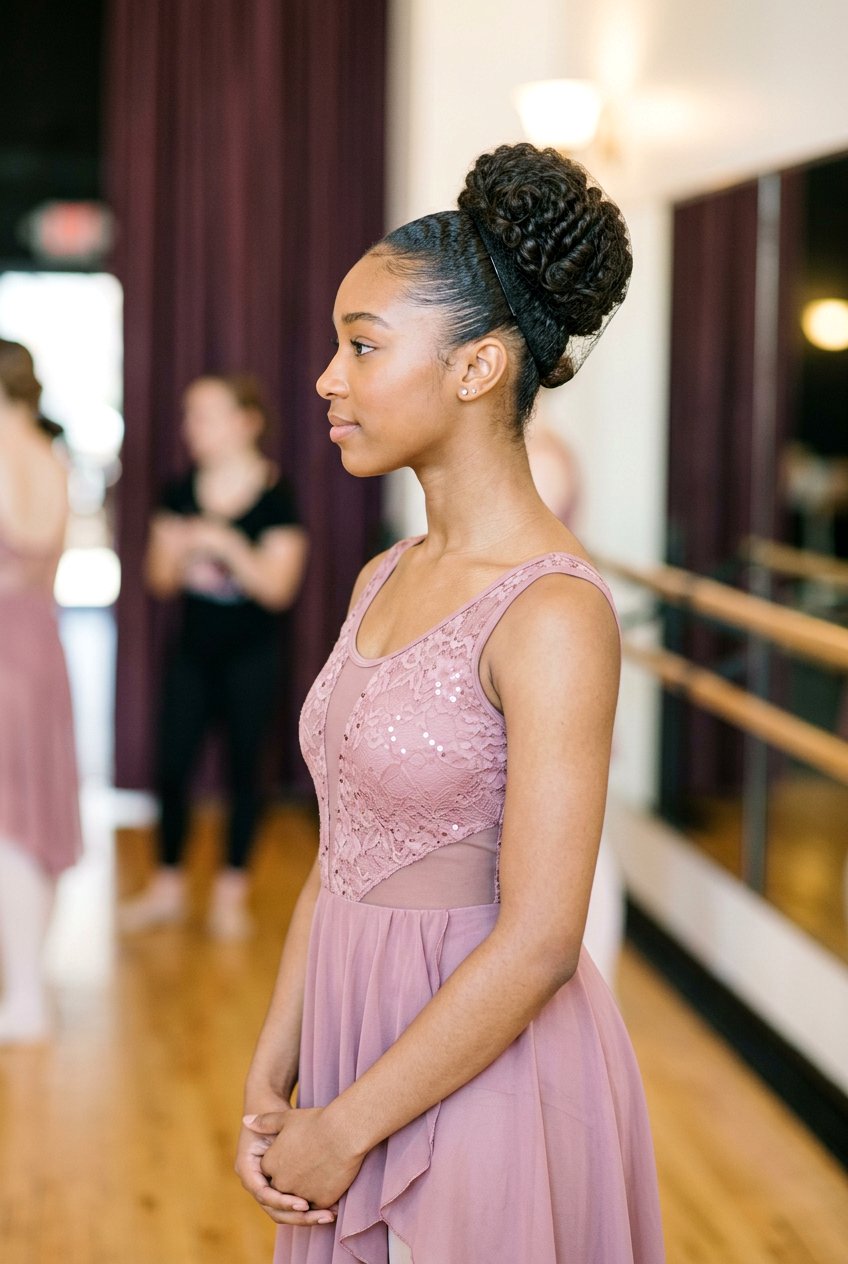
A curly hair recital bun should respect the natural texture while still looking polished under costume headpieces. Start by lightly dampening the hair and applying a curl‑friendly gel or cream that defines curls without making them crunchy. Gently brush or smooth only the top layer back into a ponytail, trying not to break up every curl underneath. Once the ponytail is secured, twist the curls loosely and coil them into a bun, allowing some texture to remain visible rather than forcing everything completely flat. Use long, strong pins that can hold through the volume of curls and add a hairnet if required by the studio. This approach keeps frizz under control, protects the curls, and still gives that classic recital‑ready shape.

12. Recital Bun With French Braid
A recital bun with a French braid adds interest while keeping hair extremely secure, which is great for high‑energy routines. Begin at the front or nape, depending on the look you want. For a top French braid into a bun, start at the front hairline and braid back along the center of the head, adding small sections as you go. Stop at the crown and gather the remaining hair into a ponytail with the braid’s tail included. Twist the ponytail into a bun and pin it tightly in place. The French braid acts like an anchor, holding the style firmly so it is less likely to slip even during intense jumps or turns.
13. Recital Bun With Dutch Braid
The recital bun with a Dutch braid gives a more defined, raised braid that stands out nicely on stage. To create it, flip the usual French braid technique by crossing the strands under instead of over as you add sections. Start either at the front hairline or the nape and work your way toward the bun position, keeping tension even so the braid sits neatly on top of the hair. Once you reach the crown or nape, gather all the remaining hair into a ponytail and secure tightly. Twist the ponytail into a bun and pin as usual, making sure the bun sits right where the braid ends. This style is especially striking in close‑up photos and suits both classical and contemporary dances.
14. Recital Bun With Headpiece
A recital bun with headpiece focuses on placement so the accessory and bun work together, not against each other. First, check studio or costume notes to see exactly where the headpiece should sit—above the bun, to one side, or along the front hairline. Then choose a bun height that leaves enough space for clips or combs to anchor without pulling the style loose. Build your chosen bun securely with plenty of pins and a hairnet, making sure the base is firm. Finally, attach the headpiece by sliding its comb or clips into the hair around the bun, not directly through the center where it might destabilize the style. A few discreet bobby pins through the accessory will help it stay in place while the dancer moves.
15. Recital Bun With Ribbon Wrap
A recital bun with a ribbon wrap is a sweet detail often used in themed pieces or younger classes. Start with a secure bun of your preferred height, making sure the shape is smooth and round. Choose a ribbon that matches the costume and cut it long enough to wrap around the bun several times with some extra length to tie off. Starting at the base, wrap the ribbon gently but firmly around the bun, crossing it in a crisscross or spiral pattern as you go. Tuck the final end under the bun and secure it with a couple of small bobby pins so it does not come loose mid‑routine. The ribbon adds color and dimension without compromising the bun’s structure when pinned properly.


16. Recital Bun With Decorative Bun Cover
Using a decorative bun cover over a recital bun is an easy way to make a simple hairstyle look stage‑ready. After creating a neat bun in the required position, place the elastic edge of the bun cover around the base so it stretches over the entire bun. Adjust it until the cover sits centered, with any gems, lace, or patterns facing outward evenly. Make sure the cover is snug but not pulling the bun loose. Slide a few bobby pins through the edge of the cover into the hair underneath to lock it in place. This option is great for group dances because it helps every dancer’s bun look uniform and polished with minimal extra styling work.
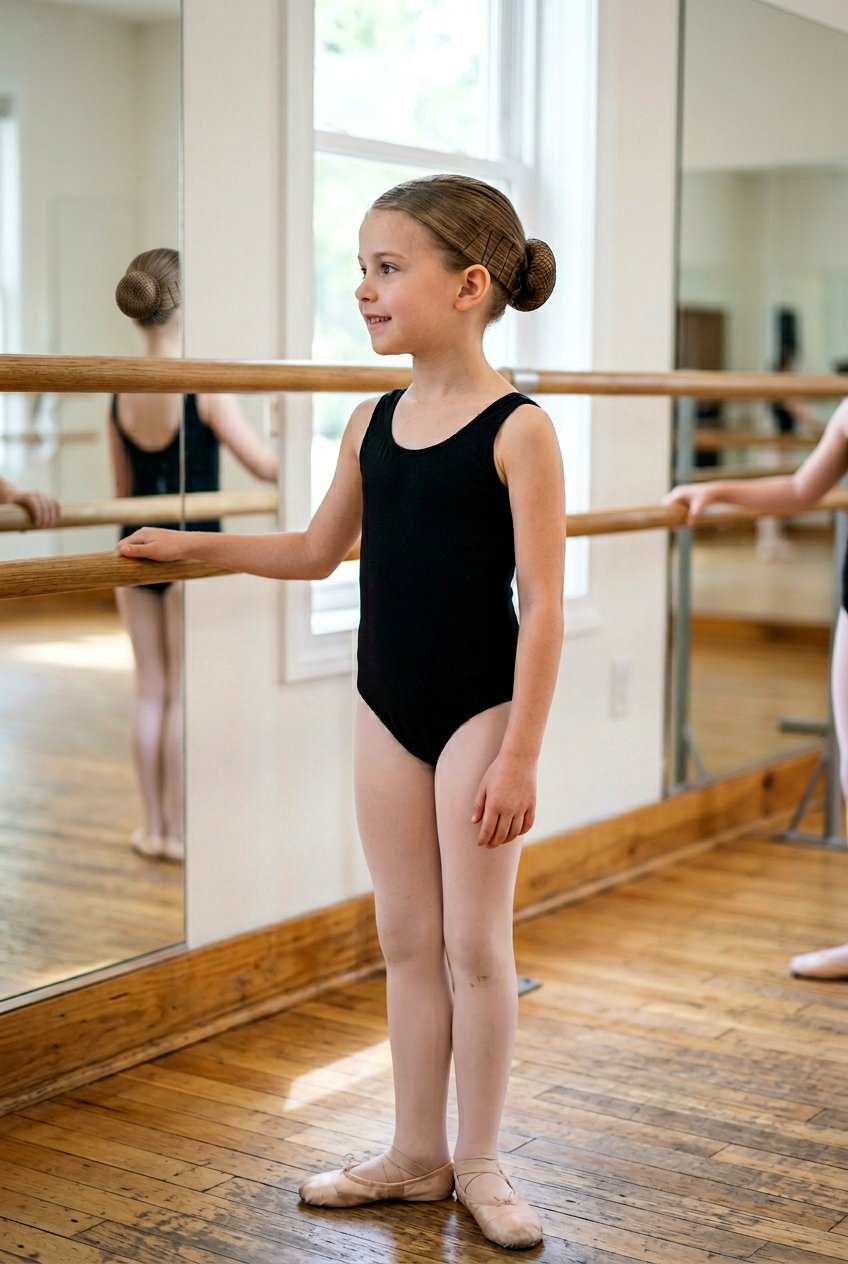
17. Recital Bun For Young Dancers
A recital bun for young dancers should prioritize comfort and simplicity so getting ready is as stress‑free as possible. Start with detangled hair and use a soft brush and light detangling spray so the process is gentle. Gather hair into a low or mid ponytail—these positions are usually easiest for little necks to handle—and secure with a snag‑free elastic. Twist the ponytail and wrap it into a bun, using fewer but well‑placed pins and a hairnet so there are no sharp ends poking the scalp. Keep products minimal but effective: a bit of gel at the front and a light mist of hairspray are often enough. The goal is a neat, secure bun that stays put without causing headaches or discomfort.
18. Quick Recital Bun For Busy Parents

A quick recital bun for busy parents focuses on simple steps that still meet studio standards when you are short on time. Begin with a high or low ponytail, whichever the teacher requests, and use a brush plus a bit of gel at the hairline to smooth things quickly. Skip complicated braids and go straight to twisting the ponytail into a tight coil, wrapping it around the base and pinning firmly as you go. A mesh hairnet instantly makes the bun look more polished and hides any minor unevenness. Finish with a strong hairspray pass around the head to lock everything in place. This method is fast yet reliable, making it perfect for early call times or back‑to‑back siblings’ shows.
19. Secure Recital Bun For Competition
A secure recital bun for competition needs to withstand long warm‑ups, quick changes, and high‑intensity choreography without budging. Start with very dry hair or slightly damp hair prepped with strong‑hold gel from roots to mid‑lengths. Brush the hair firmly into a ponytail and double‑wrap a thick elastic to prevent sagging. After twisting the ponytail and forming the bun, use both bobby pins and U‑shaped bun pins, placing them in an X pattern for extra grip. A hairnet should be wrapped at least twice around the bun, and any loose pieces should be pinned under the net. Finish with a firm‑hold hairspray, focusing on the hairline and under the bun where movement can cause gaps.
20. Recital Bun For Different Hair Types
Adapting a recital bun for different hair types means adjusting products and techniques while keeping the final look consistent across the group. For fine hair, use volumizing mousse before drying and consider a small donut to give the bun more presence. For thick or coarse hair, heavier gel and sectioning the hair into two ponytails combined into one bun can help control bulk. Curly and coily hair types benefit from moisturizing leave‑in plus gel to smooth the outer layer without drying out the strands. Short or layered hair may need extra pins and a slightly lower bun to catch more pieces. No matter the texture, the key is a smooth base, a balanced bun shape, and enough pins and netting to keep everything steady through the performance.
Conclusion:
Recital buns might look simple from the audience, but every secure, smooth bun is the result of a few smart choices and a little practice. Once you understand how ponytail placement, products, and pinning techniques work together, it becomes much easier to choose the best bun for each dancer and routine. Low, mid, and high buns each have their strengths, from comfort on the floor to visibility under tiaras and headpieces. Braids, ribbons, and bun covers add personality without sacrificing the clean lines studios usually require. By matching the bun style to the dancer’s hair type, age, and performance needs, you can create a reliable routine that takes the stress out of recital prep. With these twenty recital bun options in your back pocket, hair day becomes one less thing to worry about on show night.
You'll Like These Styles:


Leave a Reply