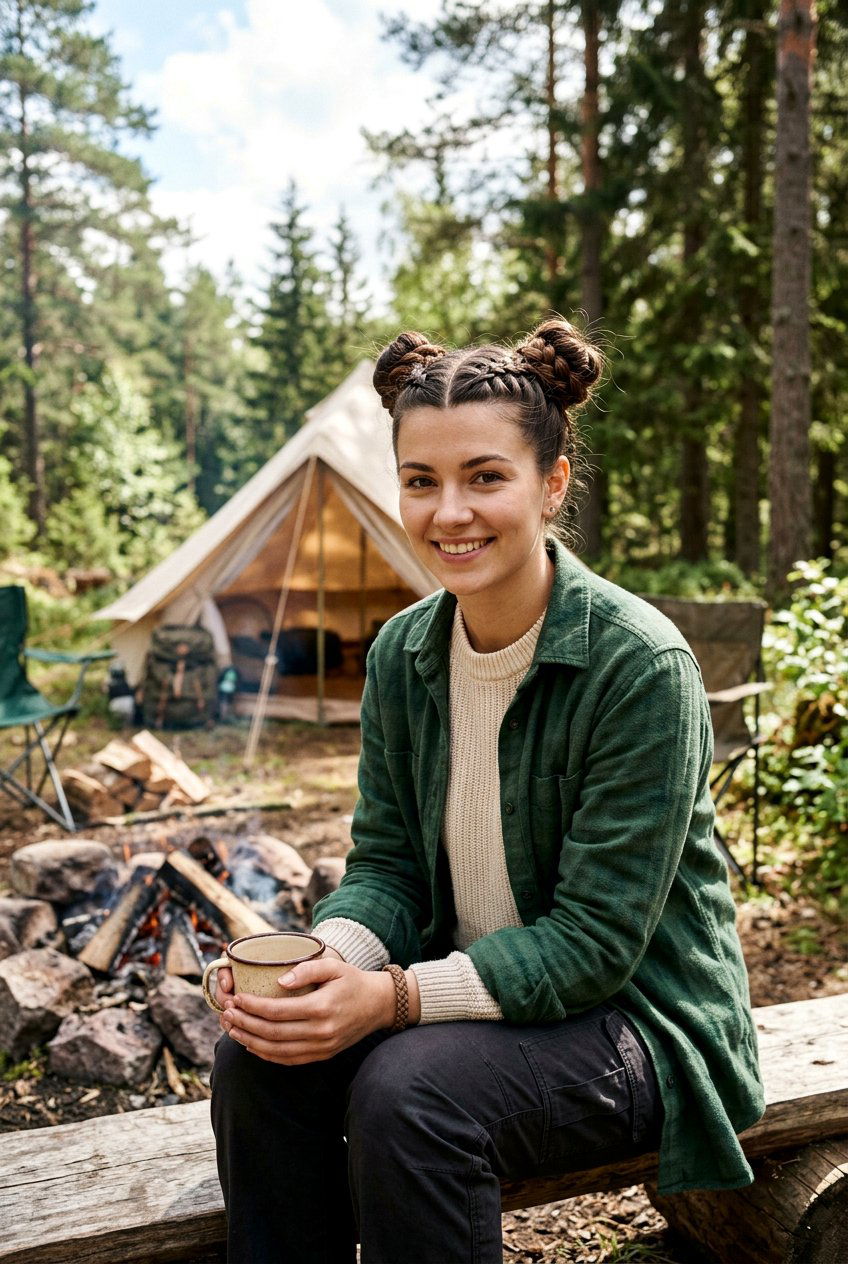
Camping days can be long, windy, and full of movement, so a camping braid bun hairstyle has to do more than just look cute. It should keep your hair secure, off your neck, and tangle-free while you hike, cook, and sleep under the stars. These braid and bun combinations give you the best of both worlds: the grip and structure of braids with the comfort and practicality of a bun. In this guide, you’ll find simple, low-maintenance looks that work with limited tools and no mirrors. Each look focuses on quick steps, minimal products, and ways to keep hair neat even after hours outdoors. Use these as inspiration before your next weekend in the woods or full camping trip.
1. Low Braided Bun For Camping
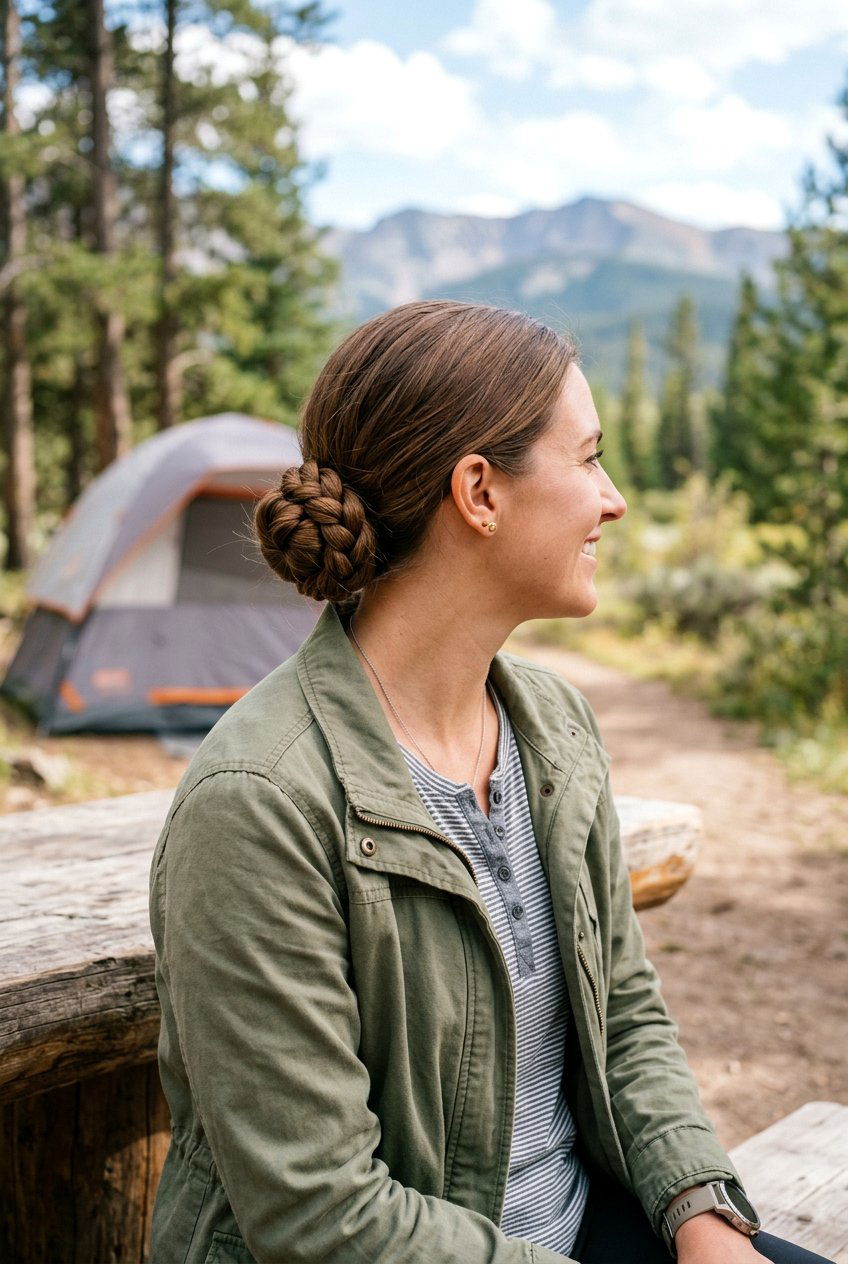
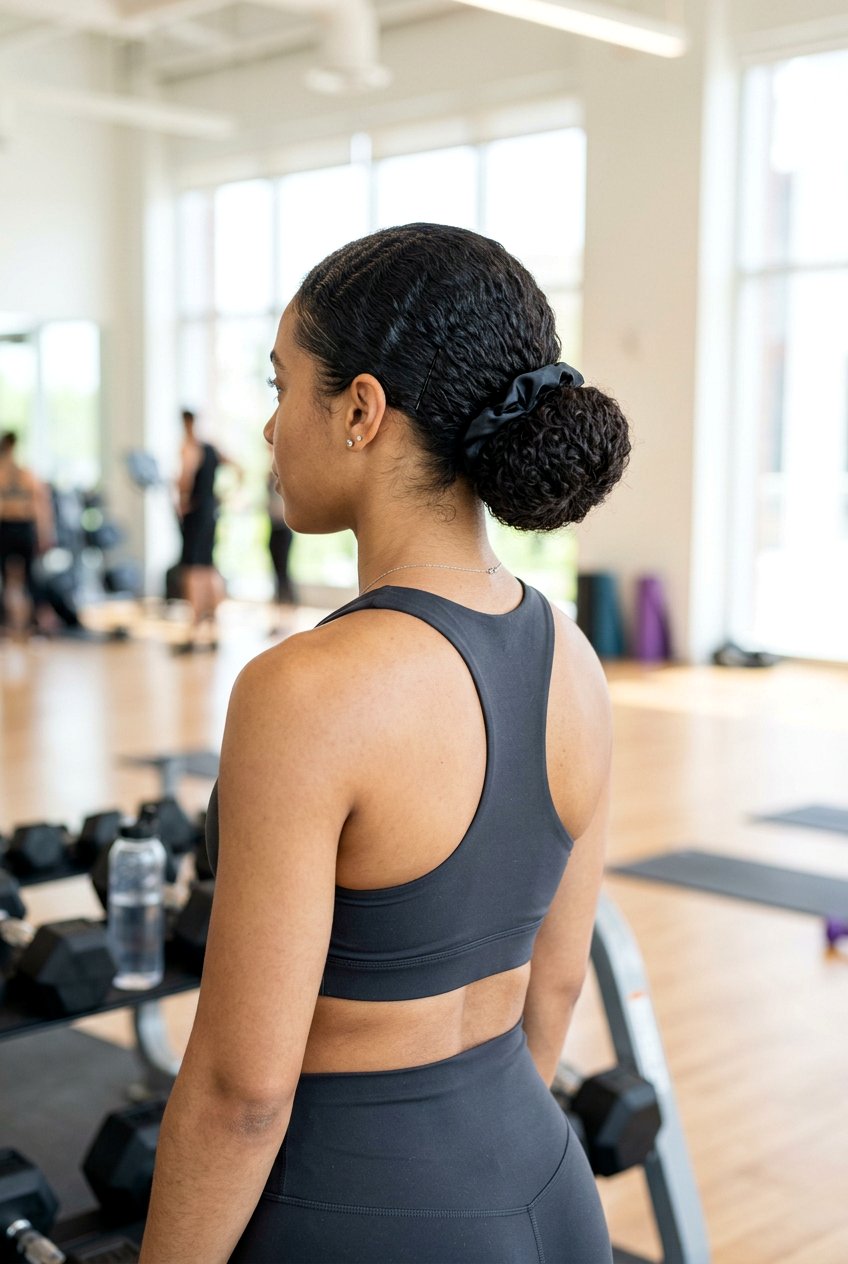
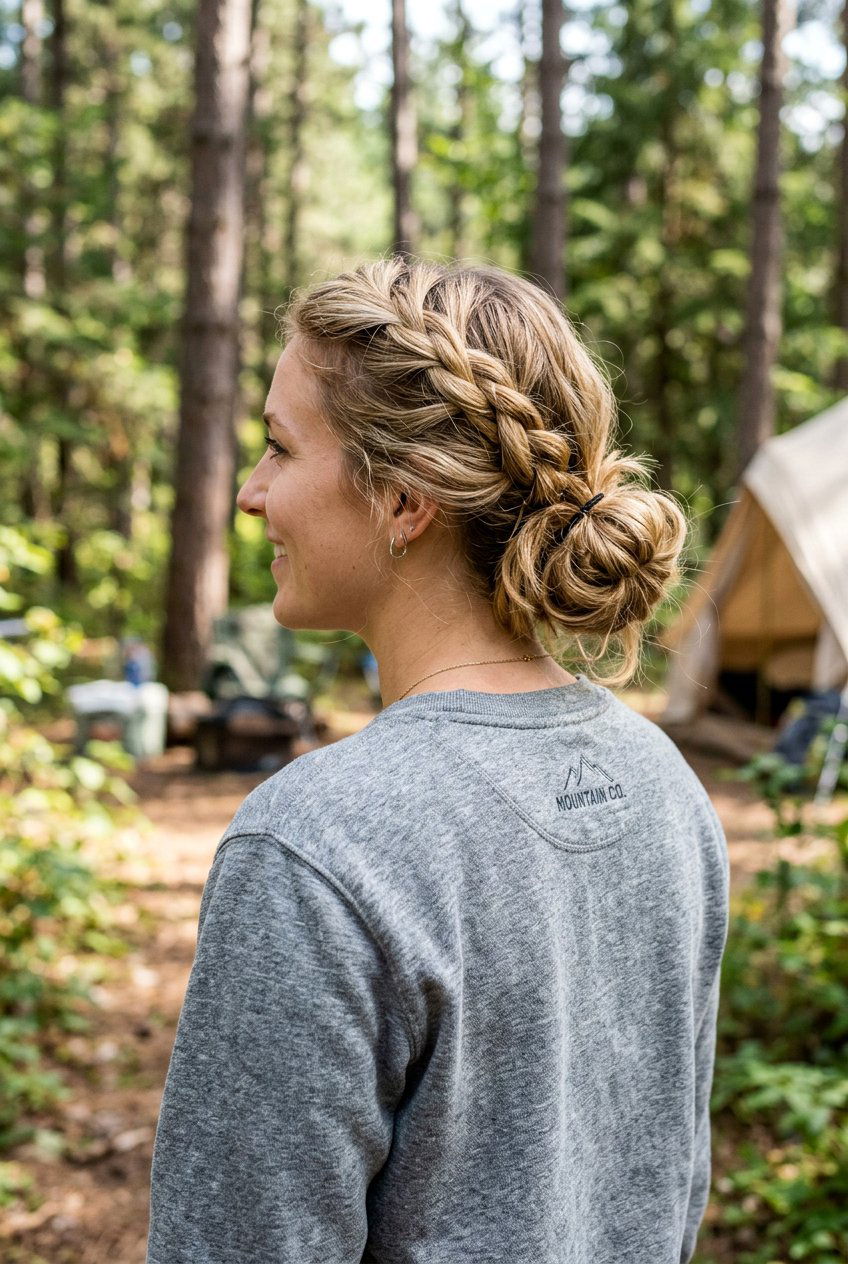
A low braided bun is one of the easiest camping looks that still feels put-together and practical for long outdoor days. Start with brushing your hair back into a low ponytail at the nape of your neck, then braid the ponytail in a simple three-strand braid and secure it with an elastic. Wrap the braid around the base of the ponytail to form a compact bun and pin or secure it with another elastic or scrunchie. This position works well with hats, hoods, and sleeping bags because it sits low and doesn’t dig into your head. It’s also easy to refresh in the morning by smoothing the top and tightening the braid.
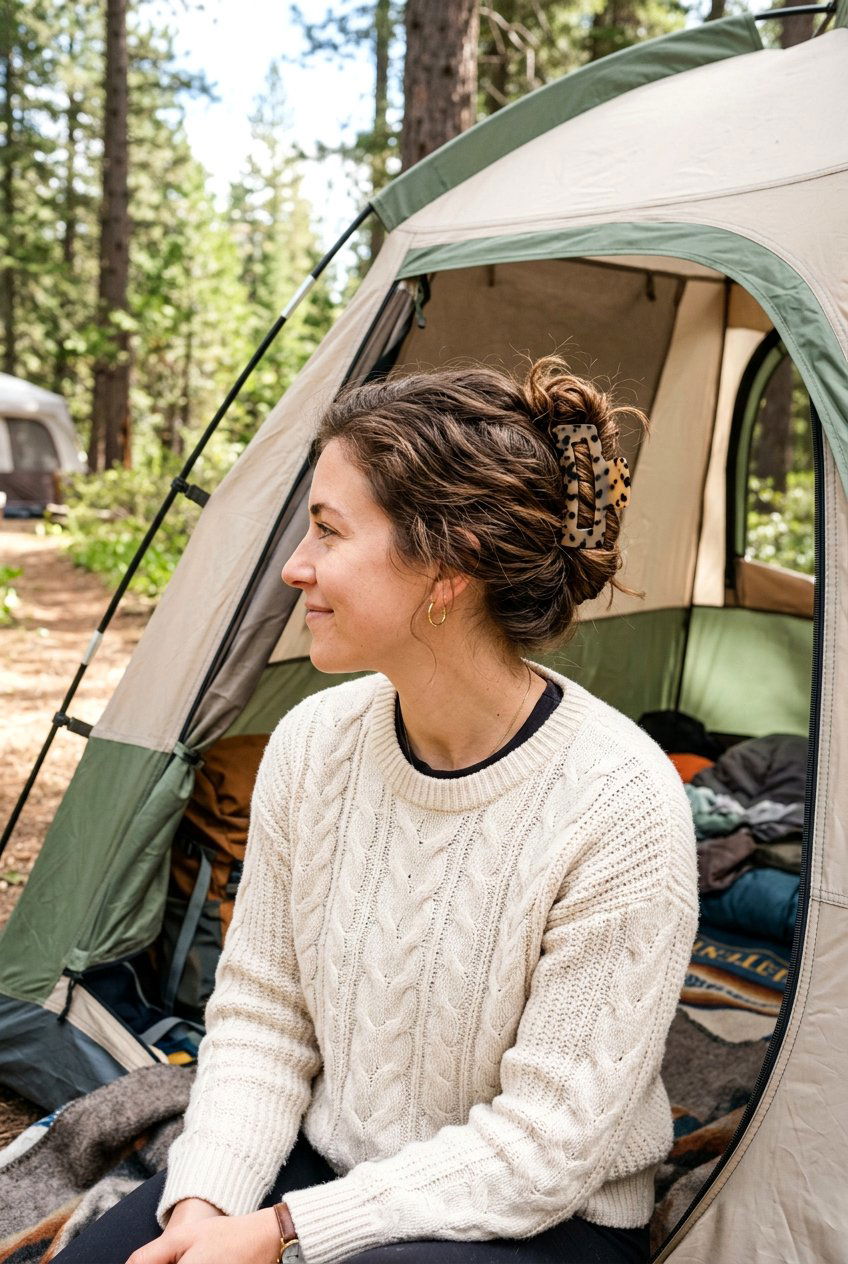
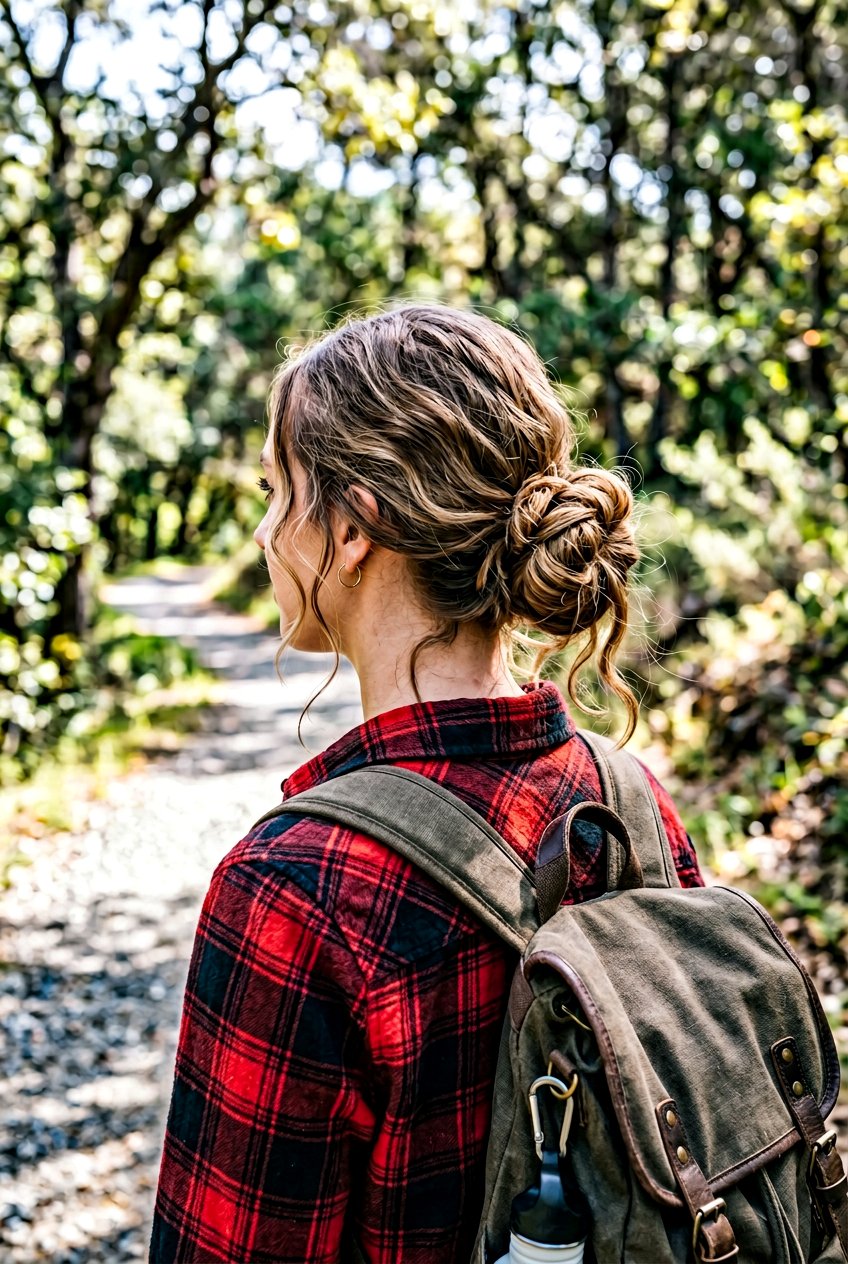
2. Messy Braided Bun For Camping
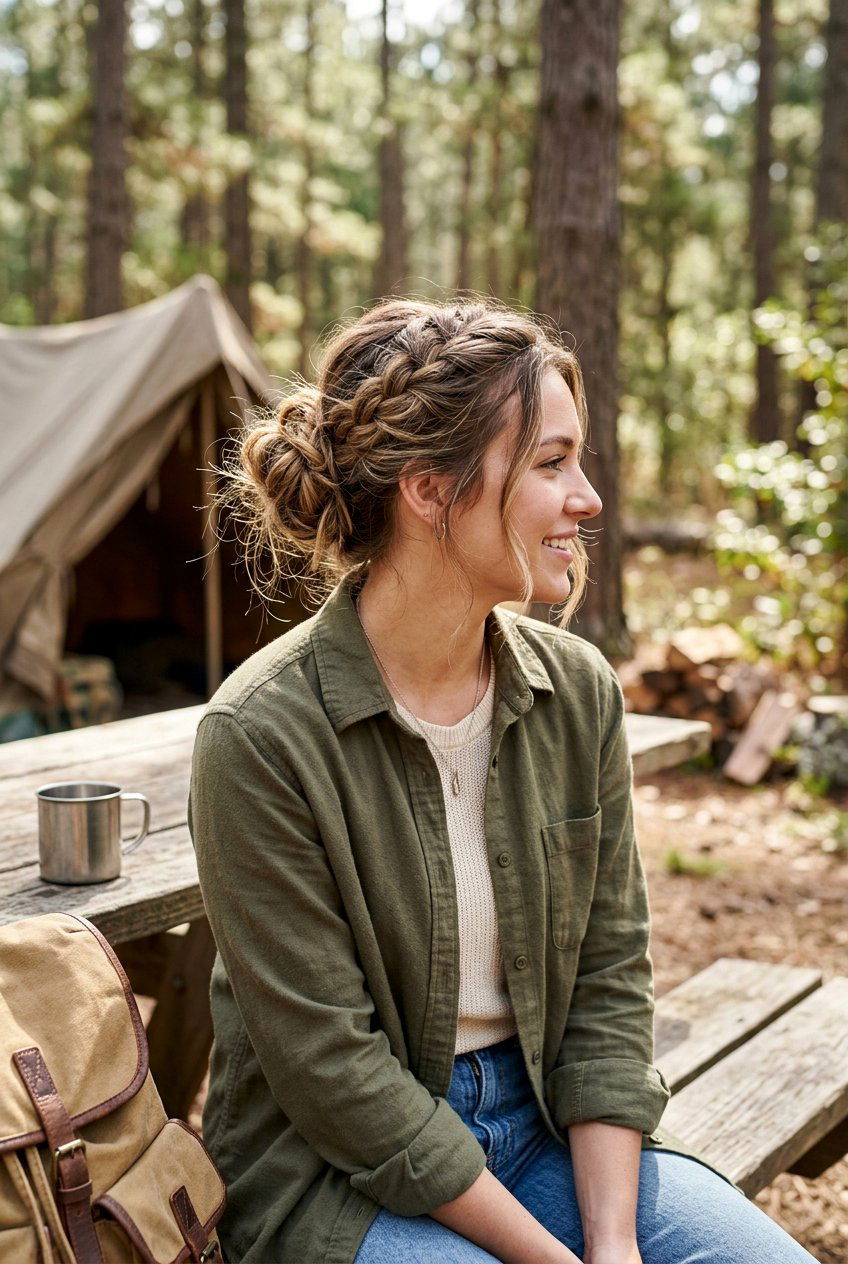
A messy braided bun is perfect when you’re on day two or three of camp hair and want something quick that doesn’t look overdone. Pull your hair into a medium or low ponytail, braid it loosely, and secure the end. Twist the braid into a bun, letting a few pieces fall out naturally so the texture feels soft and relaxed. You don’t need perfect parting or slick edges, which is ideal when you’re working with limited mirrors and lighting. This kind of bun hides frizz, embraces natural texture, and still keeps your hair mostly off your face and neck. It works especially well if you’re moving between hikes, campfires, and relaxing in a chair.
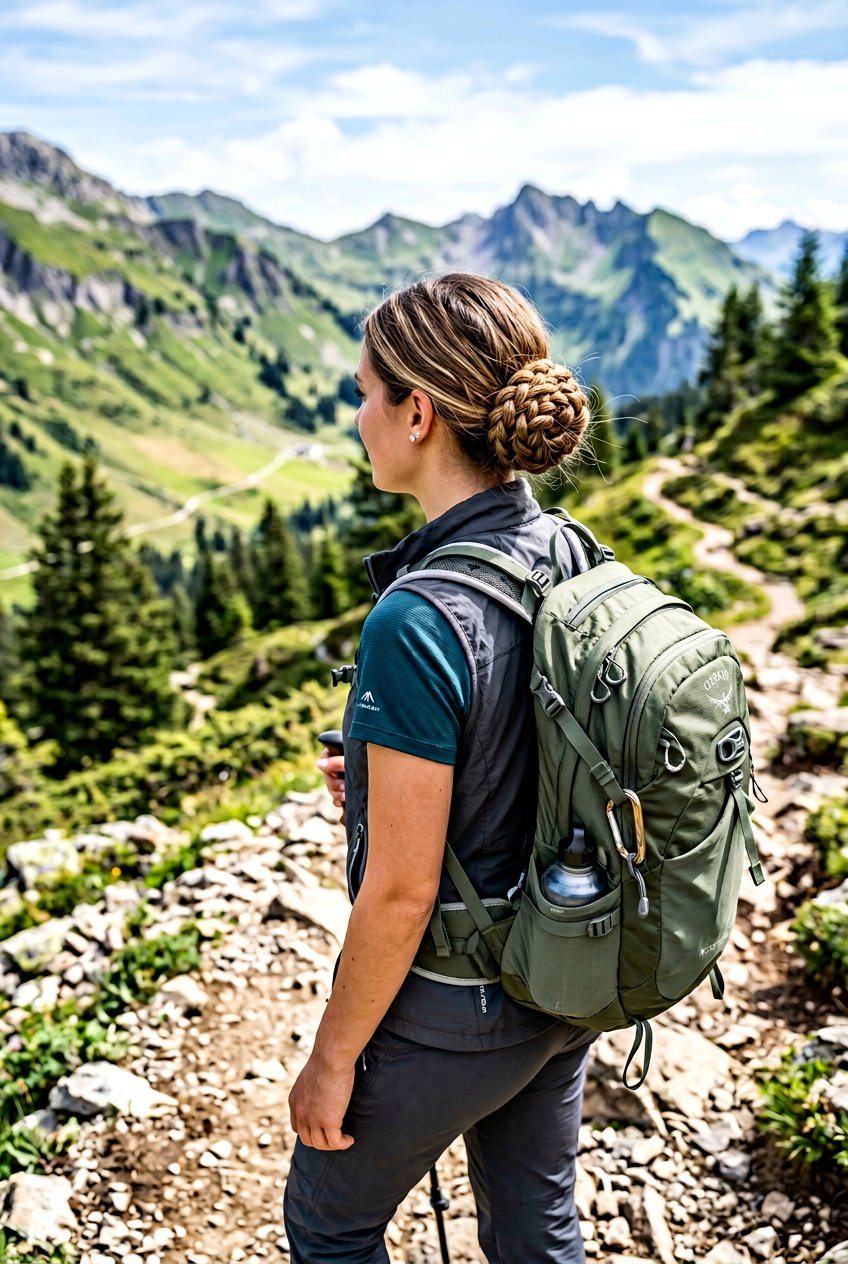
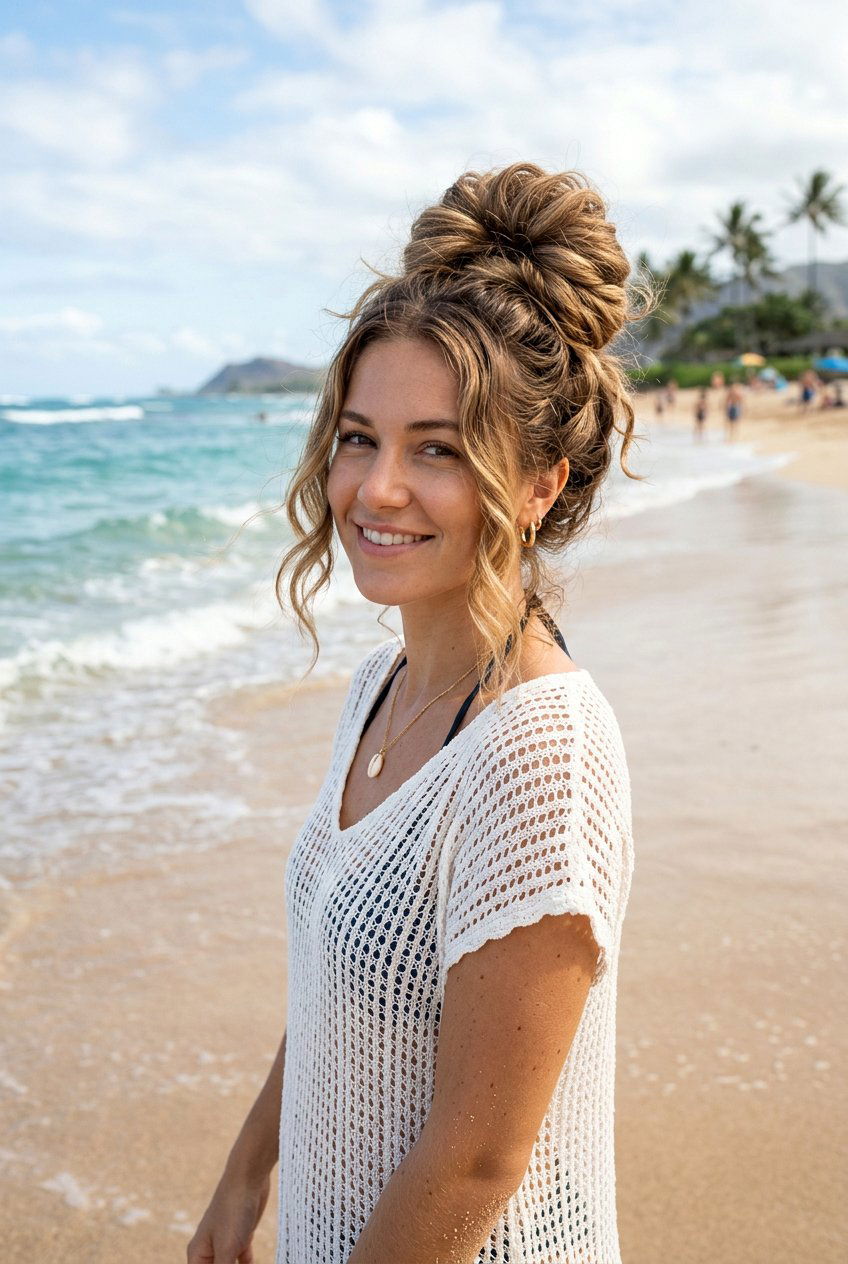
3. High Braided Bun For Camping
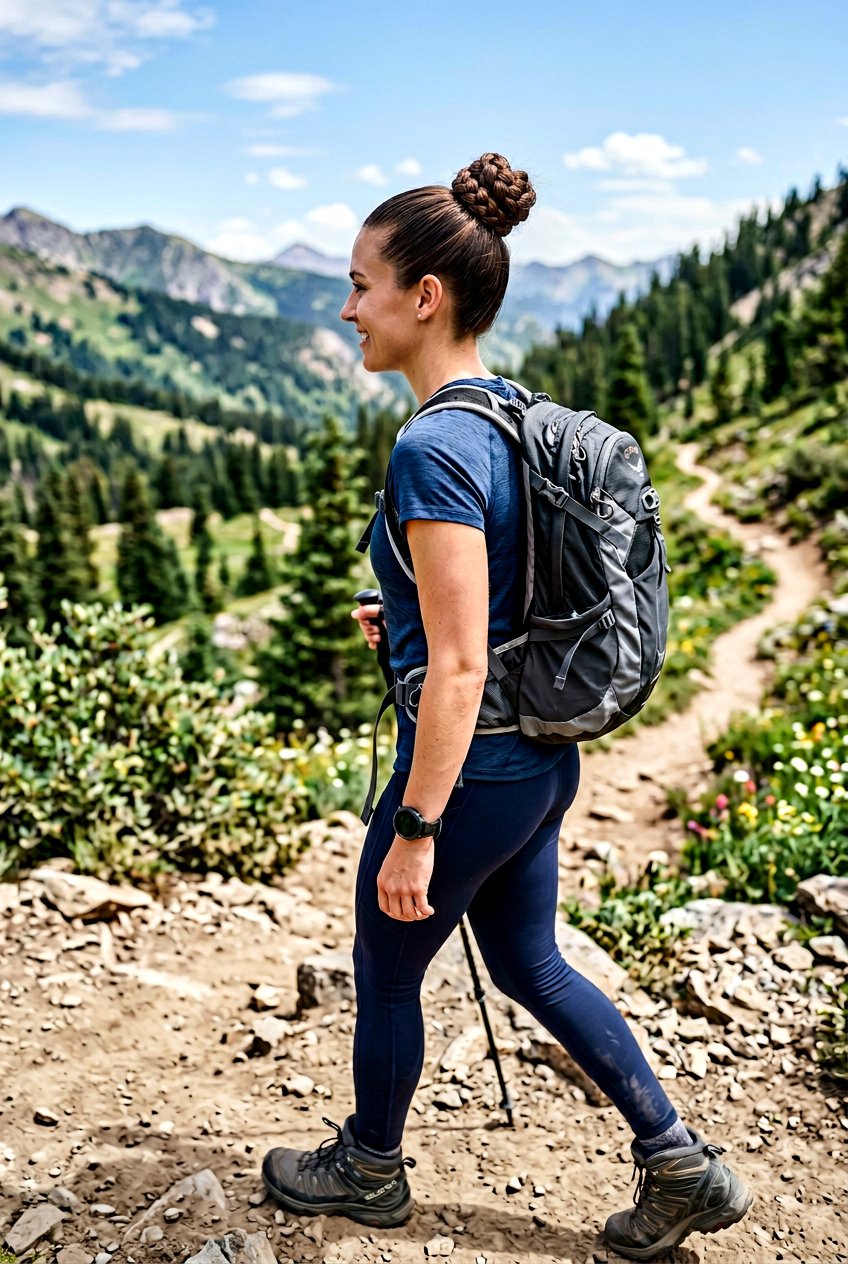
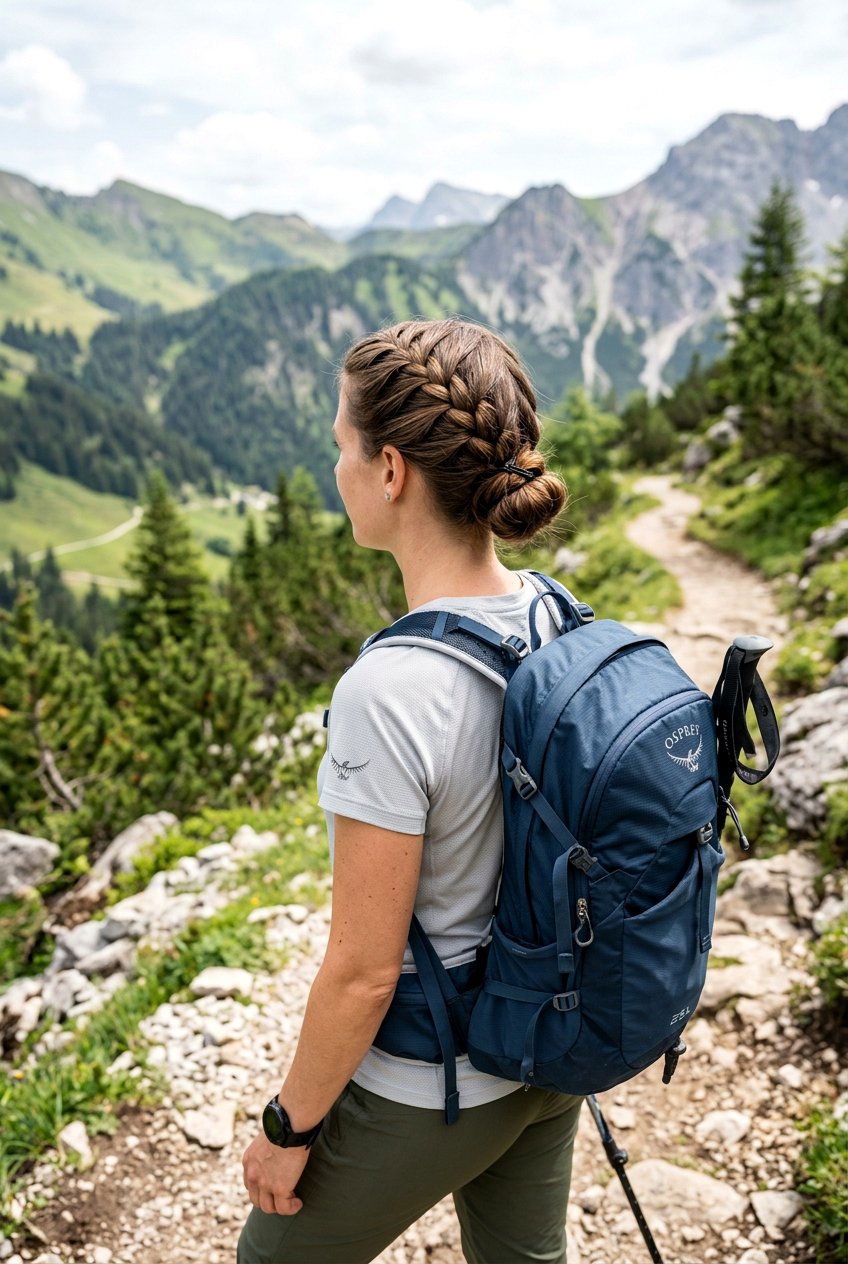
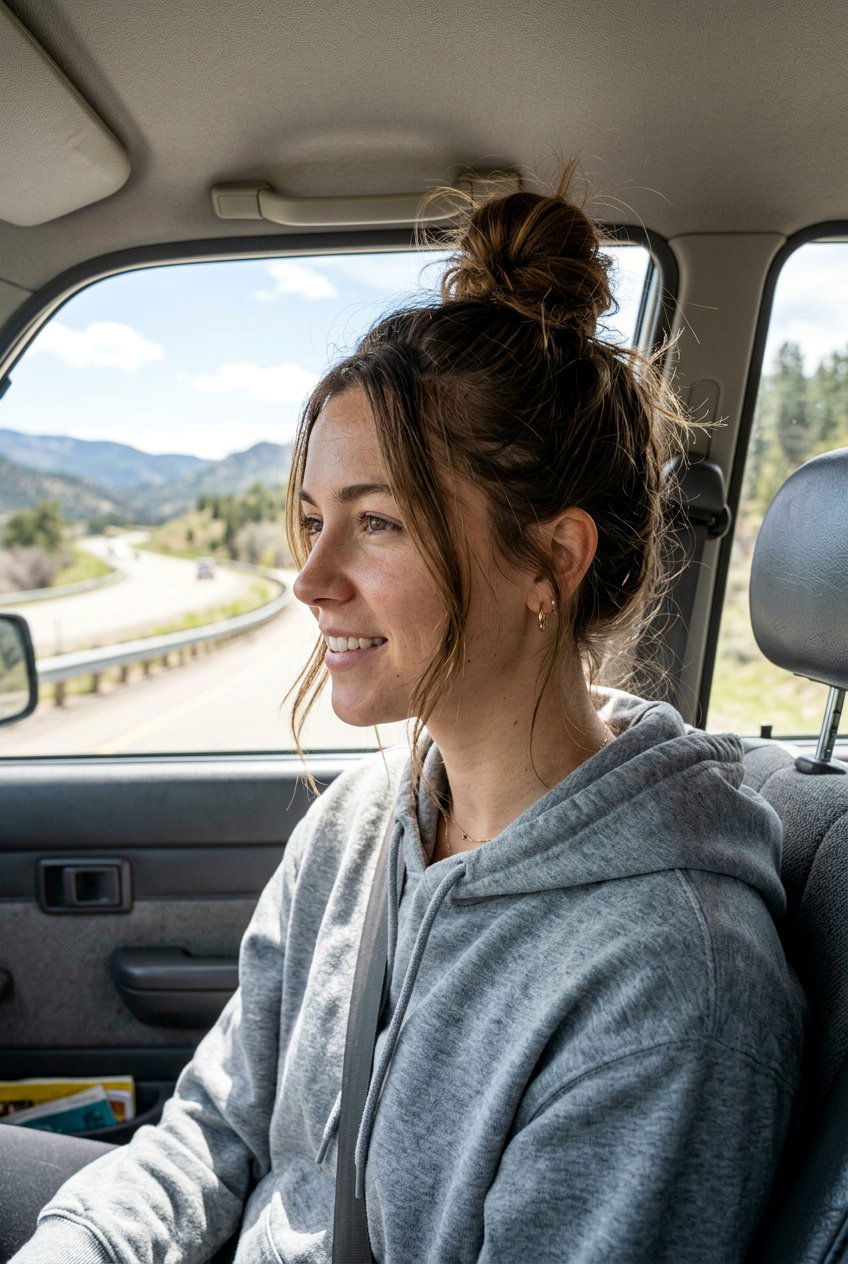
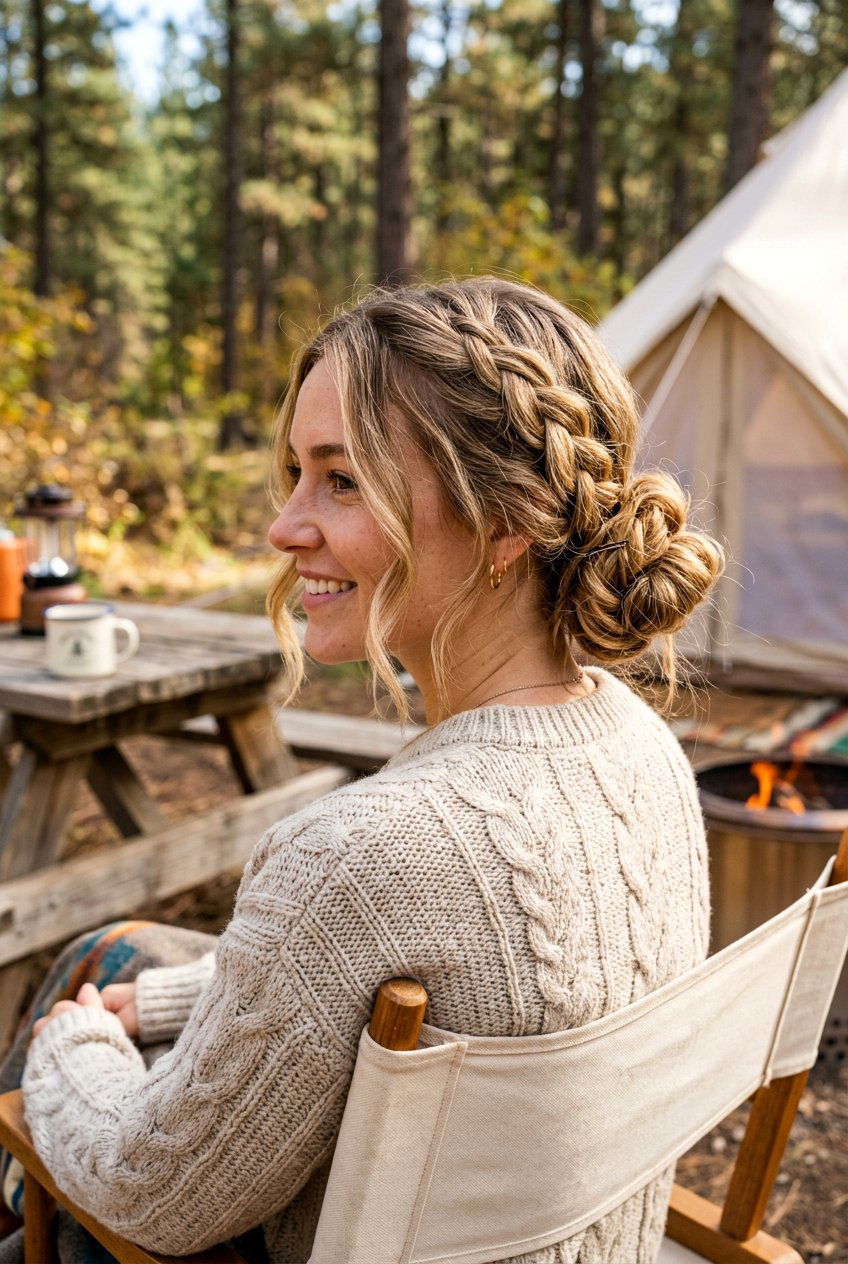
A high braided bun keeps hair completely off your neck and shoulders, which can feel great on hot days or during intense hikes. Gather your hair into a high ponytail at the crown of your head and secure it firmly so it doesn’t slip. Braid the ponytail all the way down, then wrap the braid around the base of the ponytail to build a neat, sturdy bun. This style stays out of the way when you’re carrying a backpack or using a camp chair with a high back. It also gives a slightly lifted look that feels a bit more polished in campsite photos. Just remember to keep it snug so it doesn’t catch on branches or gear.
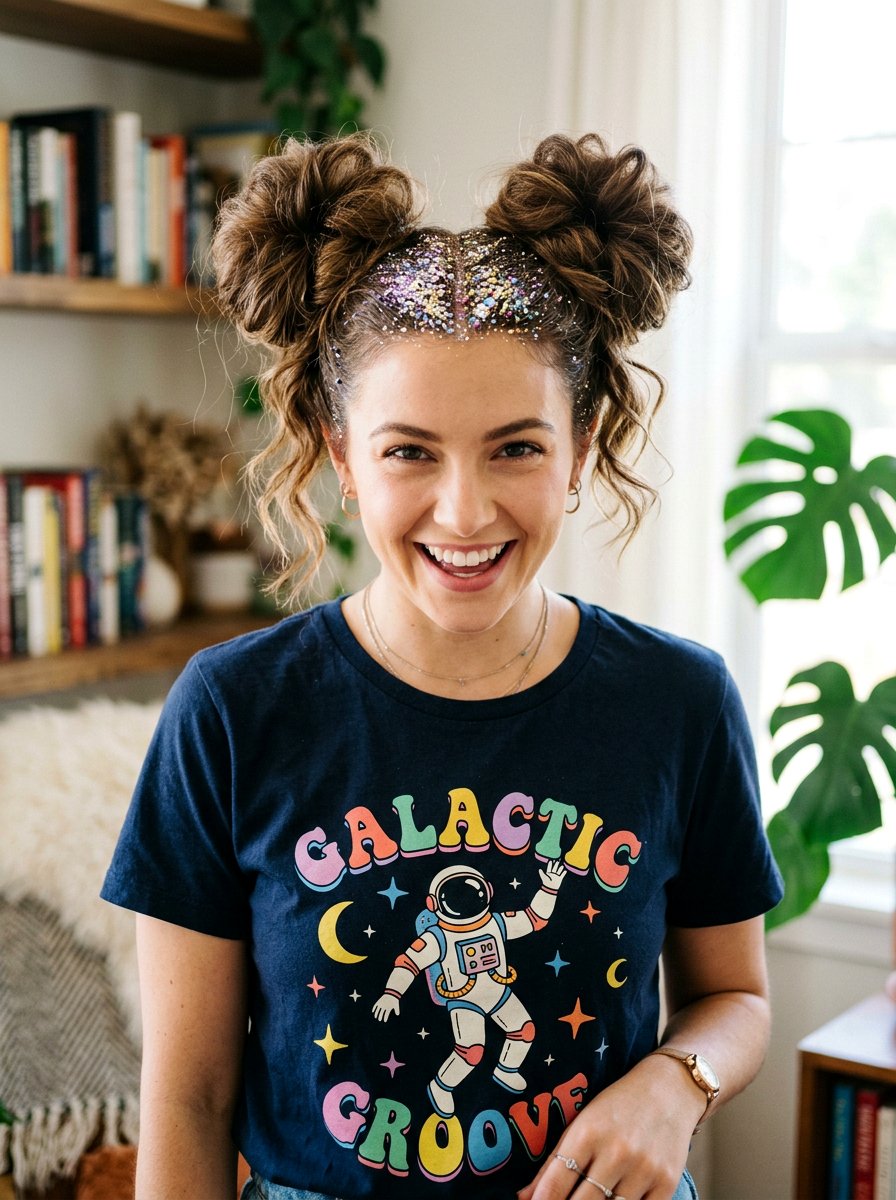
4. Double Braided Buns For Camping
Double braided buns, often called space buns, are a fun and secure option that keep your hair anchored in two spots instead of one. Start with a middle part, then gather each side into high or mid-height ponytails. Braid each ponytail separately, secure the ends, and twist them into buns, pinning or tying them into place. This look distributes the weight of your hair so it feels lighter, and it works well for medium to long hair. It’s also a great way to keep hair from tangling while you sleep in a tent or on an air mattress. Even if one bun loosens, the other side usually stays put, so it’s a forgiving look for active days.
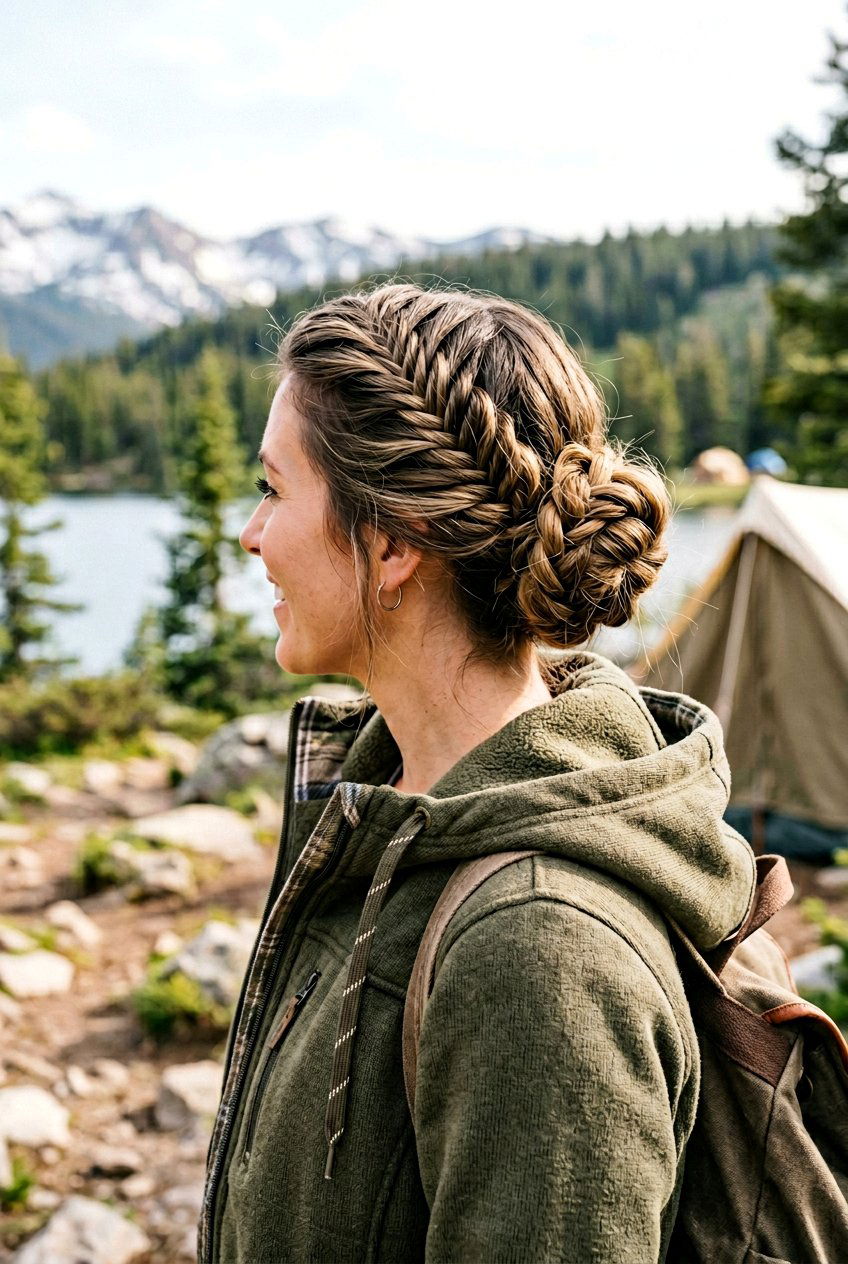
5. French Braid Into Bun Camping Hairstyle
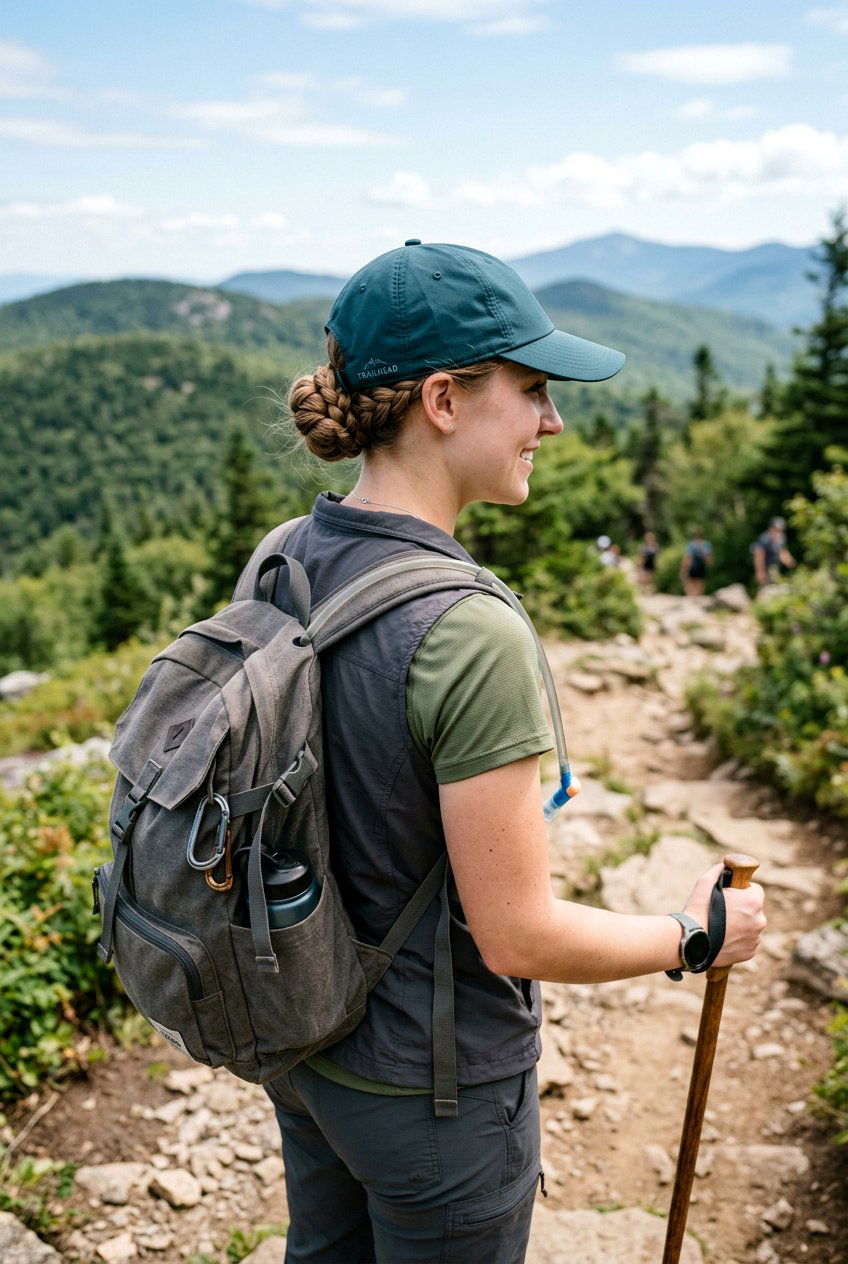
A French braid that feeds into a bun gives you extra hold over the top and back of your head, making it a smart choice for long hikes. Begin by French braiding from your hairline down to the nape, picking up sections as you go. Once you reach the bottom, secure everything into a ponytail and braid the length, then twist it into a compact bun. The French braid on the scalp helps control shorter layers and flyaways, especially if you’re dealing with wind. This style also sits well under hats and beanies because the braid lies flat. It can last a day or two with minor touch-ups, which is ideal when you have limited time for hair.
6. Dutch Braid Bun For Camping
A Dutch braid bun is like a French braid in reverse, with the braid sitting on top of the hair for extra texture and grip. Start at the front of your head and weave your braid by crossing sections under instead of over, working your way to the nape. Secure with an elastic, braid the remaining length, and wrap it into a bun. The raised braid helps keep everything tight and stable during movement and sweating. It’s especially useful if your hair is slippery or very straight and tends to fall out of looser styles. This look pairs nicely with athletic camping outfits while still feeling a little special in photos.
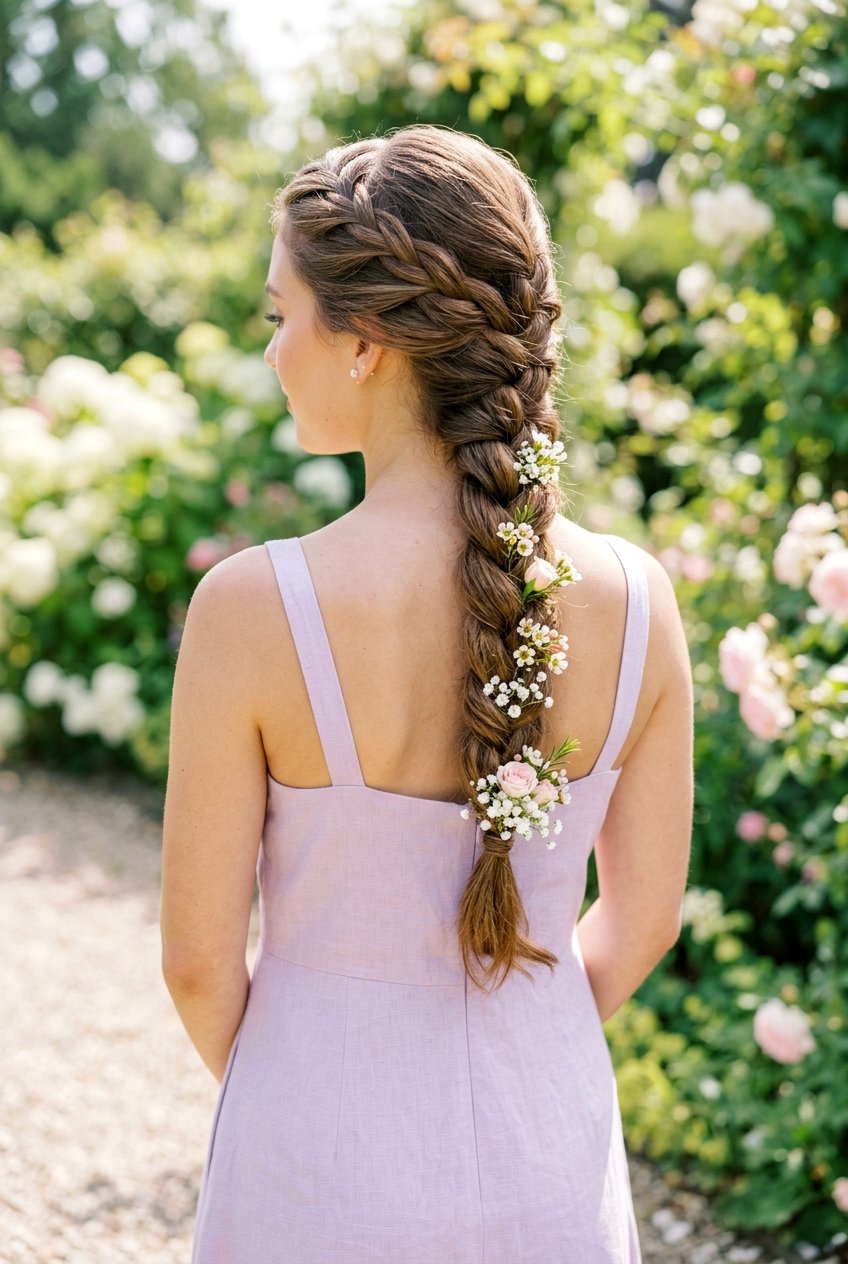
7. Side Braided Bun For Camping
A side braided bun gives you a cozy, slightly romantic look that still works well around camp. Part your hair to one side and gather it just behind one ear into a low side ponytail. Braid the ponytail, then wrap it around itself to form a bun that rests near your jawline or just behind it. This placement is comfortable for sleeping on your back or opposite side. It also keeps the bun out of the way of backpack straps and hoods. A side braided bun is easy to redo at the picnic table or in the car mirror if it loosens, making it very beginner-friendly.
8. Fishtail Braid Bun Camping Hairstyle
A fishtail braid bun looks more detailed than it really is and adds beautiful texture that holds up during a long camping day. Pull your hair back into a low or mid-height ponytail and create a fishtail braid by crossing small pieces from each side over to the other. Secure the end, gently loosen the braid with your fingers for fullness, and wrap it into a bun. The “pancaked” fishtail makes the bun appear thicker and more voluminous, especially on fine hair. Even if a few strands escape, the textured pattern keeps the overall shape looking intentional. This is a great choice if you like your camping look to feel a bit special without extra products.
9. Rope Braid Bun For Camping
A rope braid bun is a fast, no-fuss option that works great when you need to get out of the tent and on the trail quickly. Gather your hair into a ponytail, divide it into two equal sections, and twist each section in the same direction. Then wrap the two twisted sections around each other in the opposite direction to form a rope braid. Secure the end with an elastic, wrap it into a bun, and pin or tie it. This style is very sturdy because the twists lock together. It’s ideal for medium-length hair that might slip out of a regular braid and can handle some movement and wind without falling apart.
10. Braided Top Knot For Camping
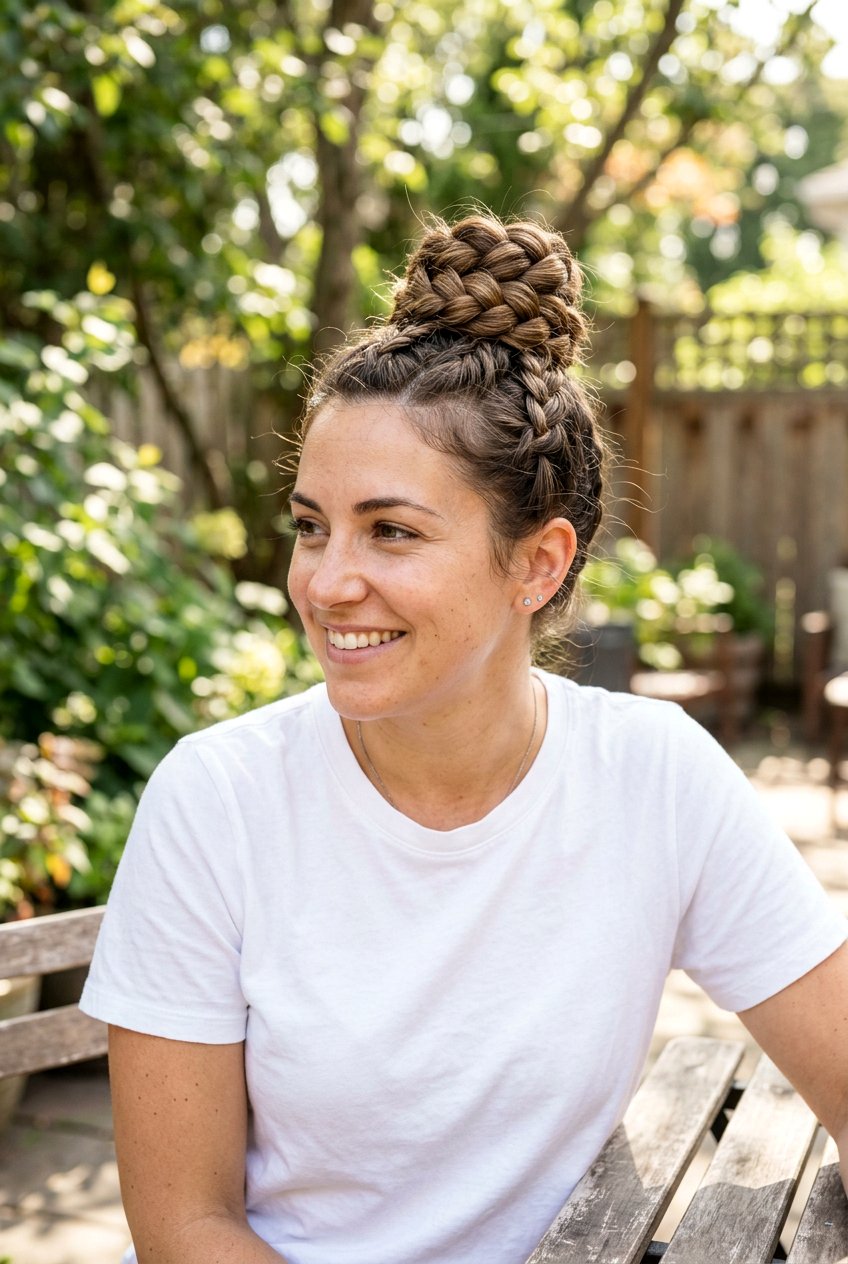
A braided top knot gives you maximum lift and keeps hair completely away from your face, which is great for cooking or setting up camp. Pull your hair into a high ponytail on the very top of your head. Braid the length, tie the end, and then wrap it tightly around the base to build a rounded top knot. This look works well when your hair is slightly dirty because the natural grip helps the braid hold. It also keeps hair far from campfire smoke and food smells. If you have shorter front pieces, you can leave a few face-framing strands out or pin them back for a cleaner finish.
11. Low Twisted Braided Bun For Camping

A low twisted braided bun combines a simple twist at the base with a braided length for a secure, soft look. Start by splitting your hair into two low sections at the nape and gently twisting them together for a few inches. Gather the twisted base into a low ponytail, then braid the remaining length and secure it. Wrap the braid into a bun over the twist and pin everything into place. This layered structure gives the bun more hold, so it doesn’t sag throughout the day. It’s a great choice if you want something understated that still feels a little more interesting than a plain bun.
12. Half Up Braided Bun For Camping
A half up braided bun works well if you like to keep some hair down while still getting your face clear. Take the top half of your hair from temple to temple and pull it back into a ponytail. Braid that section, tie the end, and wrap it into a small bun on the back of your head. The hair left down can air-dry naturally while the top stays neat and tangle-free. This style is great for cooler camping days when you don’t mind some hair on your neck. It also works nicely on wavy or curly hair by showing off texture while keeping the top tidy.
13. Boxer Braids Into Buns Camping Hairstyle
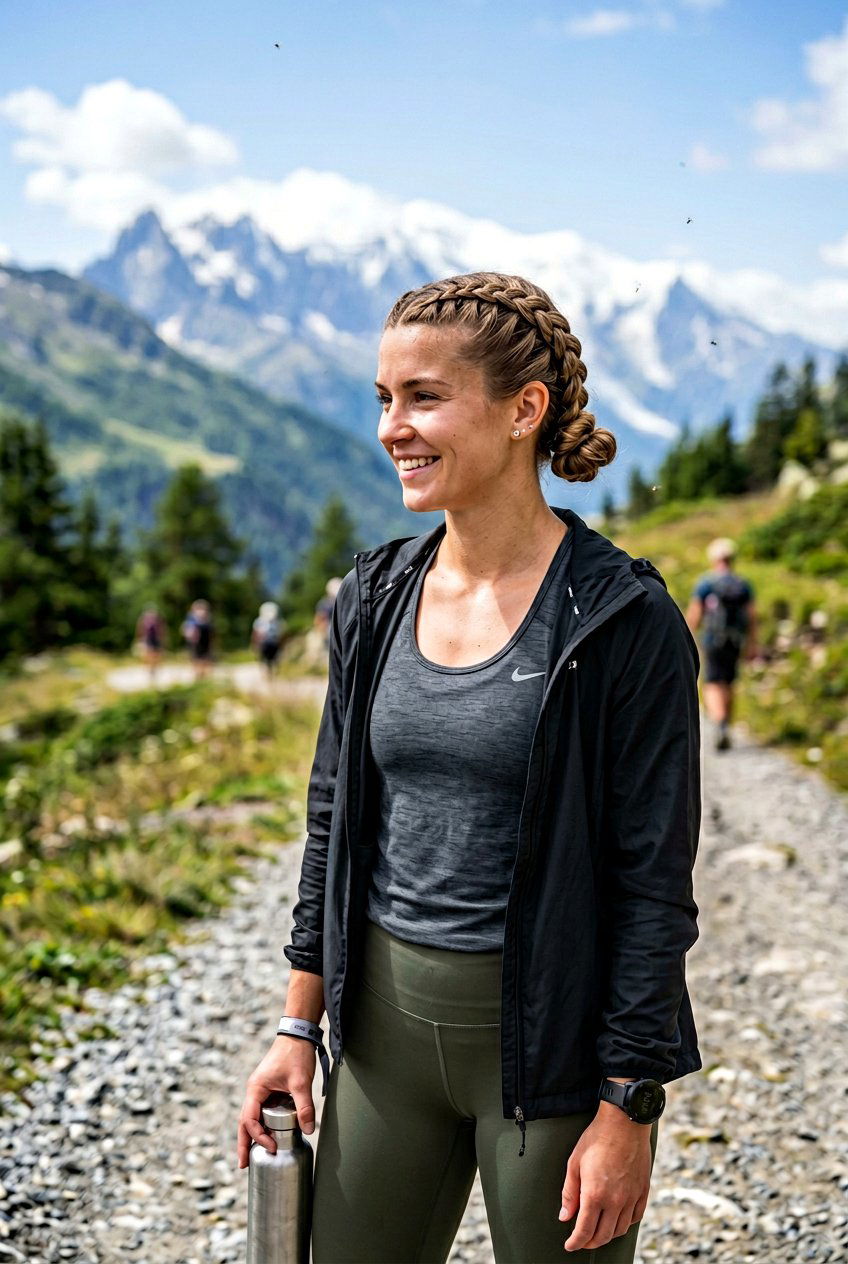
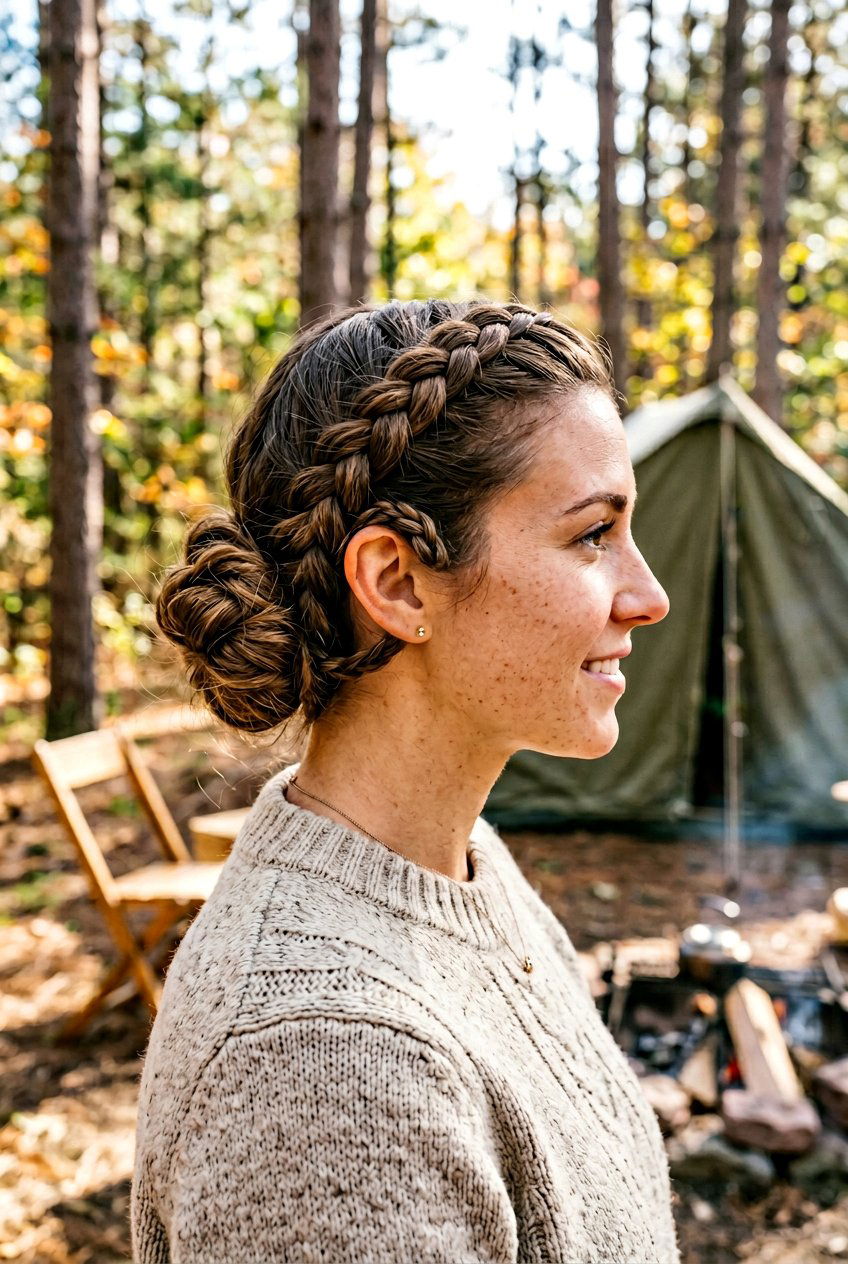
Boxer braids into buns offer strong hold and a sporty feel that’s ideal for very active camping plans. Start with a center part and Dutch braid each side from your hairline down to the nape, keeping the braids snug to your scalp. Secure each with an elastic, then braid the remaining lengths and twist each one into a small bun at the ends. This gives you two low braided buns that are anchored by scalp braids. The style resists frizz and stays out of your face during hikes, biking, or camping games. It can also last overnight and into the next day with just a bit of smoothing.
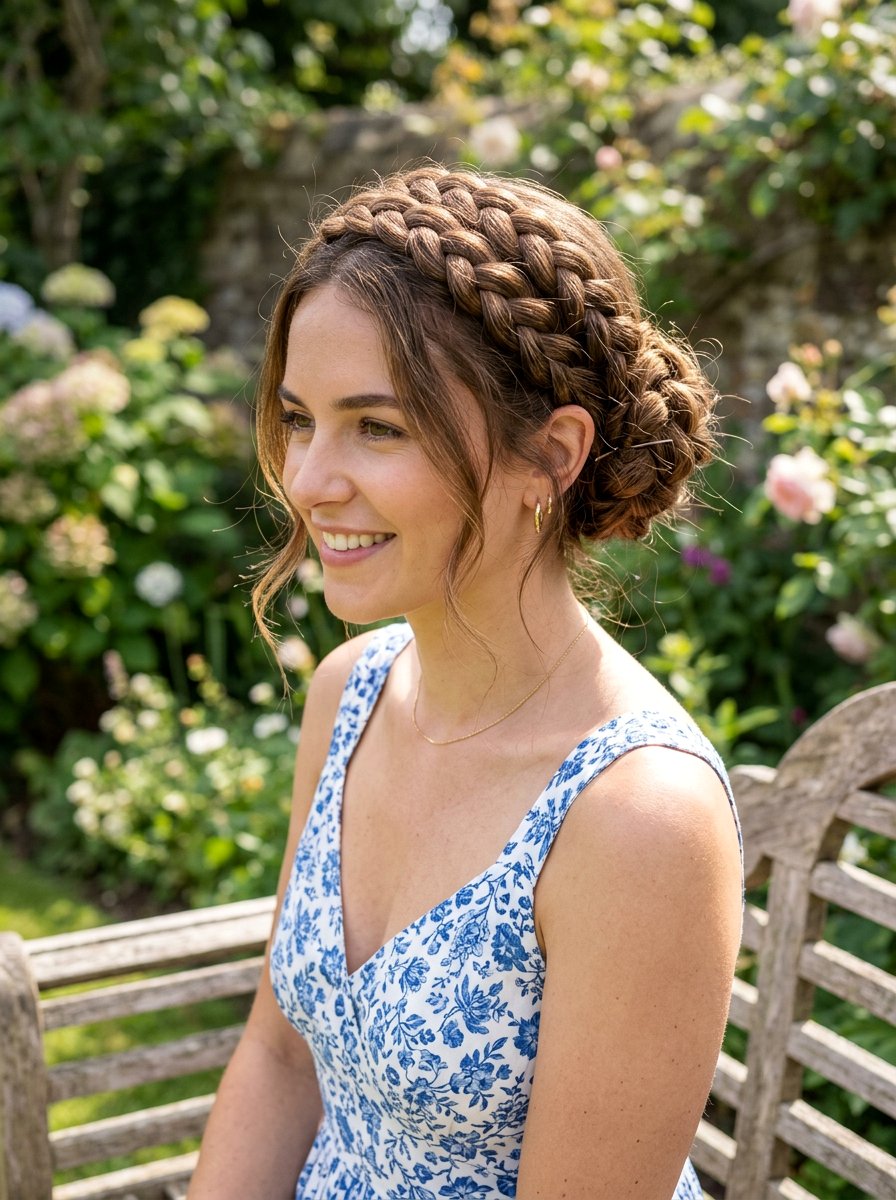
14. Crown Braid Bun For Camping
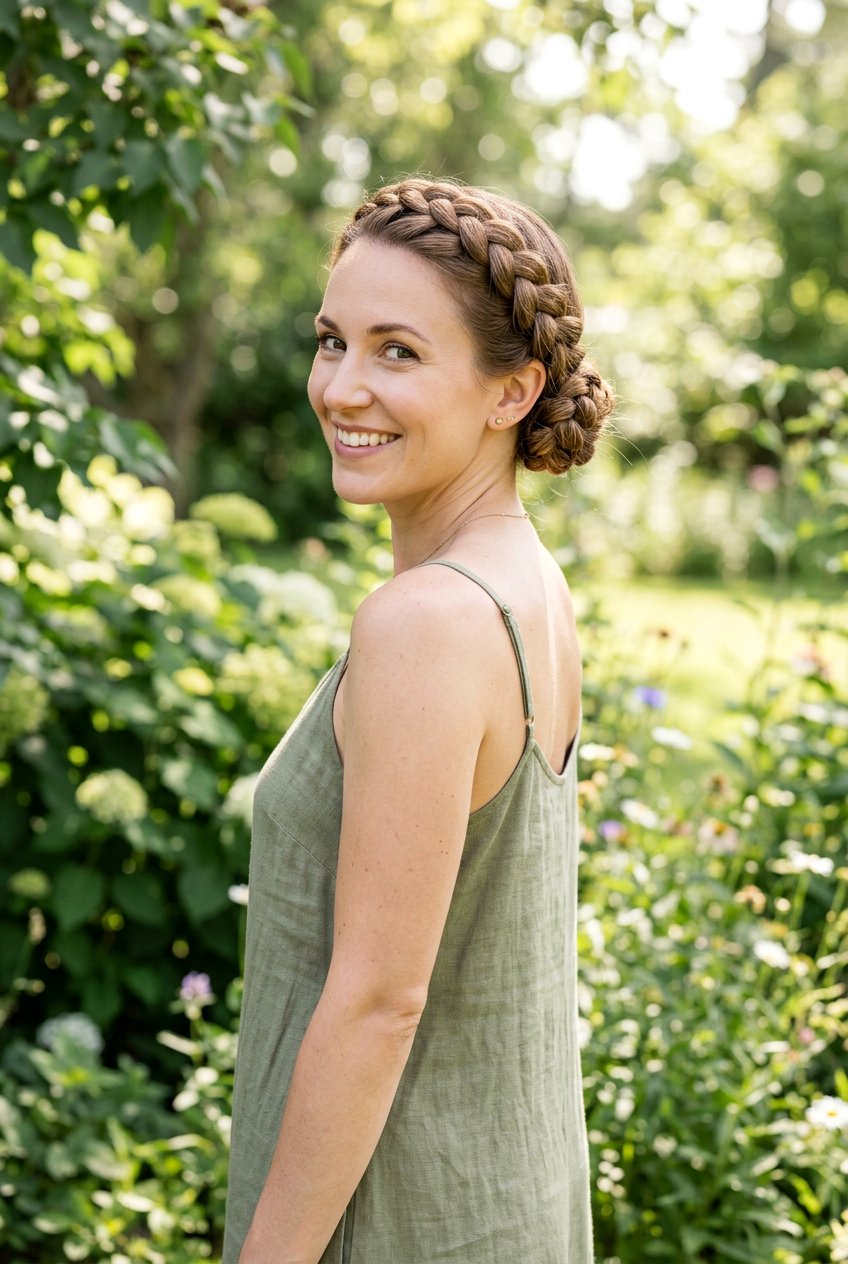
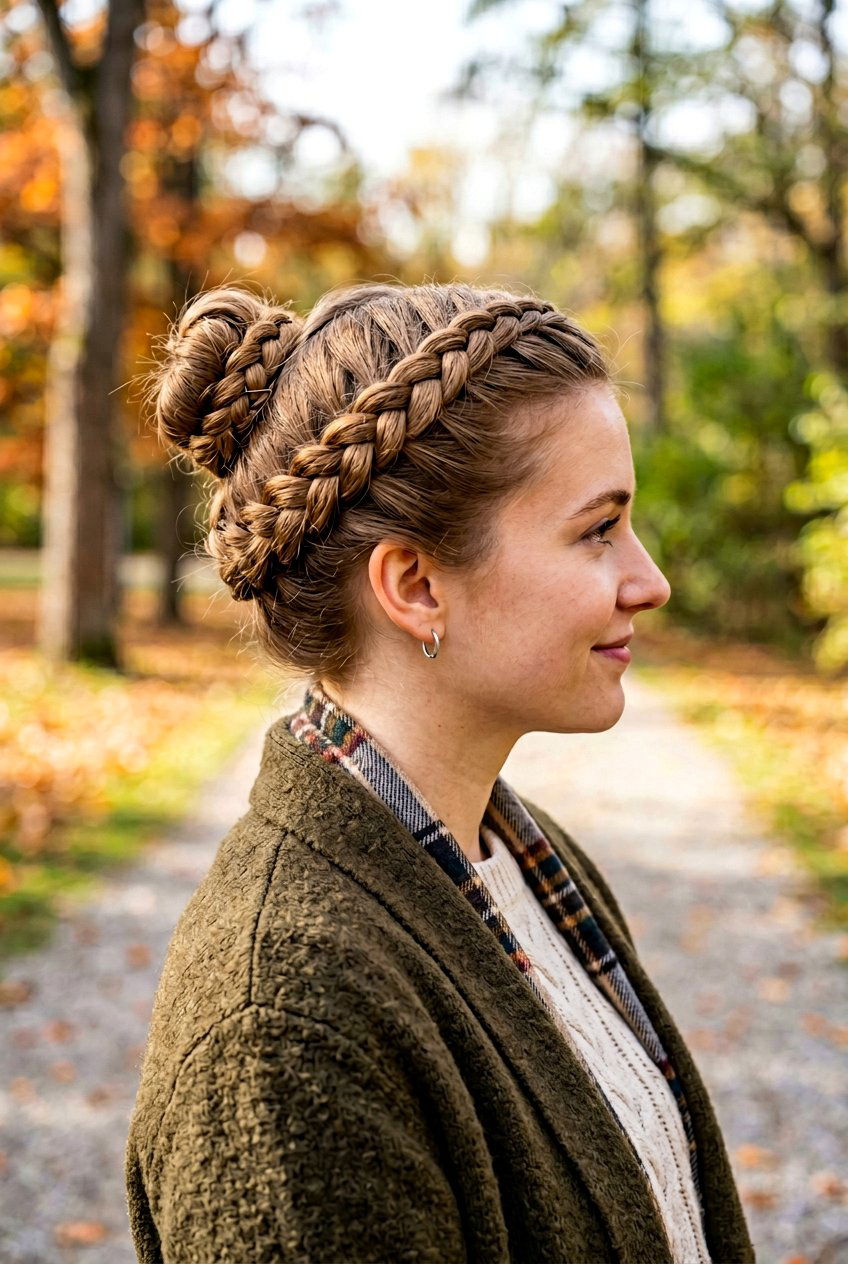
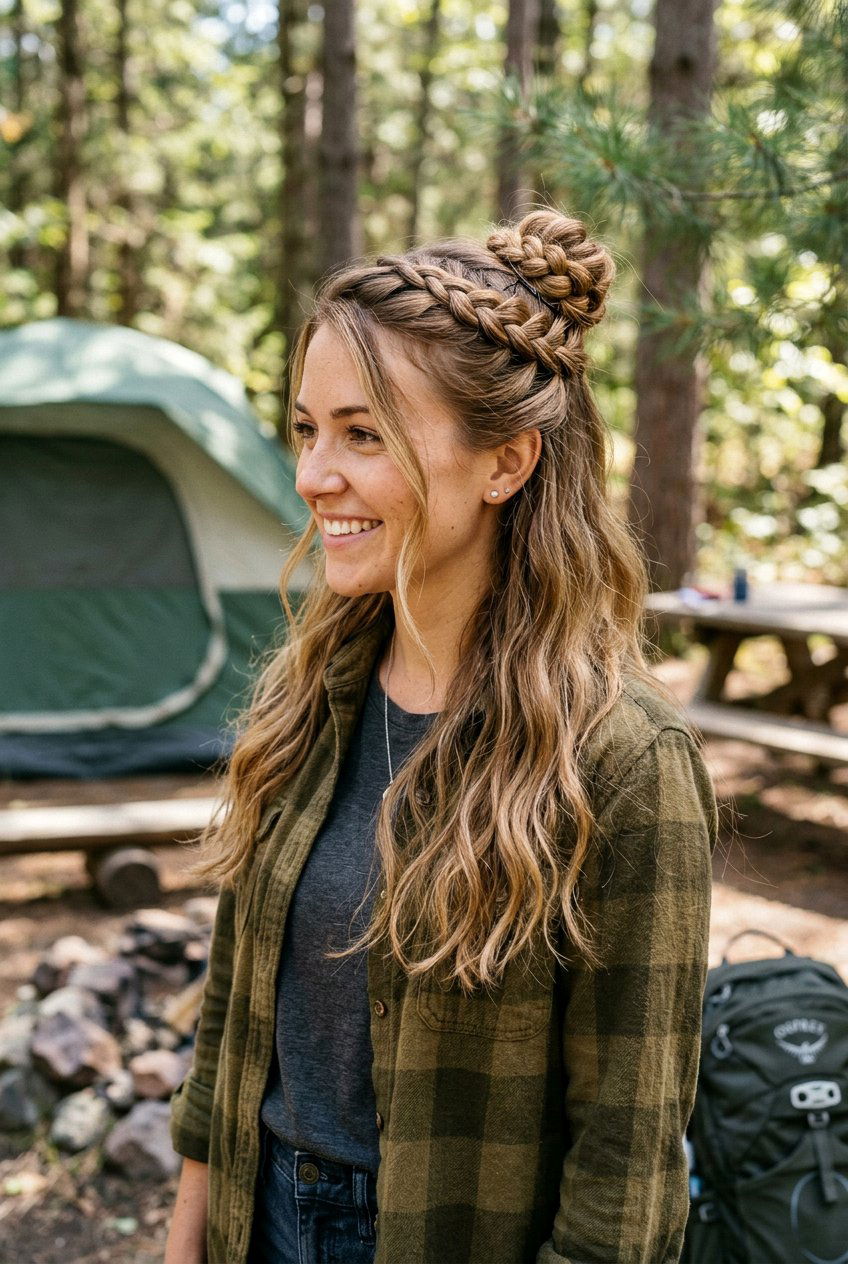
A crown braid bun gives you a secure, wrapped look that’s surprisingly practical for camping, especially if you want your hair completely tucked away. Begin by parting slightly off-center and braiding around your head like a halo, picking up hair as you go. Once you reach the back, secure the end and tuck it into a small bun at the nape or slightly to one side. Pin everything so the braid encircles your head and feeds neatly into the bun. This keeps hair off your neck and out of your face while still feeling pretty around the campfire. It’s especially nice for medium to longer hair and can handle a bit of camping frizz.
15. Braided Bun With Bandana For Camping
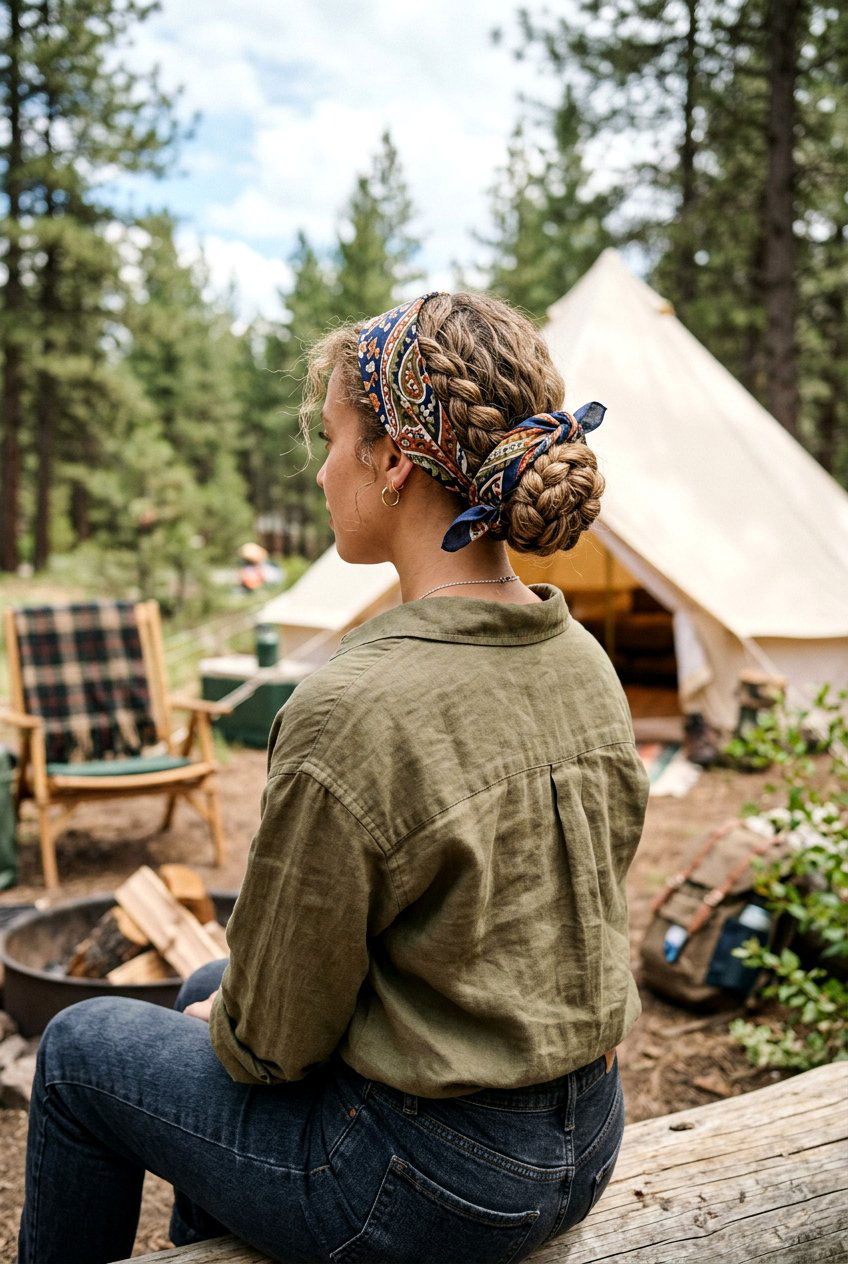
A braided bun with a bandana adds function and personality to your camping hair while protecting it from sun and dust. Pull your hair into a low or mid-height ponytail, braid it, and twist it into a bun. Secure the bun first, then fold a bandana into a long strip and wrap it around your head, tying the knot above or below the bun. The bandana helps keep shorter pieces flat and absorbs some sweat at the hairline. It also gives extra hold if your hair tends to slip during the day. Choose a soft, breathable fabric so it feels comfortable for hours around camp and on the trail.
16. Braided Bun With Hat For Camping
A braided bun that works with a hat is essential for sunny or chilly camping days, so placement is key. Start by choosing a low or mid-height ponytail that sits comfortably under your favorite cap or wide-brim hat. Braid the ponytail, secure the end, and wrap it into a compact bun that doesn’t bump against the hat band. The goal is a flatter, more streamlined shape instead of a huge, bulky knot. This way you can take your hat off and on without completely ruining your hair. The braid texture also keeps the bun from unraveling when you adjust your hat or hood throughout the day.
17. Quick Braided Bun For Second Day Camping Hair
A quick braided bun for second day camping hair focuses on speed and damage control rather than perfection. Lightly spritz your roots with water or a bit of dry shampoo to refresh and add grip. Pull your hair into a ponytail wherever it feels most comfortable, then quickly braid the length without worrying about perfect tension. Twist the braid into a bun, secure it, and smooth only the most visible flyaways at the front. This look hides oily roots, keeps your hair contained, and takes just a few minutes. It’s perfect for mornings when you need to pack up camp or head out for an early hike.
18. Protective Braided Bun Camping Hairstyle
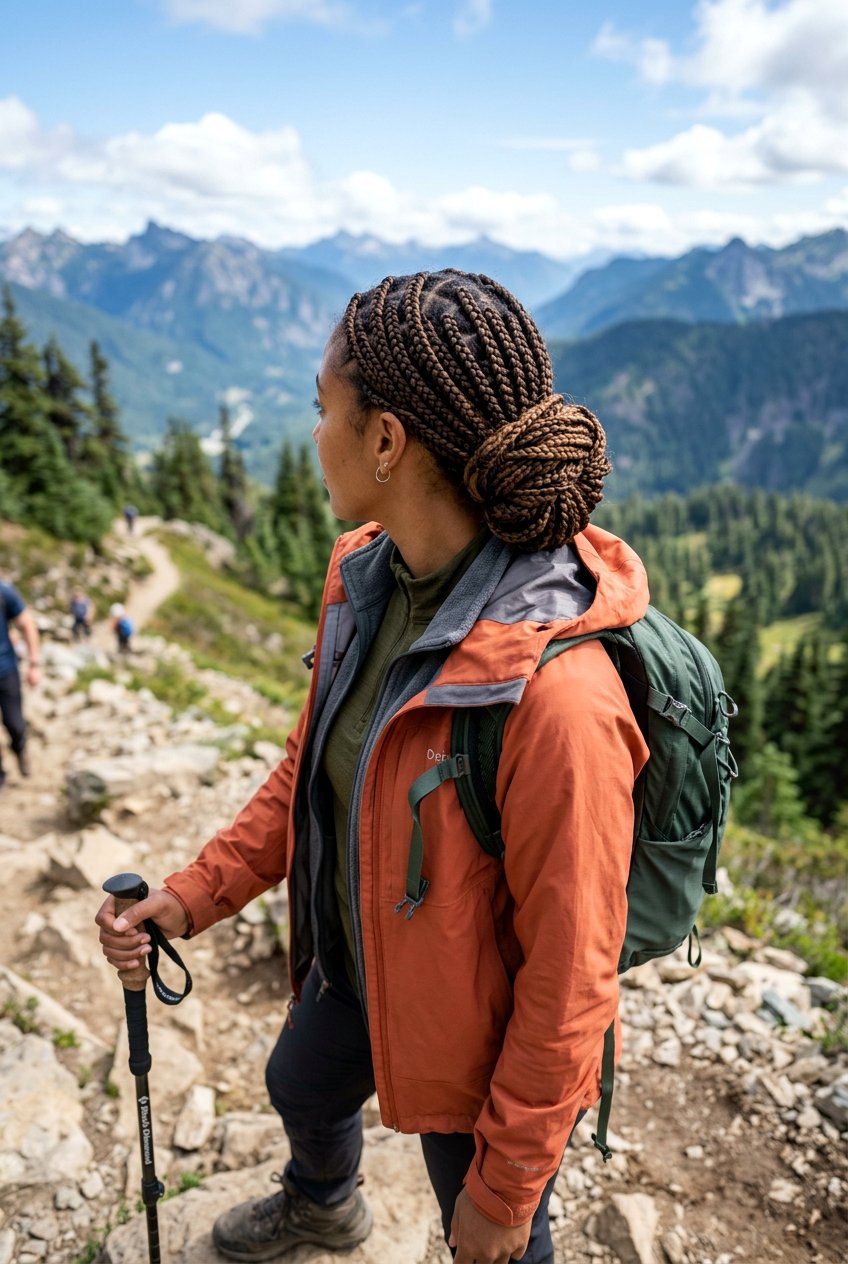
A protective braided bun is especially helpful if you want to reduce tangles and friction during a multi-day camping trip. Start with a leave-in conditioner or lightweight oil on the lengths to keep hair moisturized. Divide your hair into two or four sections, braid each one, and then gather the braids together into a single low bun at the nape. Secure the bun so the ends are tucked in and protected. This method minimizes rubbing against backpack straps, jackets, and sleeping bags. It’s a great option for curly, coily, or fragile hair that needs extra care in the elements while still staying neat.
19. Braided Bun With Scrunchie For Camping
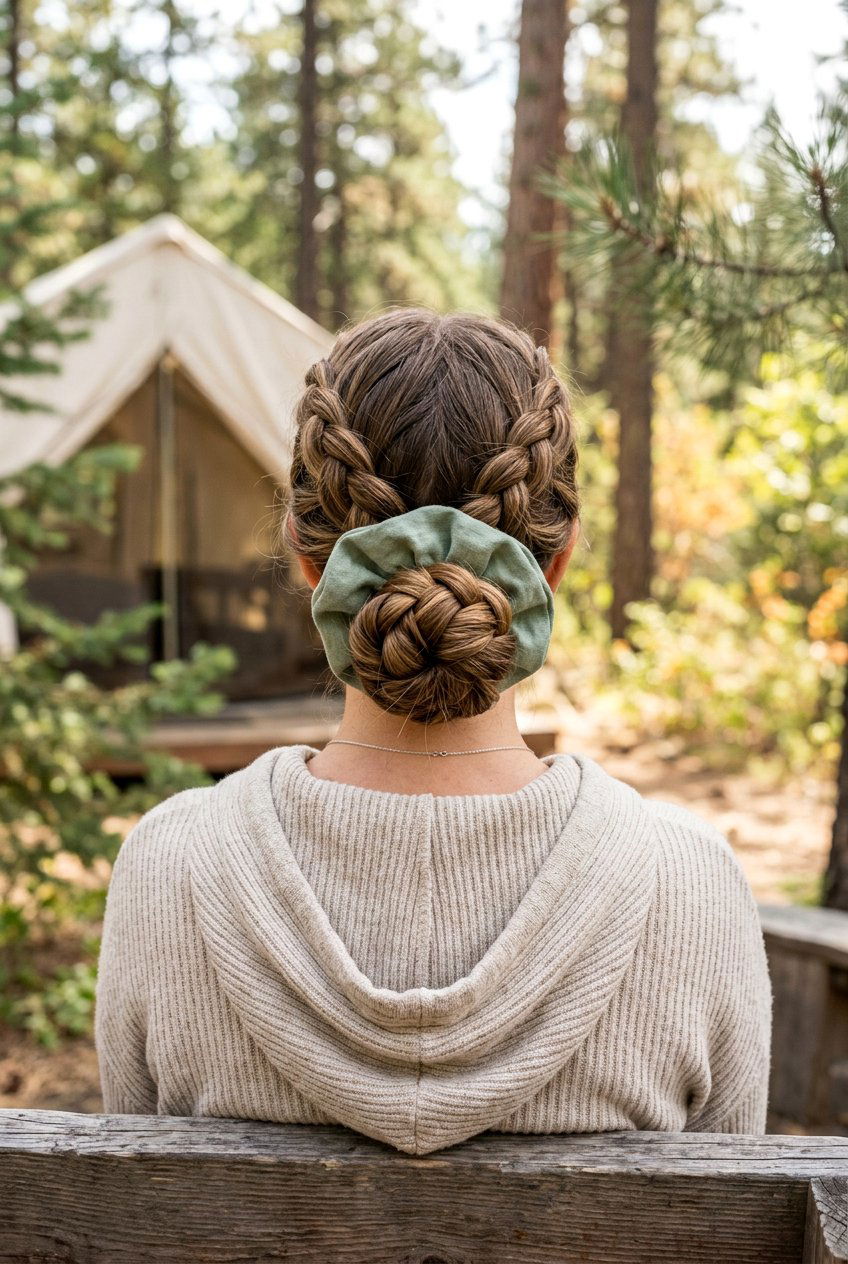
A braided bun with a scrunchie adds a little softness and comfort, which can make a big difference during long days outside. Pull your hair into a ponytail and secure it with a scrunchie that has enough grip but doesn’t feel tight. Braid the ponytail, tie the end, and wrap it around the base, using the scrunchie to anchor the bun. You can then wrap the scrunchie again over the bun if you like a fuller look. This style is gentle on your hair and less likely to cause dents or breakage than small elastics. It’s also easy to redo quickly if it loosens while you’re active.
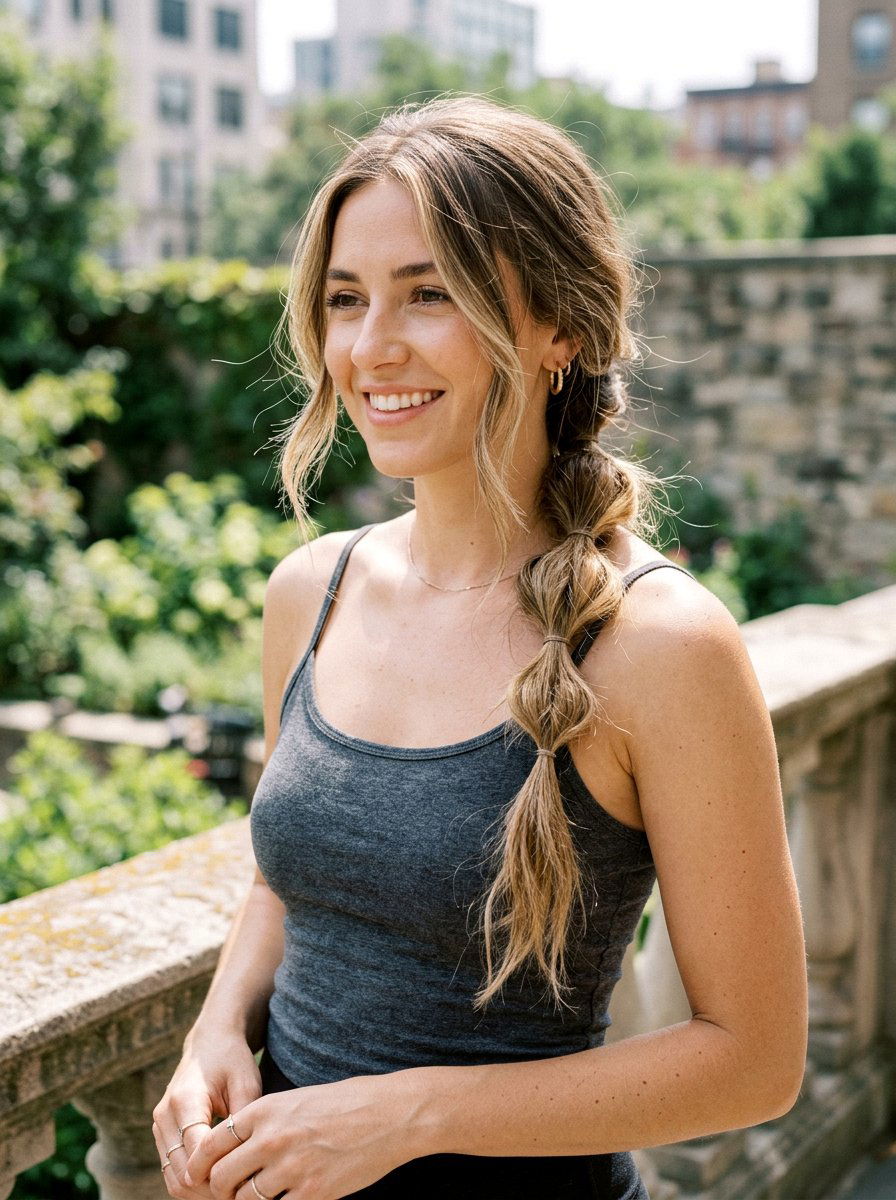
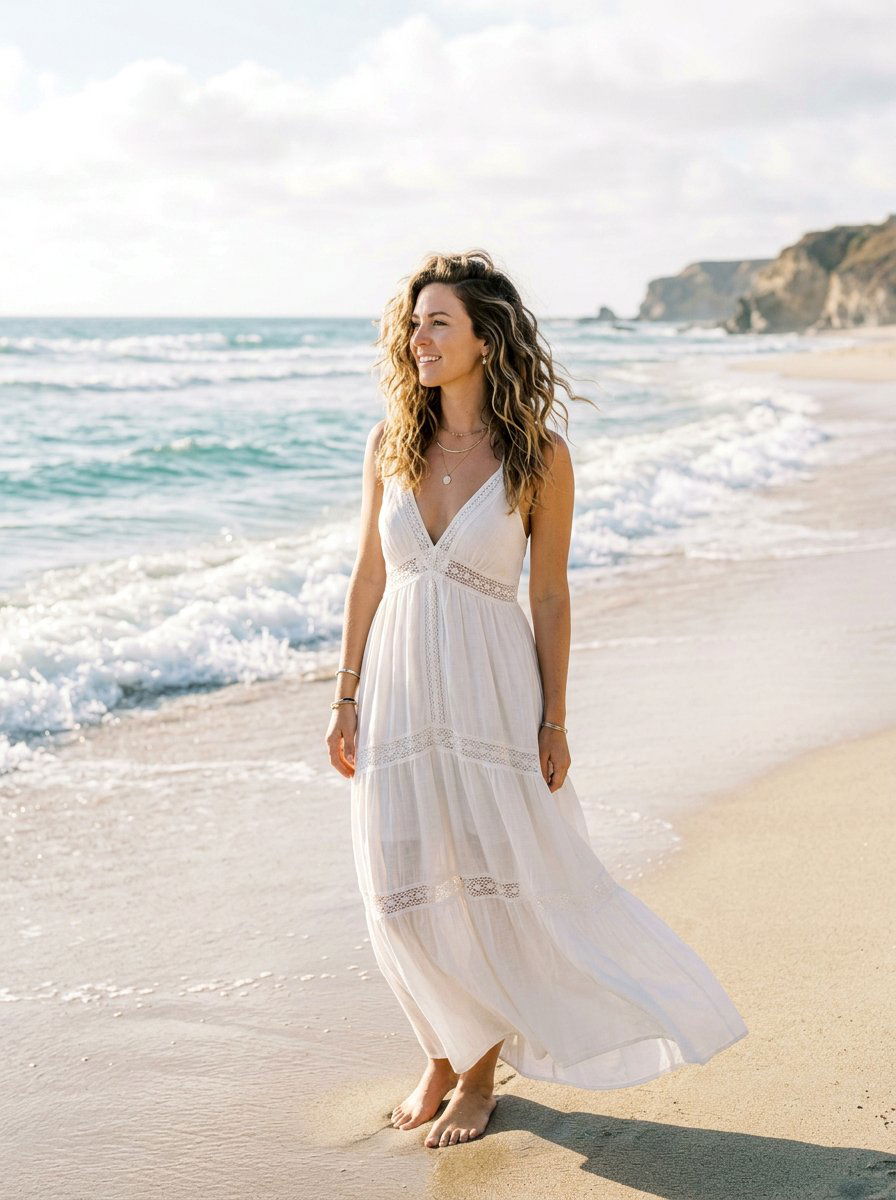
20. Loose Braided Bun With Face Framing Pieces For Camping
A loose braided bun with face-framing pieces gives you a relaxed, campsite-ready look that still feels comfortable for all-day wear. Start by pulling your hair back loosely, leaving a few shorter pieces around your face. Create a soft braid with the rest of your hair, secure the end, and twist it into a gentle bun at the back of your head. Don’t pull the bun too tight; instead, let it sit with a bit of movement and volume. The loose front pieces soften the look and can be tucked behind your ears when you need your hair fully out of the way. This style works especially well for evenings around the fire or casual camp photos.
Conclusion:
Camping braid bun hairstyles make outdoor life easier by keeping your hair secure, manageable, and more protected from wind, dust, and tangles. Choosing braids that feed into buns gives you flexible options that work with hats, bandanas, and different sleeping setups. Low buns sit comfortably under hoods, while higher or top knot versions keep your neck cool on hot days. You can go sleek for extra hold, or embrace loose, textured versions that hide frizz and second day hair. Many of these looks can be done with just a brush, a few elastics, and maybe some bobby pins. Try a couple of these braid bun options before your next trip so you know exactly which ones feel best for your hair length, texture, and camping plans.
You'll Like These Styles:

Leave a Reply