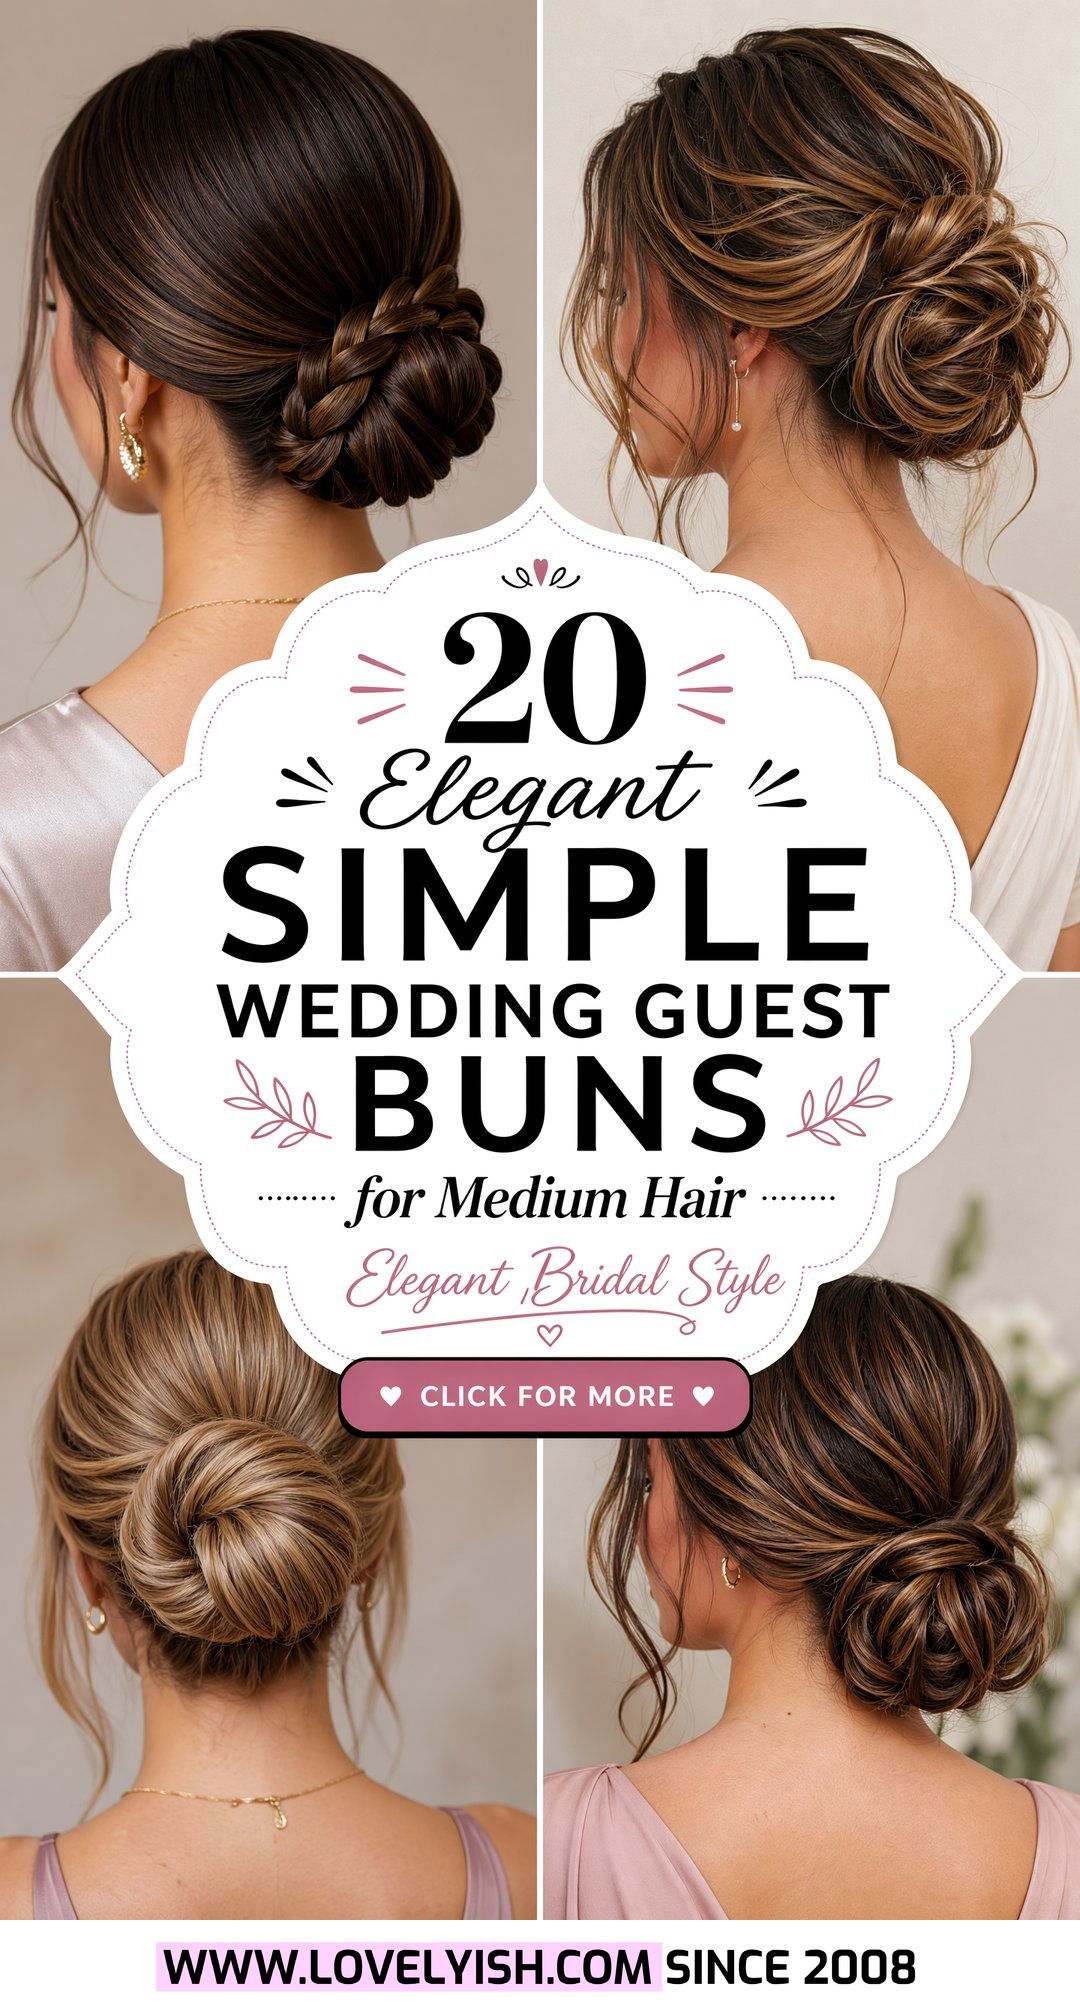
Soft light catches every twist and curve of a well-done bun, and that is exactly why this look is perfect for a wedding guest with medium hair. A bun keeps hair off your face so you can enjoy the ceremony, dance at the reception, and still look polished in every photo. For medium hair, buns are especially flattering because they give the illusion of more volume while staying lightweight and comfortable. Simple wedding guest buns do not have to look basic. With the right placement, texture, and small details, they can feel special without needing salon-level skills. The key is choosing a bun that matches your dress neckline, the wedding vibe, and how much time you realistically want to spend getting ready at home.
1. Low Sleek Wedding Guest Bun
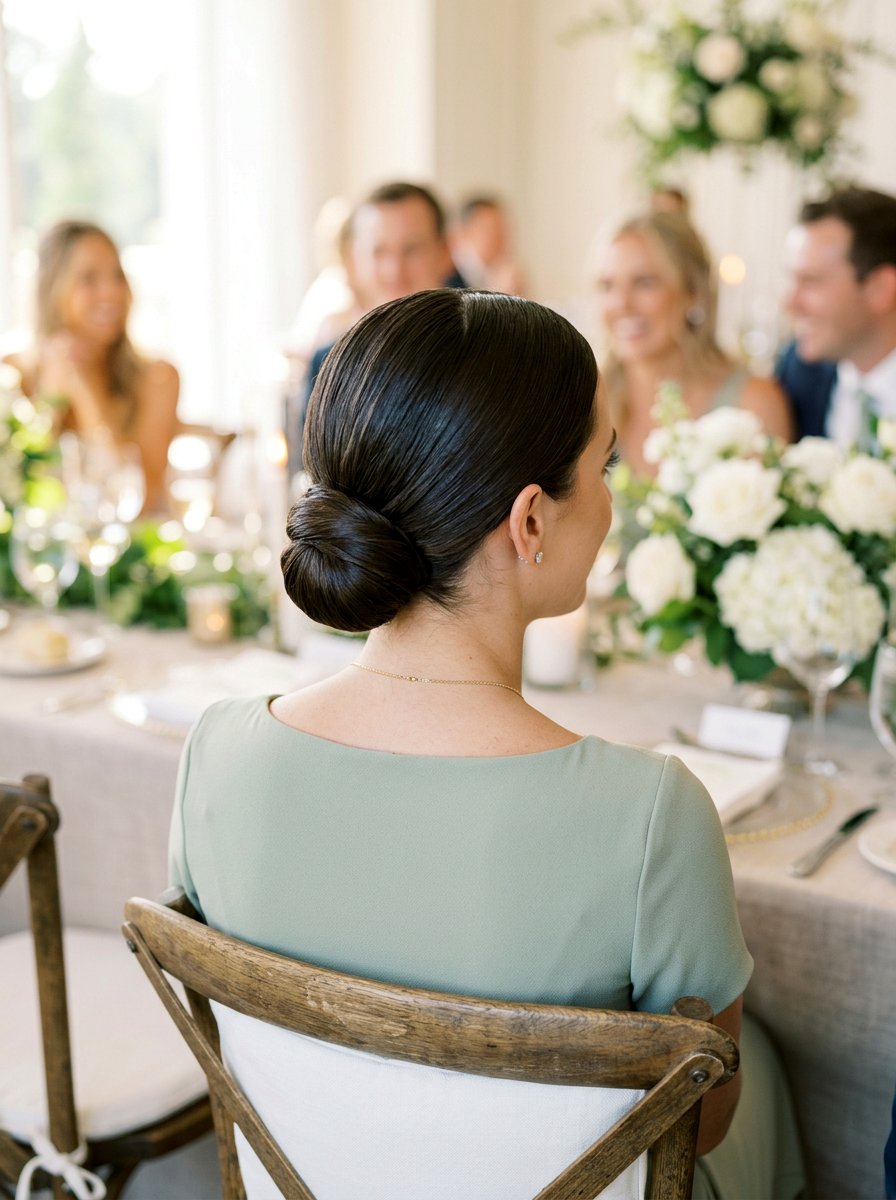
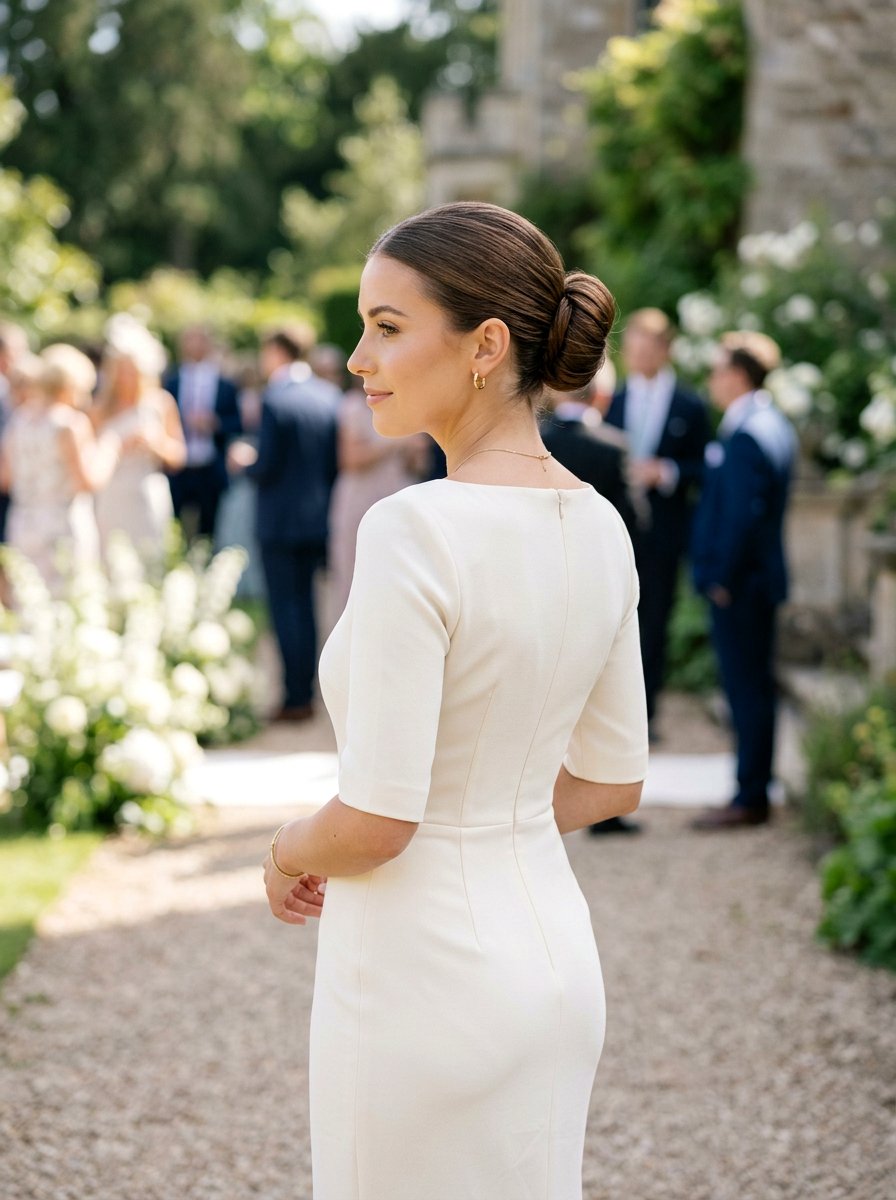
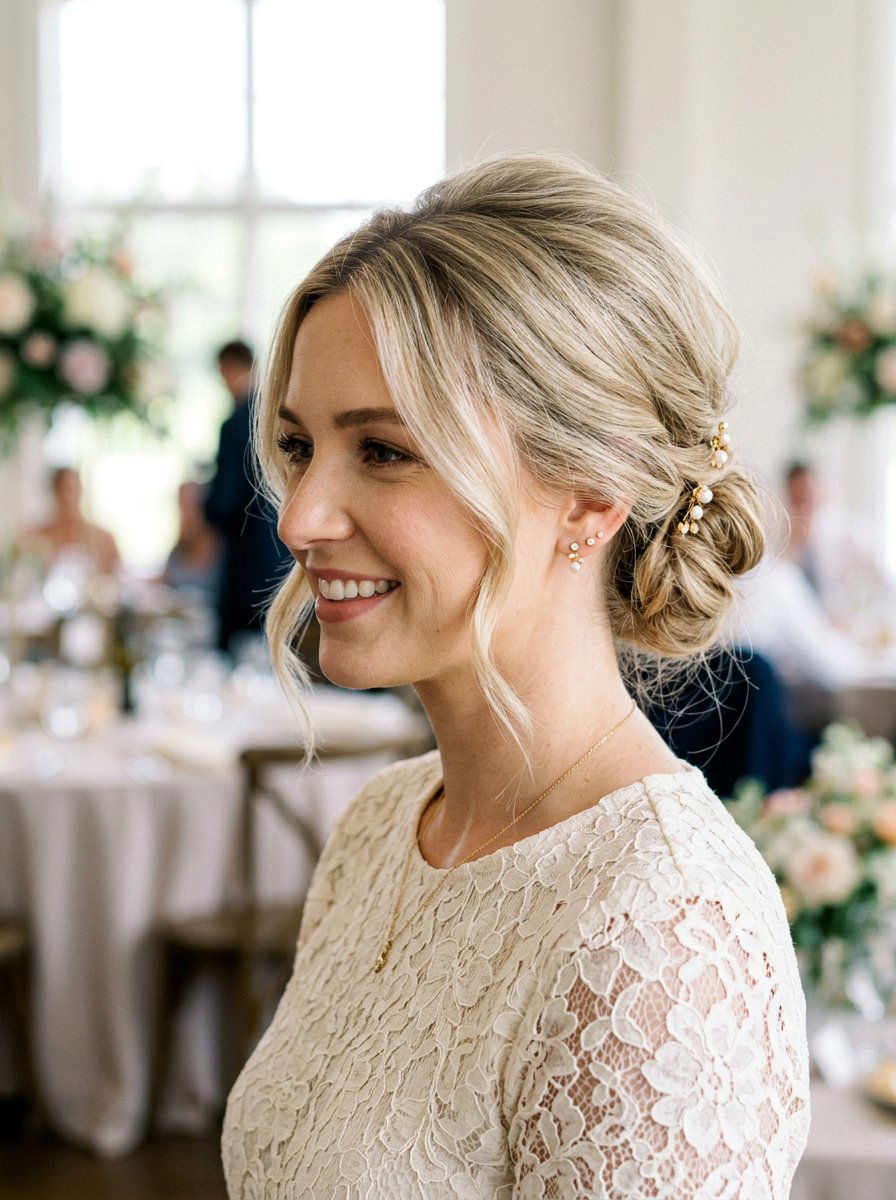
A low sleek bun is the one to reach for when you want to look polished, neat, and timeless without much fuss. Start with smooth, straightened hair or blow-dried hair brushed through so there are no tangles. Create a clean middle or side part, then gather your medium-length hair into a low ponytail at the nape of your neck and secure it with a strong elastic. Twist the ponytail tightly, wrap it around the base to form a compact coil, and secure it with a few bobby pins that match your hair color. A light swipe of smoothing serum or hairspray over the top and sides keeps flyaways flat and shiny. This bun works beautifully with high necklines, classic dresses, and small earrings, creating a refined look that stays put all day.
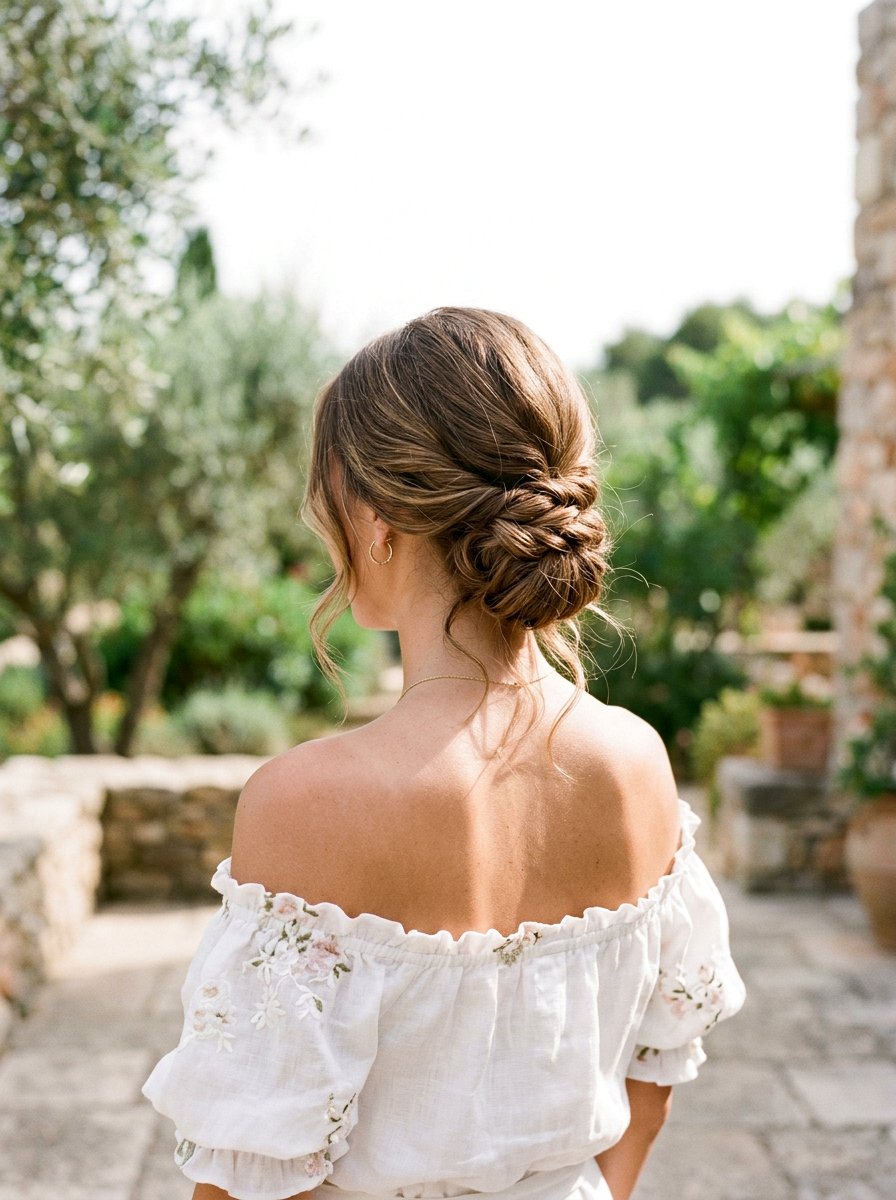
2. Low Textured Chignon For Wedding Guest

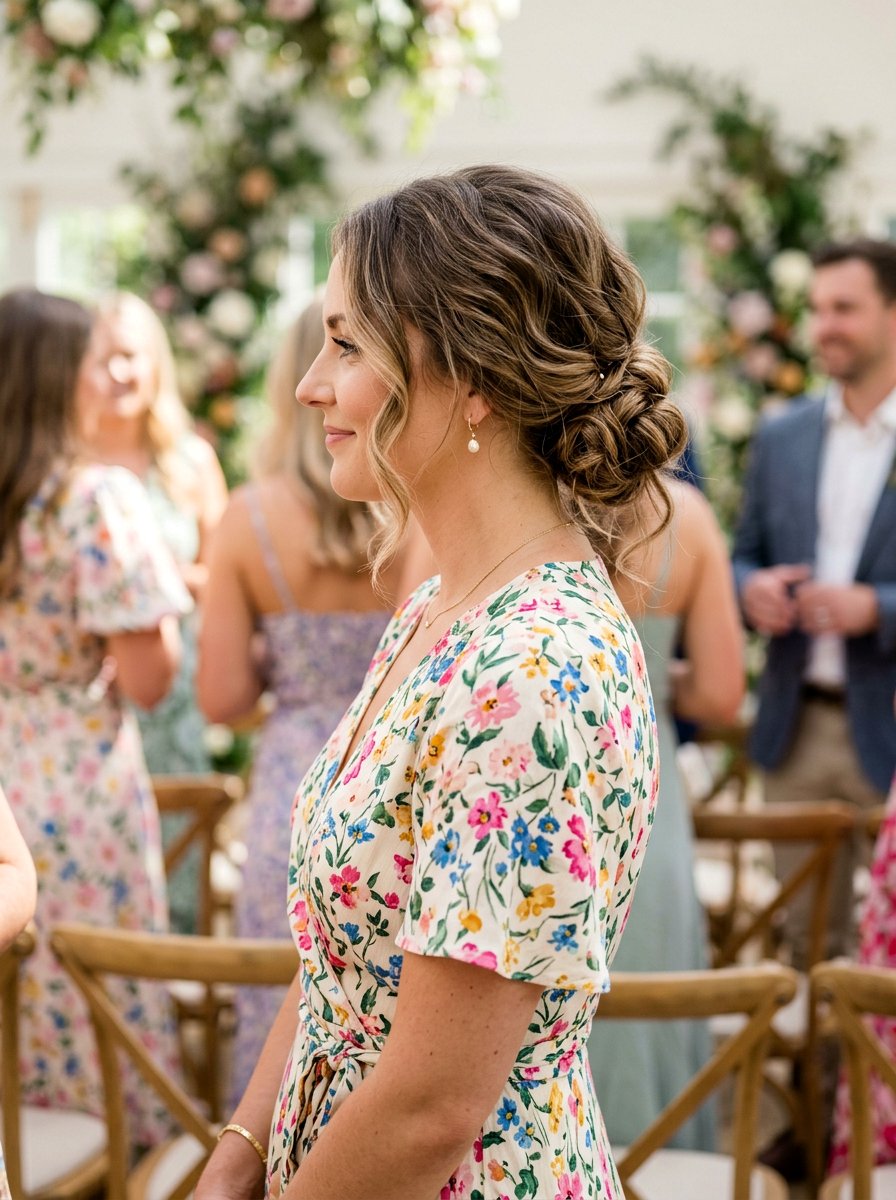
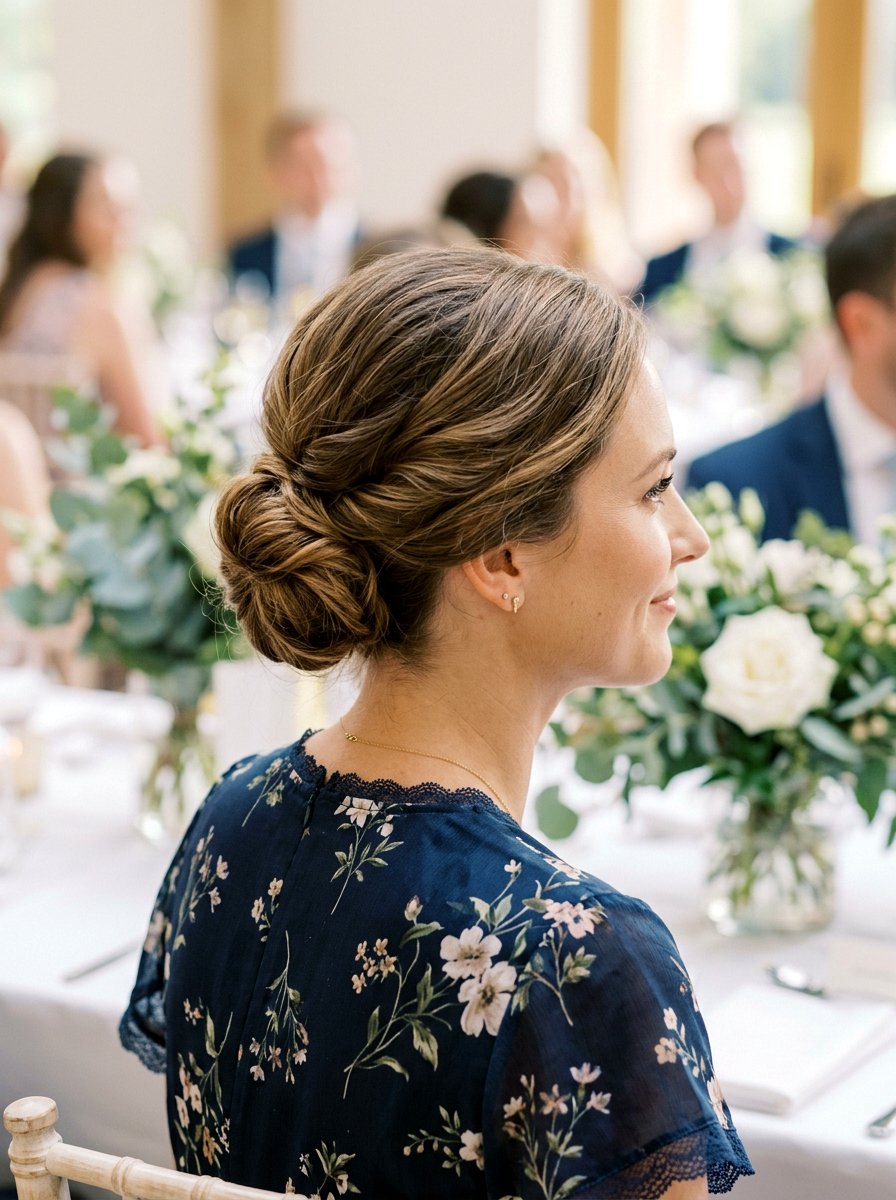
If you like a romantic feel but still want something simple, a low textured chignon is a perfect compromise for medium hair. Begin with soft waves, either from a curling iron or braids taken out that morning, and gently brush through to loosen them. Pull your hair into a low ponytail, leaving a few soft pieces around your face if you want a more relaxed frame. Loosely twist the ponytail, then fold it up and tuck the ends under, pinning sections as you go so it forms a rounded bun shape with visible texture. You do not need it to be perfectly smooth; a few bumps and waves make it look intentional and lived-in. Mist a flexible hairspray over the finished chignon so it holds without feeling stiff. This option pairs well with floral dresses, soft makeup, and outdoor or garden weddings where a bit of movement suits the mood.
3. Simple Low Bun With Middle Part
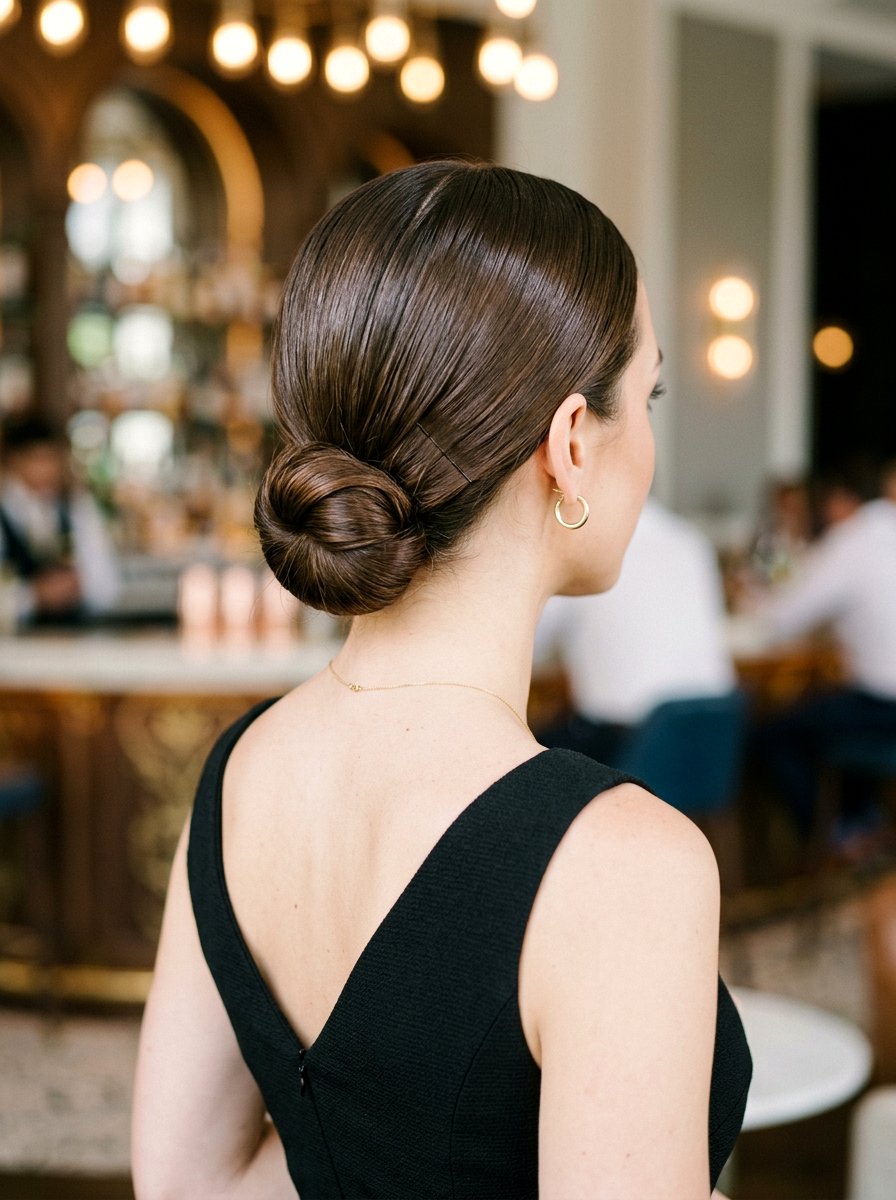
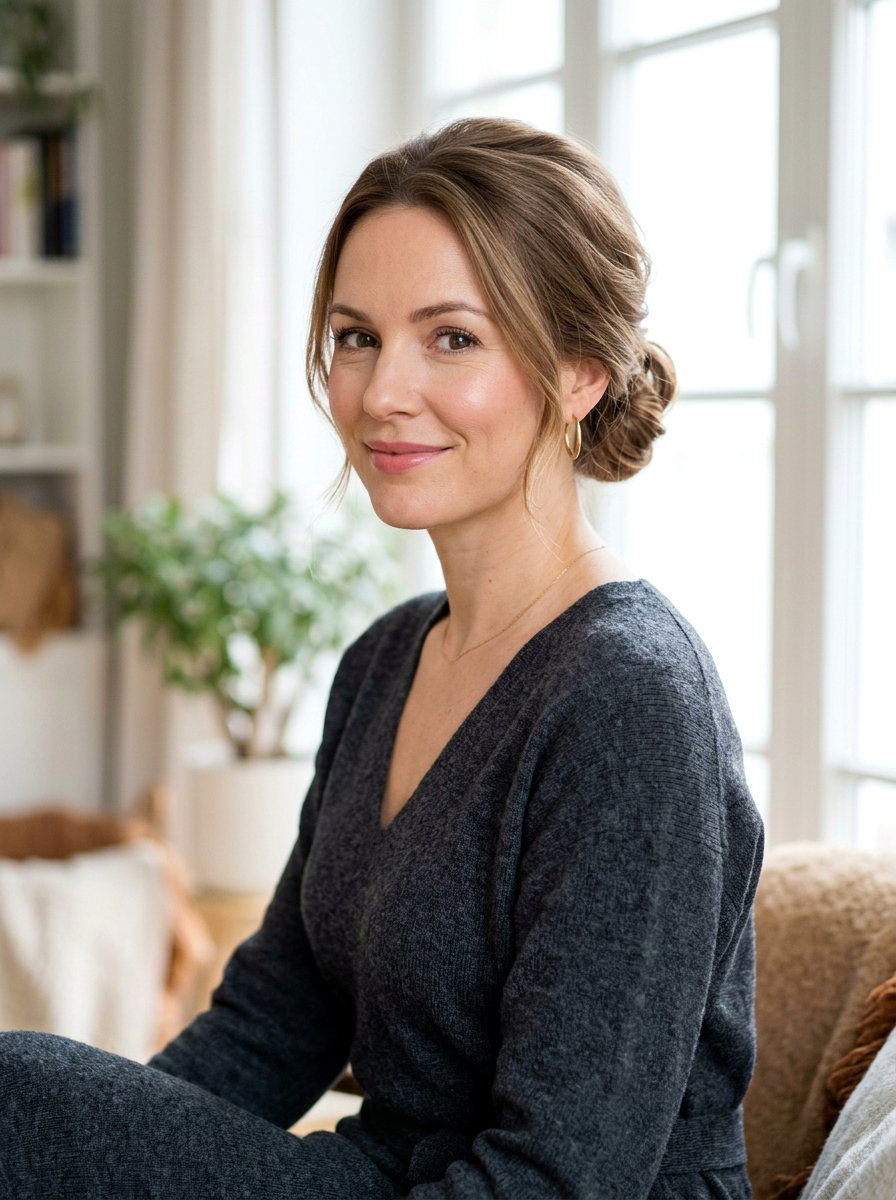
A simple low bun with a middle part is ideal when you want a fresh, modern look that still feels very understated. Create a precise middle part, using the end of a comb to get a straight line from your forehead back toward your crown. Brush hair down and back so both sides are smooth, then gather everything into a low ponytail at the nape, keeping tension even so the top looks sleek. Twist the ponytail, wrap it into a bun, and secure it with several pins, criss-crossing them for extra hold. You can keep the bun compact for a cleaner look or gently pull at a few sections to soften the shape. A shine spray along the part and crown gives that glossy finish that photographs beautifully. This bun works with almost any dress shape and looks especially chic with minimal jewelry and simple makeup focused on glowing skin.
4. Simple Low Bun With Side Part
For a softer, more classic feel, a simple low bun with a side part flatters many face shapes and pairs well with romantic wedding guest outfits. Part your hair deeply to one side, then brush the larger section across your forehead so it naturally sweeps back. Gather all your hair into a low ponytail slightly off-center toward the side where you parted, and secure it tightly. Twist the ponytail and wrap it into a bun at the nape, adjusting the shape so it sits smoothly and lines up with your part. Secure it with bobby pins, then lightly loosen the hair near your part and temples with your fingers to avoid a harsh, stuck-down look. Finish with a light mist of hairspray for hold and smoothness. This bun looks beautiful with soft curls left out around the face and works well with one-shoulder or asymmetrical dresses.
5. Low Messy Bun Wedding Guest Hair
A low messy bun is perfect when you want to look effortlessly put together without spending a lot of time styling. Start with dry hair that has some texture, either natural waves or curls created with a curling iron or texturizing spray. Gather your hair loosely at the nape and secure it into a low ponytail, not pulling too tight so the top keeps a bit of lift and movement. Twist the ponytail loosely, then wrap it around the base, pinning sections in place but not worrying about making it symmetrical. Tug gently at pieces along the crown and sides to create soft volume, and pull a few face-framing strands forward for that relaxed, romantic touch. Seal everything with a flexible hairspray so the bun stays but can move naturally. This bun pairs perfectly with floaty dresses, outdoor weddings, and a more relaxed, boho-leaning guest look.
6. Mid Height Bun For Medium Hair
A mid height bun that sits between your crown and nape gives a flattering lift and shows off the neck without feeling too formal. Brush your medium-length hair back and gather it into a ponytail at the middle of the back of your head, roughly in line with the tops of your ears. Secure the ponytail firmly, then twist the hair and wrap it into a rounded bun, pinning it down so it feels secure but not painfully tight. You can lightly backcomb the ponytail before twisting if you want extra volume, especially if your hair is fine. Smooth the hair above the bun with your hands and a touch of serum, then gently pull at a few sections along the crown to create soft height. This bun works well with V-neck or scoop neck dresses and makes a nice balance between casual and dressy, especially for afternoon ceremonies.
7. High Bun Wedding Guest Hair
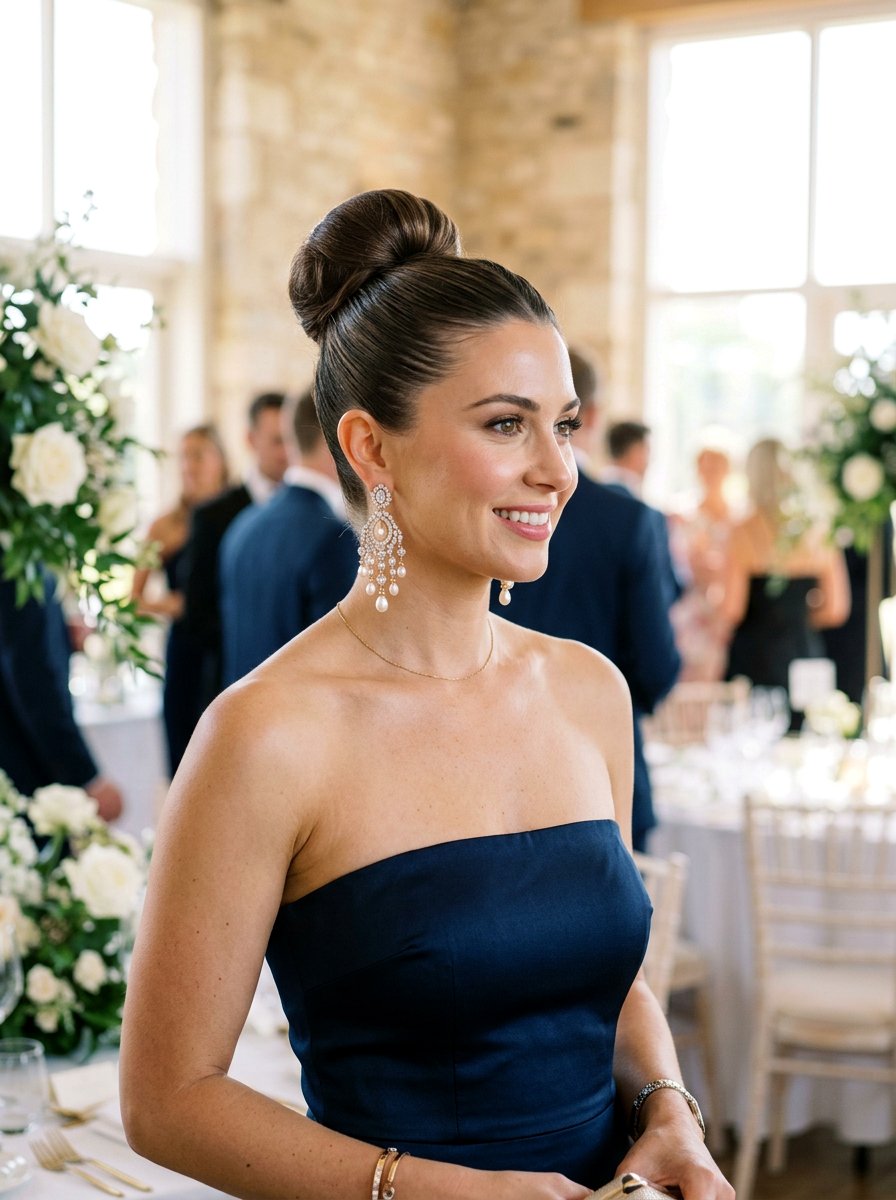
A high bun instantly opens up your face and highlights your makeup, making it a fun choice for a more glamorous wedding guest look. Flip your head forward and brush your hair up into a ponytail at the top of your head, around where you’d place a high pony for a sporty style. Secure it with a sturdy elastic so it feels stable, then stand upright and smooth any bumps along the sides with a brush or comb. Twist the ponytail and wrap it around the base, arranging the bun so it feels balanced and slightly full. Use plenty of bobby pins to anchor it, especially if your medium hair is thick or heavy. Finish with hairspray along your hairline to keep flyaways in check. This bun pairs beautifully with strapless or off-the-shoulder dresses and statement earrings, giving you a clean, elevated silhouette in photos.
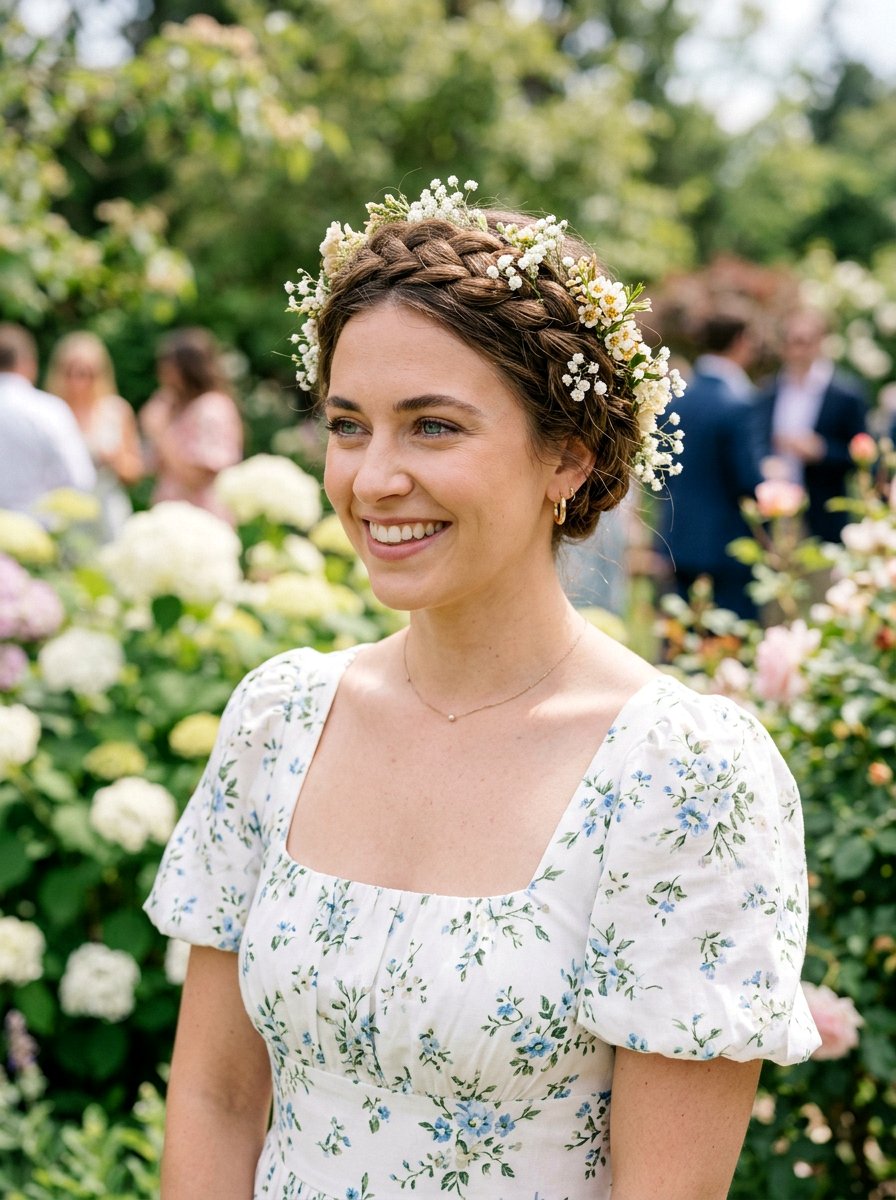
8. Simple Braided Low Bun For Wedding
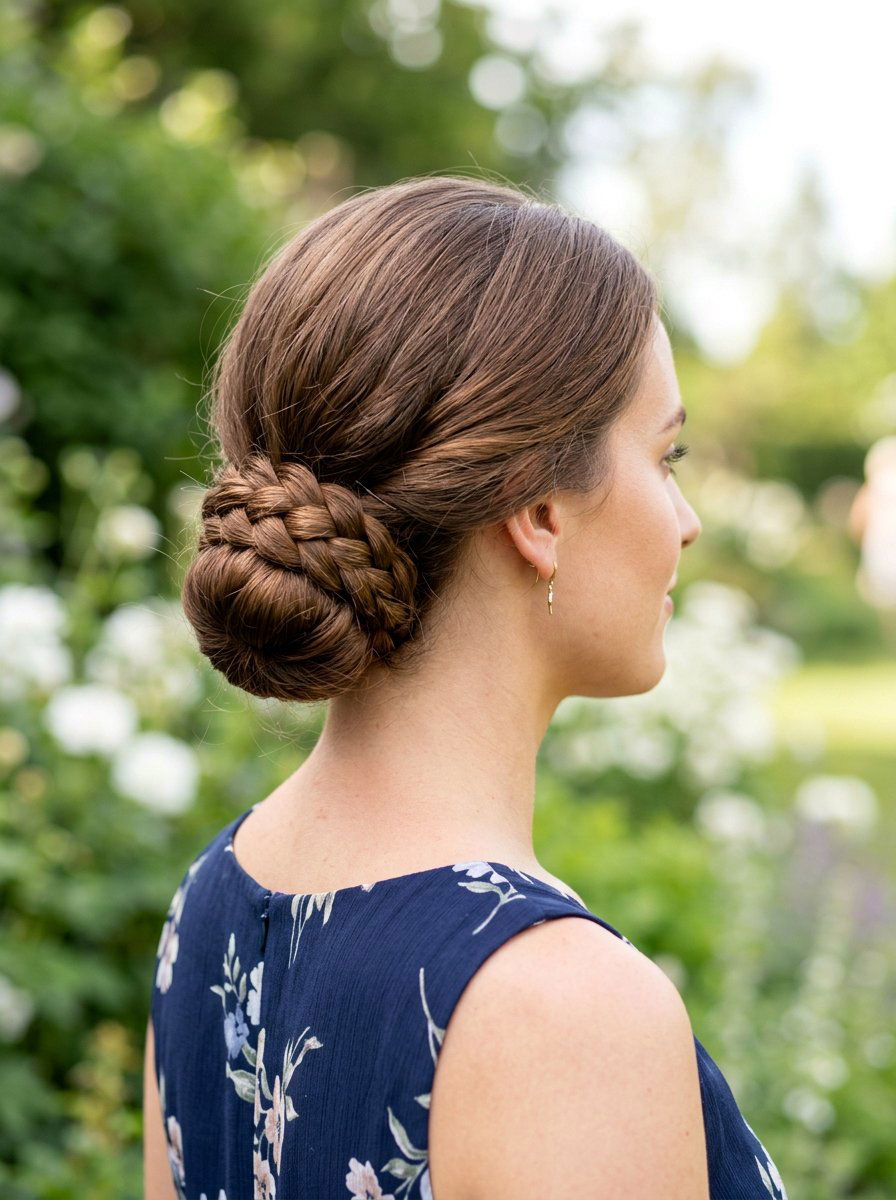
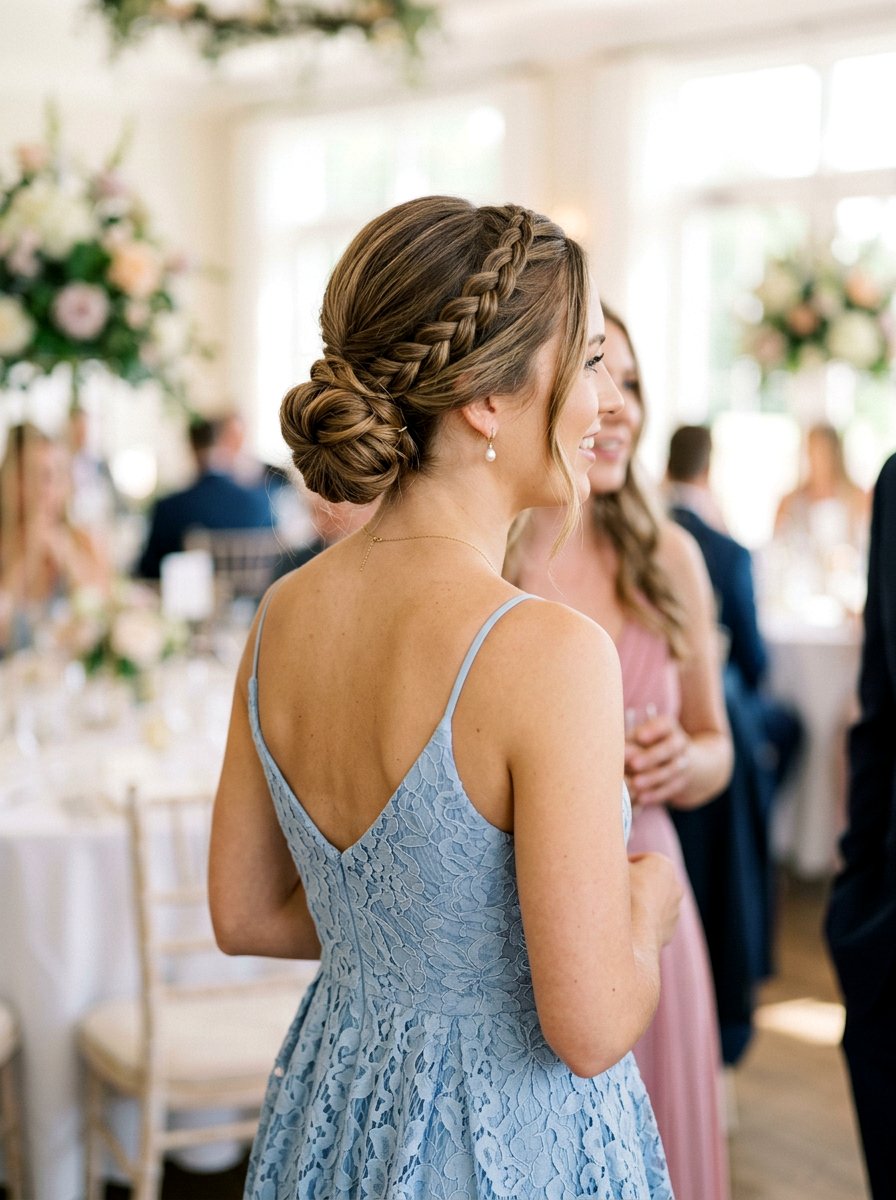
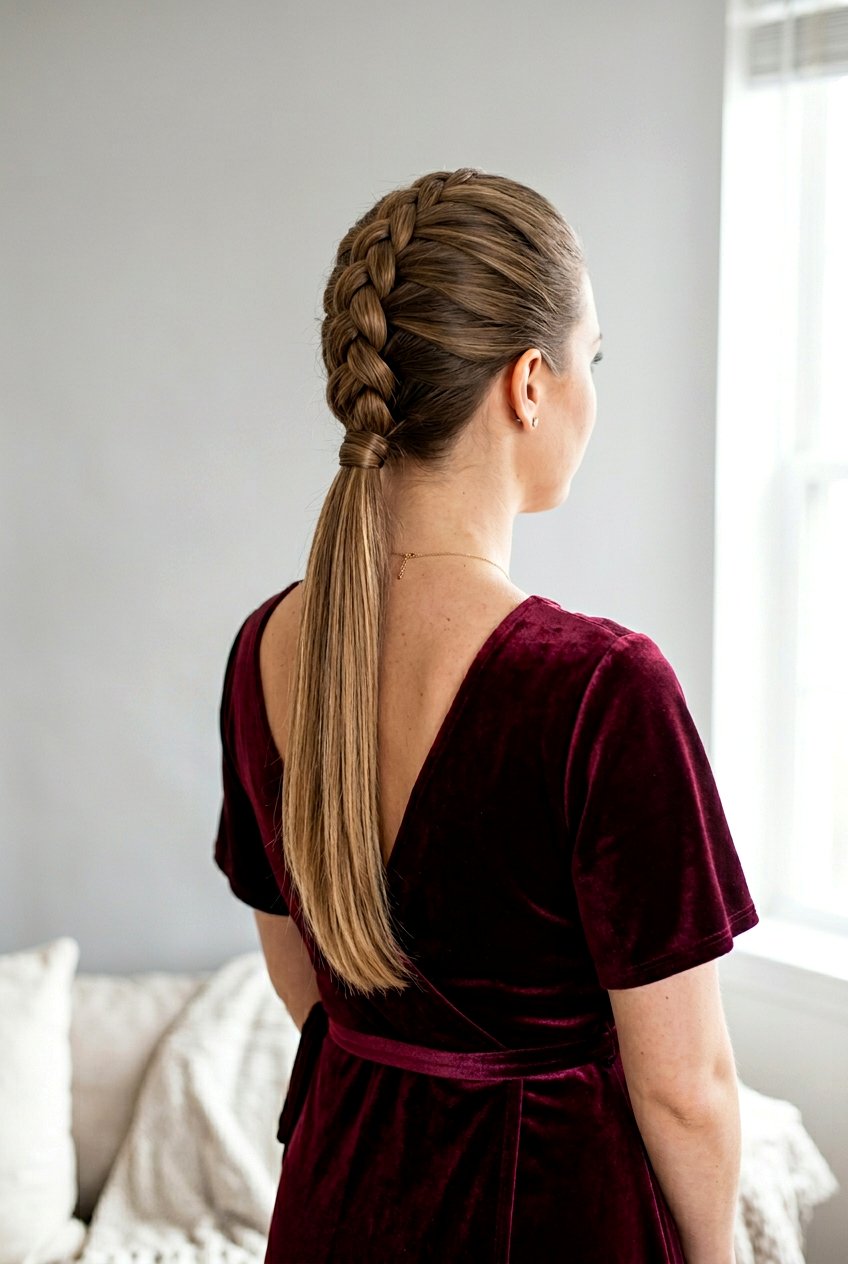
A simple braided low bun adds subtle detail without being complicated, making it a great option when you want something a little more special. Start by brushing your hair and parting it however you like, then gather it into a low ponytail at the nape. Braid the ponytail in a classic three-strand braid, securing the end with a small clear elastic. Gently pull on the sides of the braid to pancake it, making it look fuller and softer, especially if your hair is fine. Wrap the braid around the base of the ponytail to create a bun, and pin it in place, making sure the braided pattern is visible all around. A light mist of hairspray keeps the texture defined. This bun works well with simple dresses because the braid adds built-in interest and pairs nicely with delicate jewelry or a subtle hairpin.
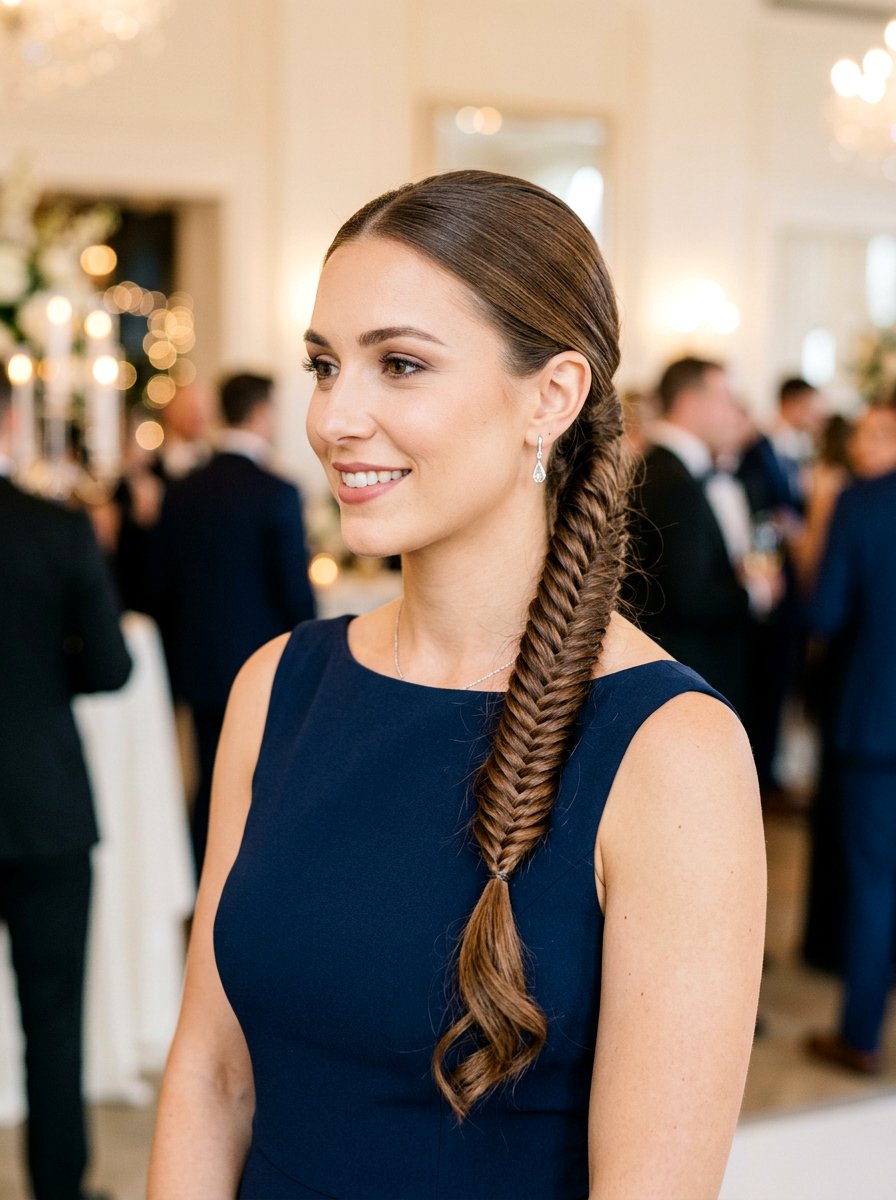
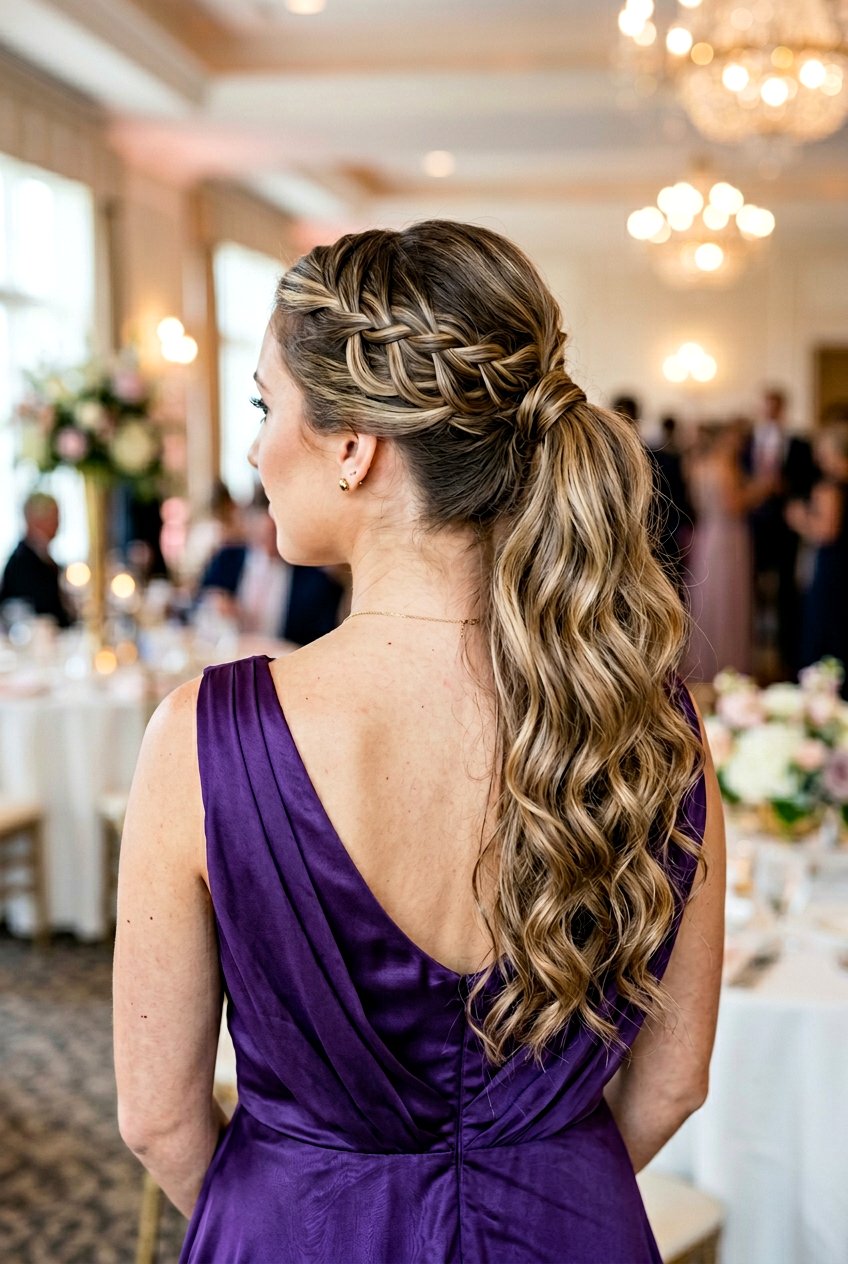
9. Side Braided Bun For Wedding Guest
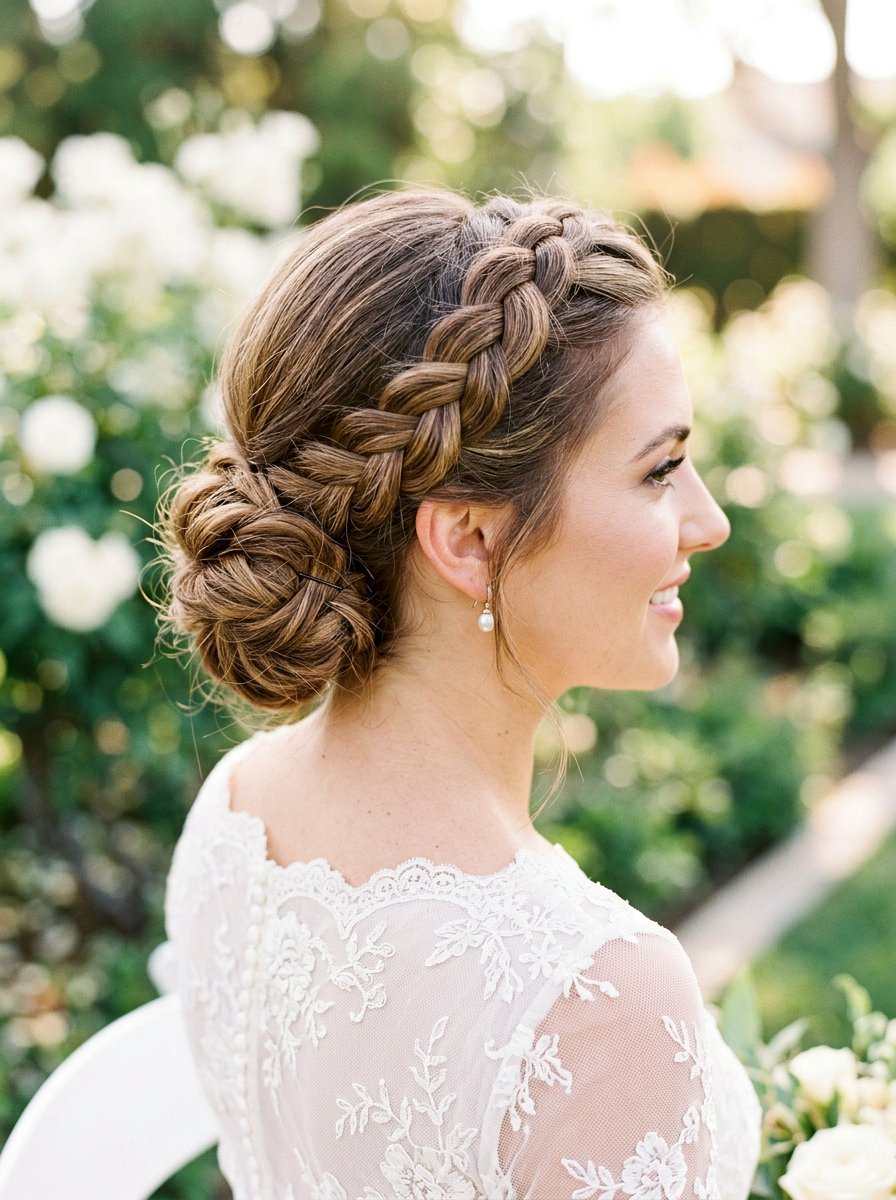
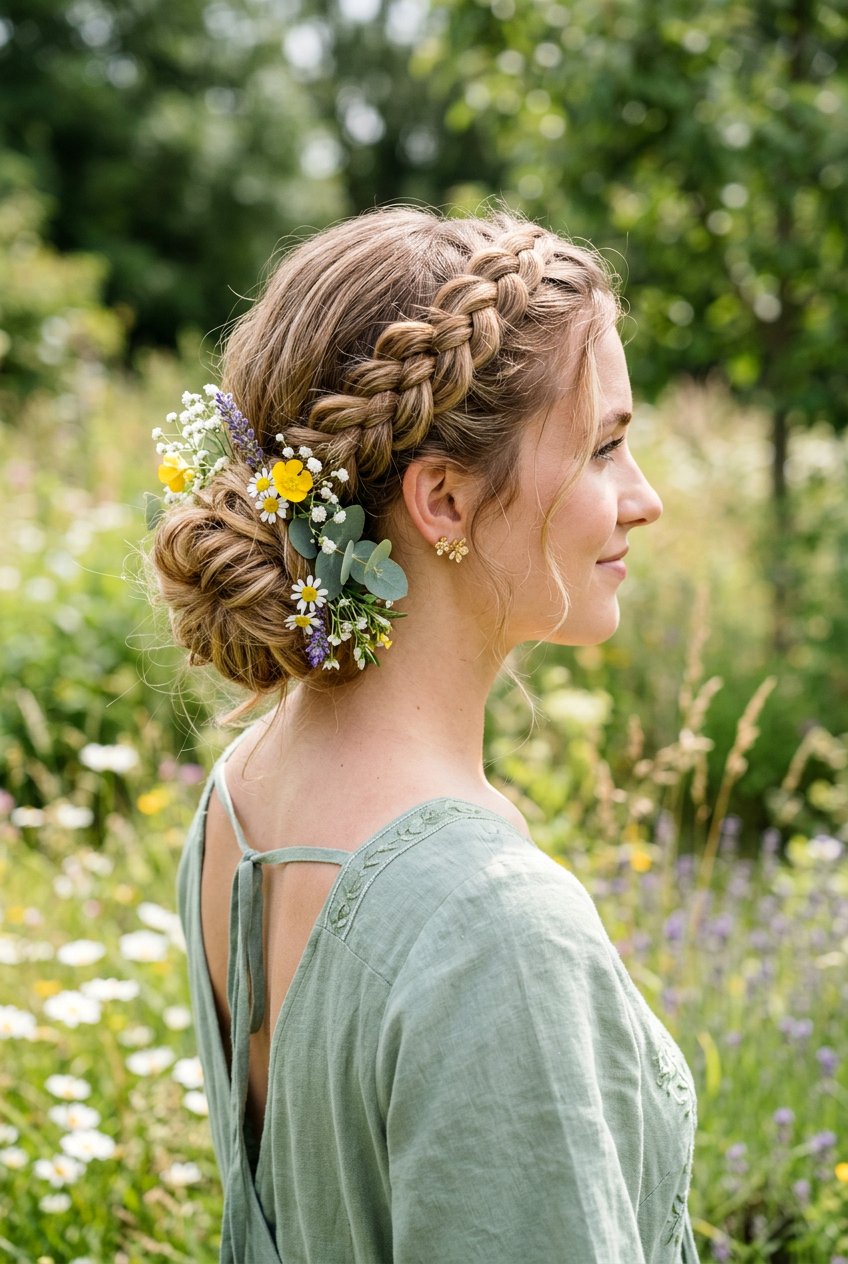
A side braided bun is pretty and feminine, and it looks more complex than it actually is, which is great for wedding guests who like a detailed updo. Part your hair to one side and start a loose three-strand braid just above your ear on the heavier side, working back along your hairline. Continue braiding until you reach behind your ear and incorporate all your hair into one braid that sits low and to the side. Secure the end with a small elastic, then coil the braid into a bun near the nape on that same side, pinning as you go. Gently loosen some sections of the braid for softness and pull out a couple of face-framing strands. Finish with hairspray to hold everything in place. This bun pairs beautifully with romantic dresses and looks especially lovely in profile in photos.
10. Twisted Low Bun For Wedding Guest
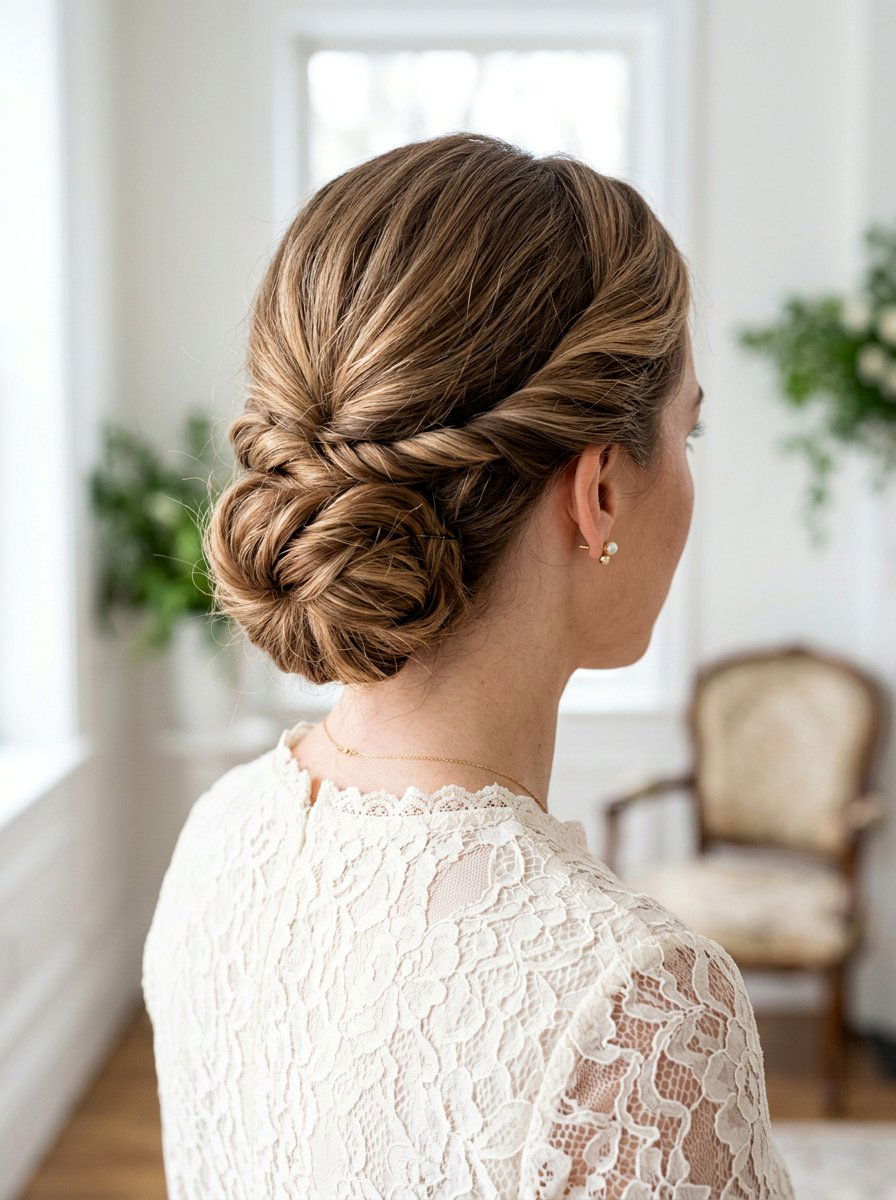
A twisted low bun creates a soft, elegant shape and is perfect if you prefer curves and movement rather than a tight, sleek finish. Begin by parting your hair and dividing it into two sections, left and right. Twist each side gently away from your face, adding hair as you move back toward the nape until both twists meet in the center. Secure them together with an elastic to form a low ponytail, then twist the ponytail itself and wrap it into a bun. Pin the bun securely, letting some of the twist detail show around the edges. Lightly loosen the twists near your temples and crown to keep them from looking too tight. A flexible hairspray helps hold the shape while allowing softness. This bun looks especially good with lace or chiffon dresses and suits both daytime and evening weddings.
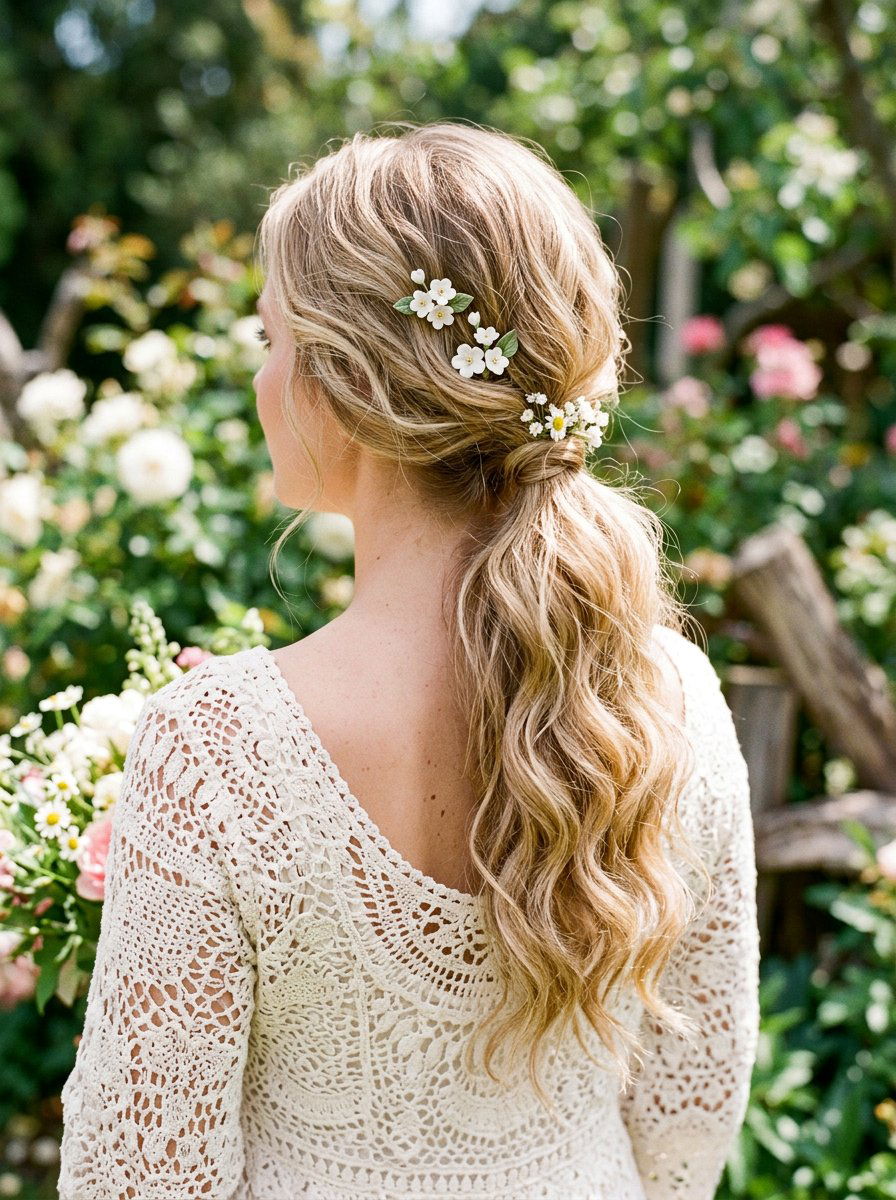
11. Wedding Guest Bun With Face Framing Pieces
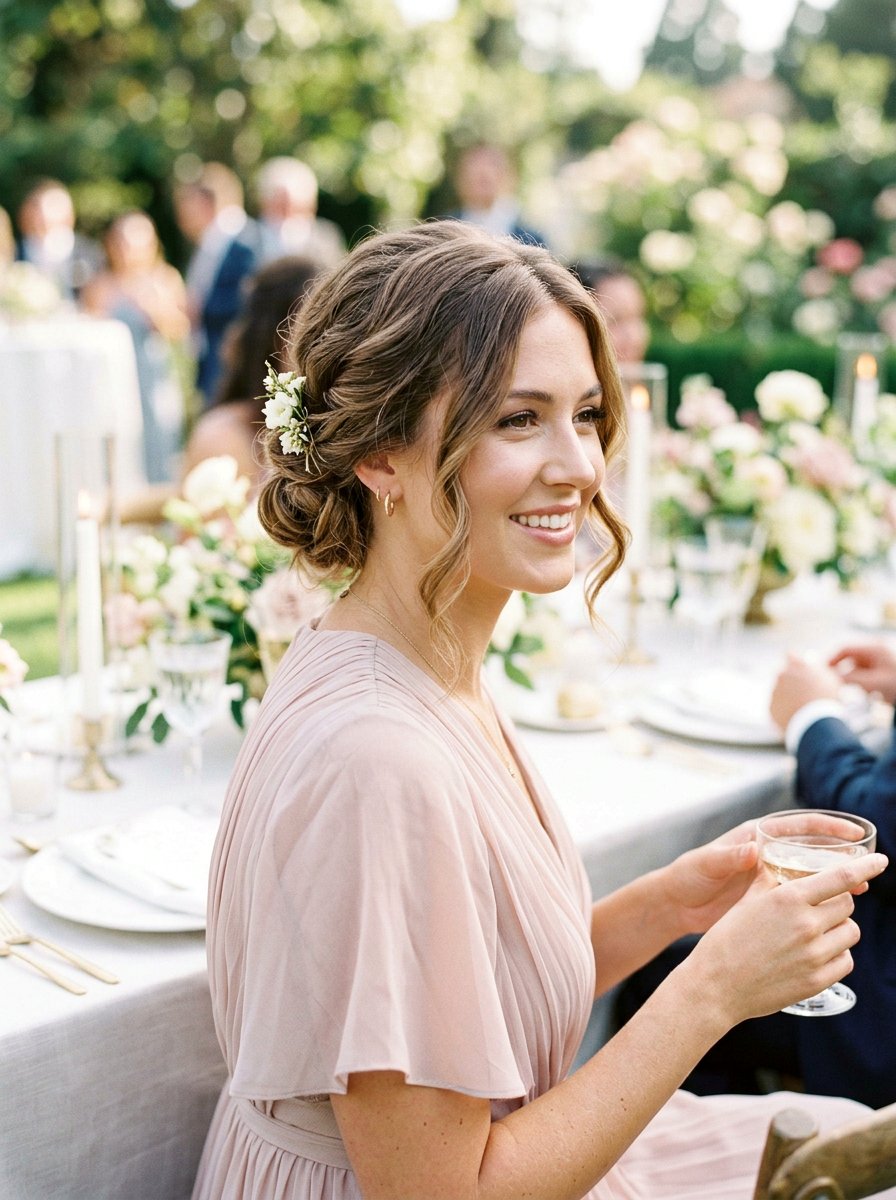
Leaving soft face-framing pieces out around a bun adds instant softness and flatters medium hair by drawing attention to your eyes and cheekbones. Start by sectioning off thin strands near your hairline on both sides and clip them forward. Pull the rest of your hair into a low or mid-height ponytail, depending on your dress neckline and comfort level. Secure the ponytail, twist it into a bun, and pin it firmly, allowing the bun to look slightly relaxed rather than overly tight. Release the front pieces and, if needed, curl them loosely so they fall in gentle bends, not stiff ringlets. Blend the roots of those pieces into the rest of your hair with your fingers and a light smoothing product so it looks seamless. A mist of hairspray over everything keeps the bun intact while leaving the face-framing strands soft and touchable.
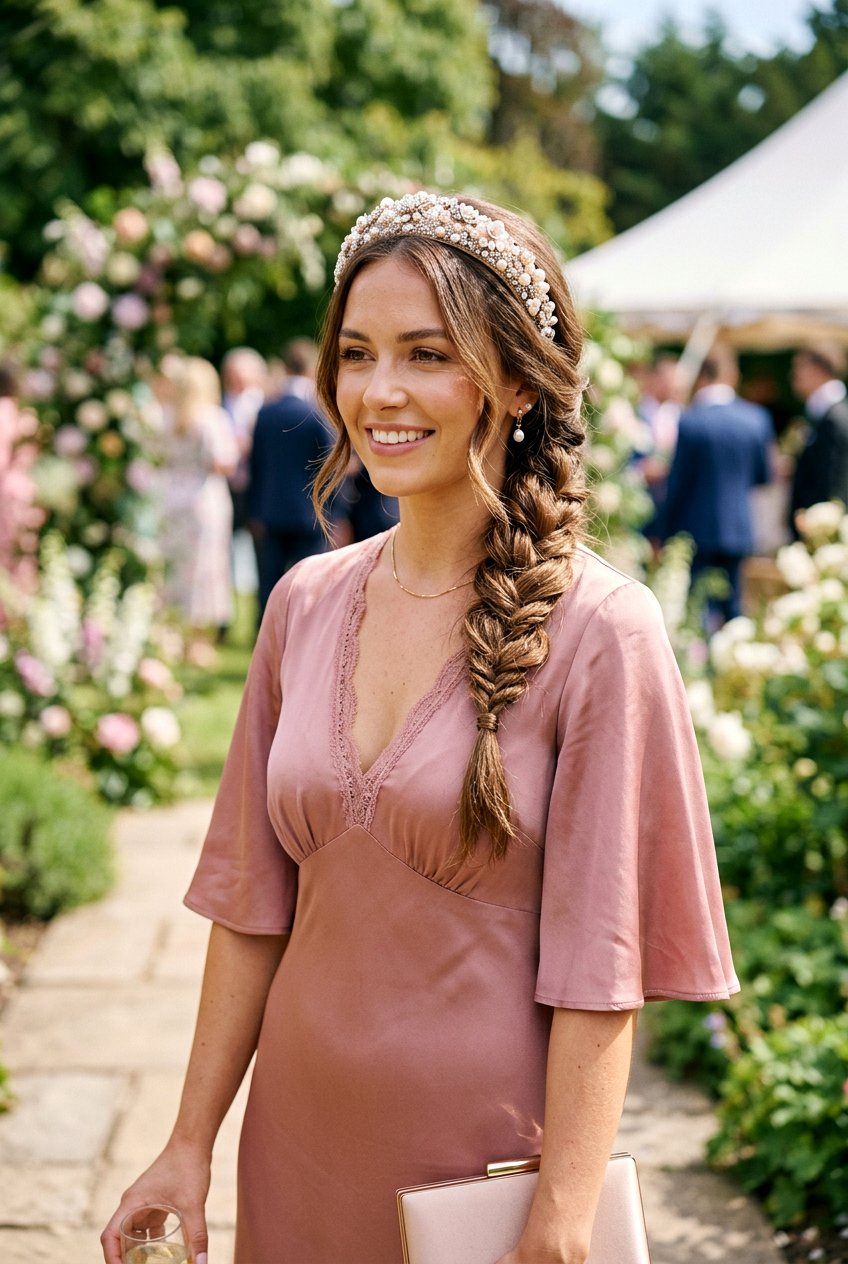

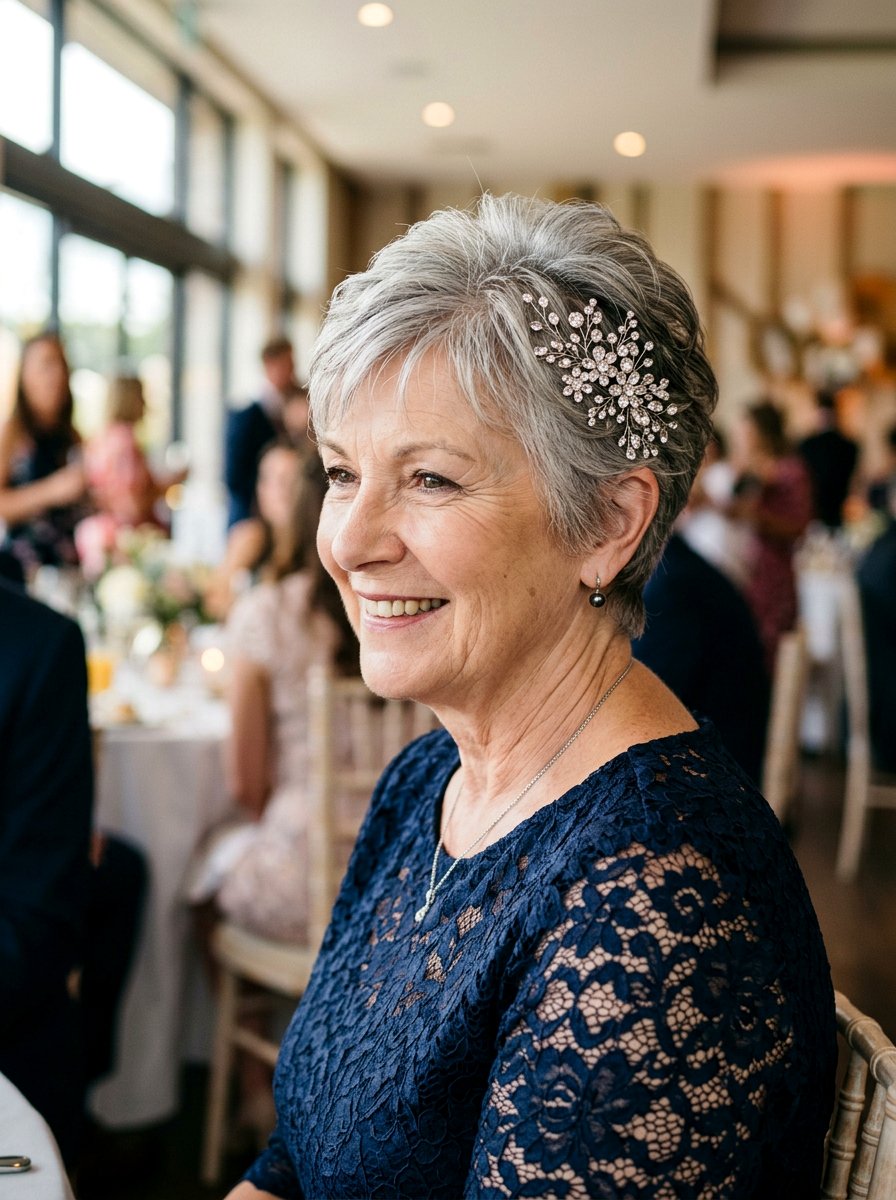
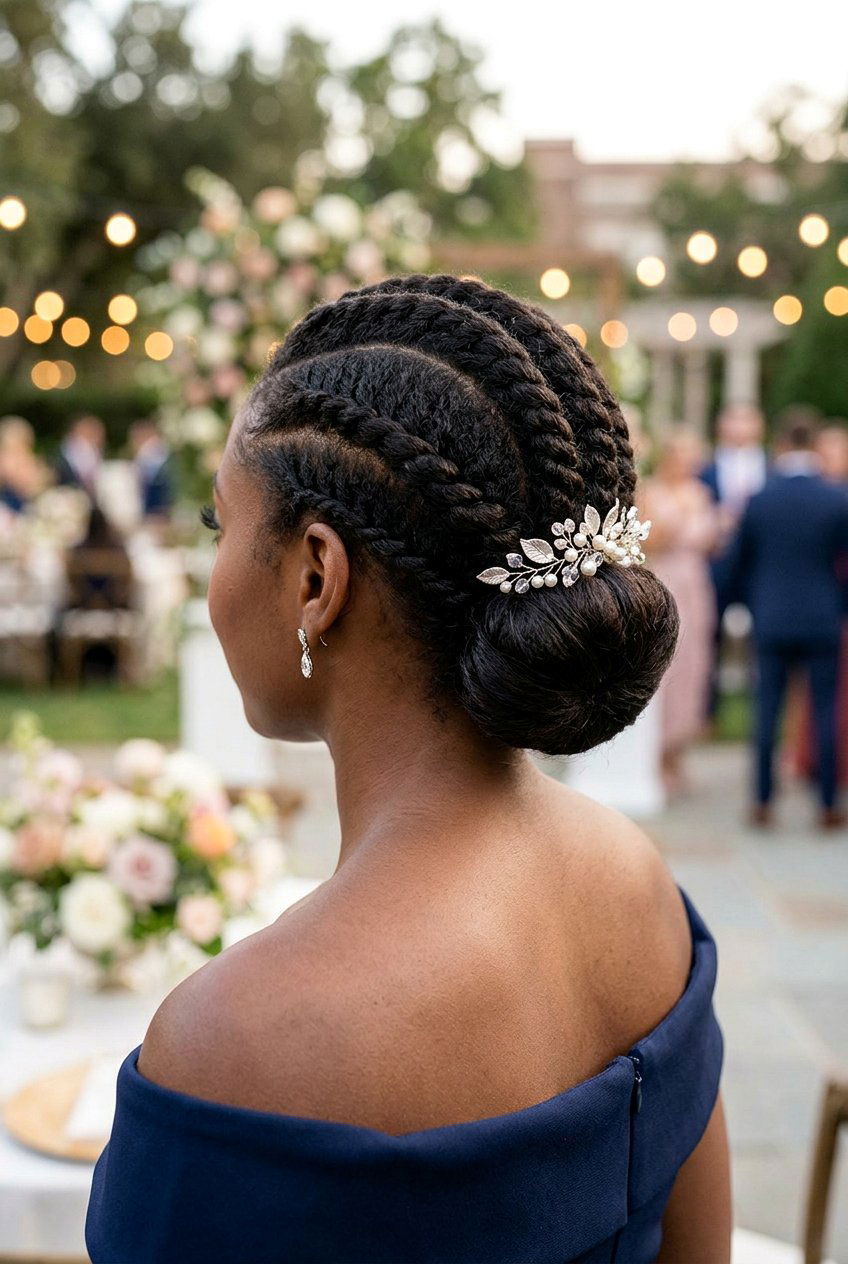
12. Wedding Guest Bun With Hair Accessory
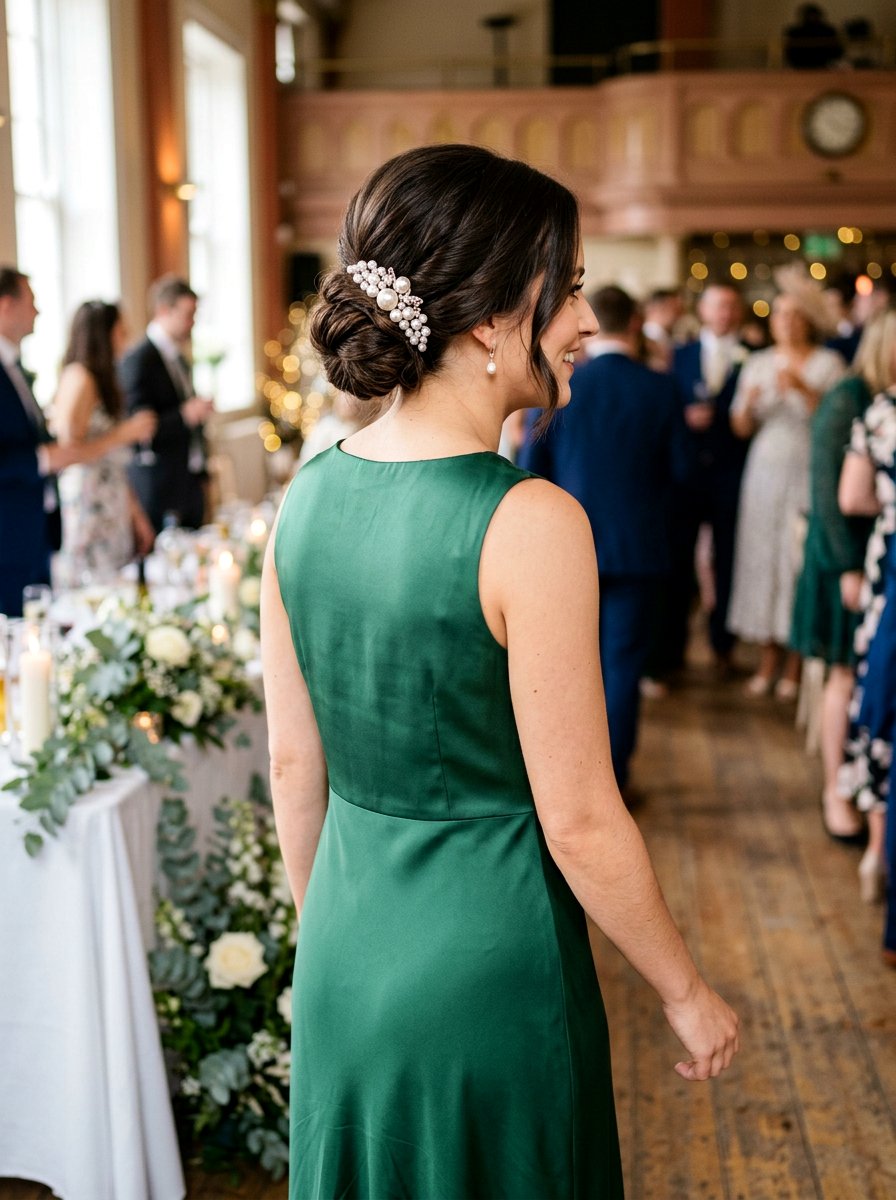
Adding a hair accessory to a simple bun instantly turns a basic updo into a wedding-ready hairstyle without extra styling steps. Create any bun you love—low, mid, or high—making sure it feels secure and looks balanced from both sides and the back. Once the bun is set, choose one accessory that matches the wedding vibe, like a small pearl comb, a minimalist barrette, or a delicate floral pin. Place the accessory slightly above, to the side, or just under the bun so it frames the shape rather than hiding it. Make sure it is anchored into both hair and bobby pins so it does not slip as you move. Keep the rest of your jewelry simple so the accessory remains the standout detail. This approach works especially well when your dress is plain or solid-colored and you want one focal point in your hair.
13. Simple Bun With Curtain Bangs For Wedding Guest
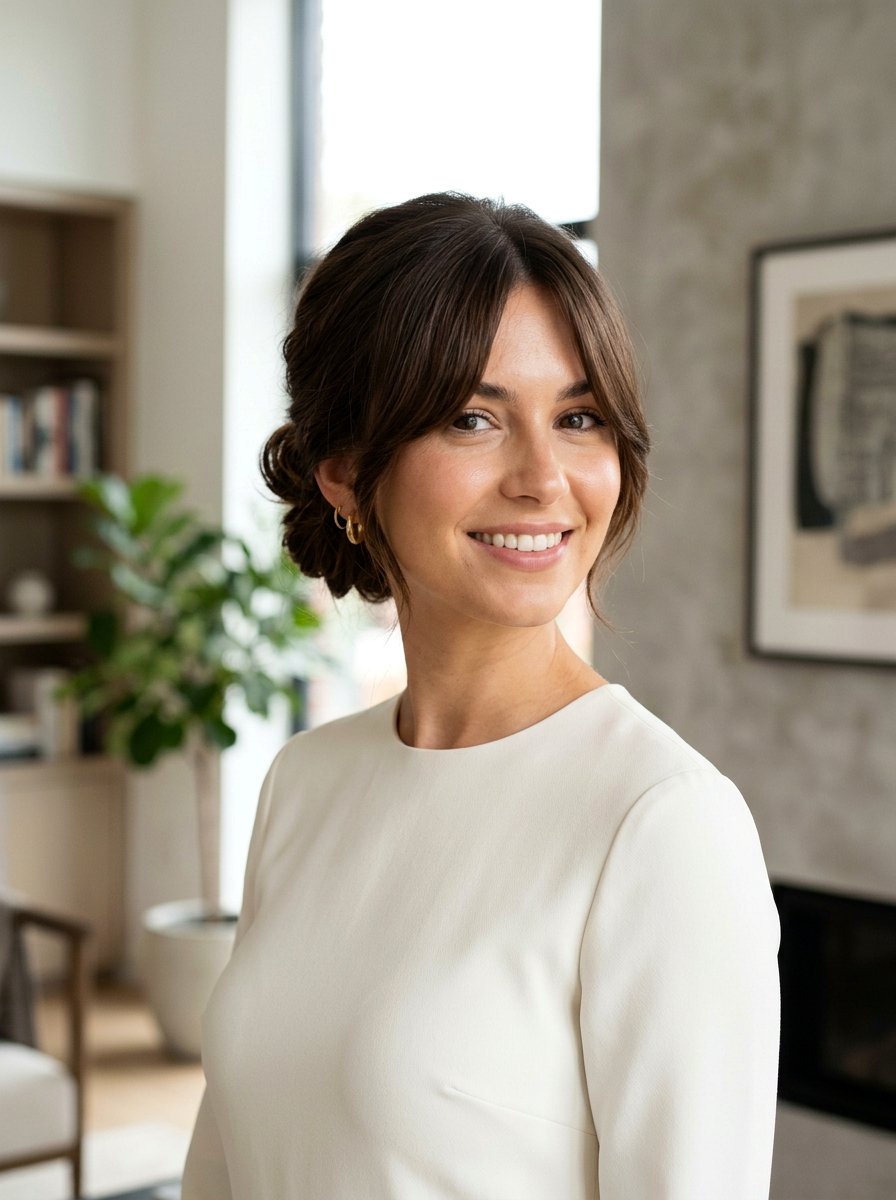
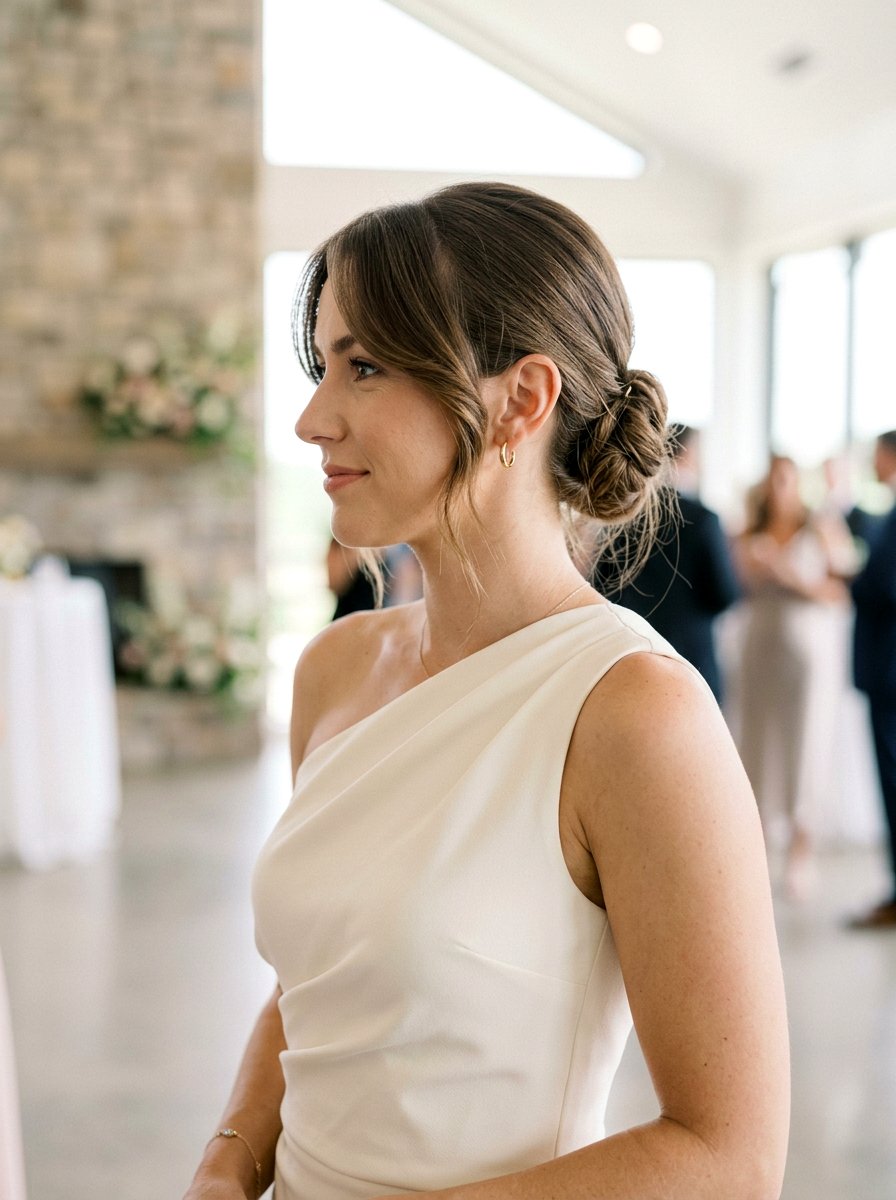
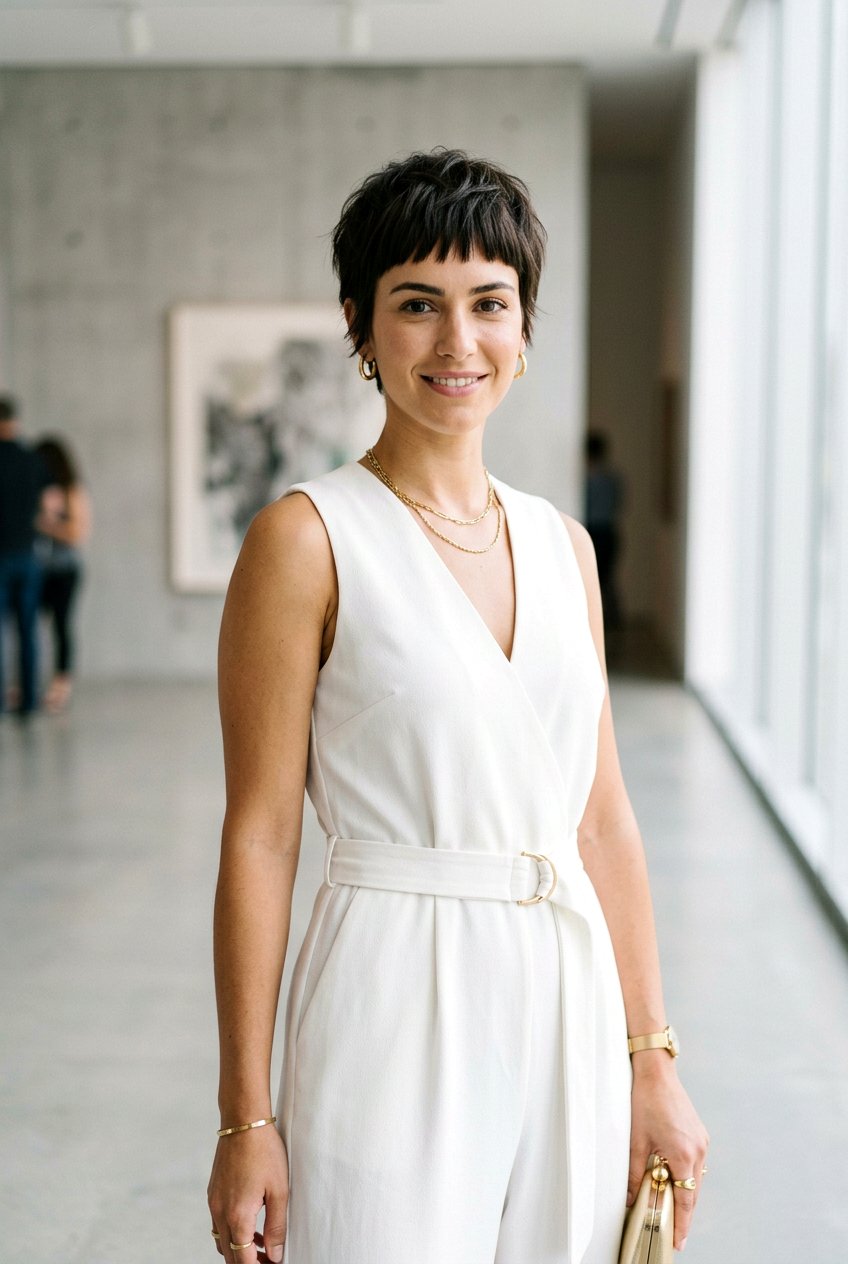
If you have curtain bangs, pairing them with a simple bun creates a trendy yet easy wedding guest look for medium hair. Blow-dry or style your curtain bangs so they fall softly around your face, splitting in the middle and curving toward your cheekbones. Once your bangs are sitting nicely, gather the rest of your hair into a low or mid-height bun, keeping tension gentle so you do not disturb the bangs. Twist and pin the bun, aiming for a slightly relaxed shape that complements the softness of the fringe. Use a small round brush and a bit of light hold product to refine the bangs, making sure they blend smoothly into the sides of your hair. Finish with a soft mist of hairspray focused on the bun and lightly over the bangs to reduce frizz without making them stiff. This look works beautifully with modern, minimalist dresses and glowy makeup.
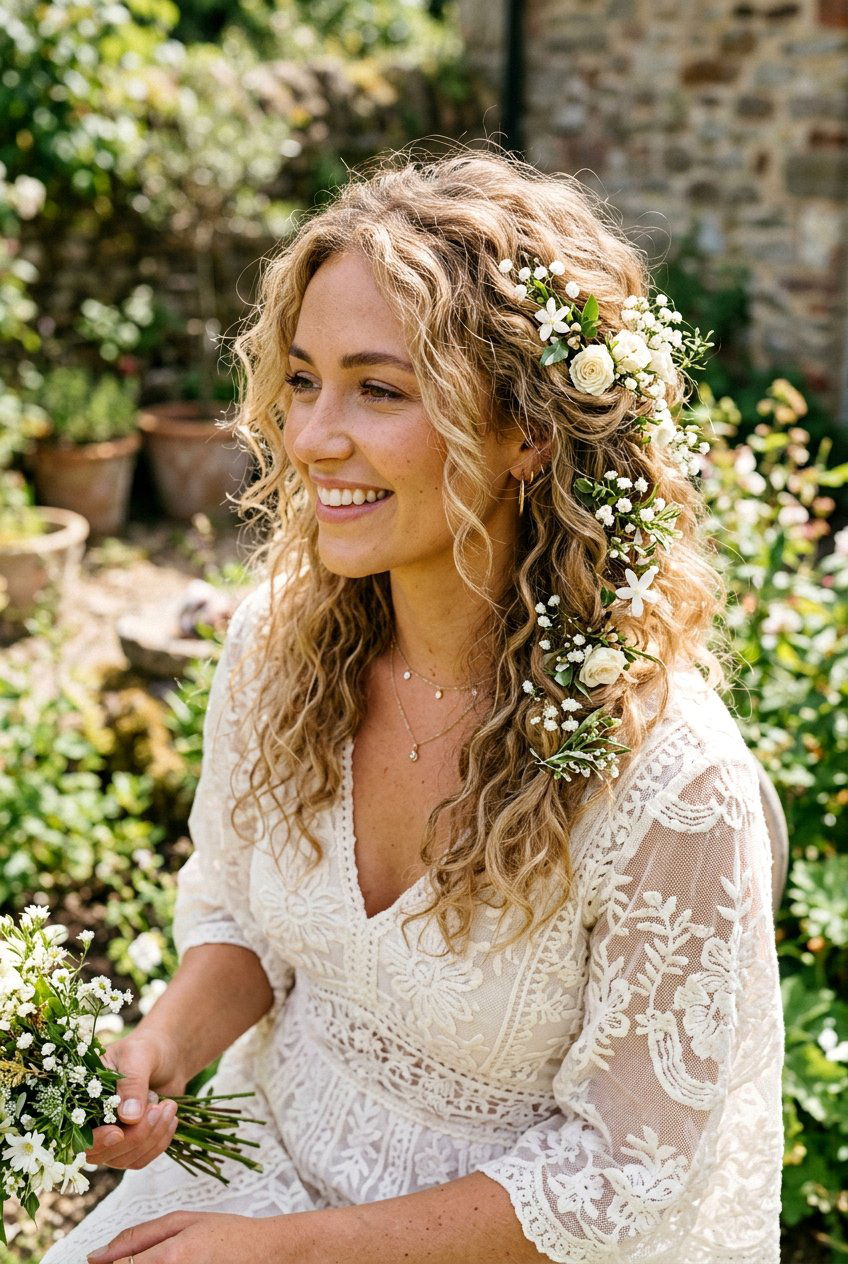
14. Simple Bun For Medium Curly Hair Wedding Guest
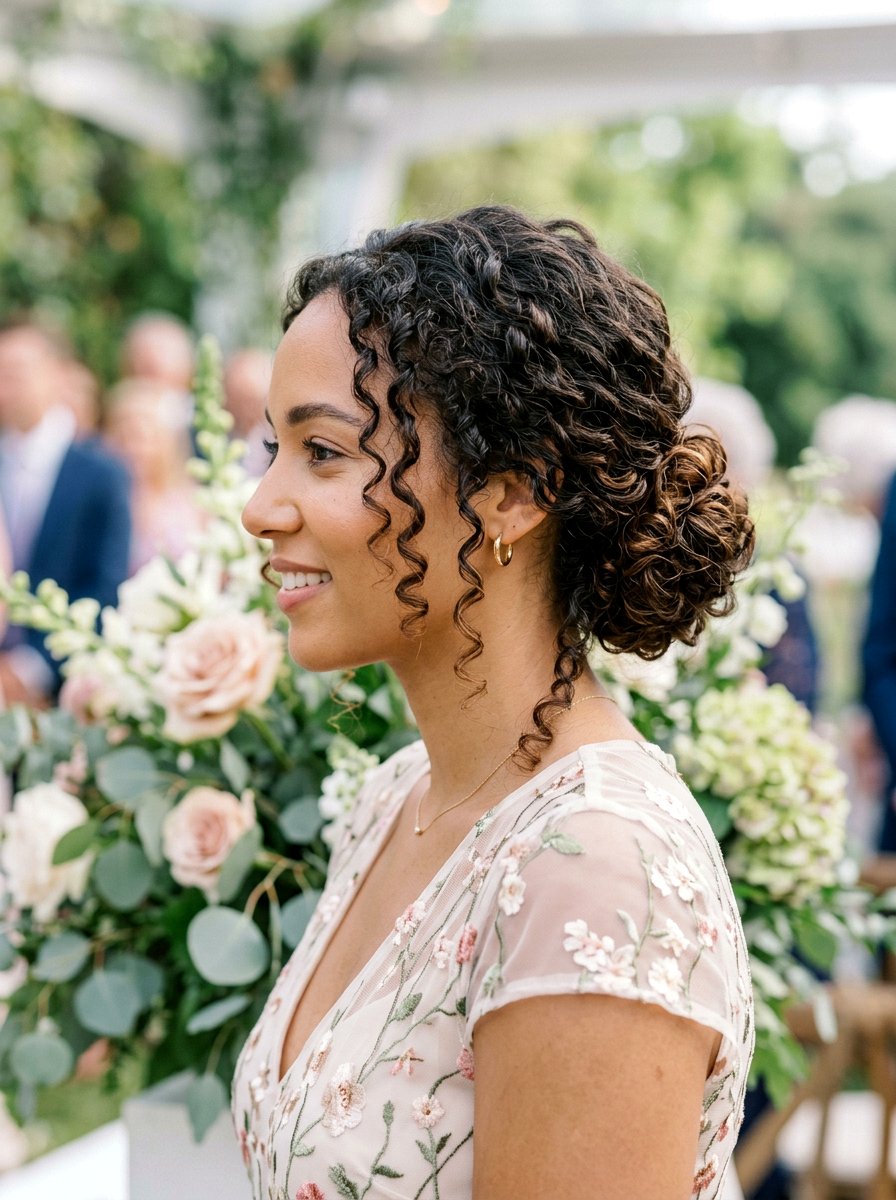
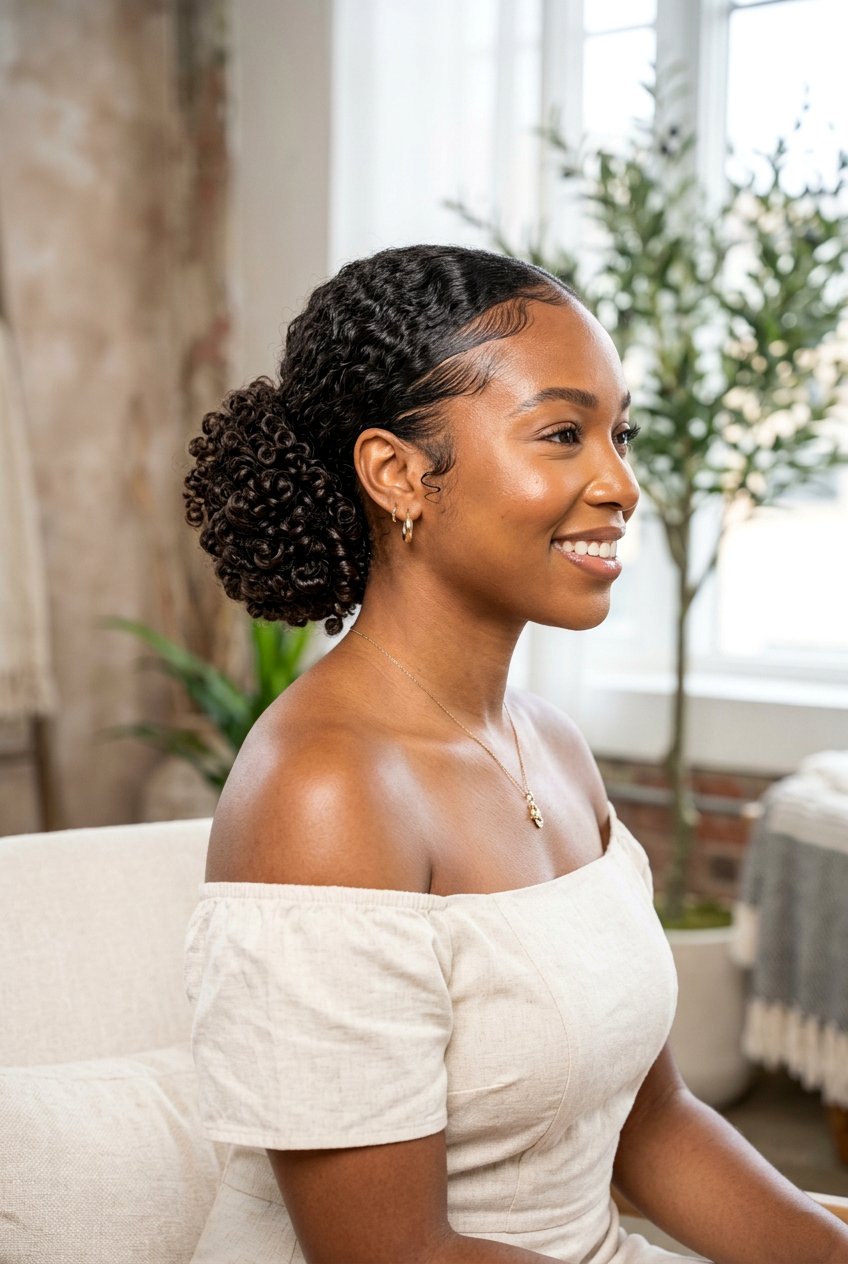
For naturally curly medium hair, a simple bun can show off your texture while keeping everything controlled and event-ready. Start by applying a curl cream or light gel to define your curls and let them dry or diffuse until they are fully set. Once your curls are dry, gently gather them into a low or mid-height ponytail using your fingers instead of a brush to avoid breaking up the curl pattern. Secure the ponytail and loosely wrap the curls into a bun, letting some defined curls show on the outside rather than tucking everything smooth. Pin pieces gently so the bun feels secure but still looks full and textured. If a few curls fall out around your face, embrace them as soft framing. Finish with a light hold hairspray to lock in definition. This bun pairs beautifully with romantic dresses and works especially well for humid or outdoor weddings.
15. Simple Bun For Medium Thick Hair Wedding Guest
Medium thick hair can feel heavy, so the right simple bun keeps you comfortable while still looking elegant throughout the wedding day. Begin by applying a lightweight smoothing or heat protectant product and blow-dry your hair to reduce frizz and bulk. Gather your hair into a mid-height ponytail so the weight is evenly distributed and does not pull uncomfortably at your scalp. Secure it with a strong elastic, then divide the ponytail into two sections and twist them together to reduce thickness before wrapping into a bun. Pin the bun using several bobby pins placed in different directions for maximum hold. Gently smooth the top and sides with a bit of serum to keep everything sleek without adding heaviness. A strong yet flexible hairspray ensures the style stays in place while you move, dance, and enjoy the event without worrying about your hair slipping.

16. Simple Bun For Medium Fine Hair Wedding Guest
For medium fine hair, a simple bun looks best when you build in a bit of volume and grip so it does not fall flat. Start with dry hair and add a volumizing mousse or texturizing spray, concentrating at the roots and mid-lengths. Lightly backcomb sections at the crown and along the ponytail area, then smooth the top layer with a brush so the teasing is hidden. Gather your hair into a low or mid-height ponytail, secure it, and gently tug at the crown to create soft lift. Twist the ponytail into a loose bun and secure it with bobby pins, using more pins than you think you need to keep fine strands in place. You can lightly pull at the bun to make it appear fuller and rounder. Finish with a flexible hairspray that adds hold without weighing the hair down, keeping the bun airy and flattering.
17. Simple Wedding Guest Bun With Claw Clip
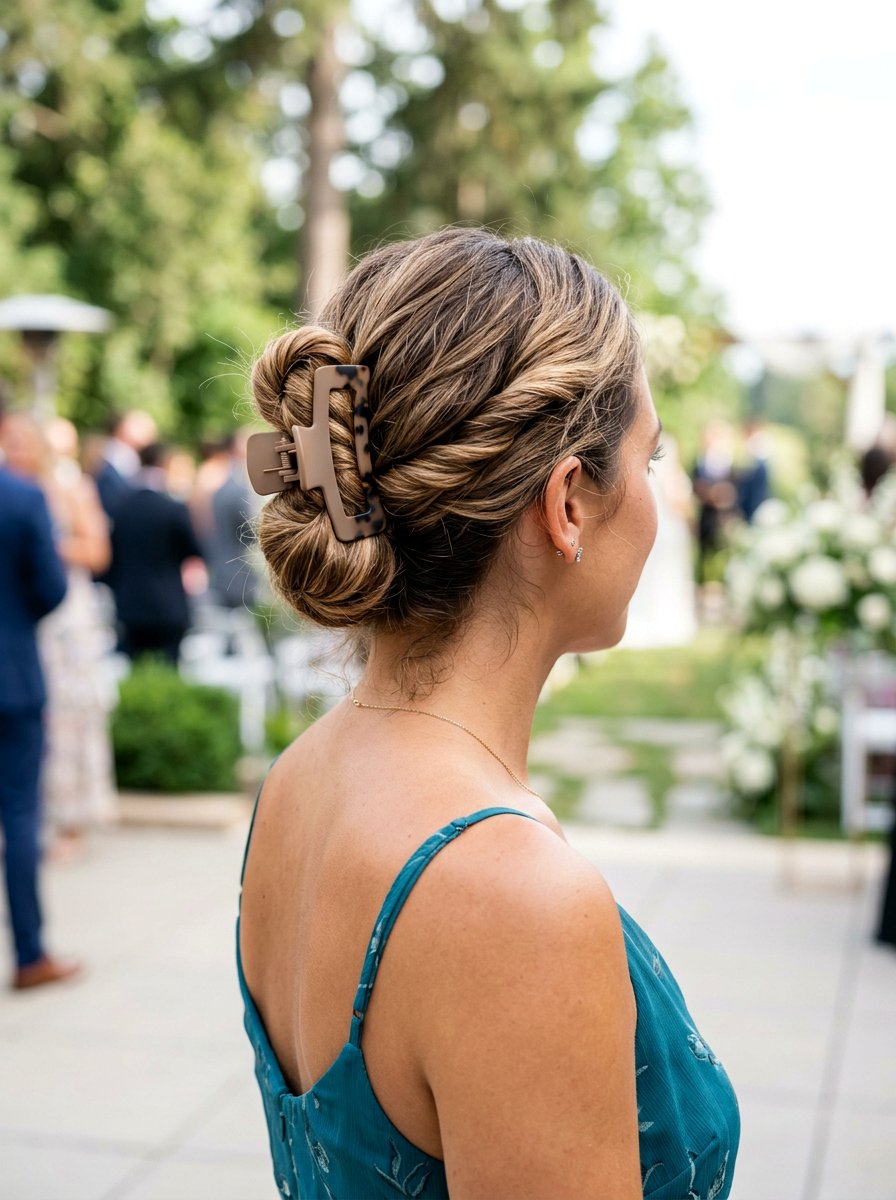
Using a claw clip for your bun is a quick and trendy way to get a wedding-appropriate updo with minimal effort on medium hair. Start by adding a bit of texture with a light wave or texturizing spray so the hair grips better. Gather your hair low at the nape or at mid-height, twist it upward, and fold the length back down so it forms a roll. Place a medium to large claw clip over the twisted section, making sure it catches both the hair and your scalp for stability. Tuck any ends that stick out neatly into the clip or let a few small pieces fall for a softer finish. You can gently tug at the top to add a little volume. This bun pairs nicely with simple, modern dresses and works great for semi-formal or daytime weddings when you want an easy, chic look.
18. Simple Bun With Center Braid For Wedding Guest
A simple bun with a center braid gives the illusion of an intricate updo while still being very doable for a wedding guest at home. Part your hair down the middle and separate a small section along the crown area from your hairline back toward the top of your head. Braid this center section in a basic three-strand braid or a small French braid, then secure it with a clear elastic at the back where your ponytail will sit. Gather all your hair, including the end of the braid, into a low or mid-height ponytail and secure it. Twist the ponytail into a bun and pin it in place, allowing the braided section to flow seamlessly into the bun. Lightly loosen the braid to make it a bit fuller. Finish with hairspray. This style looks especially nice from the front and back and suits both simple and more detailed dresses.
19. Simple Bun With Small Side Braid For Wedding Guest
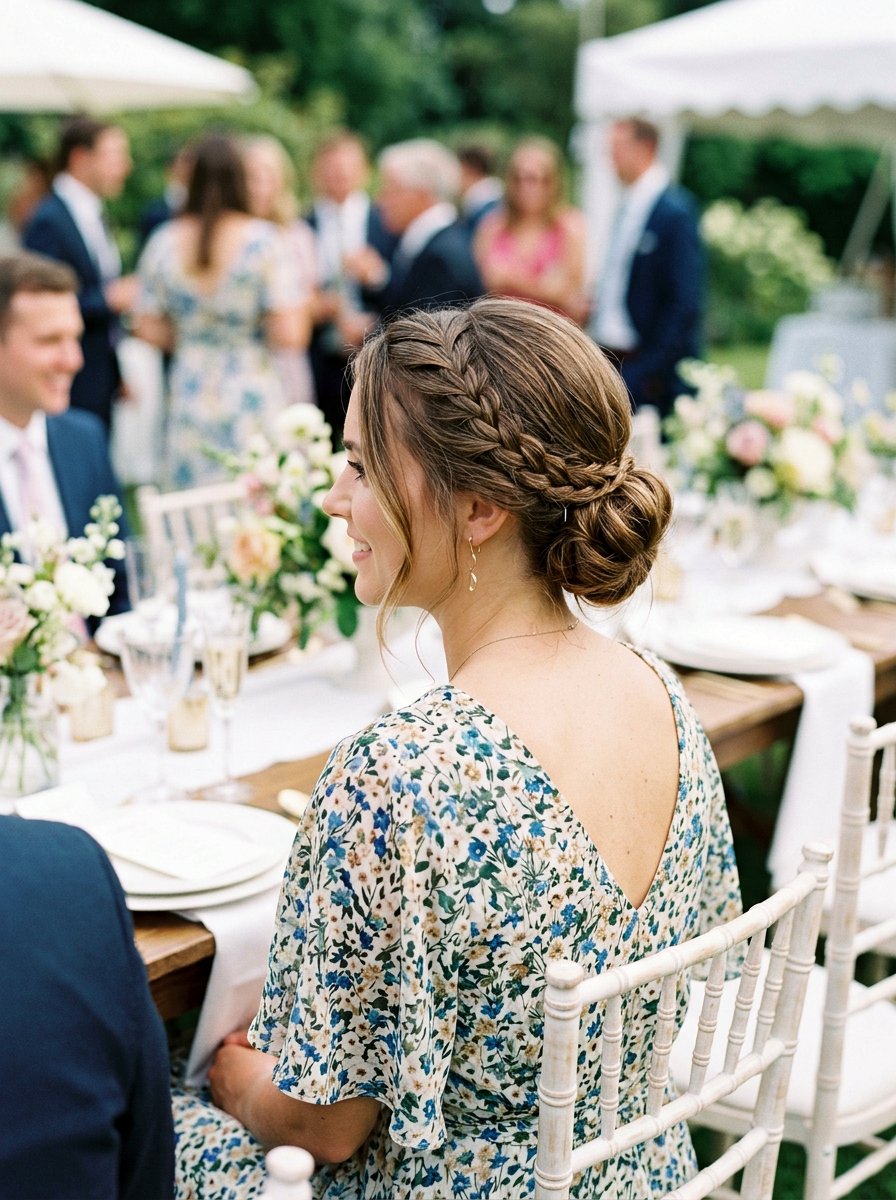
A simple bun with a small side braid adds charm and subtle detail, making it ideal if you like a hint of boho without going overboard. Begin by parting your hair slightly to one side and taking a thin section of hair near your temple on the lighter side. Braid that small section into a neat three-strand braid and secure the end with a mini elastic. Sweep all your hair, including the braid, into a low ponytail slightly off-center or at the middle, whichever feels more comfortable. Secure it, then twist the ponytail into a bun and pin it, making sure the little braid remains visible as it feeds into the bun. You can gently pull the braid a bit to soften and widen it. Finish the look with a light mist of hairspray. This style pairs beautifully with flowy dresses and delicate accessories.
20. Simple Bun For Medium Hair Wedding Guest Updo
A simple bun updo for medium hair can be your go-to when you want something versatile that suits almost any wedding setting or dress code. Start with dry hair that has a bit of movement—either natural or from a curling iron—and brush it through. Create your preferred part, then gather your hair into a mid-height ponytail to balance your features and show off your neckline. Secure the ponytail firmly, twist it, and wrap it into a bun, pinning sections until everything feels secure and comfortable. Loosen a few pieces at the crown for soft volume and pull out very fine strands around your face if you like a more relaxed finish. Use a medium-hold hairspray to lock in the shape without making your hair stiff. This bun works with most accessories, from simple earrings to a subtle hairpin, making it a reliable wedding guest favorite.
Conclusion:
Choosing a simple wedding guest bun for medium hair is really about finding a balance between looking special and feeling like yourself. Buns keep your hair off your face, highlight your features, and stay comfortable through the ceremony, photos, and reception. With medium hair, you have the advantage of enough length to twist, braid, and pin without dealing with a heavy, overly long ponytail. Whether you prefer sleek and polished or soft and textured, there is a bun placement and finish that matches your dress and the wedding’s vibe. You can also customize any of these buns using accessories, face-framing pieces, or a bit of extra volume. With a little practice before the event, you will feel confident doing your own hair and walking into the wedding knowing your bun will look lovely in every photo.
You'll Like These Styles:

Leave a Reply