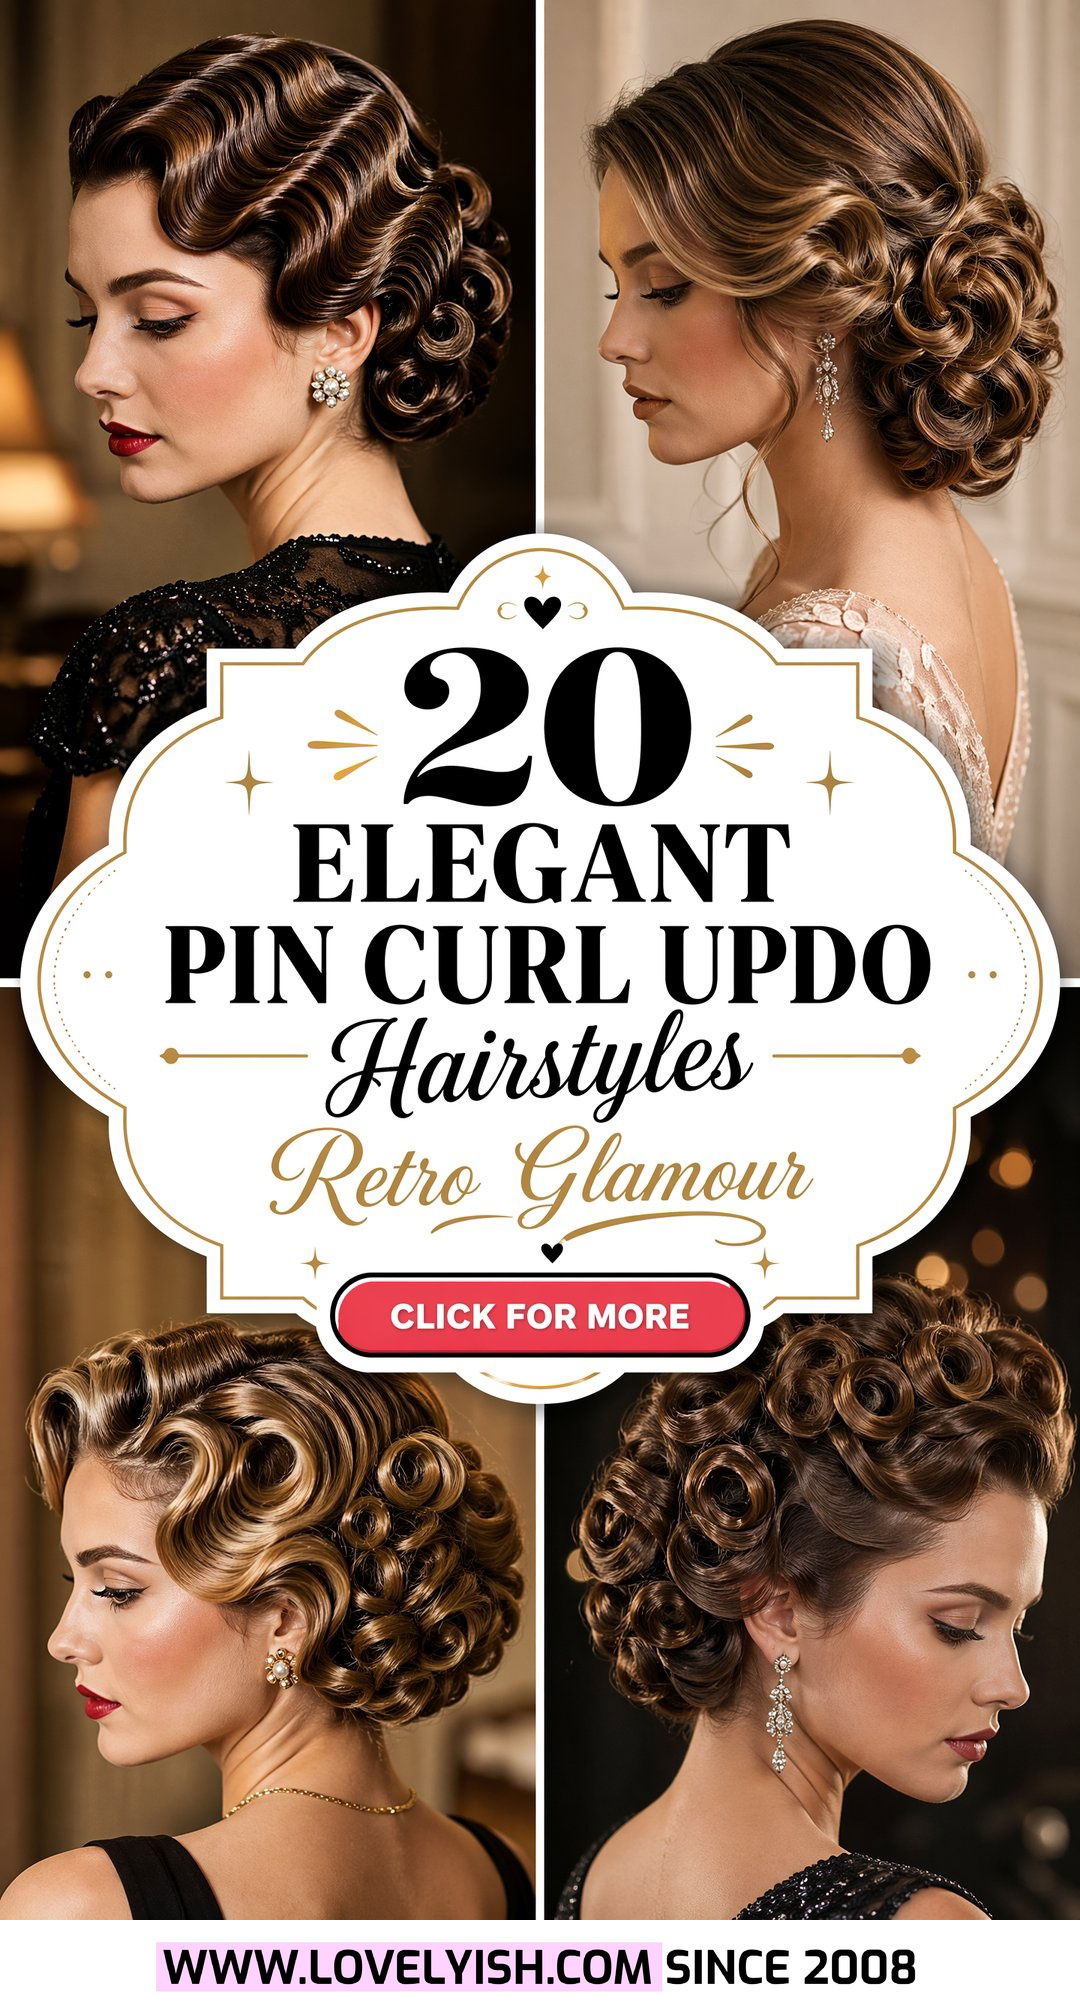
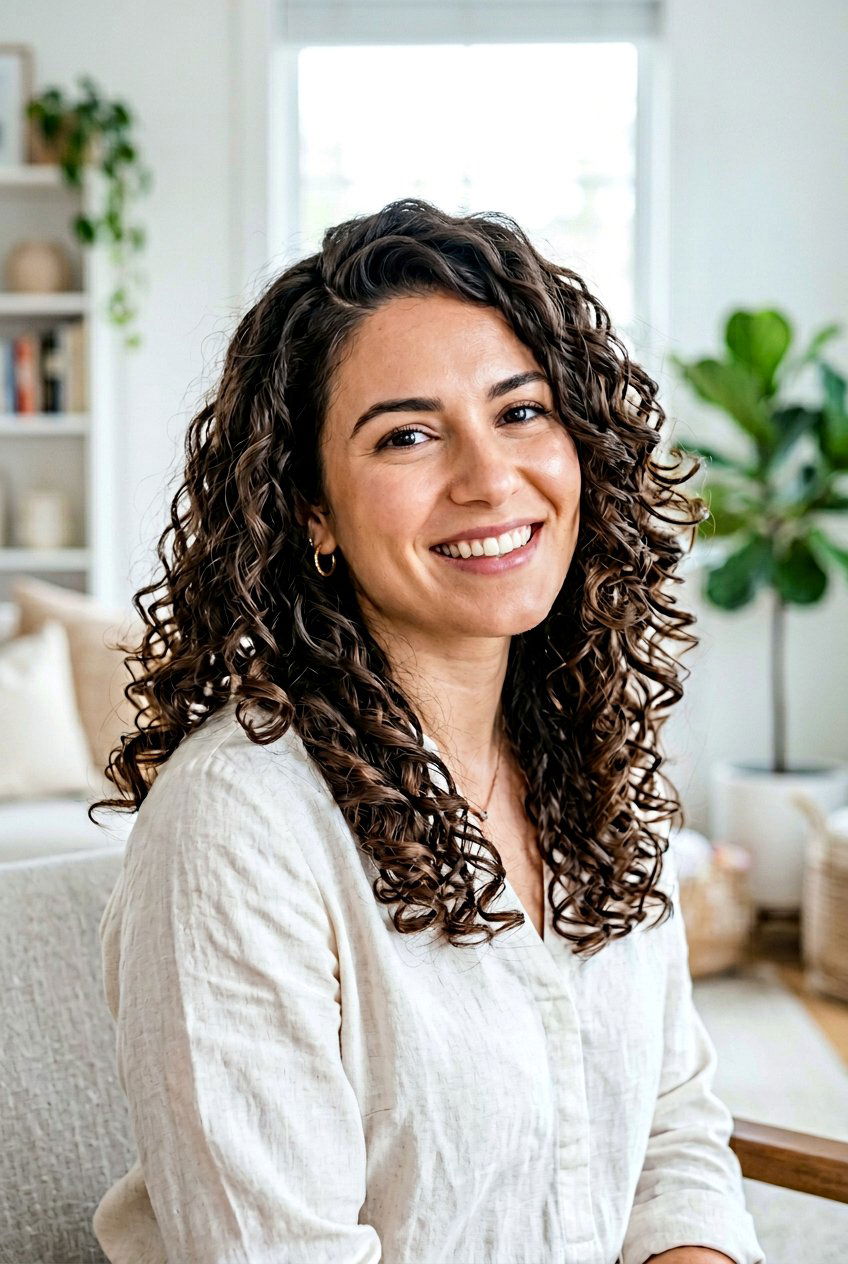
Soft, romantic curls swept into an updo can look both classic and modern when you build the shape with about 20 secure pin curls around the head. This kind of pin curl updo works beautifully for weddings, proms, formal events, and even dressy nights out because it holds well and flatters many face shapes. With the right prep, sectioning, and pin placement, you can get a polished finish that still feels touchable and not stiff or dated. The key is starting with defined curls, then rolling and pinning them into soft coils that are arranged into a bun, chignon, or clustered pattern at the back or crown. A 20 pin curl updo hairstyle usually uses around twenty bobby pins or curl coils to secure everything in place, giving structure without weighing the style down. You can customize the overall look with details like side-swept pieces, a lifted crown, or face-framing curls while still following the same basic method. With simple tools like a curling iron, bobby pins, and strong hairspray, this look becomes achievable at home even if you are not a pro stylist.
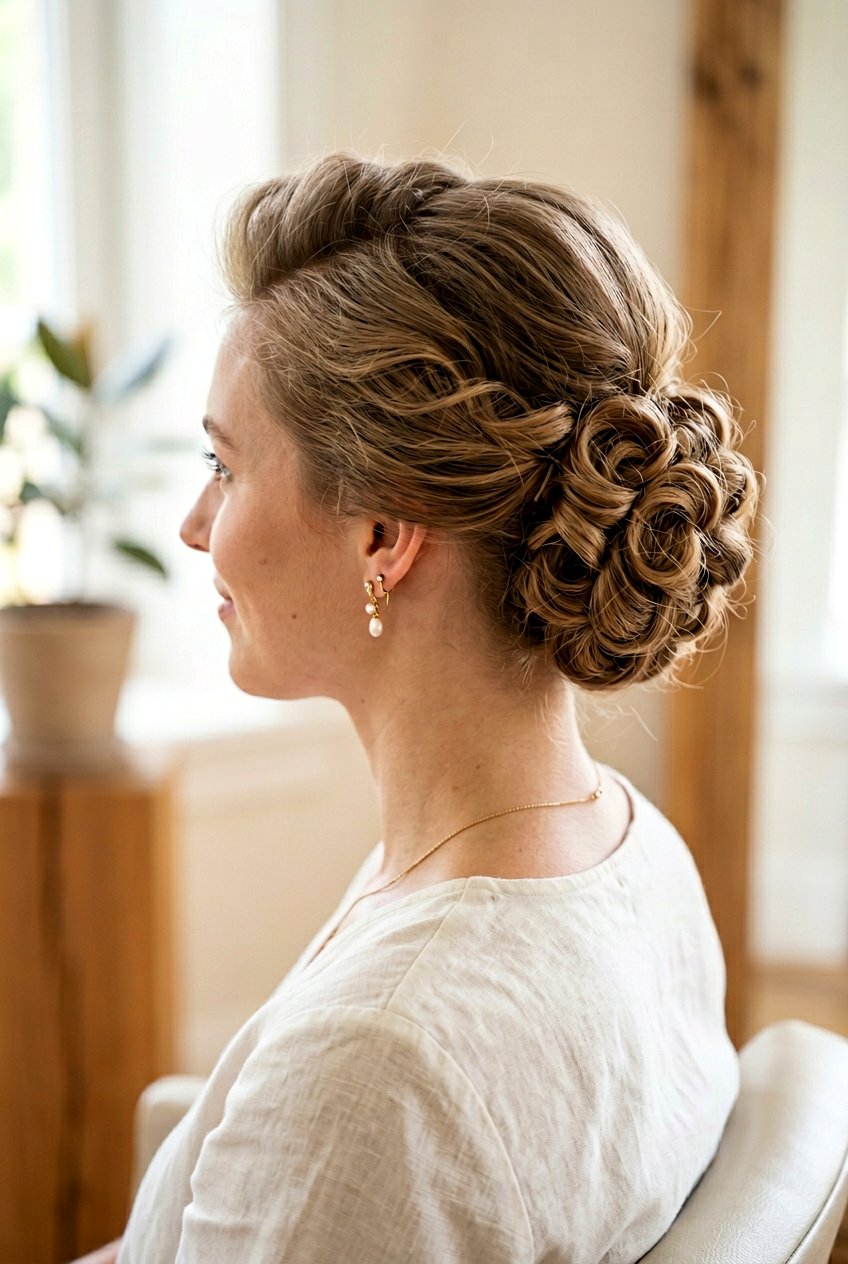
1. Classic Low Pin Curl Updo
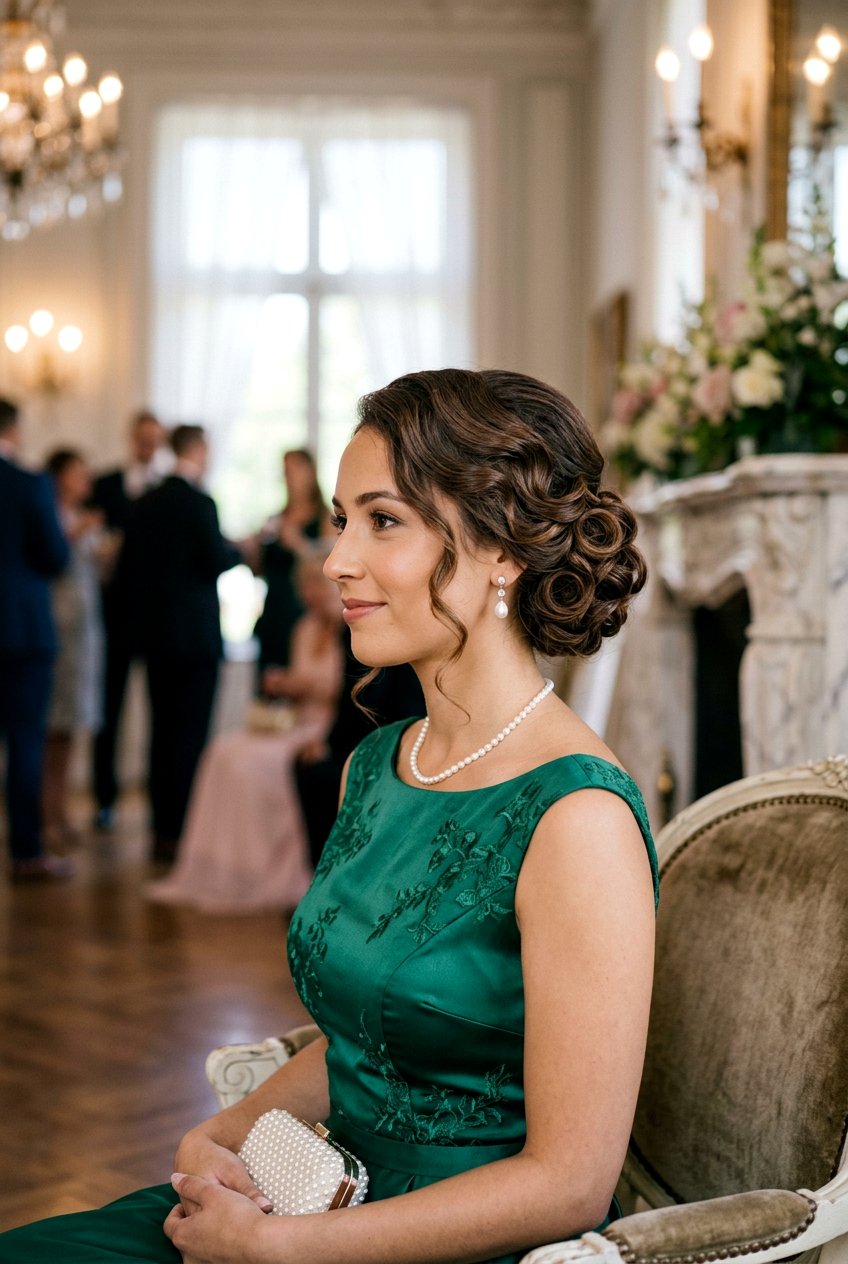
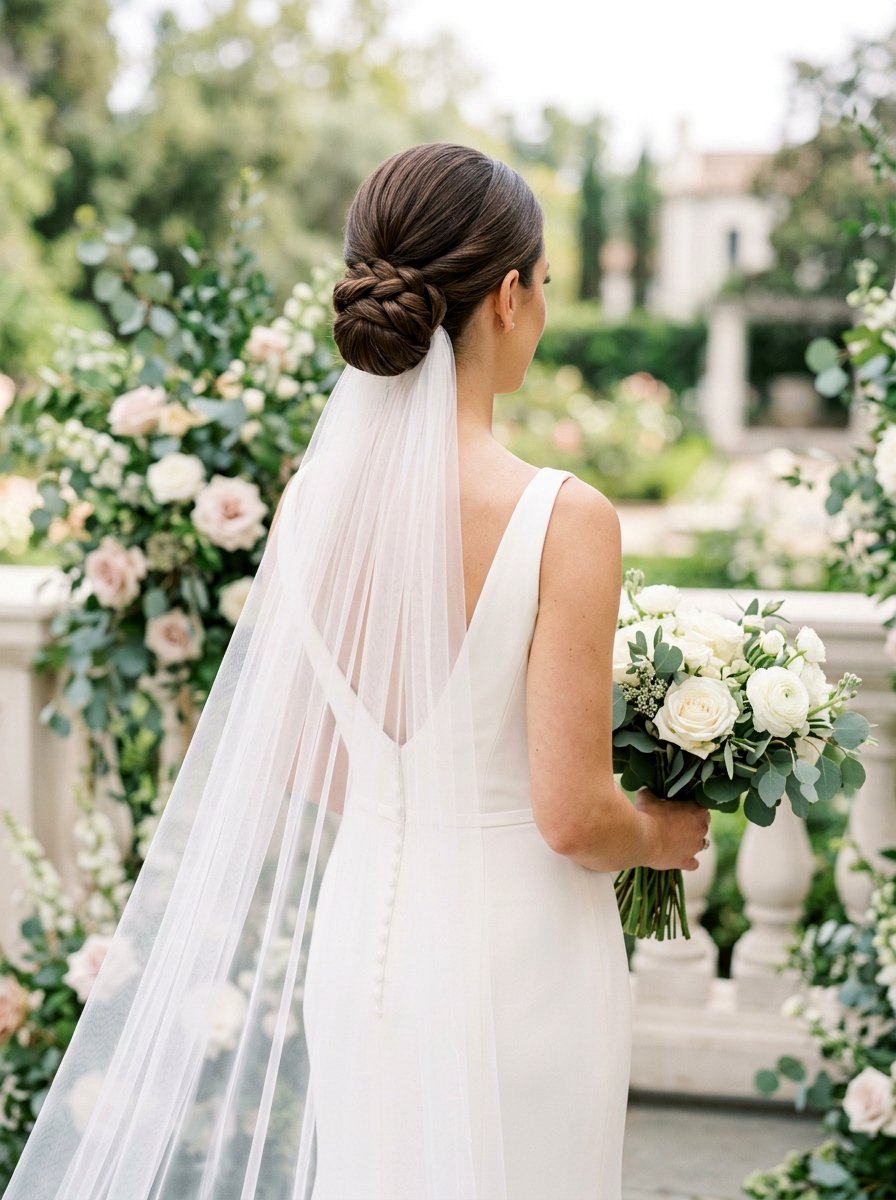
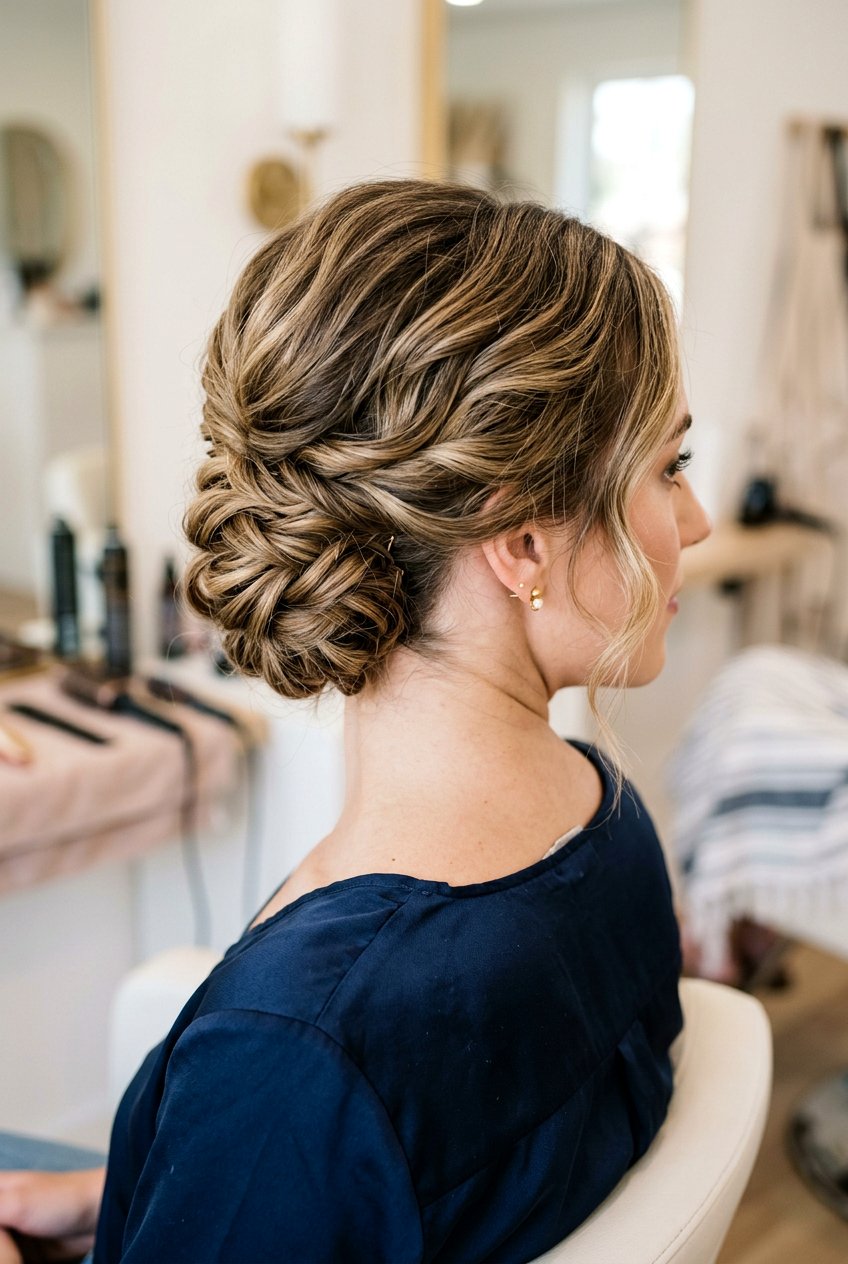
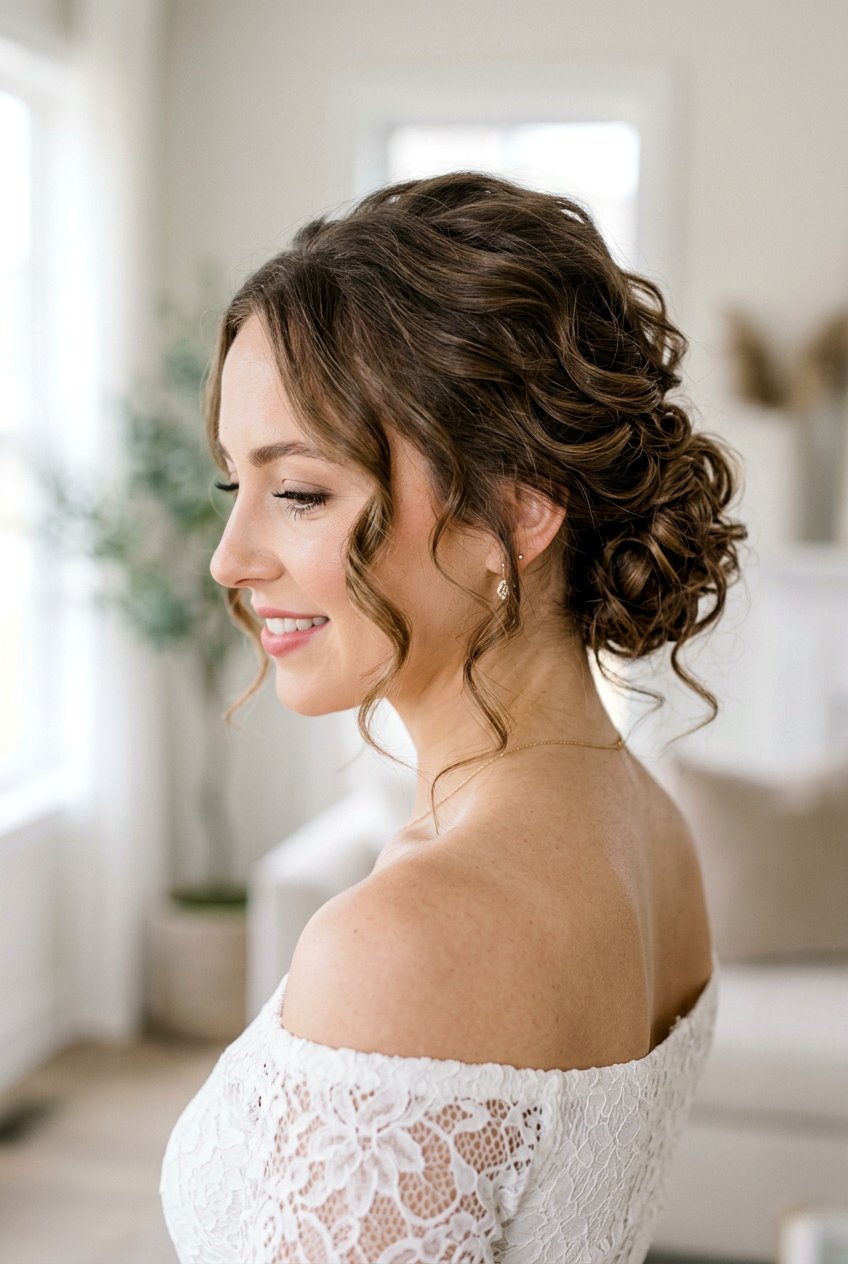
Think of the classic low pin curl updo as a soft, romantic bun sitting right at the nape of your neck with curls layered over each other. You start by curling your hair all over with a small to medium barrel iron so your curls are tight enough to hold and easy to roll into neat pin curls. After curling, section the back of your hair horizontally, then roll small pieces around two fingers into flat coils and pin them close to the head, building a rounded bun shape at the nape. Using about twenty pins lets you secure each coil firmly without crushing the curl pattern, which keeps the updo full and textured instead of stiff. Leave a few soft tendrils around your hairline for a romantic feel, and mist with flexible-hold hairspray so the updo lasts through dancing, photos, and hugs.
2. High Pin Curl Bun Updo
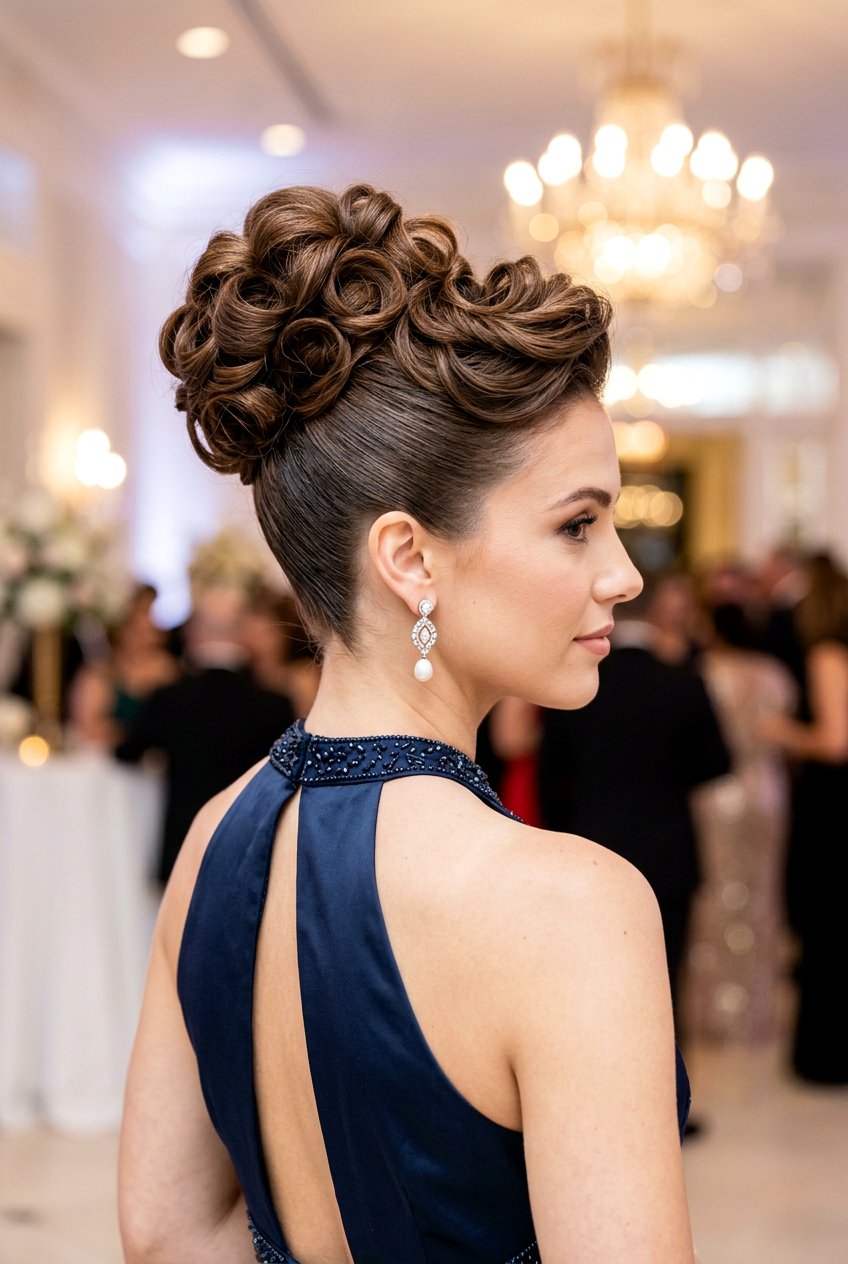
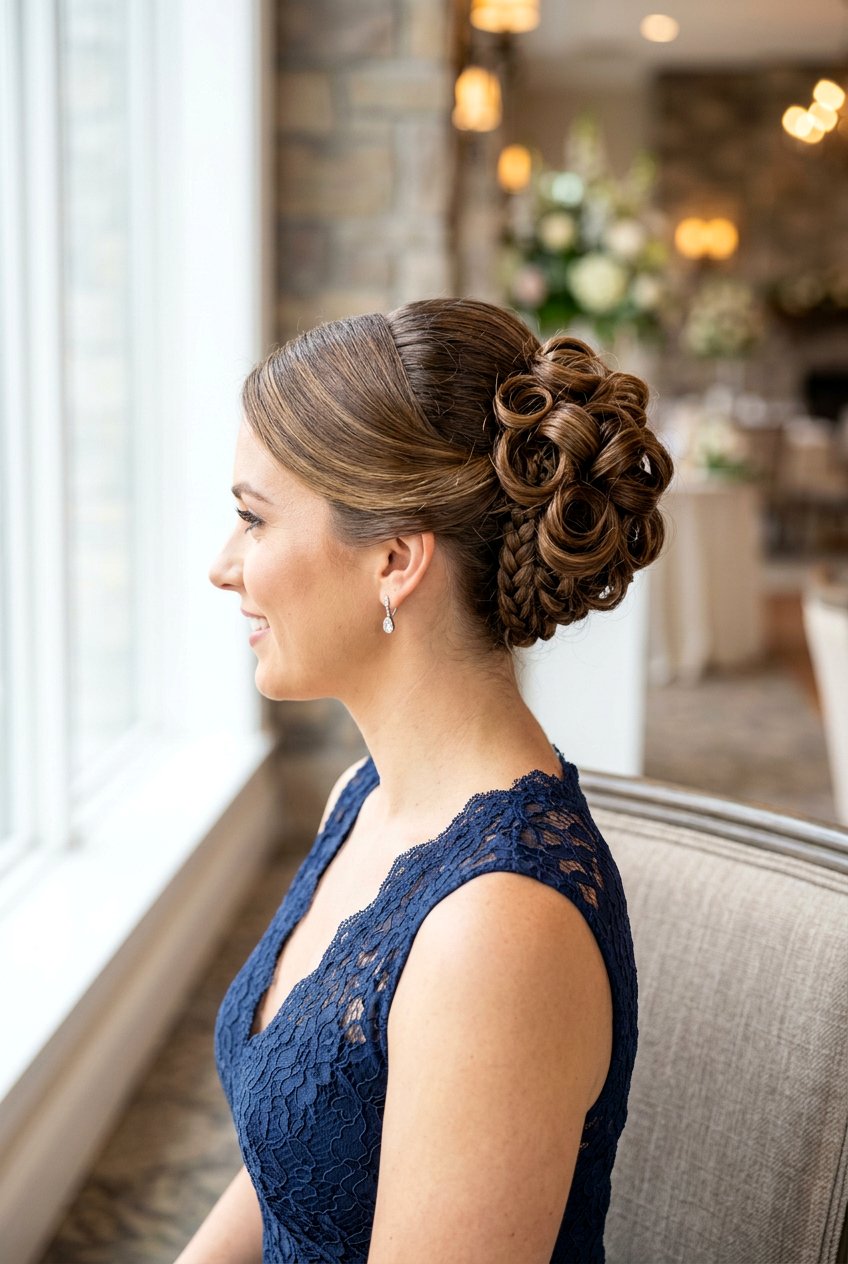
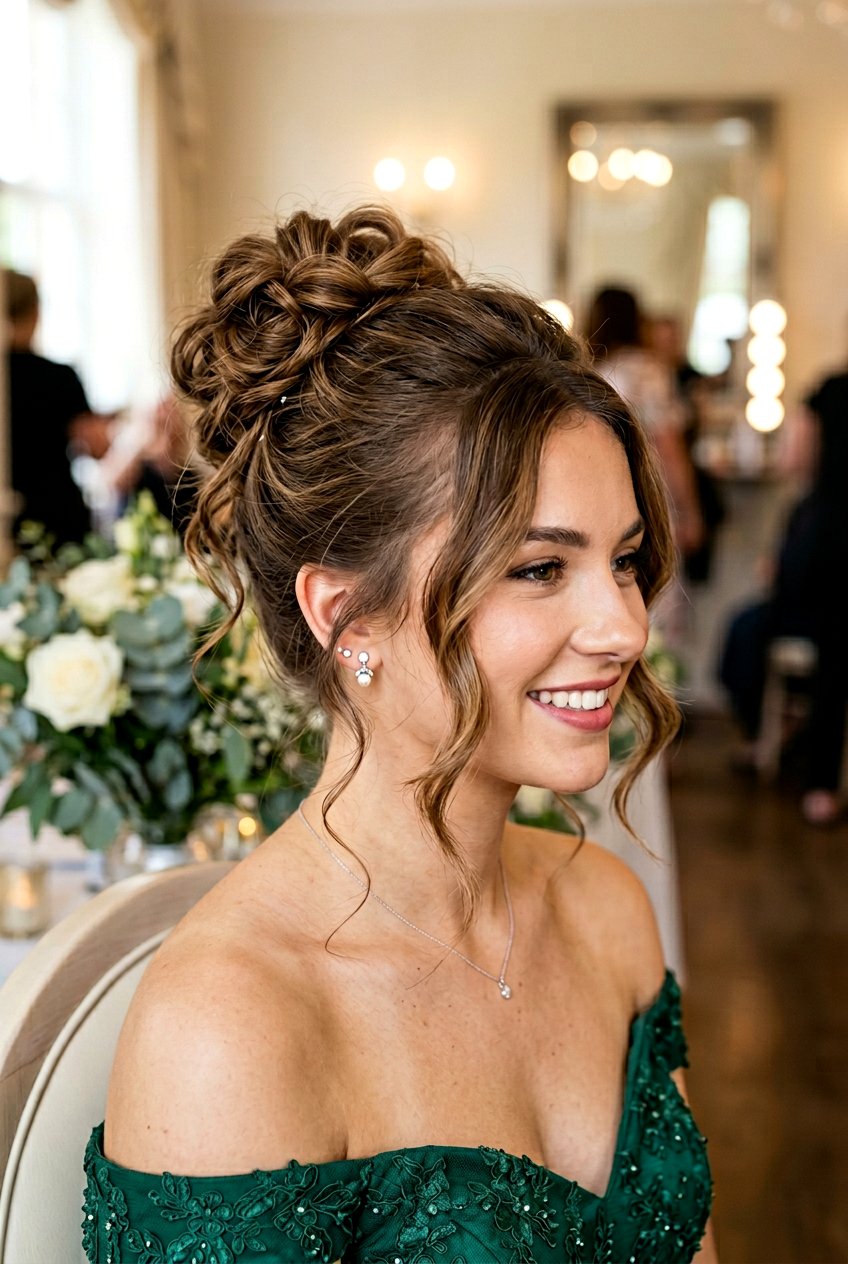
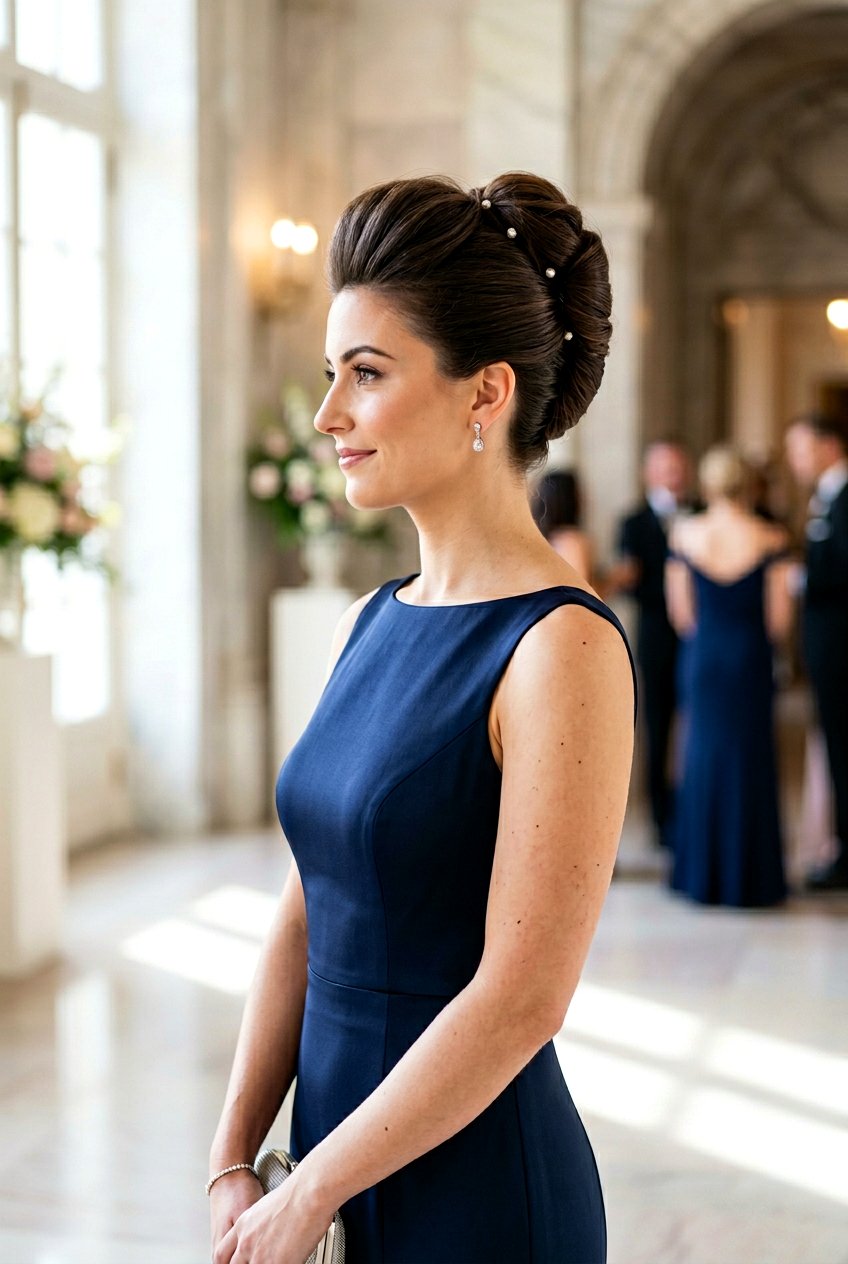
For a more glamorous look, the high pin curl bun updo sits on the crown or upper back of your head and shows off your neck and shoulders. This version works especially well with long or medium hair because you can stack curls vertically to create a tall, voluminous bun that still feels secure. After curling your hair, gather it loosely into a high ponytail, secure with an elastic, and then take small sections from the ponytail, wrapping each into a pin curl and anchoring it down with pins right around the base. The goal is to hide the elastic under a cluster of curls while distributing around twenty pins so the bun holds its shape without collapsing. Smoothing the sides with a brush and light gel or spray gives a clean base, while the curls on top stay fluffy and defined for a polished but playful effect.
3. Side Swept Pin Curl Updo
The side swept pin curl updo brings the focus to one side of your face, giving a vintage yet modern red-carpet feel. You start with a deep side part, then curl your hair and direct most of the length toward one side, usually over the ear, before pinning it into clusters of curls. At the back, create a small anchor base with crossed bobby pins, then roll sections into pin curls and secure them along the lower side of your head so the curls spill slightly over the shoulder. Using around twenty pins helps you shape the curls tightly at the base and more loosely on the outer layer, which keeps the style comfortable and balanced. This side swept look complements asymmetrical necklines and works nicely for bridesmaids, prom guests, or anyone wanting a softer twist on a traditional updo.
4. Half Up Pin Curl Updo
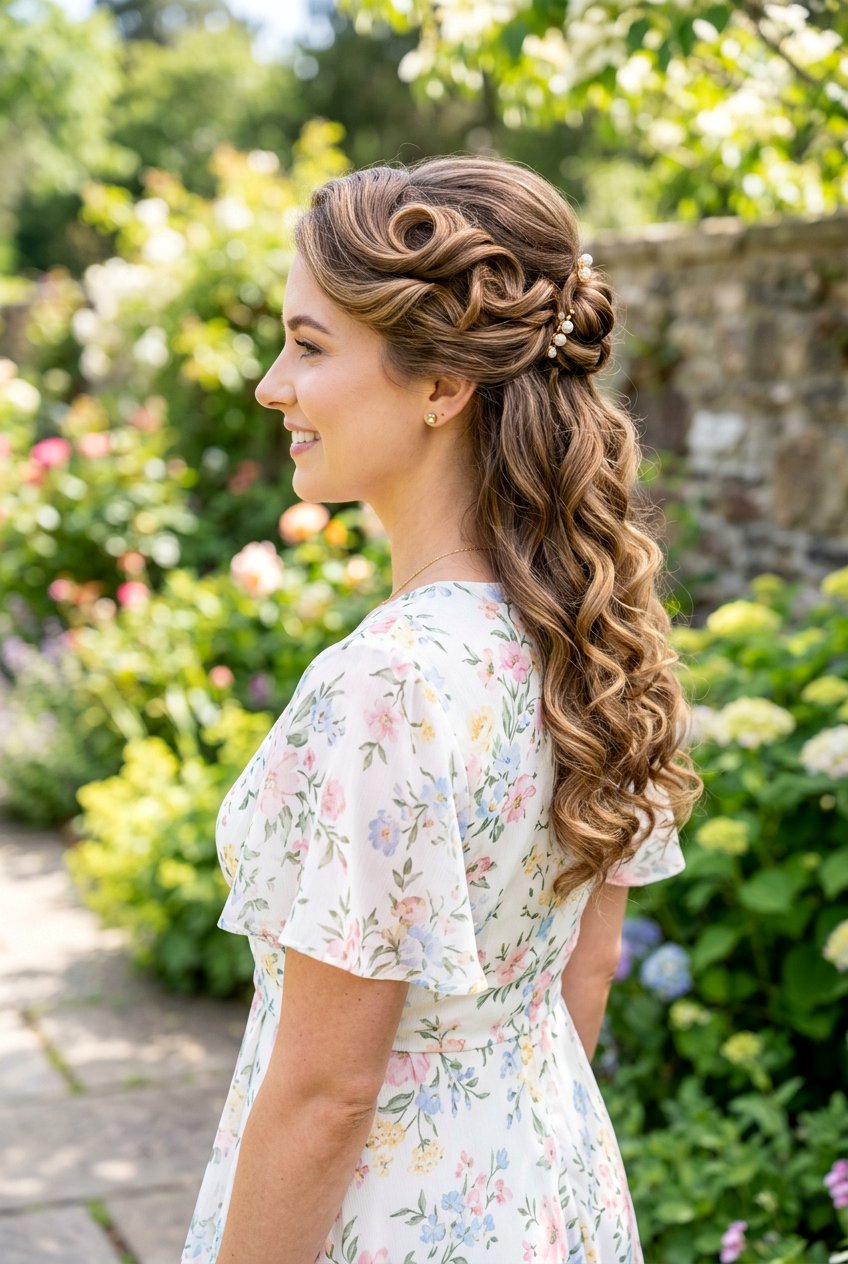
A half up pin curl updo is perfect when you want hair off your face but still love the movement of loose curls down your back. After creating defined curls all over, separate the top half of your hair from temple to temple and slightly behind the crown, clipping the bottom half out of the way. Take small sections from the upper half, roll them into pin curls, and secure them at the back of your head, stacking them into a soft, rounded cluster while leaving the lower half free. Twenty pins is usually enough to hold multiple curls at the crown and sides while still letting the loose hair underneath move naturally. This style is ideal for outdoor events because the pinned portion keeps your hair from blowing into your face, while the remaining curls add a relaxed, romantic vibe.
5. Messy Textured Pin Curl Updo
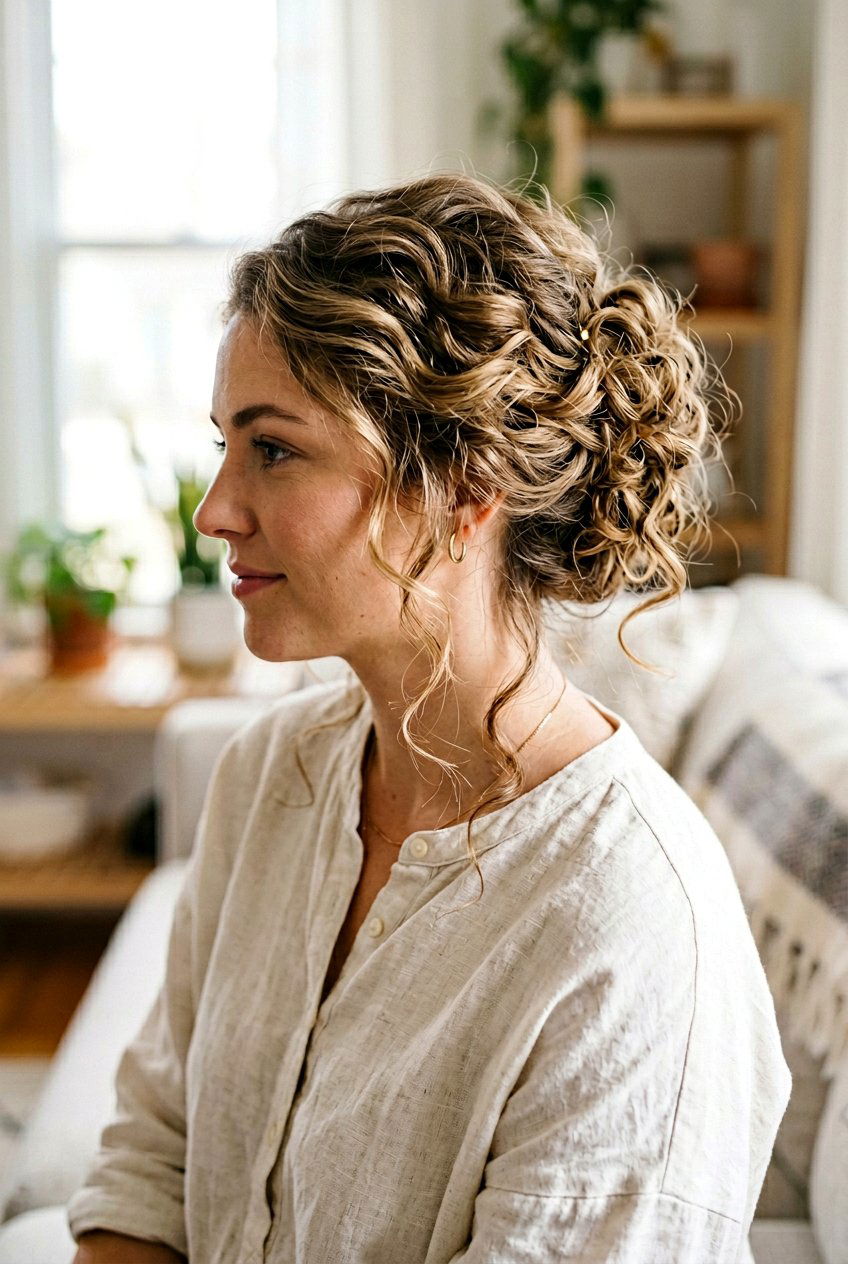
If you like a less formal vibe, the messy textured pin curl updo gives that undone yet intentional look that feels very current. You still curl the hair first, but instead of smoothing every section, you lightly tease at the roots and finger-comb the curls so they look fuller and more relaxed before pinning. Gather the hair loosely at the mid-back of your head and start rolling random sections into imperfect pin curls, pinning them in different directions so the curls overlap and create an airy, textured bun. Around twenty bobby pins, crisscrossed and hidden, will keep the updo secure while allowing wispy pieces and some frizz to show for that soft, lived-in finish. Finish with a light mist of flexible hairspray instead of a heavy lacquer so the style can move and still look good as it loosens over the day.
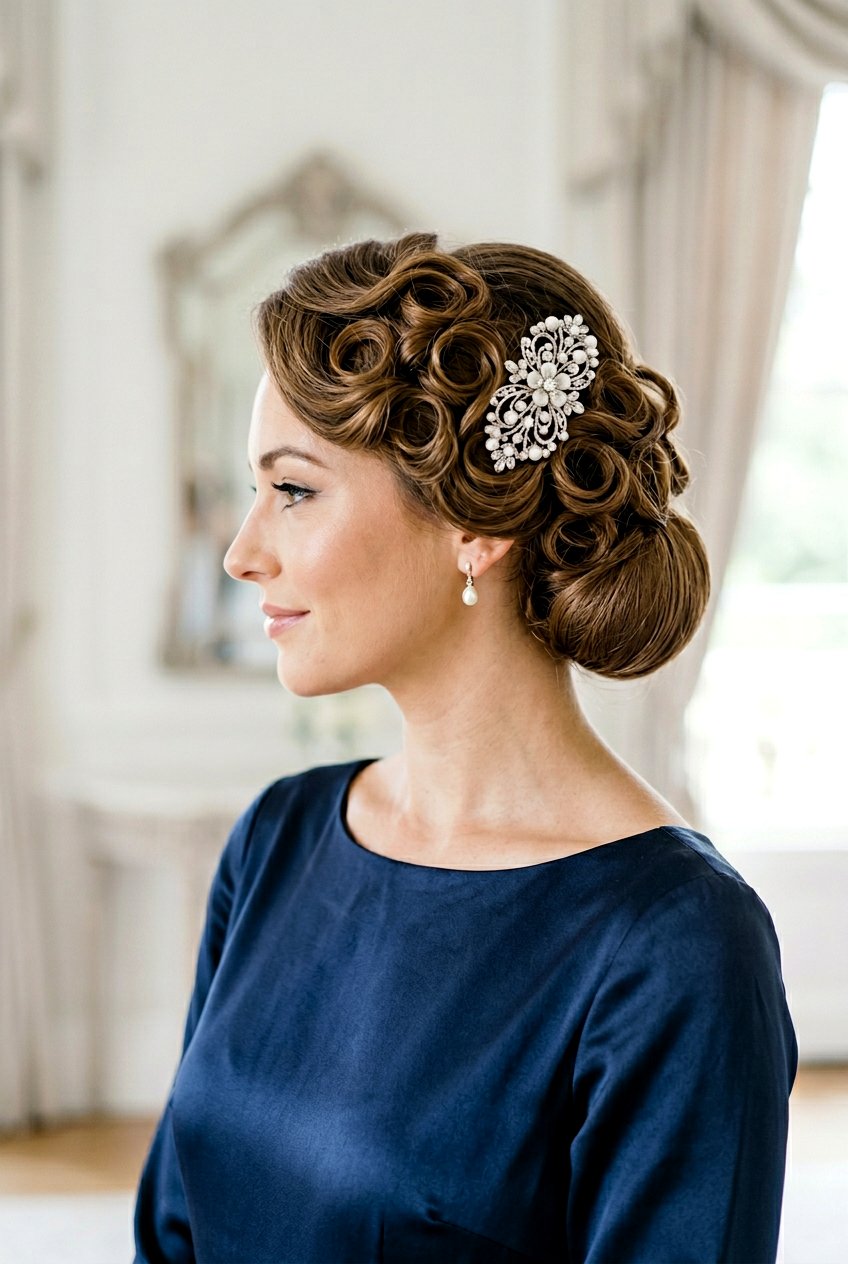
6. Vintage Inspired Pin Curl Updo
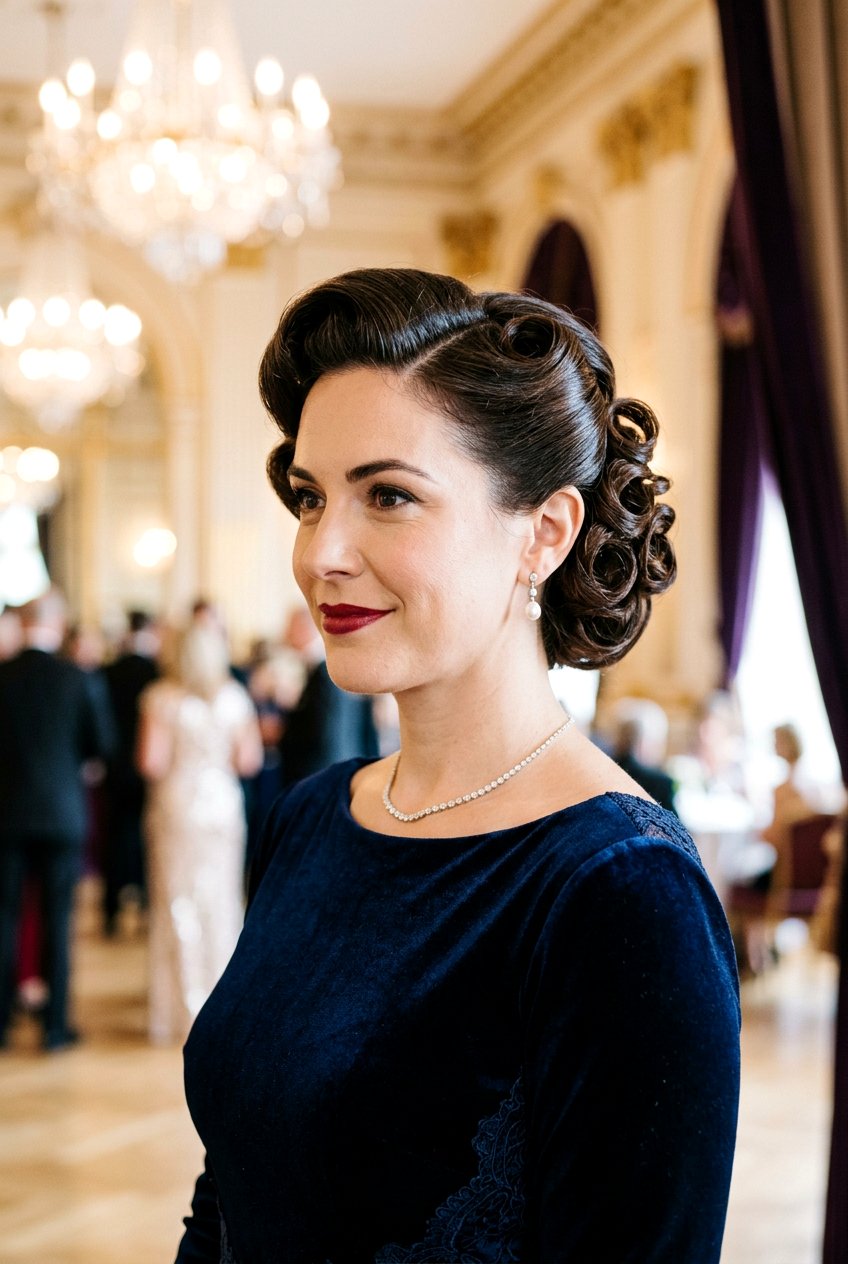
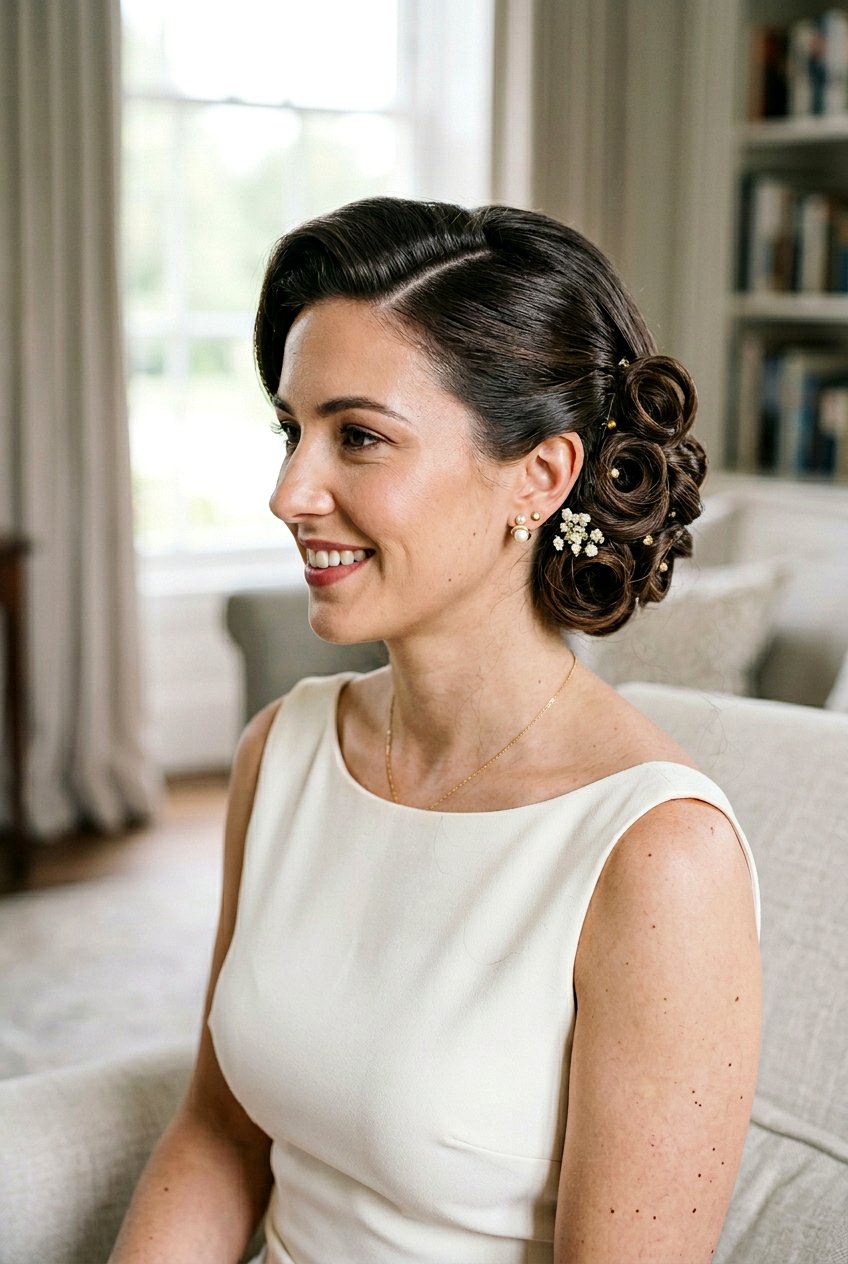
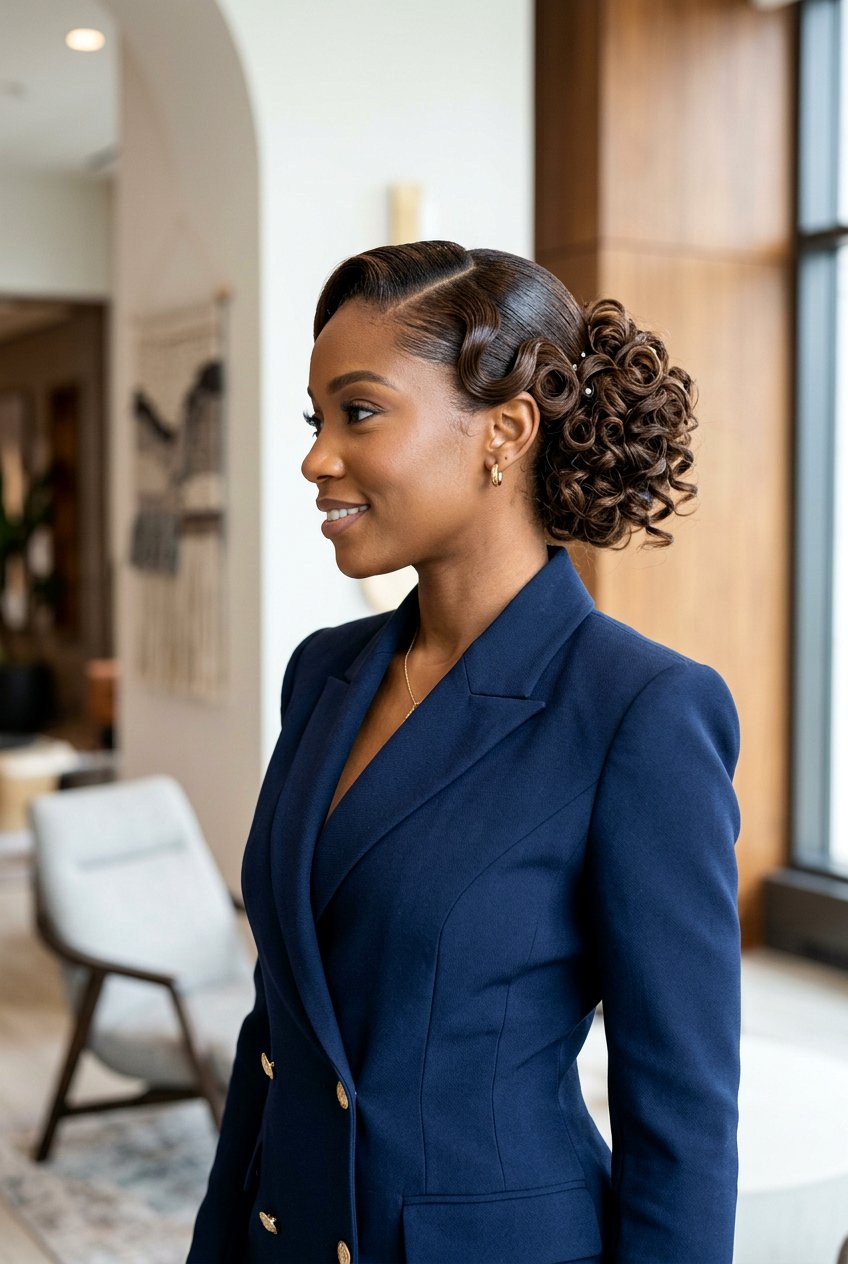
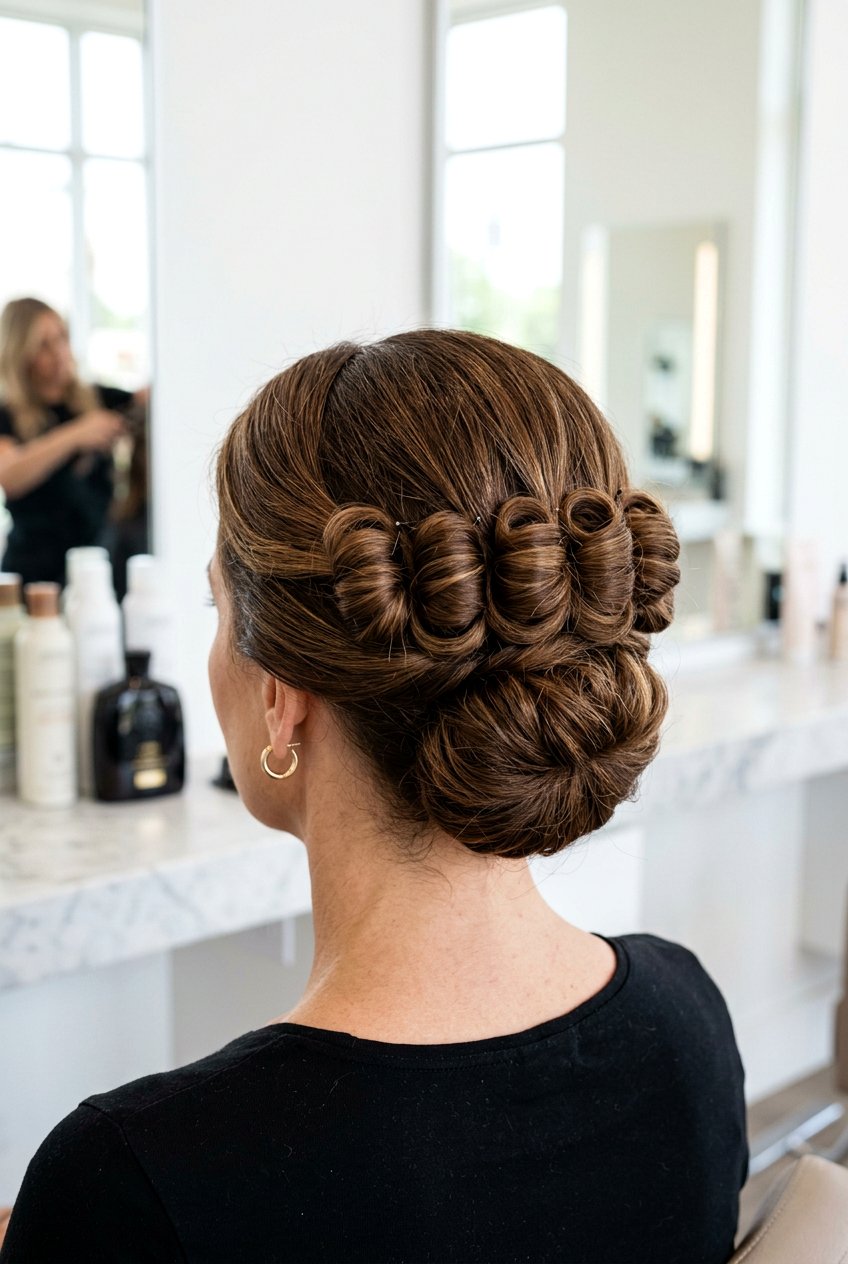
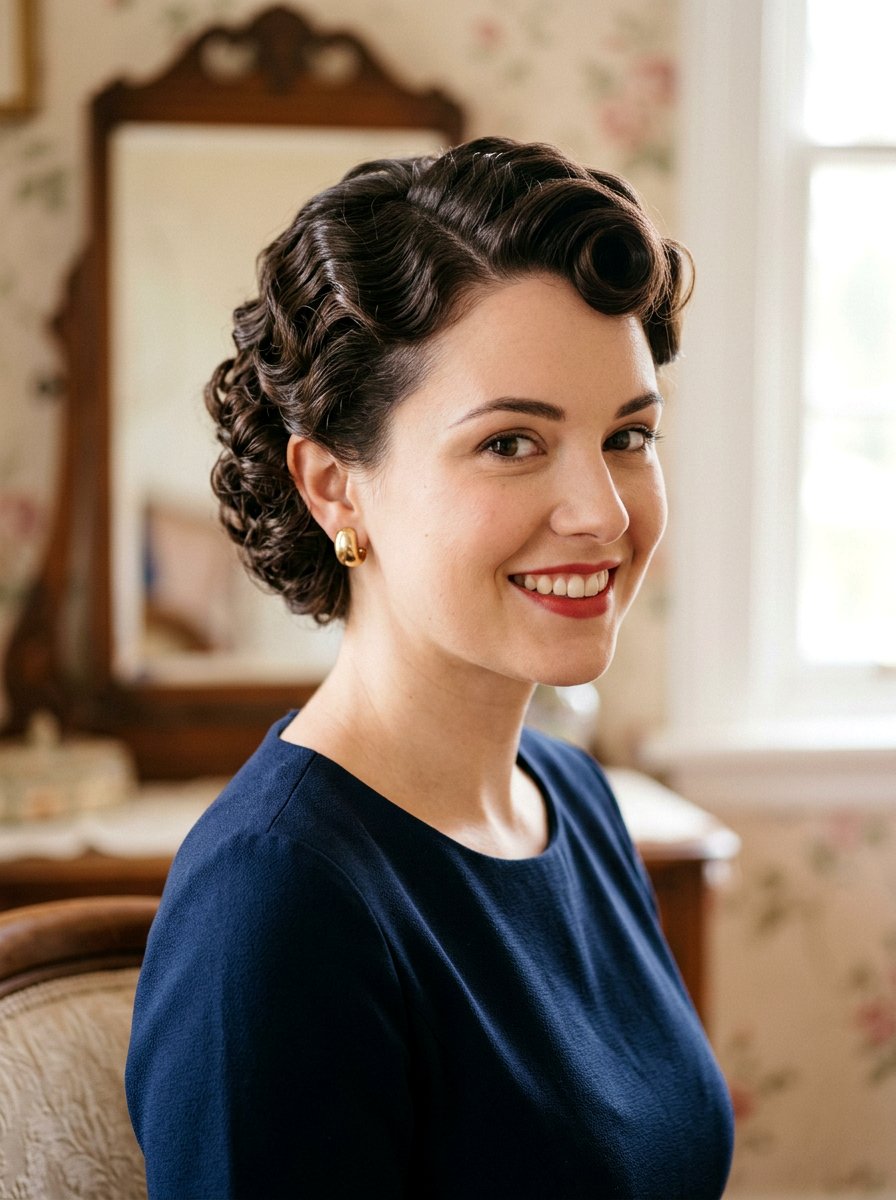
A vintage inspired pin curl updo leans into Old Hollywood glamour with structured curls and polished edges. To get this look, you create neat, uniform curls, often using smaller sections and tighter pin curls that lie flat against the head before being brushed and shaped. The back is usually arranged into a low chignon or roll, built by stacking pin curls in a precise pattern, while the sides may feature sculpted waves or rolled sections pinned close to the cheeks and temples. You will likely use about twenty pins to secure both the roll and the decorative curls, making sure each pin is hidden so the overall finish looks sleek. A shine spray and smooth, controlled edges give that polished, retro feel that works well with classic makeup and formal dresses.
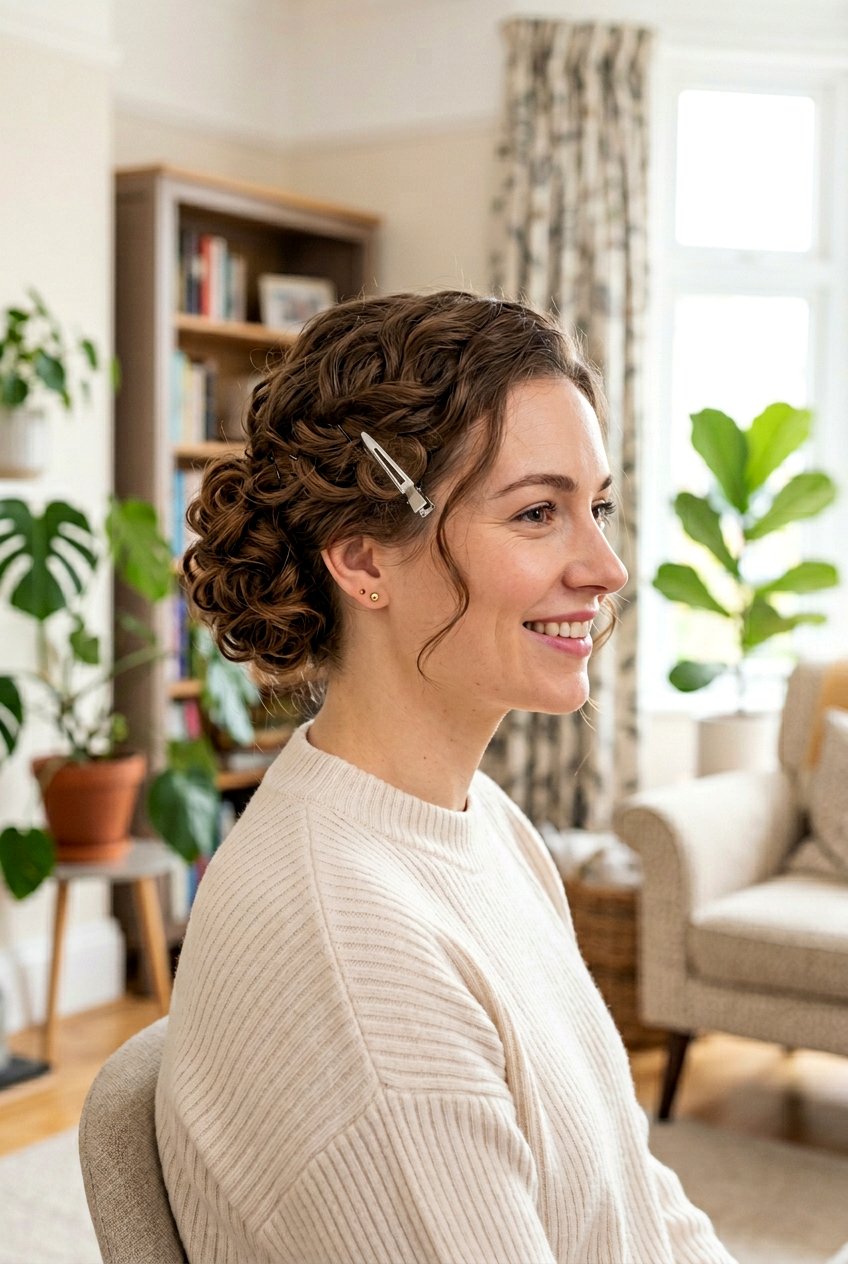
7. Curly Pin Curl Updo For Natural Hair
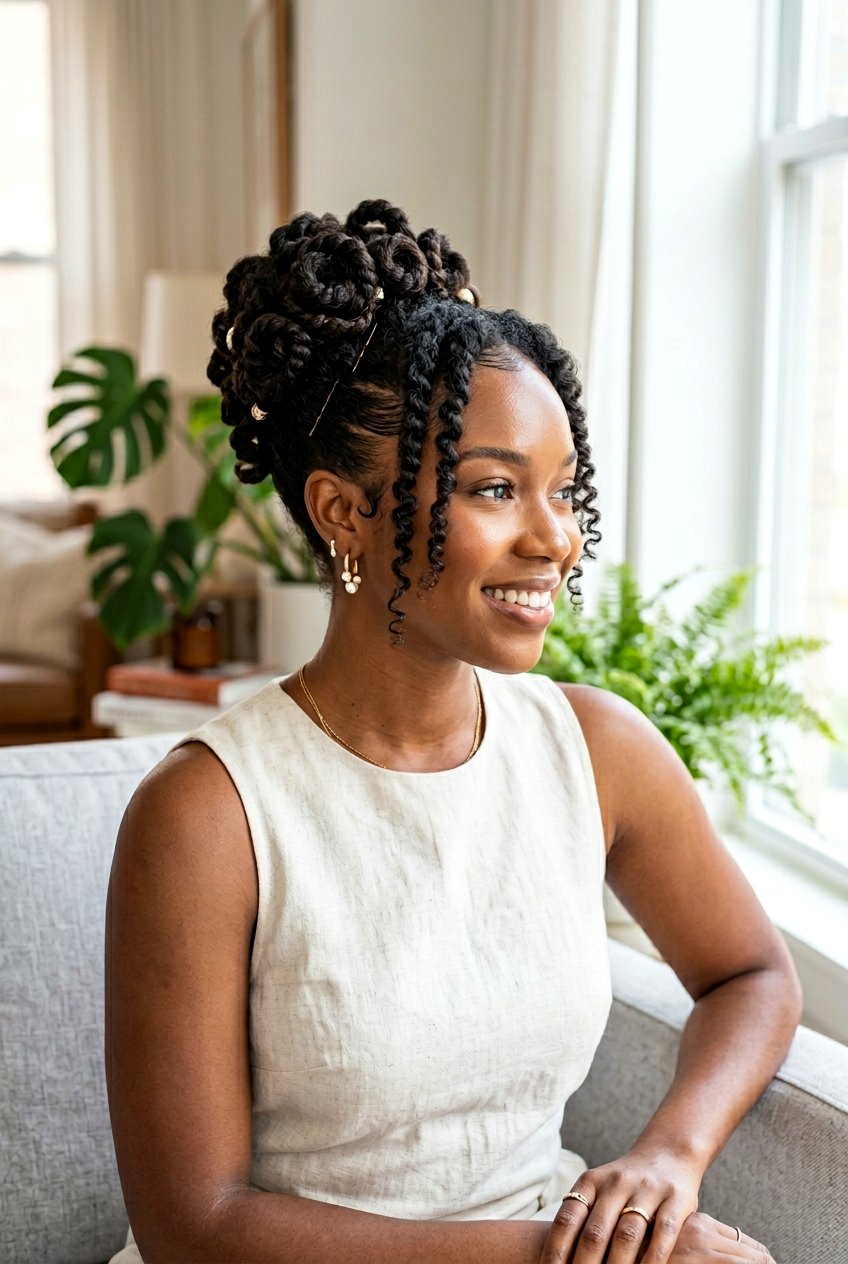
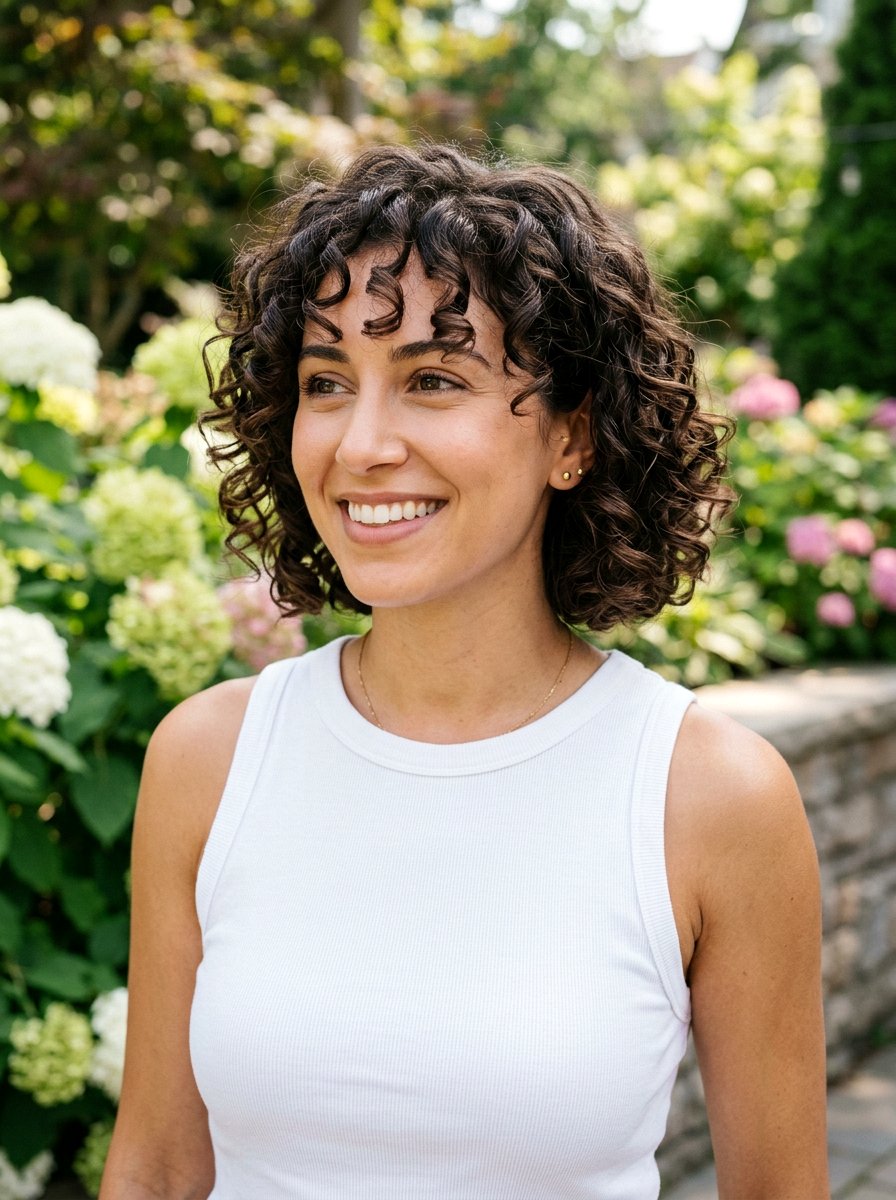
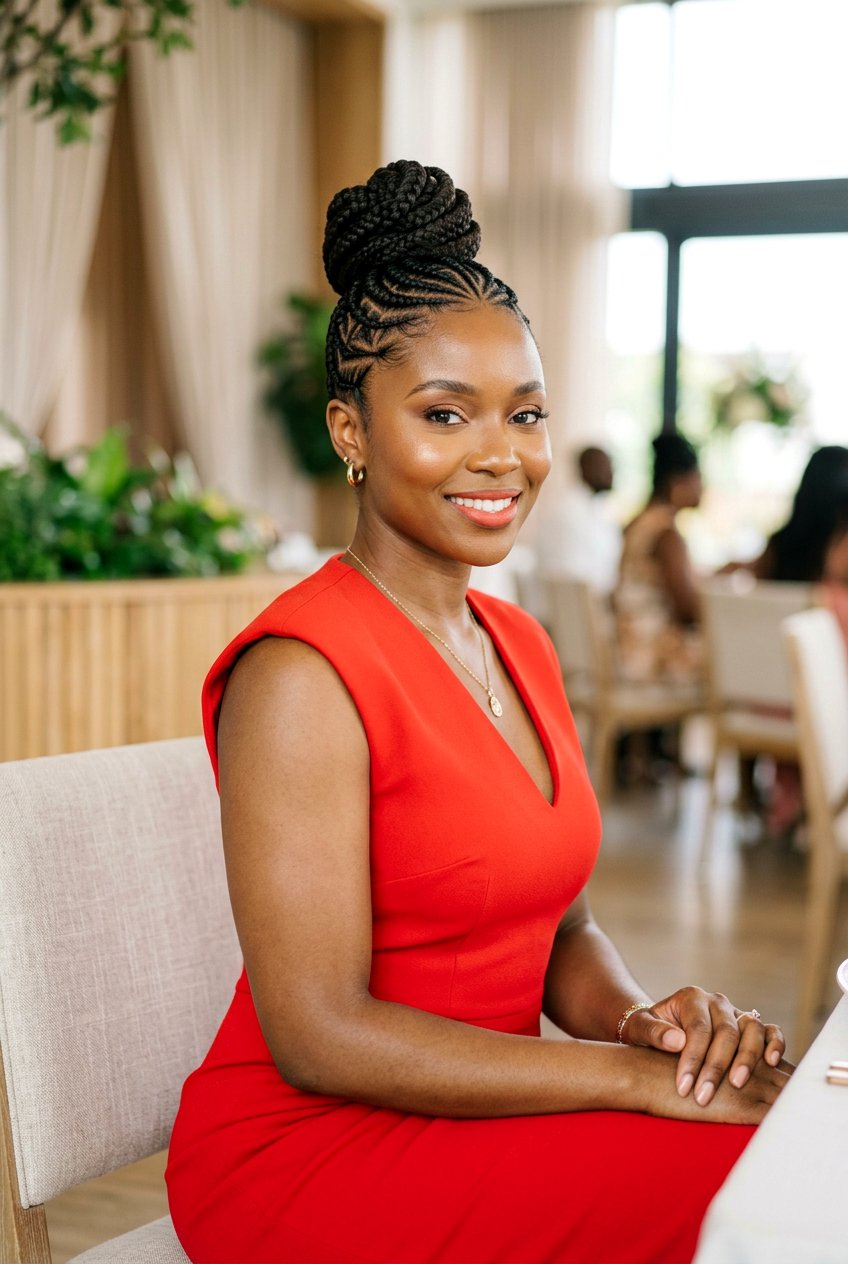
A curly pin curl updo for natural hair celebrates your texture while giving you a protective, dressed-up look. Start with moisturized, detangled curls and define them using a curl cream or gel so your pattern is consistent and frizz stays under control. Then section the hair into small pieces, coil each one either around your finger or by twisting, and pin them against the head to build a sculpted updo at the crown or back. You can easily use around twenty pins to secure thicker sections, especially if your hair is dense, making sure to angle the pins so they hold without scratching your scalp. Leaving a few coils out around the face keeps the style soft and lets your natural curl pattern frame your features beautifully while still protecting your ends.
8. Pin Curl Updo With Face Framing Pieces
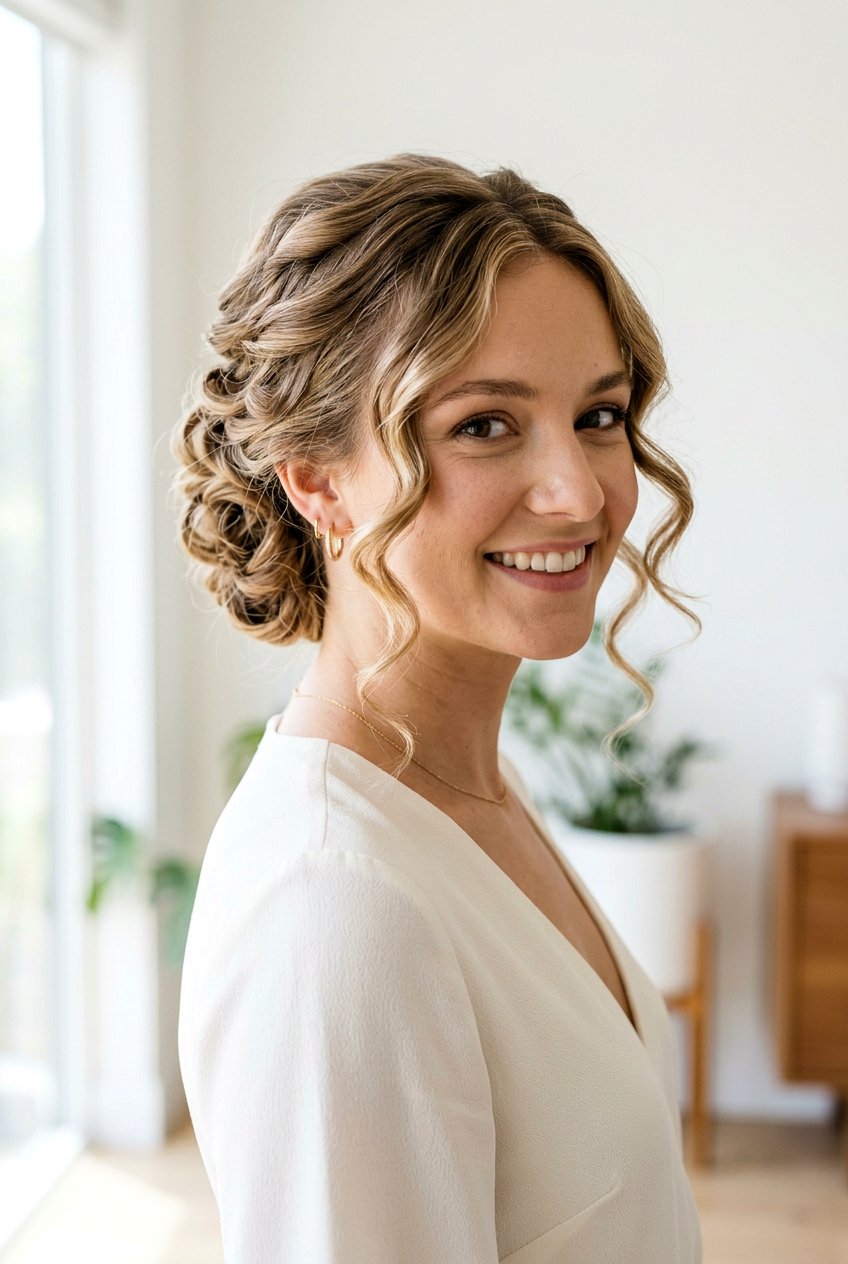
The pin curl updo with face framing pieces flatters almost every face shape because it softens the hairline and draws attention to the eyes and cheekbones. Before you start pinning, decide how much hair you want to leave out in front, usually a couple of narrow sections at the temples or along the part. Curl all of your hair, then clip the front sections aside while you roll the rest into pin curls and secure them at the back or crown, forming a bun or chignon. Once the main updo is set with about twenty pins, release the face-framing strands, curl them again if needed, and gently loosen them so they fall in soft spirals. This detail keeps the style from feeling too severe and works nicely for both casual dressy looks and more formal occasions.
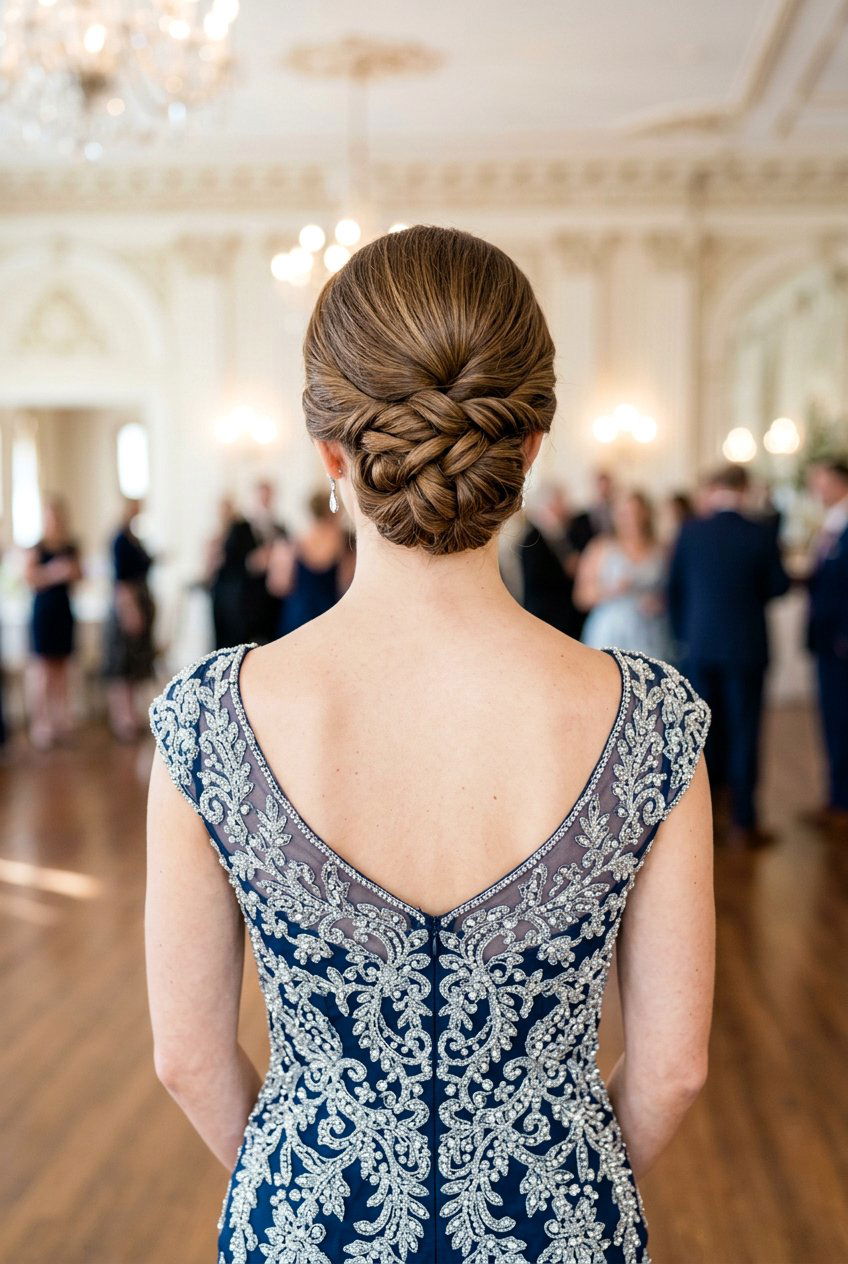
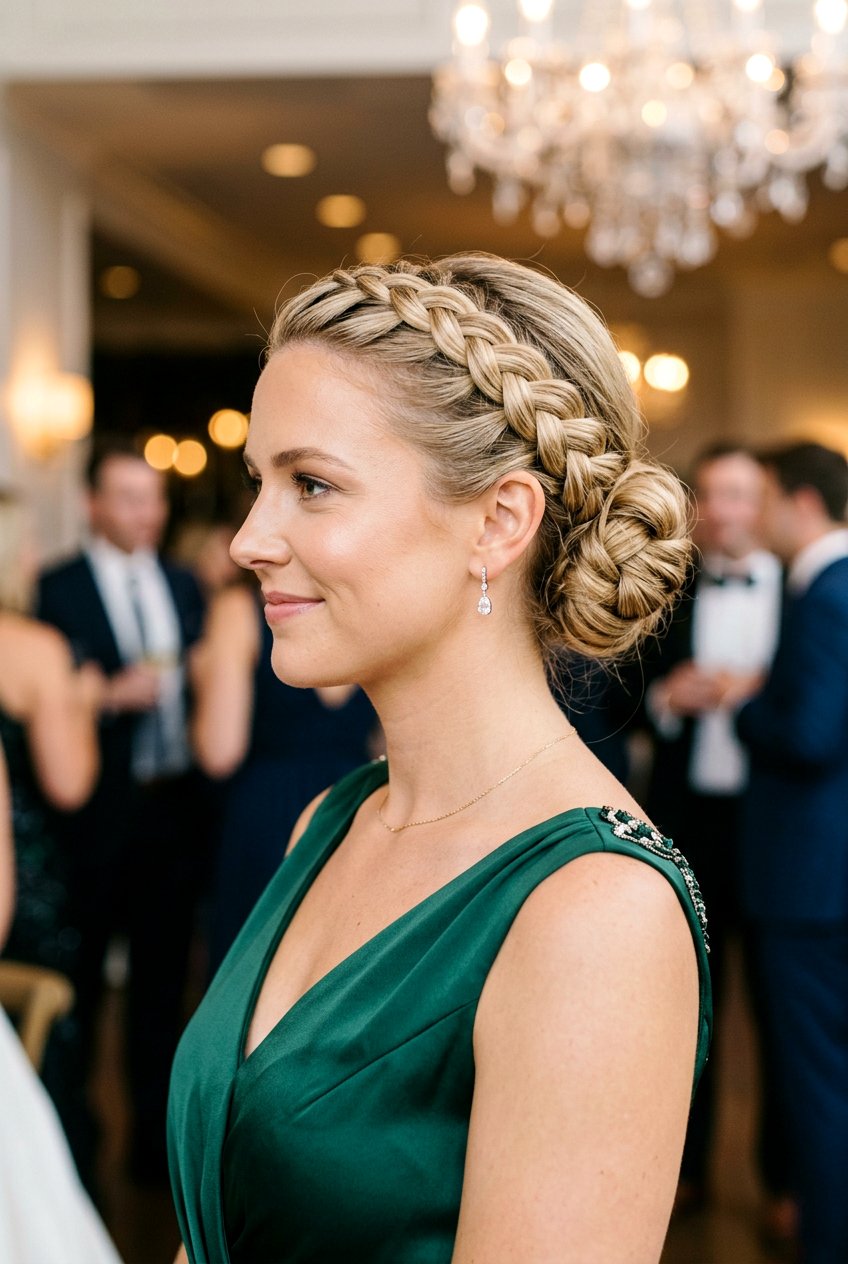
9. Braided Base Pin Curl Updo
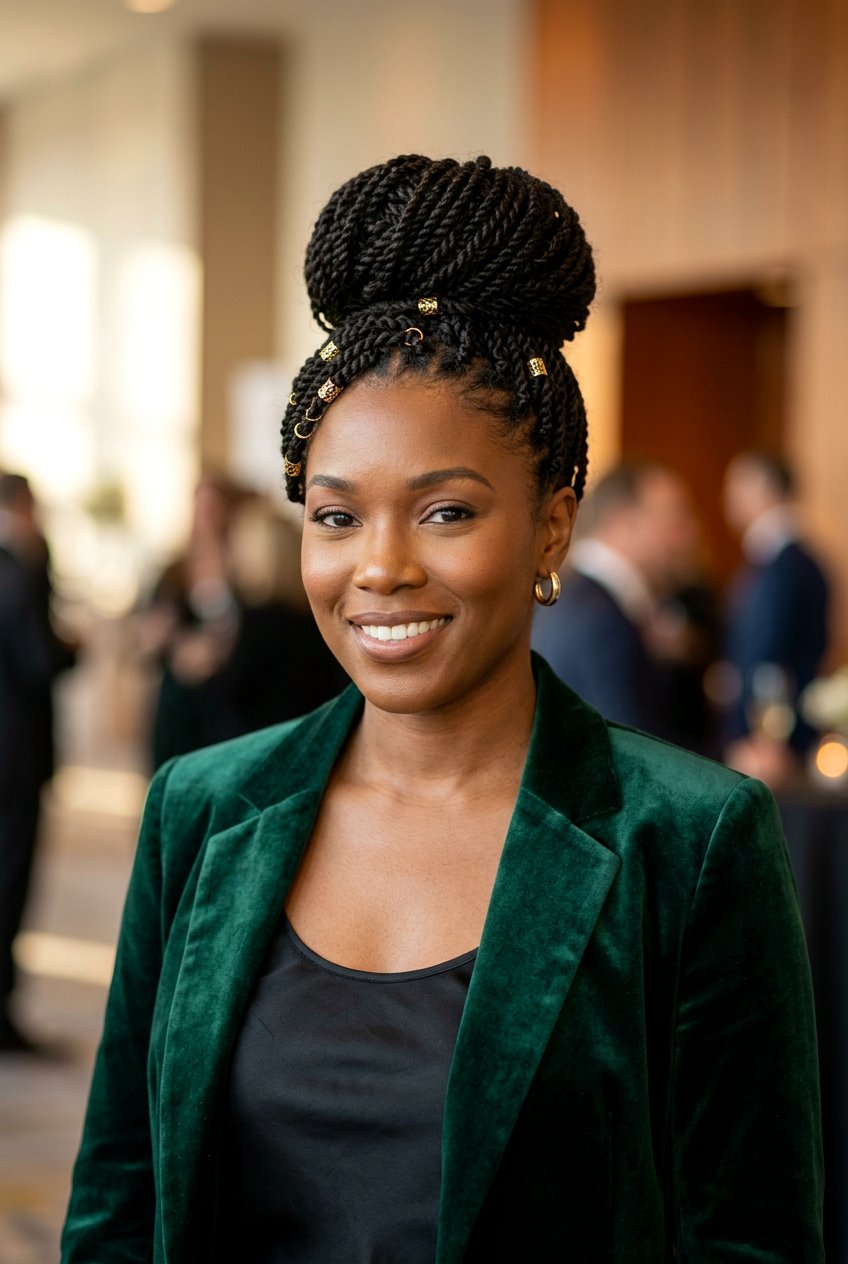
A braided base pin curl updo combines the grip of braids with the softness of curls to create a long-lasting hairstyle. You begin by parting the hair and creating several small to medium braids at the back of the head, which you then wrap into a compact braided bun to anchor the updo. After curling the remaining hair, you roll the loose sections into pin curls and secure them onto and around the braided base, hiding the braids under a halo of curls. Using around twenty pins, many of them anchored through the braided bun, gives the style extra security, which is especially helpful for very long or heavy hair. This type of updo is great for long events or hot weather because the braids hold everything in place even if some curls loosen slightly over time.
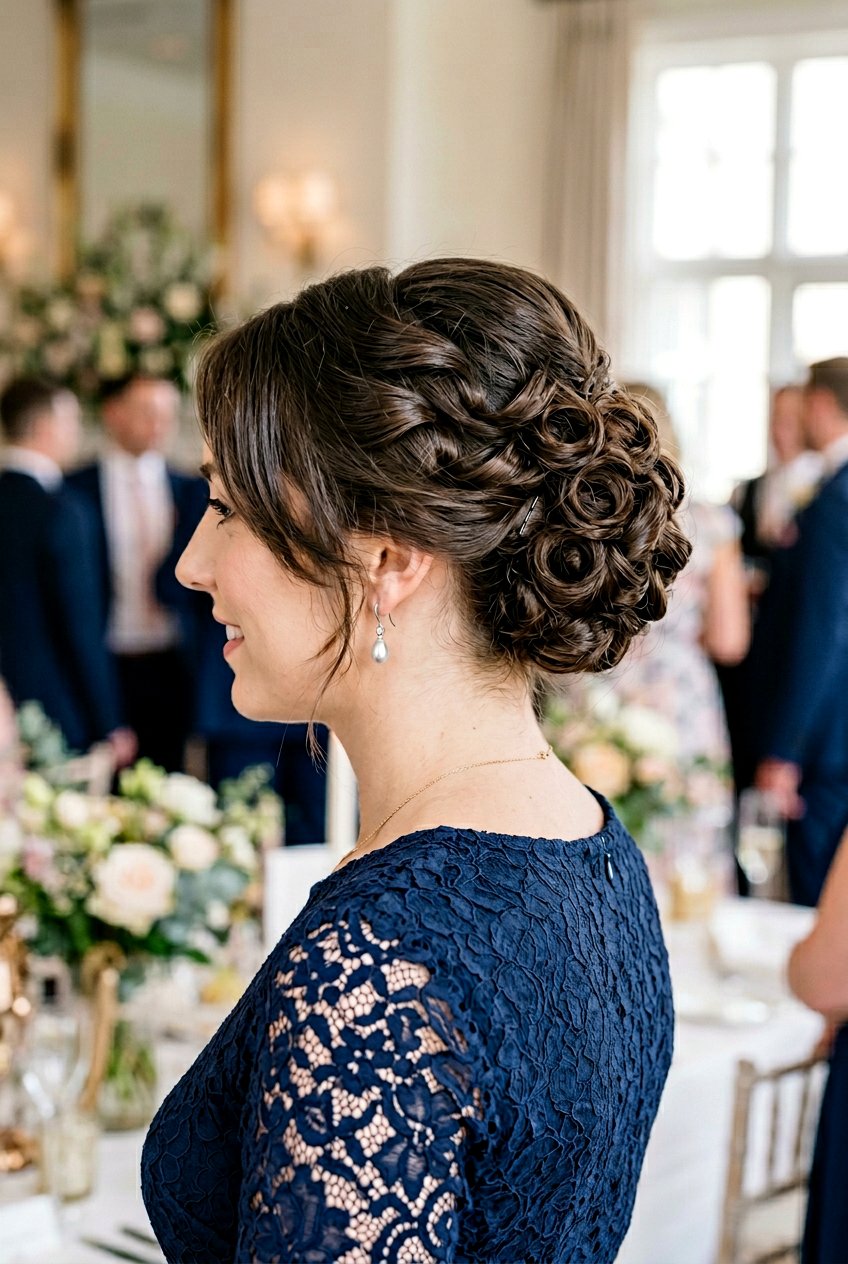
10. Low Chignon Pin Curl Updo
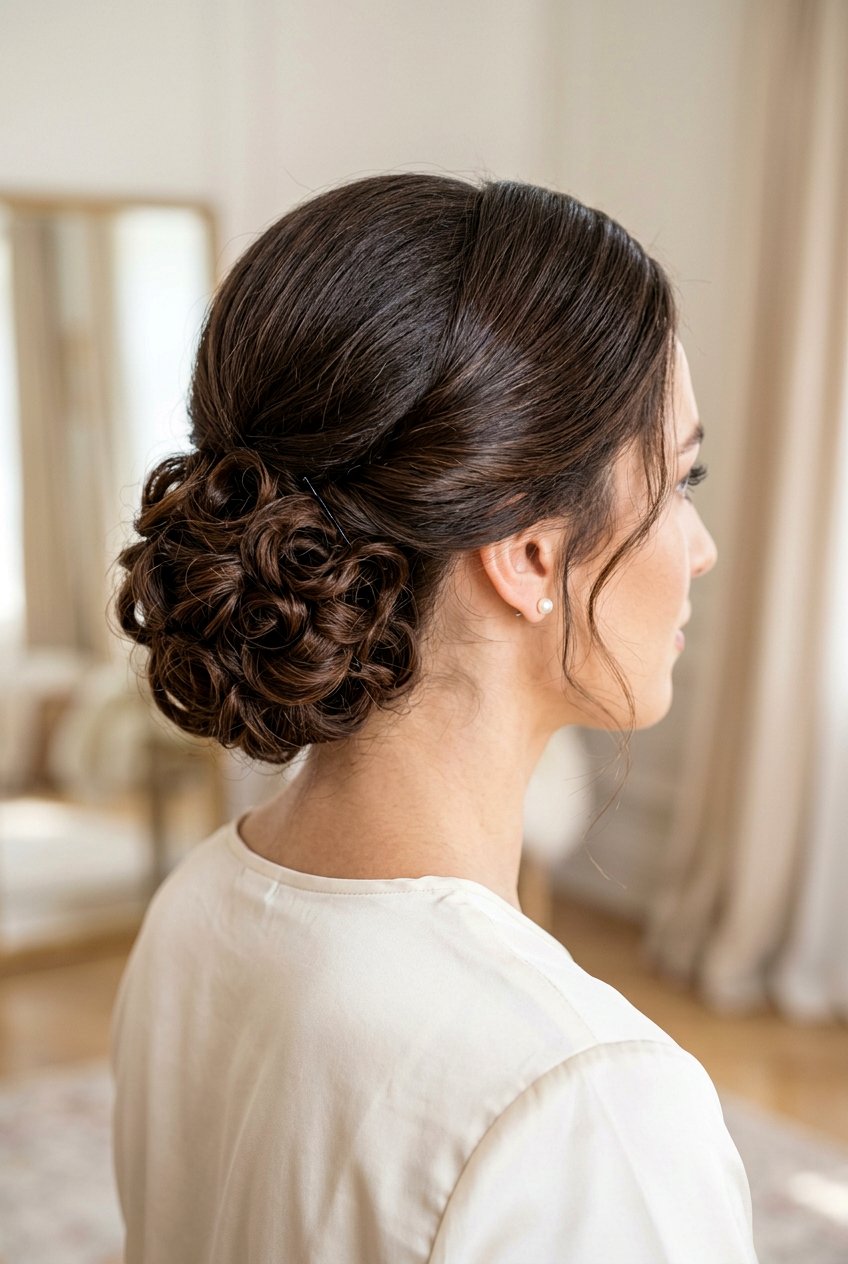
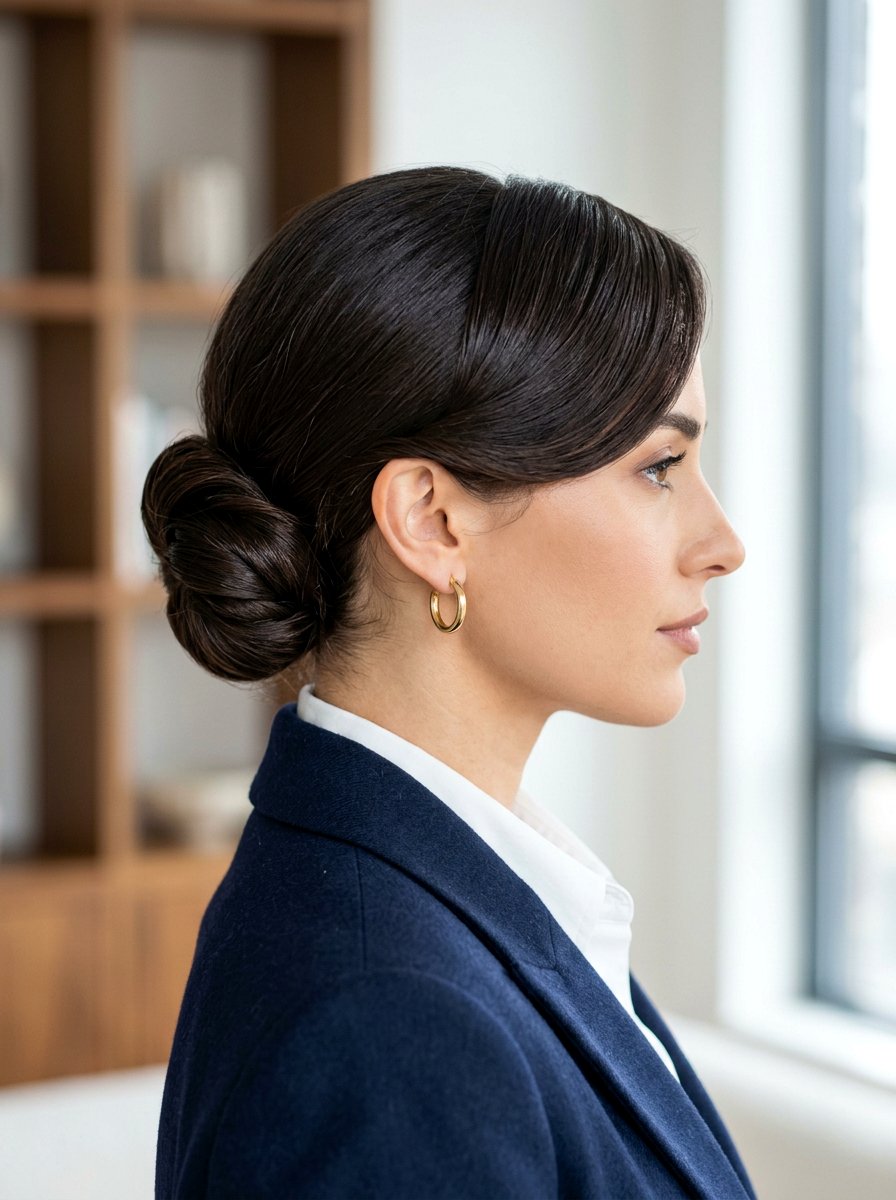
The low chignon pin curl updo is a timeless choice that suits many dress codes, from black-tie events to more simple celebrations. You create a smooth base by brushing the hair back and securing it into a low ponytail at the nape, then curling the ponytail sections if they are not already curled. Each curled section gets rolled into a pin curl and pinned around the base of the ponytail, forming a rounded chignon that is full of texture and shine. Around twenty pins placed in a crisscross pattern keep the curls secure and help you shape the bun so it sits close to the head instead of sticking out. Finish by smoothing any flyaways around the part and hairline, and consider tucking in a simple accessory near the side for a subtle accent.
11. Sleek Front Pin Curl Updo
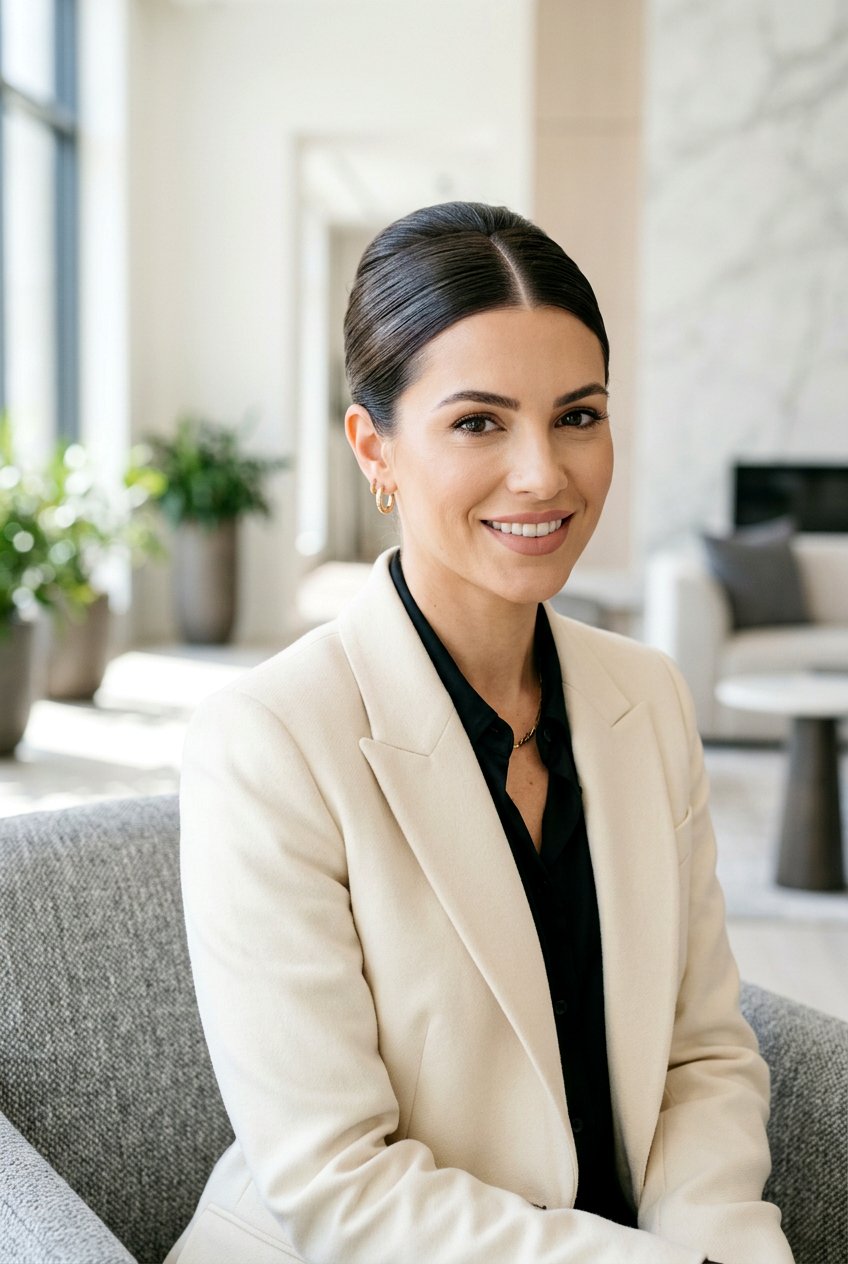
The sleek front pin curl updo gives you a sharp, polished front with a soft, curly bun in the back. Start by applying a smoothing product or light gel at the roots, then comb the front and sides straight back or into a side part, depending on your preference. Secure the back into a ponytail, curl the lengths, and then roll each curl into a pin curl, pinning them tightly together to build a tidy cluster at the back of your head. Keeping about twenty pins focused around the back ensures the bun holds while the front stays sleek and free of visible pins. This combination works well with structured outfits and bold makeup because the clean top and detailed bun balance each other nicely.
12. Loose Romantic Pin Curl Updo
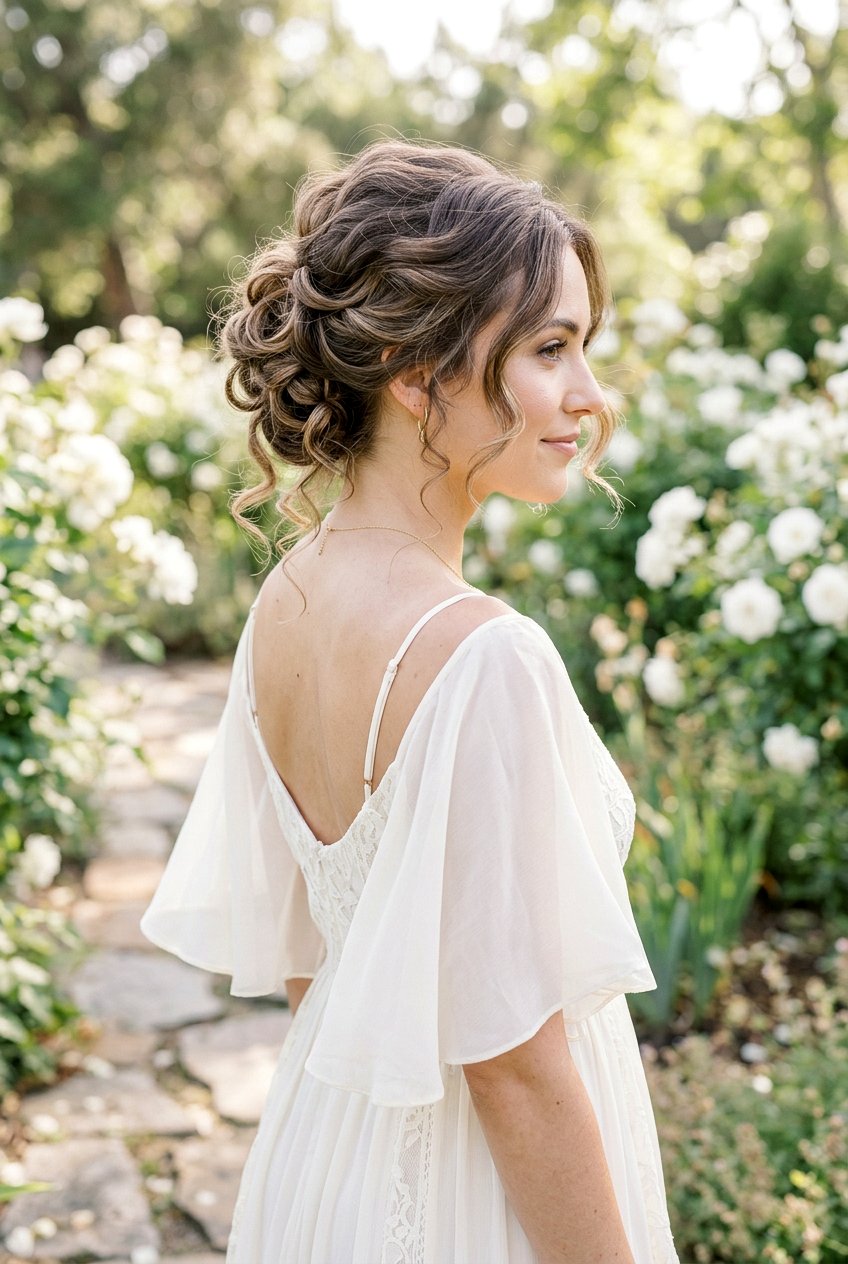
The loose romantic pin curl updo is all about soft movement and gentle volume rather than tight structure. Instead of pinning every curl flat, you curl the hair, lightly brush through to create soft waves, and then gather sections into loose coils, pinning them only where needed to form a relaxed bun. Many of the curls will overlap casually, with some pieces deliberately left looser at the sides and nape so the updo looks airy and effortless. You still use around twenty pins, but you place them deeper inside the curls, allowing the outer layers to fall more freely while keeping the bun secure underneath. This style feels especially fitting for garden weddings or outdoor events where a slightly imperfect, natural look feels right at home.
13. Pin Curl Updo With Bangs
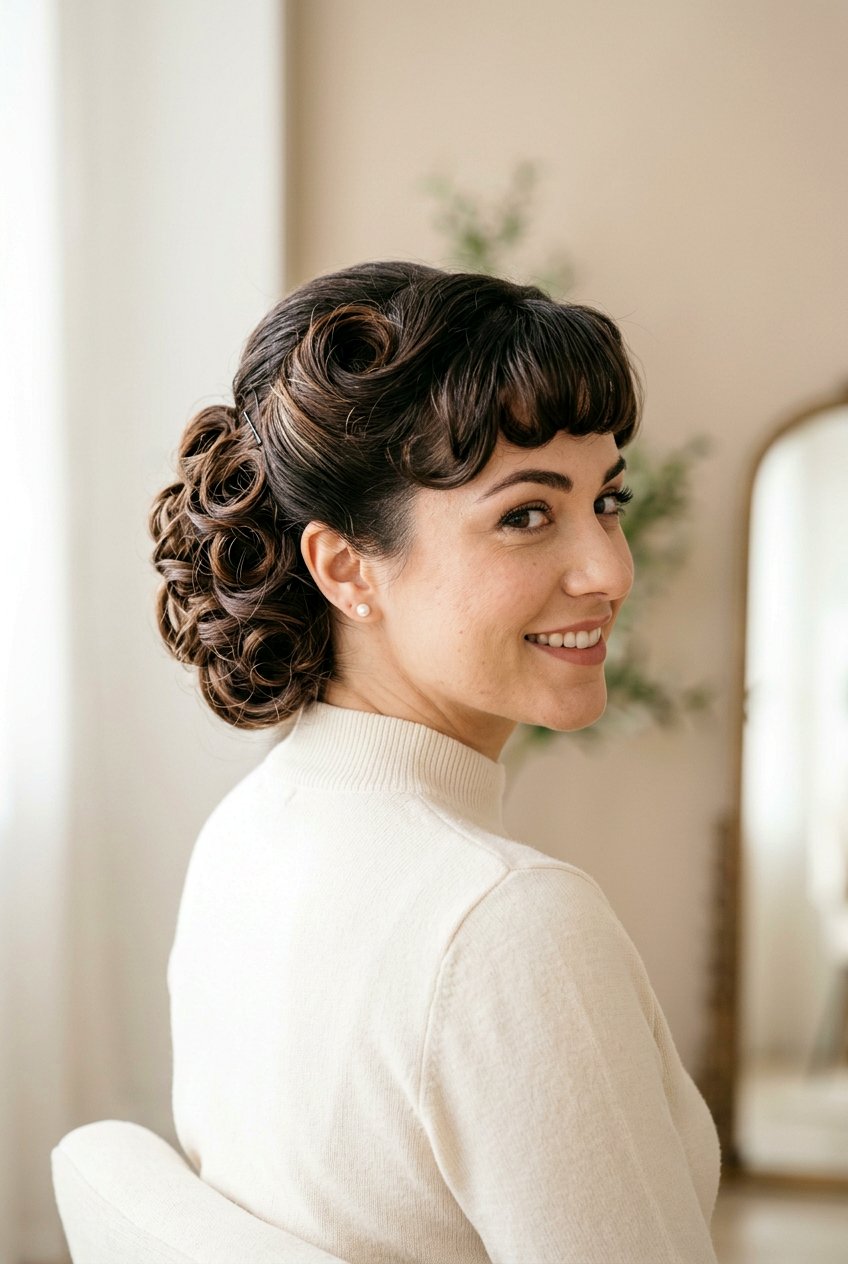
A pin curl updo with bangs lets you enjoy a full fringe while still wearing an elegant updo. Whether your bangs are blunt, curtain, or side-swept, you keep them down and styled while the rest of your hair is curled and pinned. Start by blow-drying and shaping your bangs as usual, then curl the remaining hair and roll it into pin curls, securing them into a bun or cluster at the back or crown. About twenty pins will usually be enough to hold the curls while keeping the bangs free and smooth, so they frame your forehead without being pulled into the updo. This look works especially well if you want to highlight your eyes or glasses, since the bangs bring focus to the upper part of your face.
14. Boho Pin Curl Updo With Tendrils
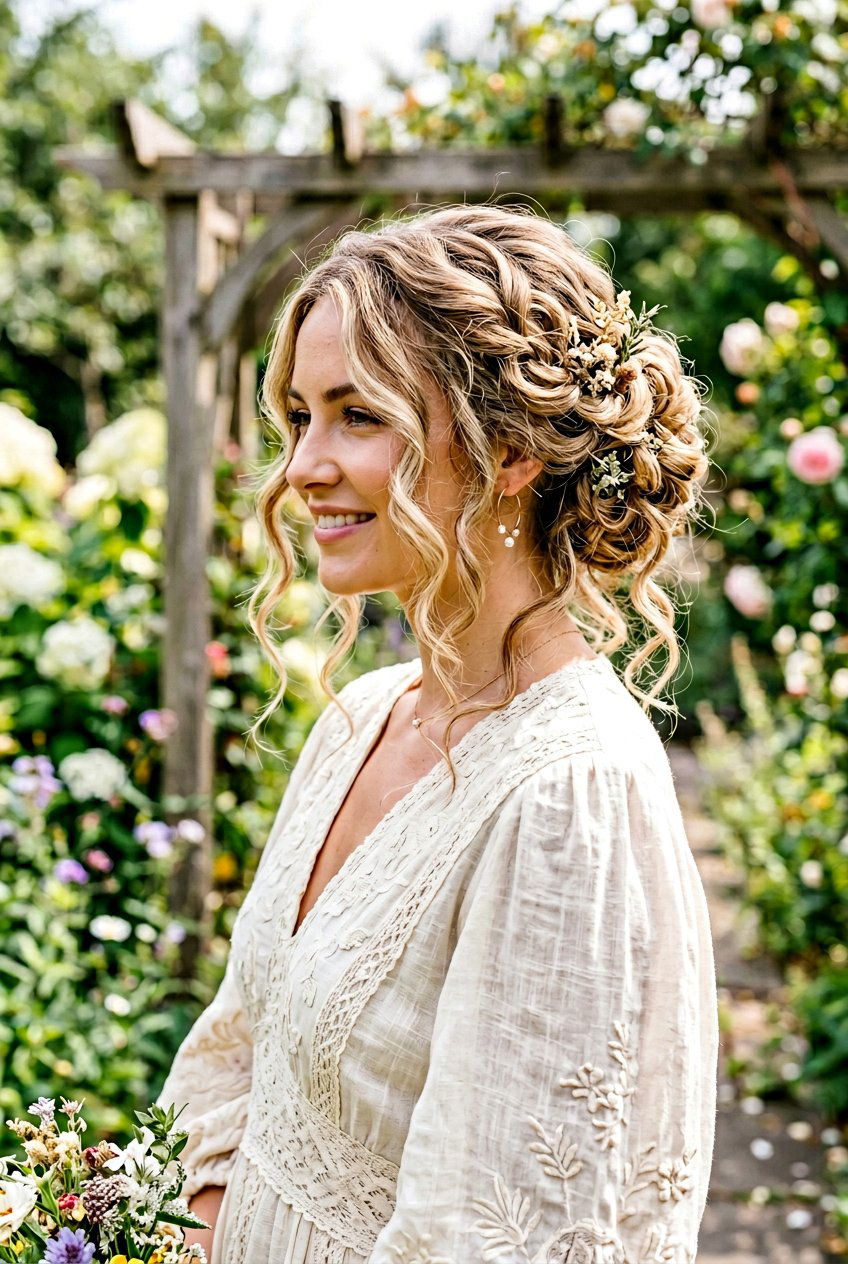
The boho pin curl updo with tendrils gives a free-spirited, romantic feel while still looking put together. Begin by curling your hair and adding a bit of texture spray so the curls are slightly separated and not too perfect. Gather most of the hair into a loose bun at the mid-back of your head, rolling pieces into pin curls and securing them with pins while intentionally leaving several thin curls trailing around your face, ears, and nape. Using about twenty pins allows the main bun to stay secure while those deliberate tendrils move freely and give a soft, casual frame. This kind of updo pairs well with flowy outfits and is ideal for events where you want something relaxed yet still special enough for photos.
15. Pin Curl Updo For Medium Length Hair
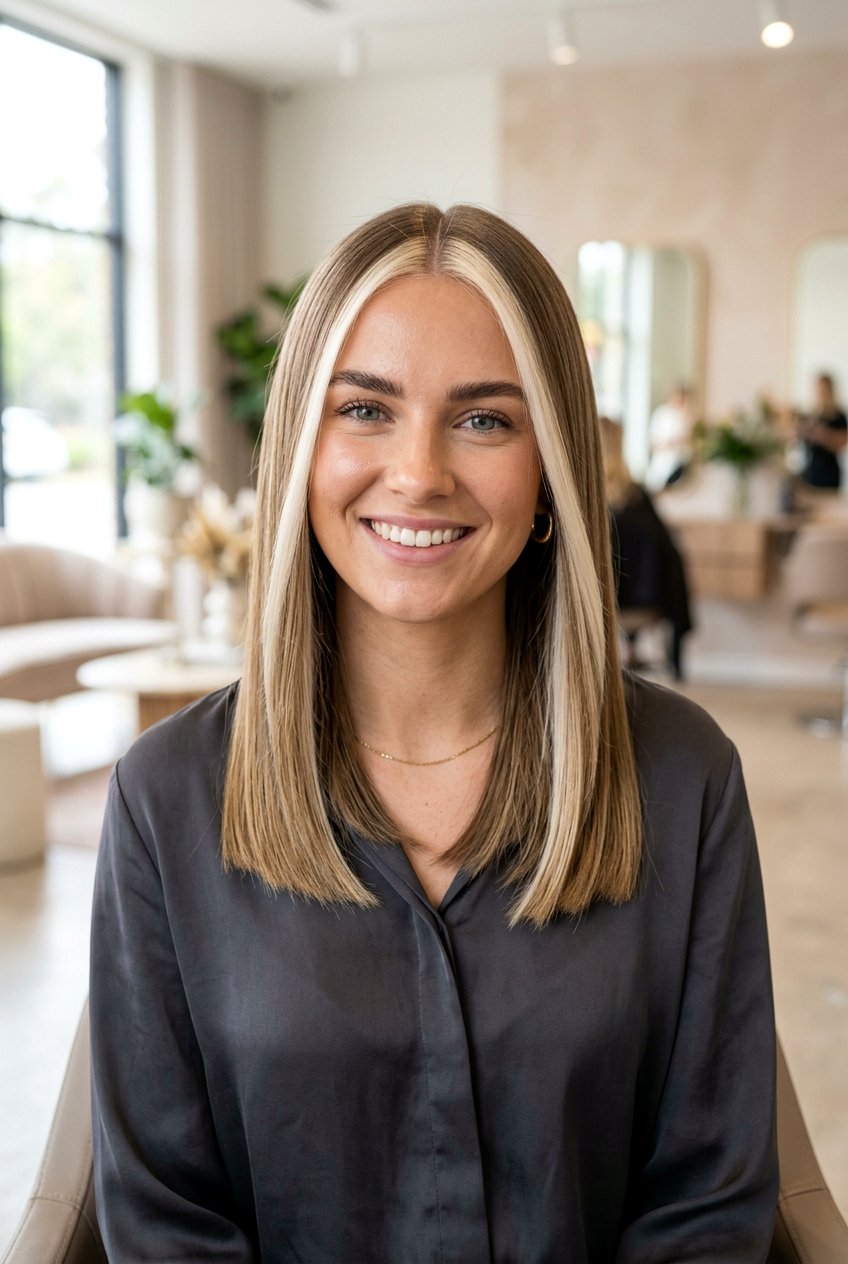
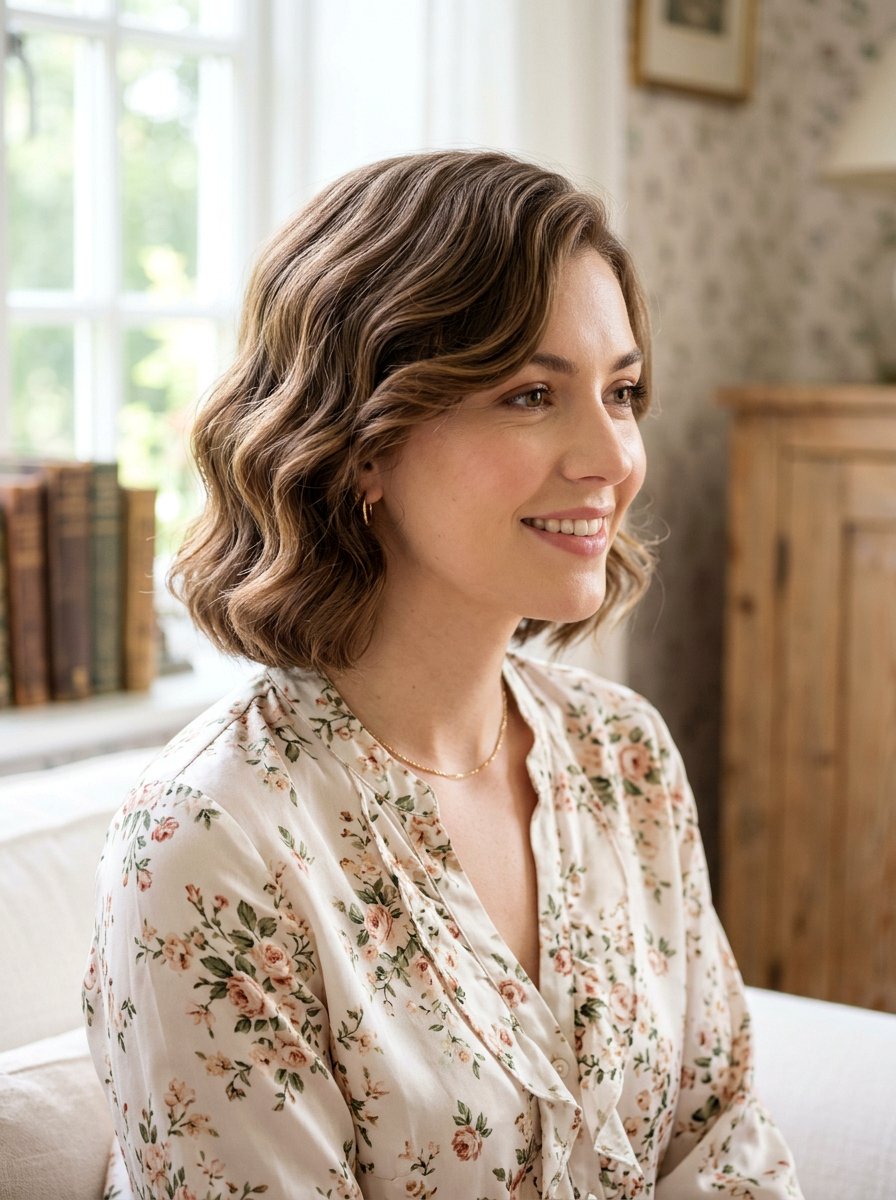
A pin curl updo for medium length hair proves you do not need super long hair to wear a detailed updo. Since medium hair has less length to work with, you use smaller sections when curling so there is enough coil to roll into pin curls. At the back, create a compact base by gently backcombing and securing a small ponytail, then roll short sections into pin curls and pin them close together so they blend into a full-looking bun despite the length. Twenty pins give plenty of control, especially when placed strategically along the base and sides to prevent shorter layers from slipping out. This version is practical if you are growing out a bob or lob but still want a sophisticated updo for a special occasion.
16. Pin Curl Updo For Long Thick Hair

The pin curl updo for long thick hair focuses on managing volume and weight while still showing off beautiful curls. To keep the style secure, start by sectioning the hair into layers and curling each layer separately so the curls are consistent from roots to ends. Create an anchor ponytail or small braided bun at the back, then roll manageable sections into pin curls, pinning them onto and around this base so the weight is distributed evenly. You may still aim for around twenty pins, but choose stronger or larger bobby pins to handle the density of thick hair. This approach keeps the updo from drooping over time and helps prevent tension at the roots, making it more comfortable to wear for several hours.
17. Pin Curl Updo For Fine Hair
A pin curl updo for fine hair is all about creating volume and grip so the curls do not slip out. Start with a volumizing mousse or spray before blow-drying, then curl the hair using a smaller barrel and let the curls cool completely to set. Backcomb gently at the crown and along the mid-lengths to add bulk, then roll small sections into pin curls and pin them into a compact bun or cluster, focusing on stacking curls on top of one another for fullness. Around twenty pins placed strategically at the roots and base help keep the updo lifted rather than flat against the head. A light mist of hairspray and minimal touching throughout the day will keep fine hair from losing its shape too quickly.
18. Pin Curl Updo With Hair Accessory
A pin curl updo with hair accessory lets you turn a simple bun into a statement look. After curling and arranging your hair into a pin curl updo of your choice, you can add a decorative comb, barrette, or delicate clip near the side or back where the curls meet. Place the accessory after you have used around twenty pins to fully secure the structure, so the piece sits on top of the curls rather than trying to hold everything together by itself. This approach keeps the accessory comfortable and prevents it from slipping out of place, especially during events with lots of movement. Choose a piece that complements your outfit and the mood of the event, whether that is something subtle or more eye-catching.
19. Pin Curl Updo For Wedding Guest
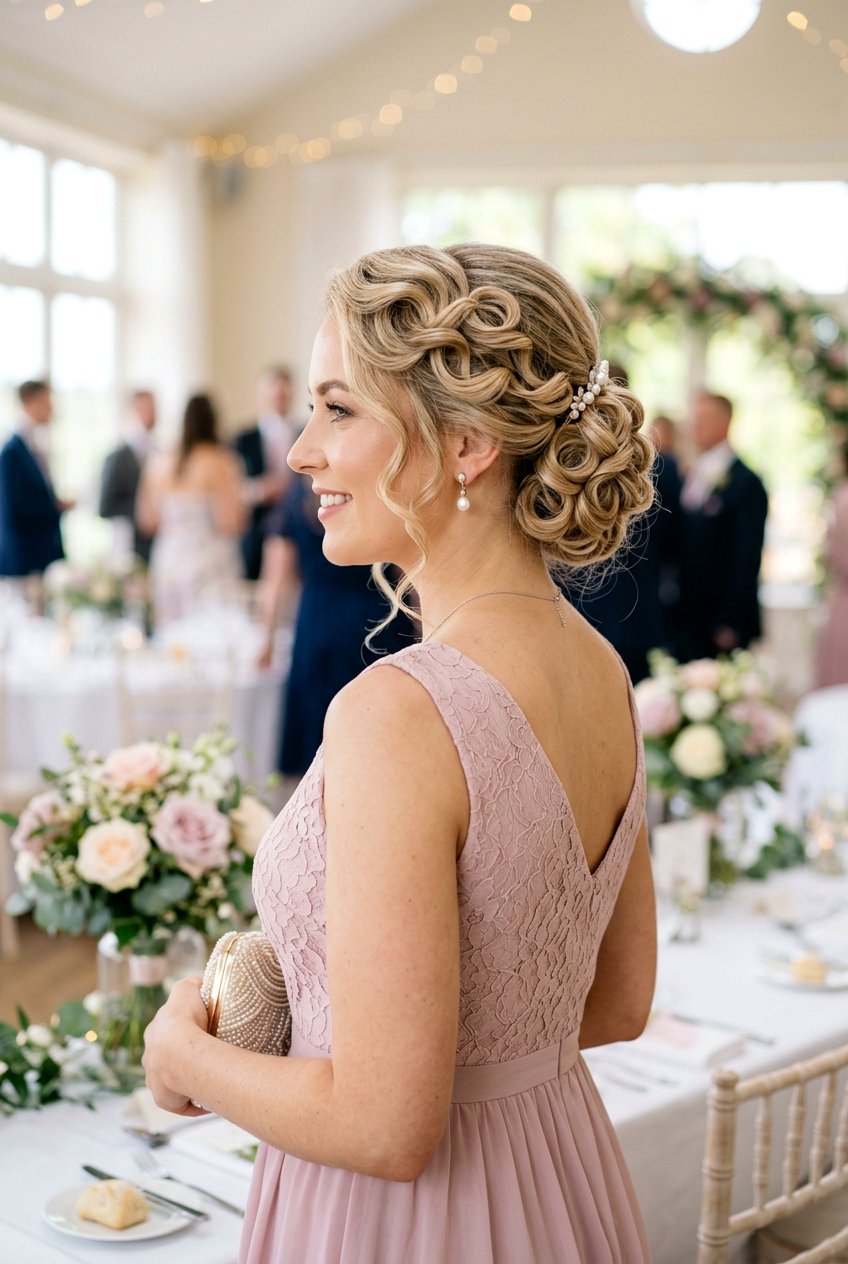
A pin curl updo for wedding guest outfits gives you a polished look that will stay neat through a long day of ceremonies and celebrations. You can choose any basic pin curl shape, like a low chignon or high bun, but focus on keeping the finish soft and romantic rather than overly stiff. Curl the hair, build your updo with pin curls, and use about twenty pins to secure everything while still allowing a few face-framing pieces or soft tendrils at the nape. This balance keeps the style formal enough for photos but comfortable enough to wear from afternoon into evening without constant touch-ups. Opt for flexible-hold hairspray so the curls move naturally when you hug people, dance, or step outside in shifting weather.
20. Simple At Home Pin Curl Updo
A simple at home pin curl updo makes this elegant look accessible even if you are not used to styling your own hair. Start with clean, dry hair and add a bit of heat protectant before curling, then create loose curls all over using a curling iron you are comfortable handling. Gather your hair at the back into a small ponytail or just start pinning curls directly against the head, rolling sections around your fingers and securing them into a soft bun using about twenty bobby pins. Do not worry about making every curl perfect; focus on hiding the pins and keeping the shape even on both sides so it looks intentional. Finish with a light hairspray and smooth any flyaways, and you will have a pretty updo that feels special without needing salon help.
Conclusion:
A 20 pin curl updo hairstyle gives you an adaptable framework for creating many different updo looks, from classic nape buns to high, voluminous crowns. The shared foundation across all these versions is curling the hair first, then rolling small sections into coils and securing them with around twenty bobby pins or clips. Once you understand that basic technique, you can customize the direction of the curls, the placement of the bun, and how much hair you leave out around the face to match your outfit and the occasion. These updos work on many hair types, including fine, thick, and naturally curly textures, as long as you adjust your prep with the right products and pin strength. With some practice, you can create everything from sleek, polished chignons to relaxed, boho-inspired buns that still hold up for hours. The result is a set of go-to updo options that feel special, photograph beautifully, and showcase your hair’s natural movement and shine.
You'll Like These Styles:


Leave a Reply